Zavedení
The LUXBIRD Reptile Thermostat Controller is a versatile and precise device designed for maintaining optimal temperature conditions in various environments, including reptile habitats, terrariums, and plant propagation setups. This 2-in-1 digital thermostat features dual independent outputs, allowing you to control two separate heating elements simultaneously with distinct temperature settings. Equipped with intelligent constant temperature capabilities, high/low temperature alarms, and a user-friendly interface, it ensures a stable and safe environment for your animals and plants. Its power-off memory function retains your settings even after a power interruption, providing added convenience and reliability.
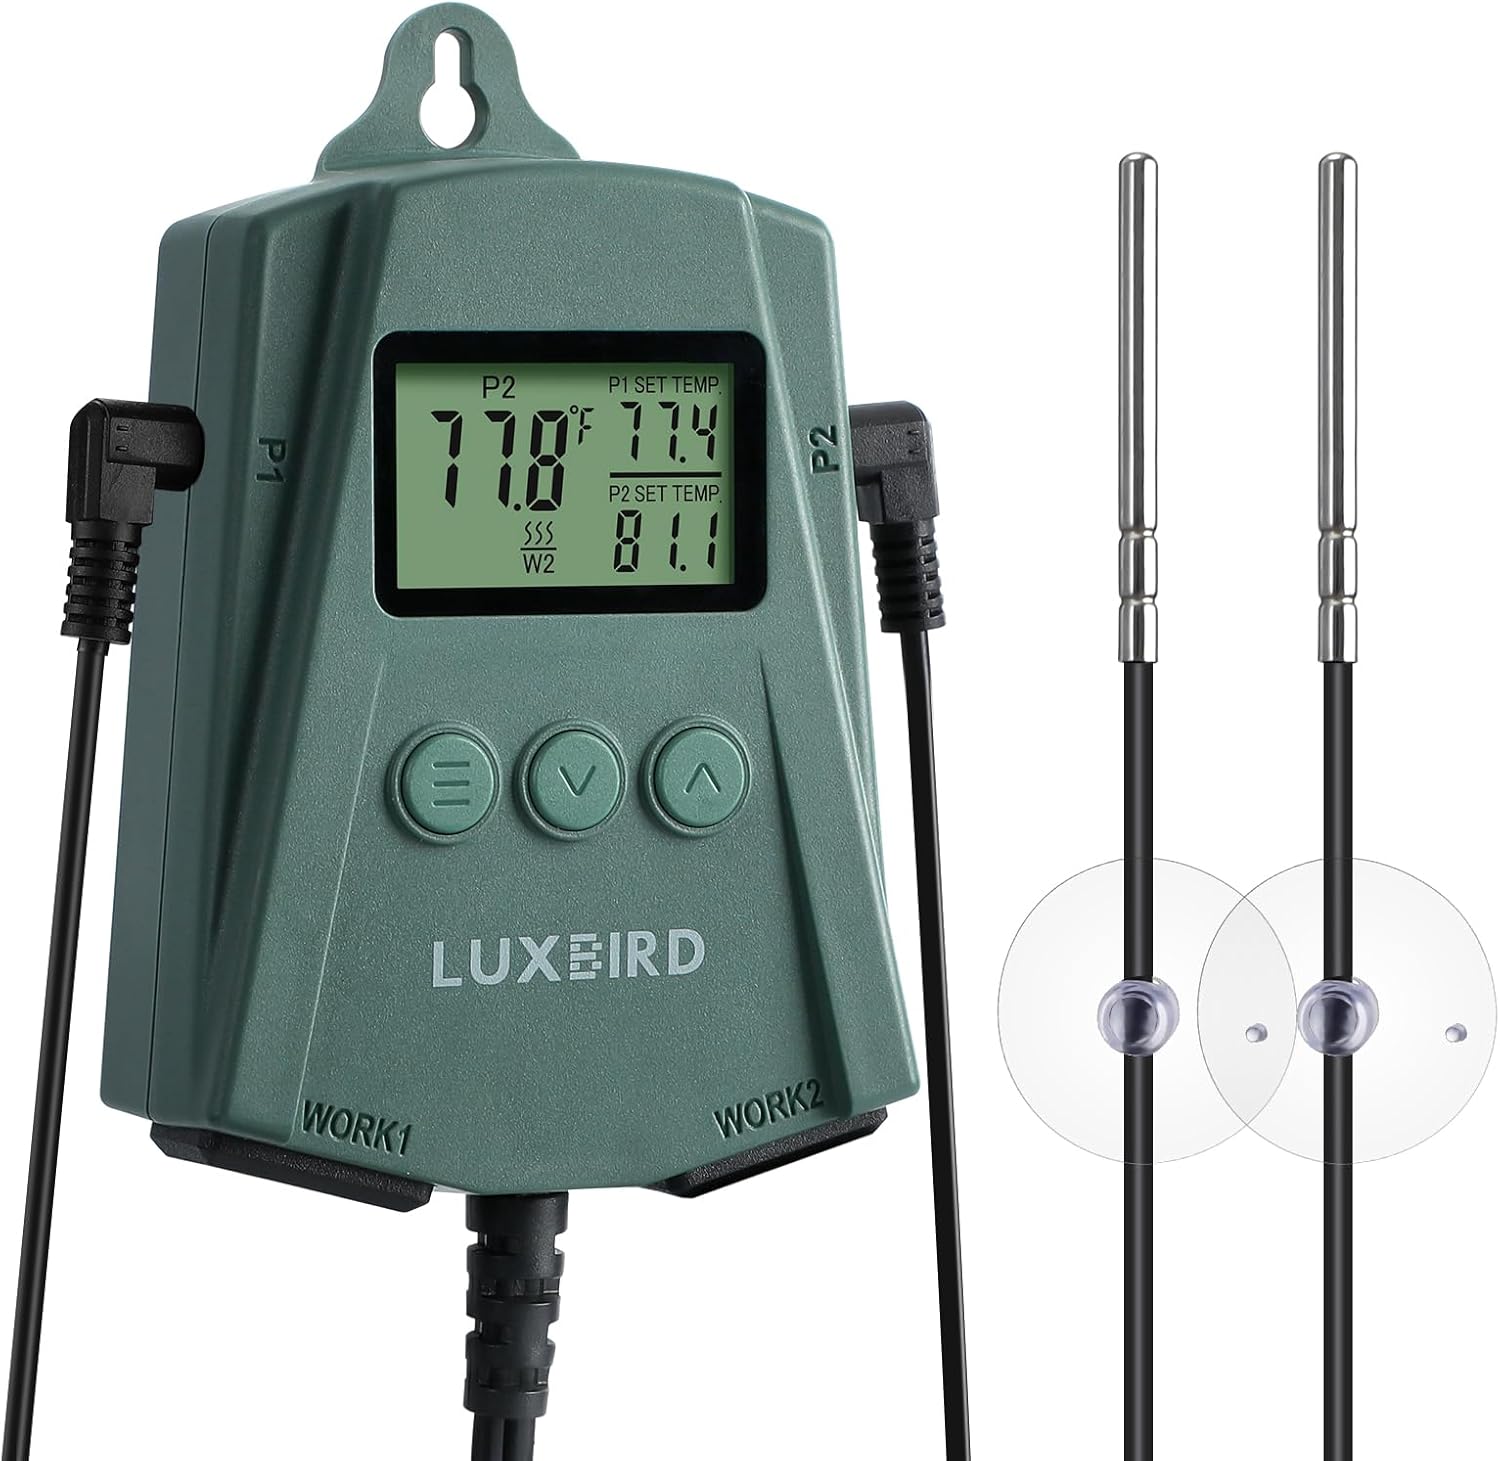
Image: The LUXBIRD Reptile Thermostat Controller unit with its two temperature probes, showcasinjeho kompaktní design a digitální displej.
Klíčové vlastnosti
- 2-in-1 Dual Output: Capable of controlling two independent heating outputs, each with its own temperature setting. Supports heating only.
- Snadné použití: Designed for simple setup and operation with an easy-to-read LCD screen. Features two angled sockets to prevent wire tangling and supports temperature unit switching (°F/°C).
- Intelligent Constant Temperature: Each outlet supports up to 250 watts. Temperature control range from 32.0°F (0°C) to 113°F (45°C).
- Bezpečné a spolehlivé: Includes high/low temperature alarms and probe abnormality alarms to alert users of potential issues, preventing damage and ensuring safety.
- Premium Temperature Probes: Comes with two high-quality temperature probes for accurate monitoring of current and target temperatures.
- Paměť pro vypnutí: Retains all settings even after a power outage., čímž se eliminuje potřeba rekonfigurace.
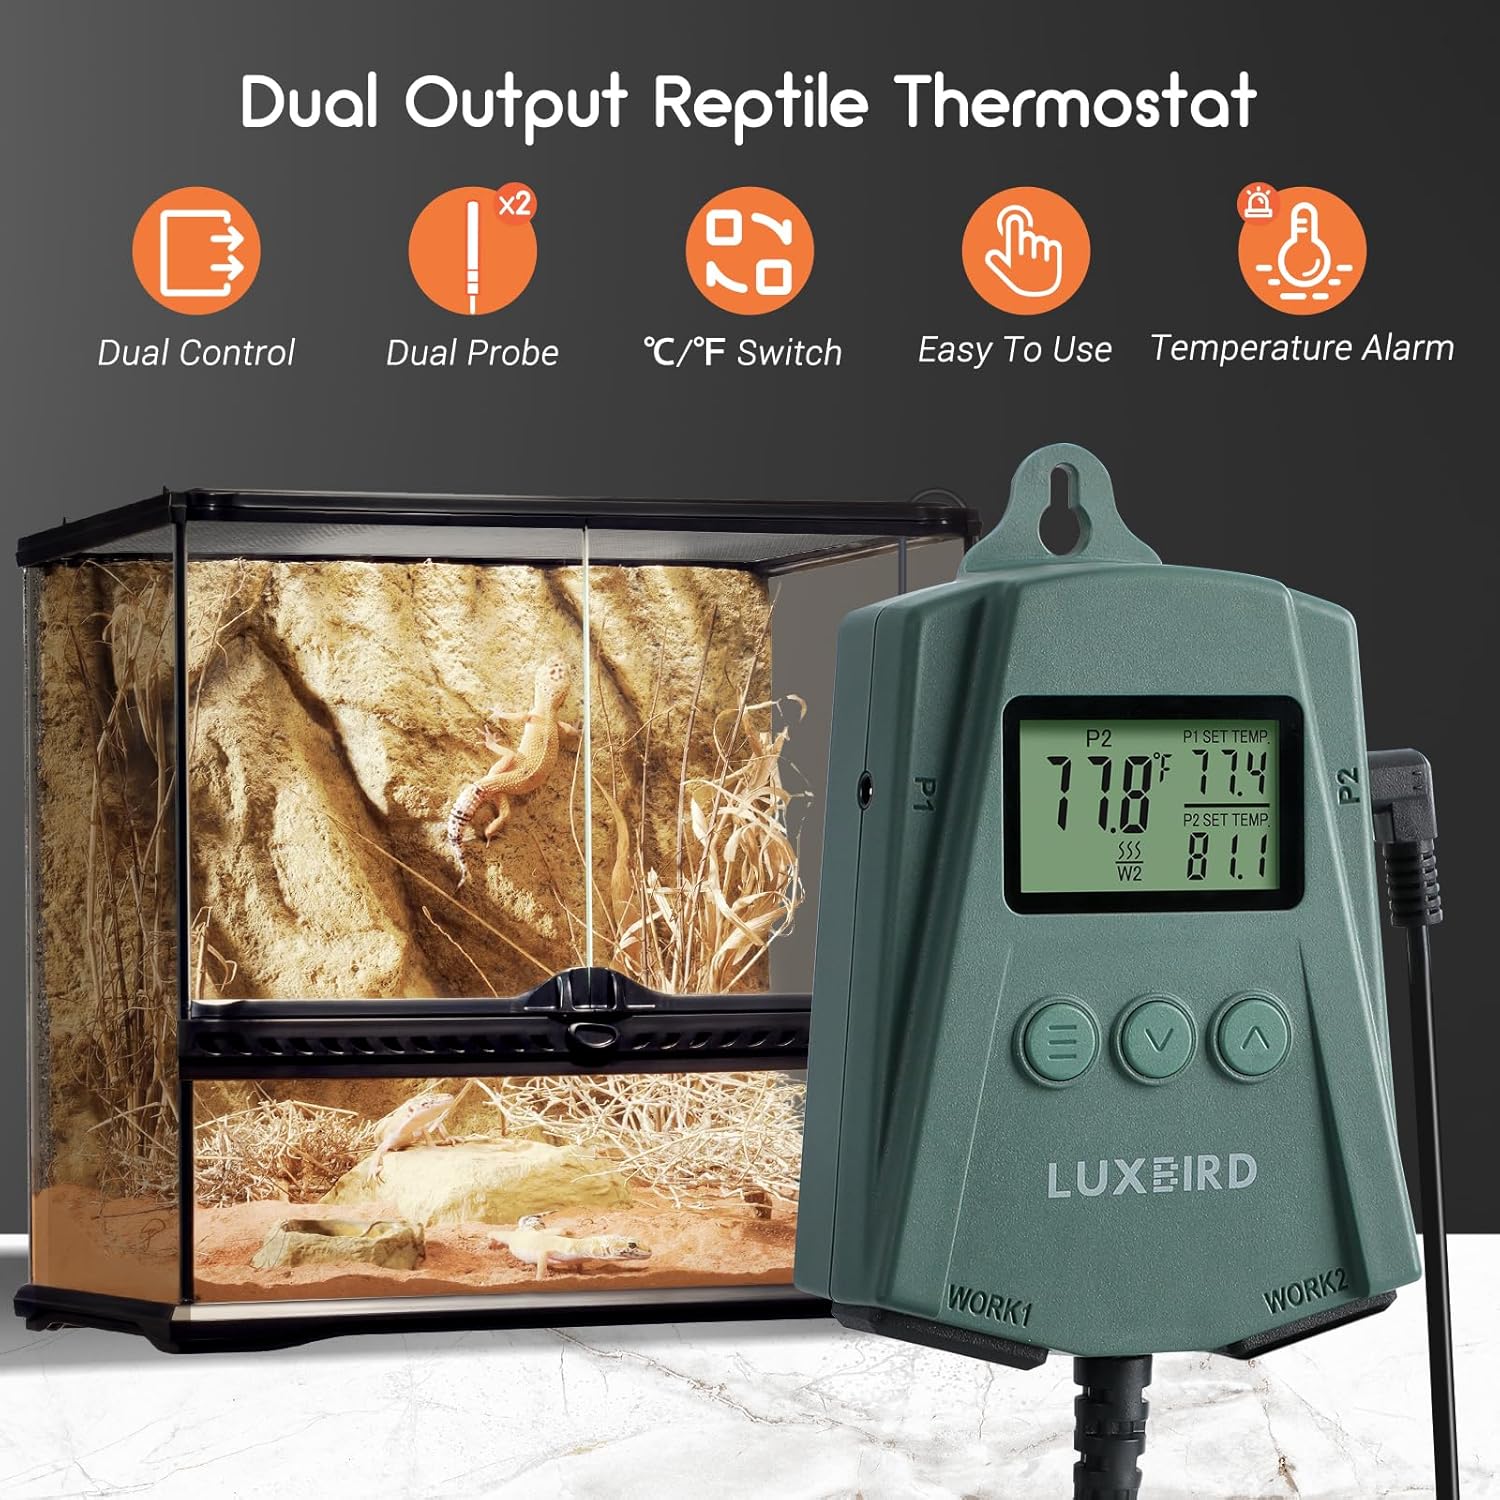
Image: Visual representation of the thermostat's key features, including dual control, dual probes, °C/°F switch, ease of use, and temperature alarm.
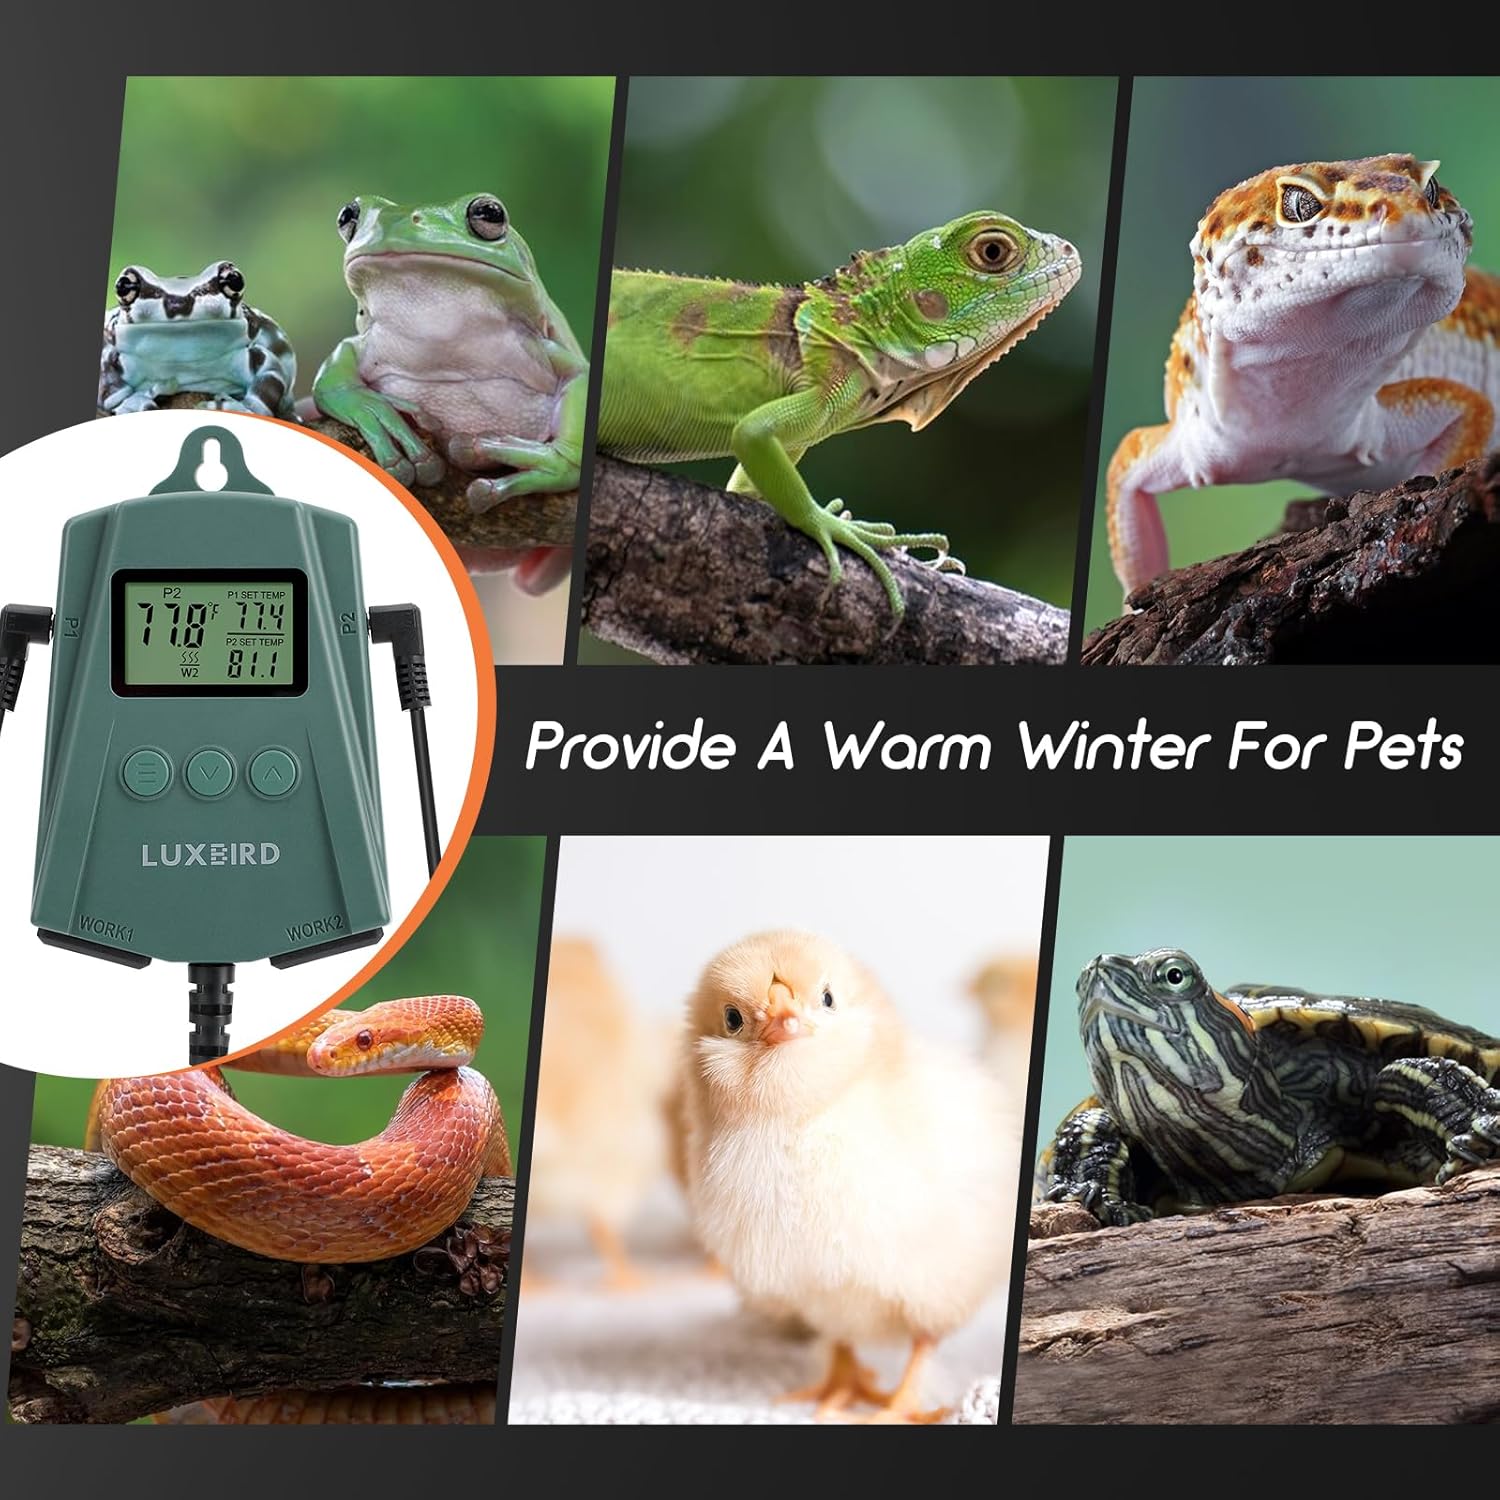
Image: A collage demonstrating the wide range of pets (turtles, lizards, frogs, snakes, chicks) for which the LUXBIRD thermostat can provide a warm environment.
Specifikace
| Značka | Luxbird |
| Číslo modelu | LB-2SC New Ver. (5ef220c7-4315-4ff4-8f45-52be2a67d324) |
| Rozměry produktu | 3"H x 4"Š x 7"V |
| Hmotnost položky | 12.6 unce |
| Typ ovladače | Stiskněte tlačítko |
| Speciální funkce | Temperature Display, Power-Off Memory |
| Barva | Zelený |
| Specifická použití | Heat Pump, Reptile Heat Pad, Plant Propagation |
| Typ řízení teploty | Pouze topení |
| Zahrnuté komponenty | Thermostat Unit, 2 Temperature Probes |
| Zdroj napájení | Elektrický kabel |
| svtage | 120 voltů |
| Max Wattage Per Outlet | 250 wattů |
| Materiál | Plast |
| Typ zobrazení | LCD |
| Typ montáže | Hákový držák |
| Teplotní rozsah | 32.0 °F (0 °C) až 113 °F (45 °C) |
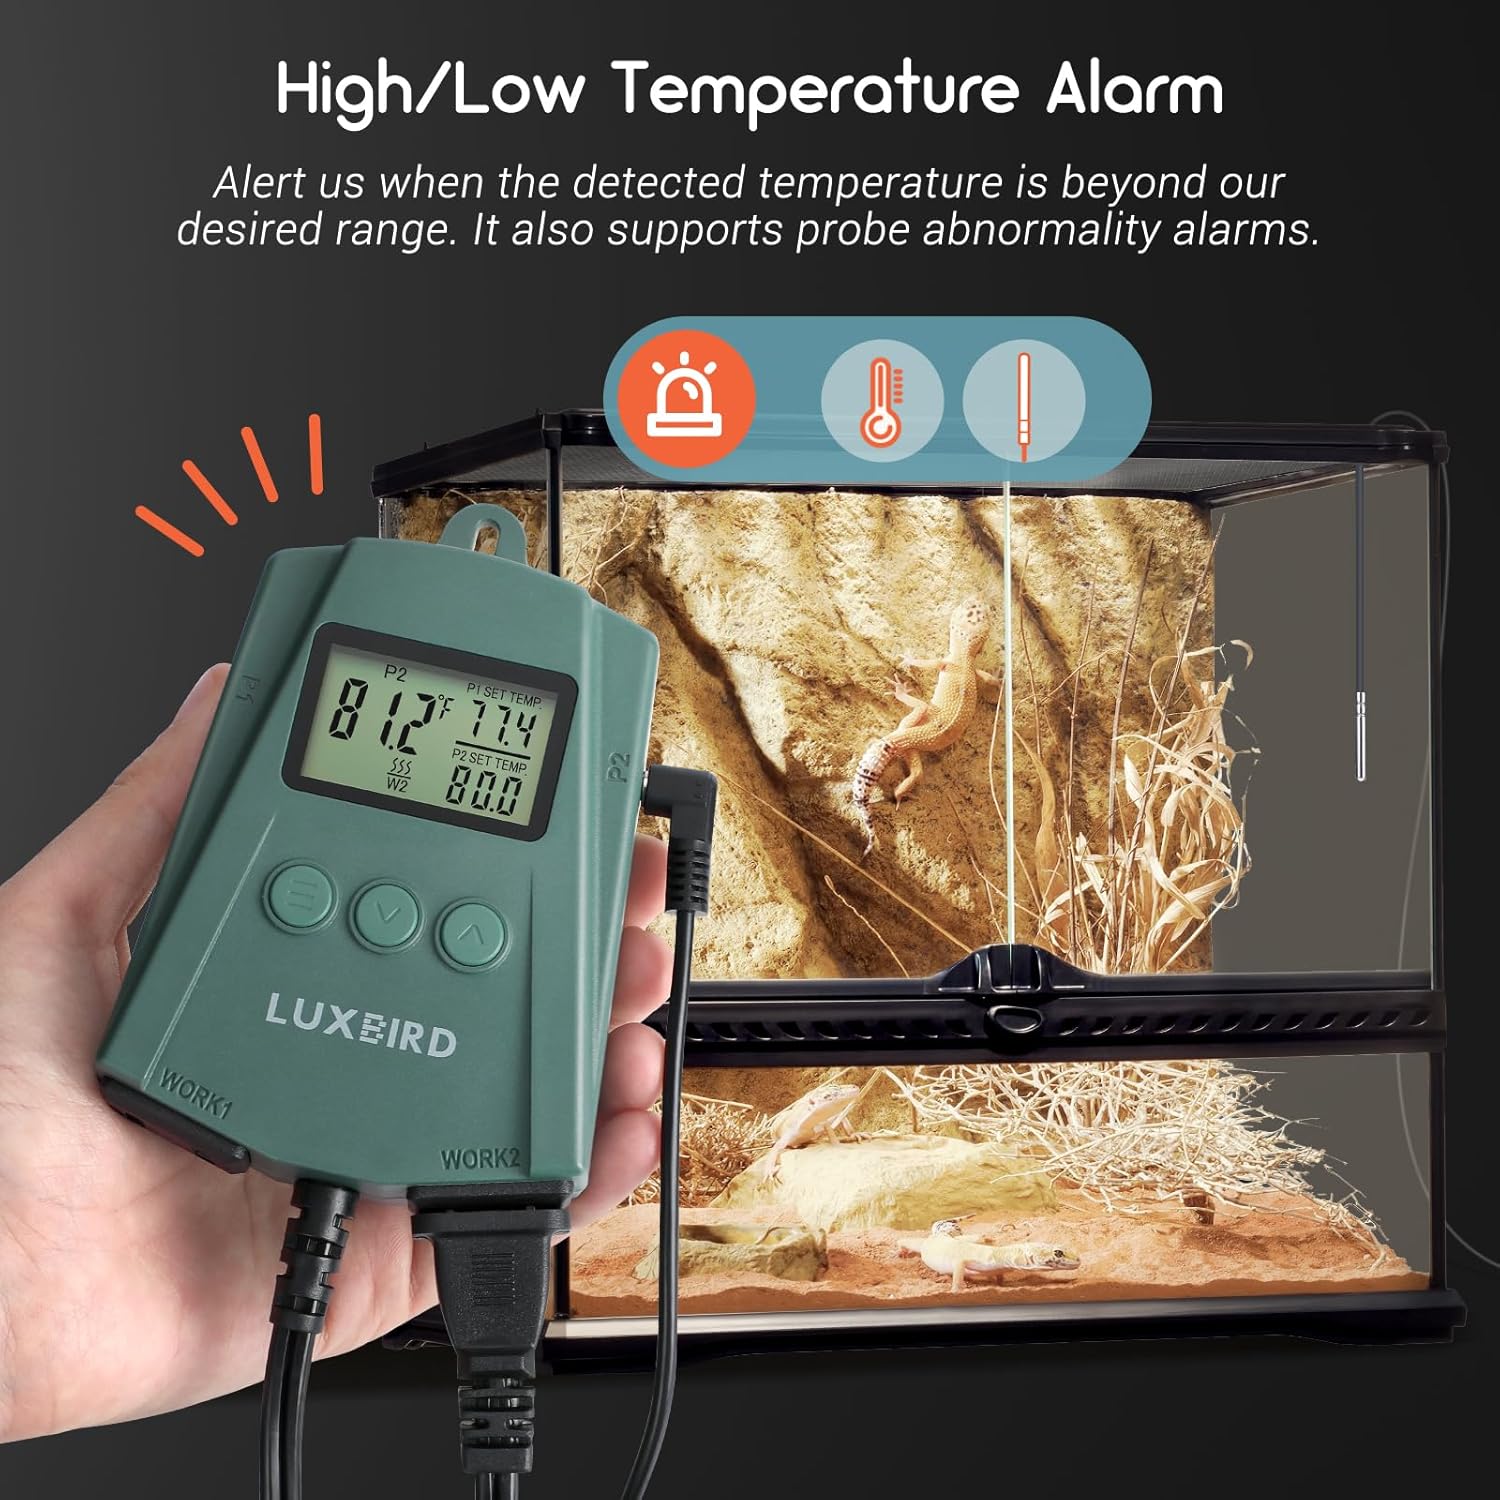
Image: Illustration of the thermostat's wide temperature control range, suitable for various applications including reptiles and plants.
Pokyny pro nastavení
- Rozbalte zařízení: Carefully remove the thermostat unit and its two temperature probes from the packaging.
- Připojení sond: Insert the two temperature probes into the designated probe sockets (P1 and P2) on the side of the thermostat. Ensure they are fully inserted.
- Position Probes: Place the probe tips in the desired locations within your habitat or growing area where you want to monitor and control the temperature. Ensure the probes are not directly exposed to heating elements or water unless designed for submersible use.
- Connect Heating Devices: Plug your heating mats, heat lamps, or other heating devices into the "WORK1" and "WORK2" thermostat sockets at the bottom of the unit. Each socket corresponds to a probe (P1 for WORK1, P2 for WORK2). Ensure the total wattage for each outlet does not exceed 250 watts.
- Namontujte termostat: Use the integrated hook mount to hang the thermostat in a convenient and safe location, away from direct heat or moisture.
- Zapnutí: Plug the thermostat's power cord into a standard 120V AC electrical outlet. The LCD screen will illuminate, displaying the current temperature readings.
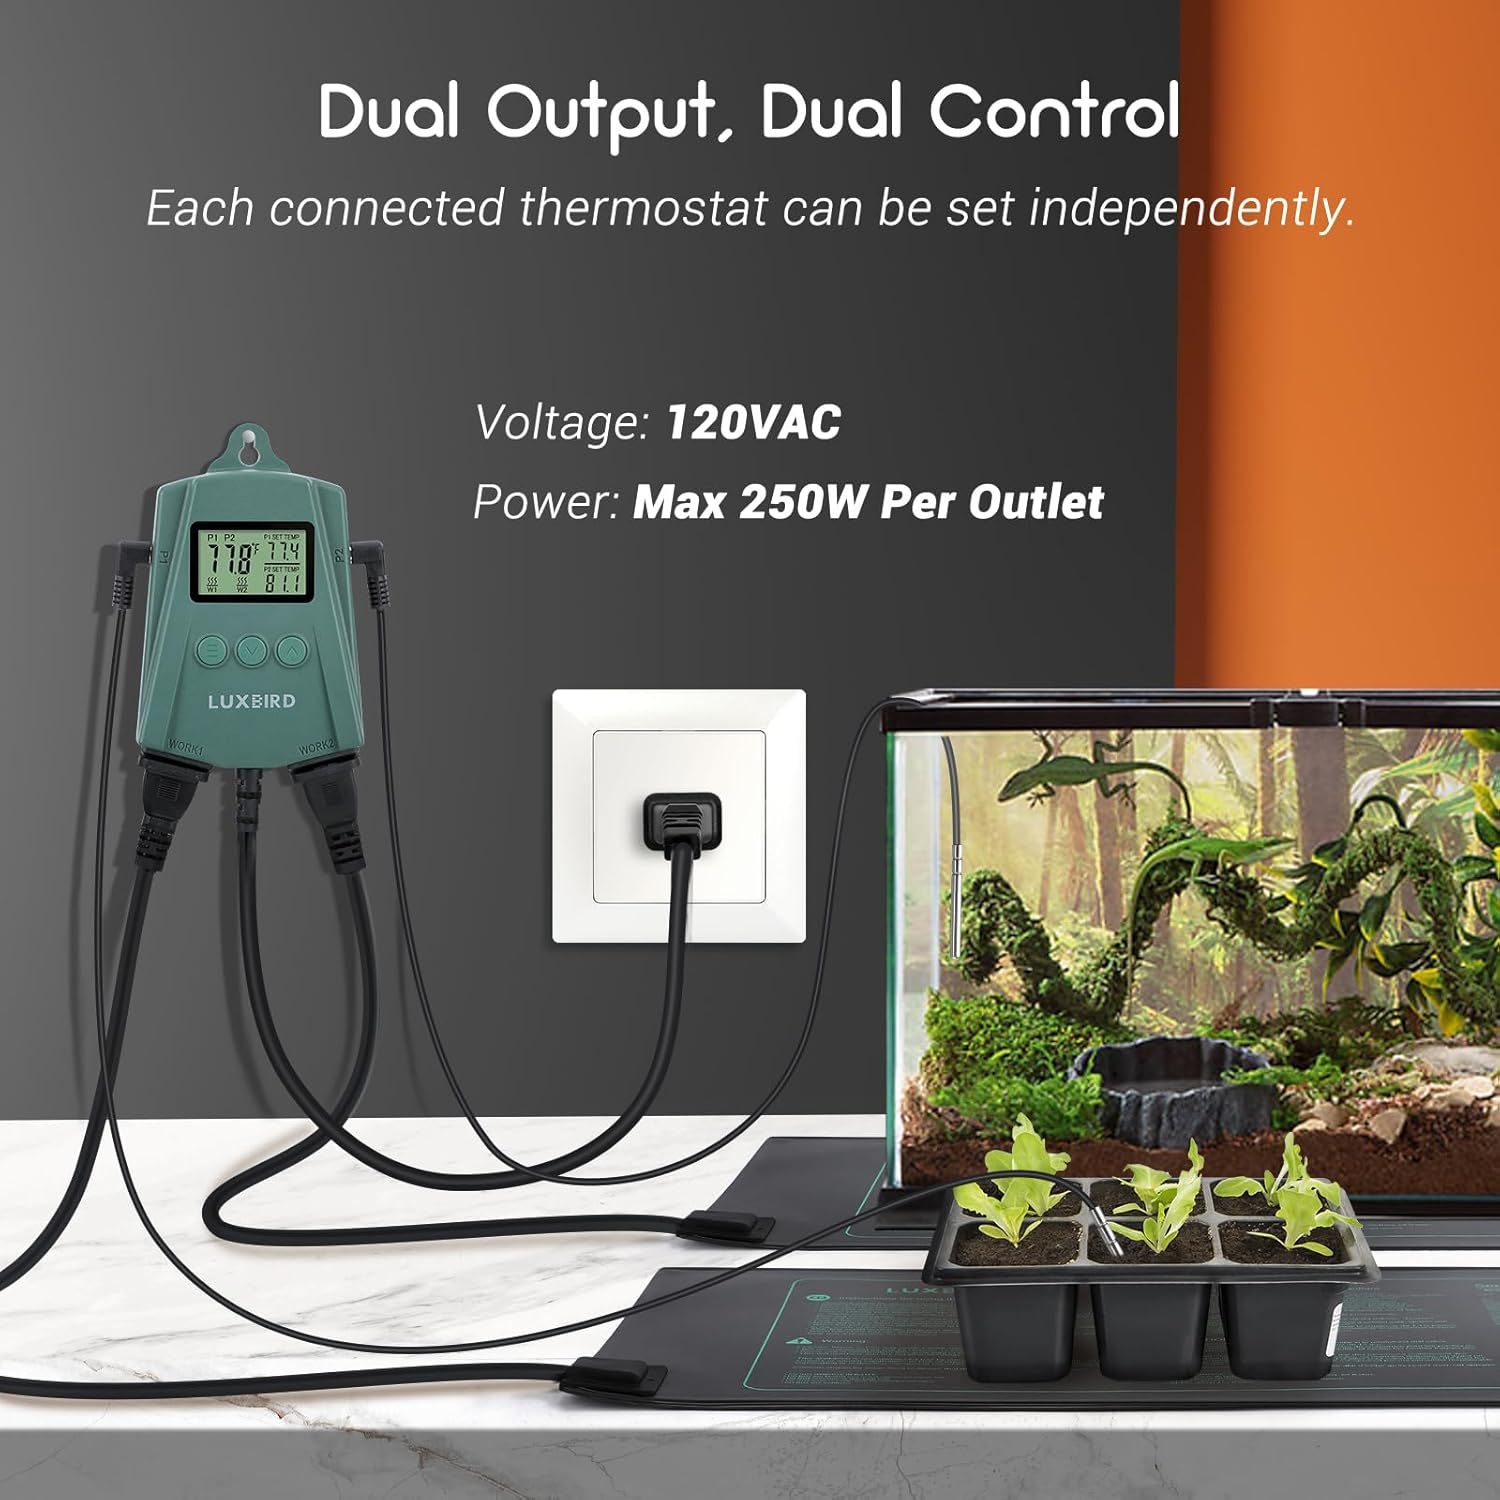
Image: A visual guide demonstrating how to connect the thermostat to power and heating devices for both reptile enclosures and plant propagation.
Návod k obsluze
Pochopení displeje

Obrázek: Podrobný view of the thermostat's control panel, highlighting the LCD display elements and button functions.
- Aktuální teplota: Displays the real-time temperature detected by the probes (P1 and P2).
- P1/P2 SET TEMP: Shows the target temperature set for each output.
- Heating Indicator (W1/W2): Illuminates when the corresponding heating outlet (WORK1/WORK2) is active.
- tlačítka:
- ≡ (Setting Button): Used to enter and navigate through settings.
- ∨ (Down Button): Decreases values or moves through options.
- ∧ (Up Button): Increases values or moves through options.
Nastavení teploty
- Vyberte výstup: Stiskněte tlačítko ≡ button once to enter the setting mode. The P1 SET TEMP will start flashing. Press ≡ again to switch between P1 and P2 settings.
- Adjust Target Temperature: Použijte ∧ (Nahoru) nebo ∨ (Down) buttons to set your desired target temperature for the selected output (P1 or P2).
- Potvrdit nastavení: Stiskněte tlačítko ≡ button again to confirm the setting and move to the next parameter, or wait a few seconds for the display to return to normal operation, saving your changes automatically.
Jednotky přepínání teploty (°F/°C)
Přepínání mezi stupni Fahrenheita (°F) a stupni Celsia (°C):
- With the device powered on and in normal display mode, press and hold the ∧ (Up) button for approximately 3 seconds. The temperature unit will toggle between °F and °C.
Alarm Settings (High/Low Temperature & Probe Abnormality)
The thermostat is equipped with alarm functions to alert you to critical temperature deviations or probe issues.

Image: The thermostat displaying an alarm, indicating a temperature outside the set range or a probe issue.
- Alarm vysoké/nízké teploty: If the detected temperature goes above your set high limit or below your set low limit, the thermostat will beep and display an alarm icon.
- Probe Abnormality Alarm: If a probe is disconnected or faulty, the thermostat will display an error message (e.g., "ERR") and sound an alarm.
- Adjusting Alarm Limits:
- Stiskněte tlačítko ≡ button multiple times until the alarm setting (e.g., "AL" for low alarm, "AH" for high alarm) flashes.
- Použijte ∧ (Nahoru) nebo ∨ (Down) buttons to adjust the desired alarm threshold.
- Stiskněte ≡ to confirm and move to the next setting, or wait for auto-save.
- Ztišení alarmů: Alarms will typically stop once the temperature returns to the safe range or the probe issue is resolved. Some models may allow temporary silencing by pressing any button.
Údržba
- Čištění: Regularly wipe the thermostat unit with a soft, dry cloth. Do not use abrasive cleaners or immerse the unit in water.
- Péče o sondu: Keep the temperature probes clean. If used in moist environments, ensure they are wiped dry periodically to prevent mineral buildup. Avoid bending or kinking the probe wires excessively.
- Kontrola připojení: Periodically check all cable connections (probes, heating devices, power cord) to ensure they are secure and free from damage.
- Skladování: If storing the unit for an extended period, disconnect it from power, clean it thoroughly, and store it in a cool, dry place.
Odstraňování problémů
| Problém | Možná příčina | Řešení |
|---|---|---|
| Displej je prázdný nebo se nezapíná. | Žádné napájení, uvolněné připojení, výpadek proudutage. | Ensure the power cord is securely plugged into a live outlet. Check the power source. |
| Odečet teploty je nepřesný. | Probe not properly inserted, faulty probe, probe placed incorrectly. | Ensure probes are fully inserted into P1/P2 sockets. Verify probe placement is accurate for the area being measured. If issue persists, the probe may need replacement. |
| Topné zařízení se nezapíná/nevypíná podle očekávání. | Incorrect temperature setting, heating device faulty, thermostat outlet faulty. | Check your set temperature (P1/P2 SET TEMP) and ensure it's within the desired range. Verify the heating device is working by plugging it directly into a wall outlet. Ensure the heating indicator (W1/W2) is illuminating when heating should be active. |
| Zní alarm. | Temperature outside set alarm limits, probe abnormality. | Check the current temperature against your high/low alarm settings. If "ERR" is displayed, check probe connections. Adjust alarm limits if necessary. |
| Obrazovka je tmavá. | This model does not feature a backlit screen. | This is normal operation for this model. Use external light if needed in dark environments. |
Záruka a podpora
For warranty information and customer support, please refer to the documentation included with your purchase or contact Luxbird customer service directly. You can often find support contact details on the manufacturer's official webwebu nebo prostřednictvím prodejce, u kterého jste produkt zakoupili.
Další zdroje a informace o produktech naleznete na Luxbird Store on Amazon.


