1. Úvod
The OSRAM BATTERYcharge 5PIN portable charging cable is designed for convenient charging of electric vehicles (EVs) and plug-in hybrid vehicles (PHEVs) equipped with a Type 1 connection. This cable allows charging from a standard 2-pin 230V Schuko socket, making it suitable for use at home or on the go. This manual provides essential information for safe and effective use of your charging cable.
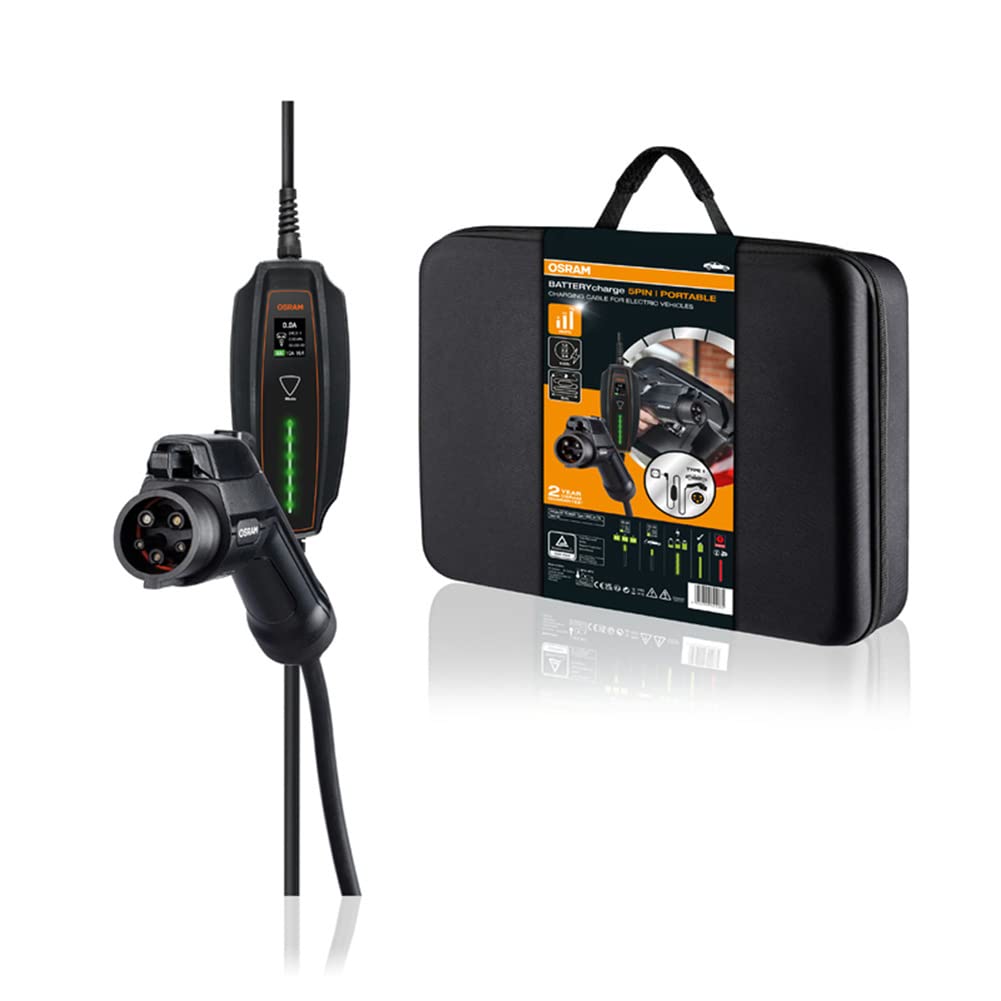
Image: The OSRAM BATTERYcharge 5PIN portable EV charging cable, displaying its main components: the Type 1 vehicle connector, the central control box, and the Schuko plug for wall outlets.
2. Bezpečnostní pokyny
Read all safety instructions carefully before using the charging cable. Failure to follow these instructions may result in electric shock, fire, or serious injury.
- Nepoužívejte the cable if it is damaged, frayed, or shows any signs of wear.
- Nepoužívejte the cable in wet conditions or immerse it in water. The cable and connectors are rated IP65 for dust and splash protection, but are not designed for submersion.
- Ensure the power outlet is properly grounded and rated for the required voltage a aktuální.
- Nenuťte the connectors into the vehicle or wall socket.
- Udržujte děti a domácí zvířata mimo dosah from the charging area during operation.
- Vždy se odpojte the cable from the vehicle first, then from the wall socket.
- Avoid using extension cords or adapters with the charging cable.
- Nepokoušejte se opravit or modify the charging cable. Contact qualified personnel for service.
3. Konec produktuview
The OSRAM BATTERYcharge 5PIN cable consists of three main components:
- Type 1 Vehicle Connector (SAE J1772): Connects to your electric vehicle's charging port.
- Ovládací skříňka: Contains the charging electronics and indicators.
- Schuko Plug (IEC TR 60083): Connects to a standard 230V wall socket.
Obrázek: Podrobný view of the Type 1 vehicle connector and the Schuko plug, highlighting their design and connection points.

Image: A close-up of the charging cable's control box, showing its display and indicator lights for charging status.
4. Nastavení
Before charging, ensure your vehicle is parked in a safe, well-ventilated area and turned off.
- Rozbalte kabel: Remove the charging cable from its storage bag.
- Inspect the cable: Visually check the entire cable, connectors, and control box for any damage. Do not use if damaged.
- Connect to power outlet: Insert the Schuko plug firmly into a standard 230V, properly grounded wall socket. The control box will power on.
- Prepare vehicle: Otevřete kryt nabíjecího portu ve vozidle.

Image: An electric car is parked, with the charging cable extending from its charging port to a wall socket, illustrating a typical setup.
5. Návod k obsluze
Pro nabití elektromobilu postupujte takto:
- Připojení k vozidlu: Insert the Type 1 vehicle connector firmly into your vehicle's charging port. Ensure it clicks into place.
- Initiate charging: The control box will automatically detect the vehicle and begin the charging process. The indicators on the control box will show the charging status.
- Nabíjení monitoru: Observe the control box indicators and your vehicle's dashboard for charging status.
- End charging: Once charging is complete, or if you need to stop charging, first disconnect the Type 1 connector from the vehicle. Most vehicles require unlocking the charging port via the car's key fob or interior button before removal.
- Disconnect from power: After disconnecting from the vehicle, unplug the Schuko plug from the wall socket.

Image: A hand holds the Type 1 connector, preparing to insert it into the electric vehicle's charging port.

Image: The Type 1 connector is securely plugged into the vehicle's charging port, indicating a successful connection.
6. Údržba
Správná údržba zajistí dlouhou životnost a bezpečný provoz vašeho nabíjecího kabelu.
- Čištění: Wipe the cable and connectors with a dry or slightly damp hadříkem. Nepoužívejte agresivní chemikálie ani abrazivní čisticí prostředky. Před použitím se ujistěte, že jsou konektory suché.
- Skladování: After use, coil the cable neatly and store it in the provided durable, compact storage bag. Store in a dry, cool place, away from direct sunlight and extreme temperatures.
- Inspekce: Regularly inspect the cable for any signs of damage, cuts, or fraying. Check the connectors for corrosion or bent pins.
- Ochrana proti prachu: Utilize the dust protection caps for the connectors when the cable is not in use.

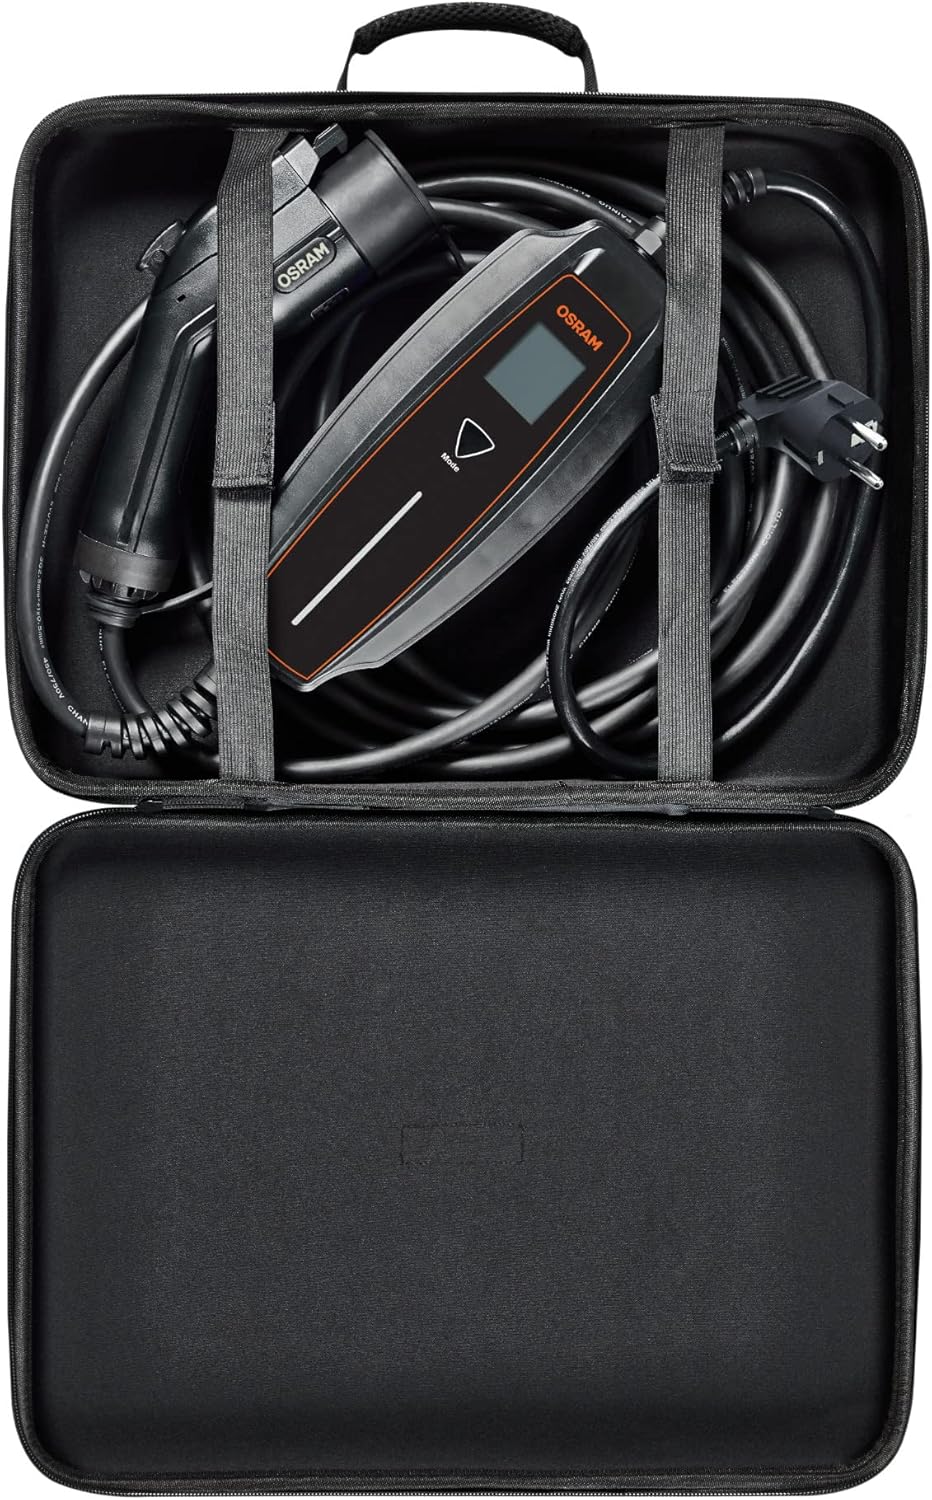
Image: The OSRAM BATTERYcharge 5PIN charging cable neatly stored inside its compact, durable carrying bag.
7. Řešení problémů
Pokud narazíte na problémy, podívejte se na následující běžné problémy a jejich řešení:
| Problém | Možná příčina | Řešení |
|---|---|---|
| Nabíjení se nespustí. | Cable not fully connected; vehicle not ready for charging; power outlet issue; cable damage. | Ensure both ends are securely connected. Check vehicle's charging settings. Test the wall socket with another appliance. Inspect cable for damage. |
| Control box indicators are off. | No power from the wall socket; cable not plugged in. | Verify the Schuko plug is fully inserted. Check the wall socket's power supply (e.g., circuit breaker). |
| Nabíjení se neočekávaně zastaví. | Vehicle fault; power interruption; overheating. | Check vehicle's dashboard for error messages. Ensure stable power supply. Allow cable to cool down if it feels hot. |
| Connector is stuck in vehicle. | Vehicle's locking mechanism engaged. | Refer to your vehicle's manual for unlocking the charging port. Typically, this involves using the key fob or an interior button. |
If the problem persists after attempting these solutions, contact OSRAM customer support.
8. Specifikace
| Funkce | Detail |
|---|---|
| Číslo modelu | OPC10A05 |
| Connector Type (Vehicle) | Typ 1 (SAE J1772) |
| Connector Type (Wall) | Schuko (IEC TR 60083) |
| Vstupní objemtage | 230V |
| Délka kabelu | 5 metrů |
| Hodnocení ochrany proti vniknutí (IP). | IP65 (odolné proti prachu a stříkající vodě) |
| Impact Resistance (IK) Rating | IK10 |
| Certifikace | TÜV, CE |
| Hmotnost položky | 5.76 libry (přibližně 2.61 kg) |
| Rozměry produktu | 216.54 x 4.72 x 5.12 palců (přibližně 550 x 12 x 13 cm) |
9. Záruka a podpora
The OSRAM BATTERYcharge 5PIN portable charging cable comes with a 2-letá záruka. For exact conditions and to register your product, please visit osram.com/am-guarantee.
For technical support, troubleshooting assistance, or warranty claims, please contact OSRAM customer service through their official webwebu nebo kontaktních informací uvedených na obalu produktu.


