1. Konec produktuview
The VEIKOUS 10' x 8' Manual Retractable Patio Awning provides shade and shelter for outdoor spaces such as patios, decks, and windows. It features a durable aluminum frame and a water-resistant polyester canopy, designed for manual operation to extend and retract as needed.
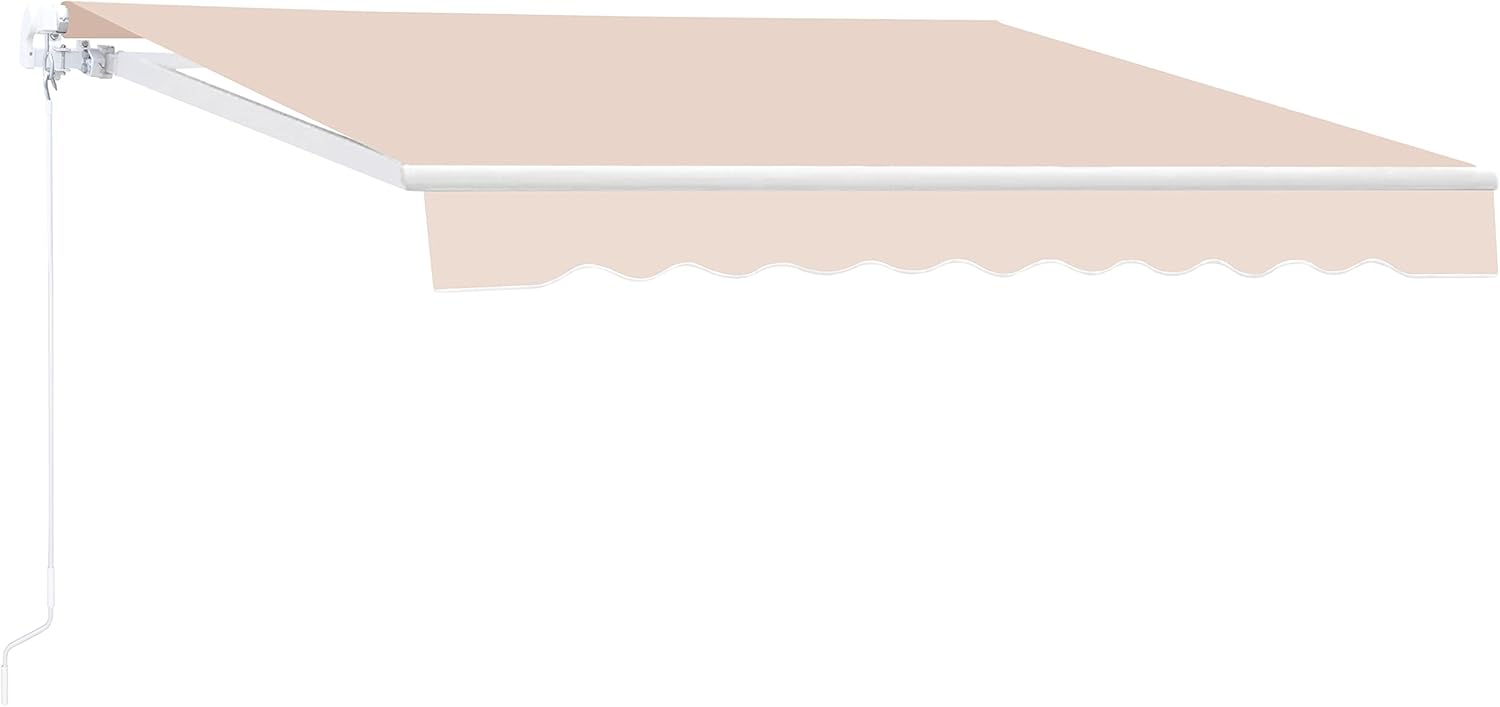
Figure 1: Isolated view of the VEIKOUS 10' x 8' Manual Retractable Patio Awning.
Klíčové vlastnosti:
- Retractable Hand Crank: Features a 59-inch hand crank for smooth manual operation, allowing easy extension and retraction of the canopy.
- Nastavitelný úhel: The awning's height and angle can be adjusted to various slopes, typically between 5° and 40°, to optimize sun or shade coverage.
- Odolná konstrukce: Constructed with a powder-coated aluminum frame for rust resistance and a thickened polyester fabric that is water-resistant, UV-resistant, and fading-resistant.
- Všestranná aplikace: Suitable for installation on various vertical wall materials including stucco, wood siding, and vinyl, making it ideal for balconies, courtyards, patios, and windows.
- Decorative Edging: Includes a decorative scalloped edging design.
2. Bezpečnostní pokyny
Please read and understand all safety instructions before installation and operation. Failure to follow these instructions may result in injury or damage to the product.
- Always ensure the awning is securely mounted to a structurally sound wall.
- Do not operate the awning in strong winds (exceeding 28 MPH) or heavy rain. Retract the awning fully during adverse weather conditions to prevent damage.
- Během provozu držte děti a domácí zvířata v dostatečné vzdálenosti od markýzy.
- Do not hang objects from the awning frame or canopy.
- Regularly inspect all mounting hardware and components for tightness and wear.
- Během instalace používejte vhodné ochranné pomůcky, jako jsou rukavice a ochrana očí.
- Pokud si nejste jisti některou částí instalačního procesu, poraďte se s kvalifikovaným odborníkem.
3. Obsah balení
Před zahájením instalace ověřte, zda jsou přítomny všechny součásti. Pokud některé součásti chybí nebo jsou poškozené, kontaktujte zákaznickou podporu.
- Awning Frame Assembly
- Látka na baldachýn
- Hand Crank (59 inches long)
- Montážní držáky
- Installation Hardware (bolts, screws, washers, etc.)
- Návod k použití
4. Nastavení a instalace
Installation requires two people. Ensure you have the necessary tools (e.g., drill, level, wrench) before starting. All required mounting hardware is included.
4.1 Site Selection and Wall Preparation
- Choose a suitable vertical wall location that can support the weight of the awning. The awning can be installed on stucco, wood siding, vinyl, and other wall materials.
- Ensure there are no obstructions (e.g., pipes, electrical wires) behind the installation area.
- The suggested installation height is 8.2 feet or higher to allow for proper clearance and angle adjustment.

Figure 2: Awning dimensions (116.5''W x 97.6''D) and suggested installation height (≥ 8.2ft).
4.2 Montáž markýzy
- Mark the desired position for the mounting brackets on the wall, ensuring they are level and spaced correctly according to the awning frame.
- Drill pilot holes for the mounting hardware. Use appropriate drill bits for your wall material.
- Securely attach the mounting brackets to the wall using the provided hardware. Ensure they are firmly tightened.
- Carefully lift the awning frame and attach it to the mounted brackets. Secure the awning to the brackets using the remaining hardware.
- Attach the hand crank mechanism to the designated side of the awning. The hand crank can only be installed on the left side.
4.3 Adjusting the Pitch Angle
The awning's pitch (angle) can be adjusted to direct shade or allow for water runoff. The adjustable range is typically between 5° and 40°.
- Locate the pitch adjustment bolts on the awning arms.
- Loosen the bolts slightly, adjust the awning to the desired angle, and then securely tighten the bolts.

Figure 3: Illustration of the 5° - 40° adjustable pitch mechanism.
5. Návod k obsluze
The VEIKOUS awning is operated manually using the provided hand crank.
5.1 Vysunutí markýzy
- Insert the hook of the hand crank into the loop on the awning's operating mechanism.
- Turn the hand crank clockwise to extend the awning. Continue turning until the awning reaches the desired extension or is fully extended.
- Do not force the crank if resistance is met.
5.2 Zasunutí markýzy
- Insert the hook of the hand crank into the loop on the awning's operating mechanism.
- Turn the hand crank counter-clockwise to retract the awning. Continue turning until the awning is fully retracted against the wall.
- Ensure the awning is fully retracted during strong winds or when not in use for extended periods.

Figure 4: Illustration of the manual hand crank operation for extending and retracting the awning.
6. Údržba
Pravidelná údržba prodlouží životnost a vzhled vaší markýzy.
6.1 Canopy Cleaning
- Clean the canopy fabric periodically with mild soap and water.
- Použijte měkký kartáč nebo houbičku k jemnému odstranění nečistot a usazenin.
- Rinse thoroughly with clean water and allow the canopy to air dry completely before retracting.
- Avoid using harsh chemicals or abrasive cleaners, as these can damage the fabric's water-resistant and UV-resistant properties.

Figure 5: Close-up of the water-resistant canopy fabric, showing water repellency.
6.2 Frame and Hardware Inspection
- Pravidelně kontrolujte utažení všech šroubů, vrutů a spojů. Utáhněte všechny uvolněné upevňovací prvky.
- Inspect the aluminum frame for any signs of damage or corrosion.
- Ensure the hand crank mechanism operates smoothly. Lubricate moving parts with a silicone-based spray if necessary.
7. Řešení problémů
Tato část se zabývá běžnými problémy, se kterými se můžete setkat u markýzy.
Awning does not extend or retract smoothly:
- Check if the hand crank is properly engaged with the operating mechanism.
- Inspect the awning arms and fabric for any obstructions or debris.
- Ujistěte se, že všechny pohyblivé části jsou čisté a namazané.
Awning sags or appears uneven:
- Verify that the mounting brackets are securely fastened to the wall and are level.
- Check the pitch adjustment bolts to ensure they are tightened and set evenly on both sides.
Hromadění vody na korunách stromů:
- Adjust the awning's pitch to a steeper angle to allow for better water runoff.
- Ensure the canopy fabric is taut and free from excessive slack.
8. Specifikace
| Funkce | Specifikace |
|---|---|
| Značka | VELKÝ |
| Model | 10'x8' |
| Celková velikost | 116.5''W x 97.6''D |
| Materiál | Aluminum (Frame), Polyester (Fabric) |
| Barva | Béžový |
| Provozní režim | Manual (Hand Crank) |
| Hand Crank Length | 59 palců |
| Adjustable Pitch | 5° - 40° |
| Odolnost proti větru | Až 28 MPH |
| Montáž Vyžadována | Ano |
| UPC | 777989001211 |
| ASIN | B093FFP2SX |
9. Záruka a podpora
For warranty information or technical support, please refer to the product packaging or contact VEIKOUS customer service directly. Keep your purchase receipt for any warranty claims.
Contact Information: Please visit the official VEIKOUS website or refer to your purchase documentation for the most current customer support details.


