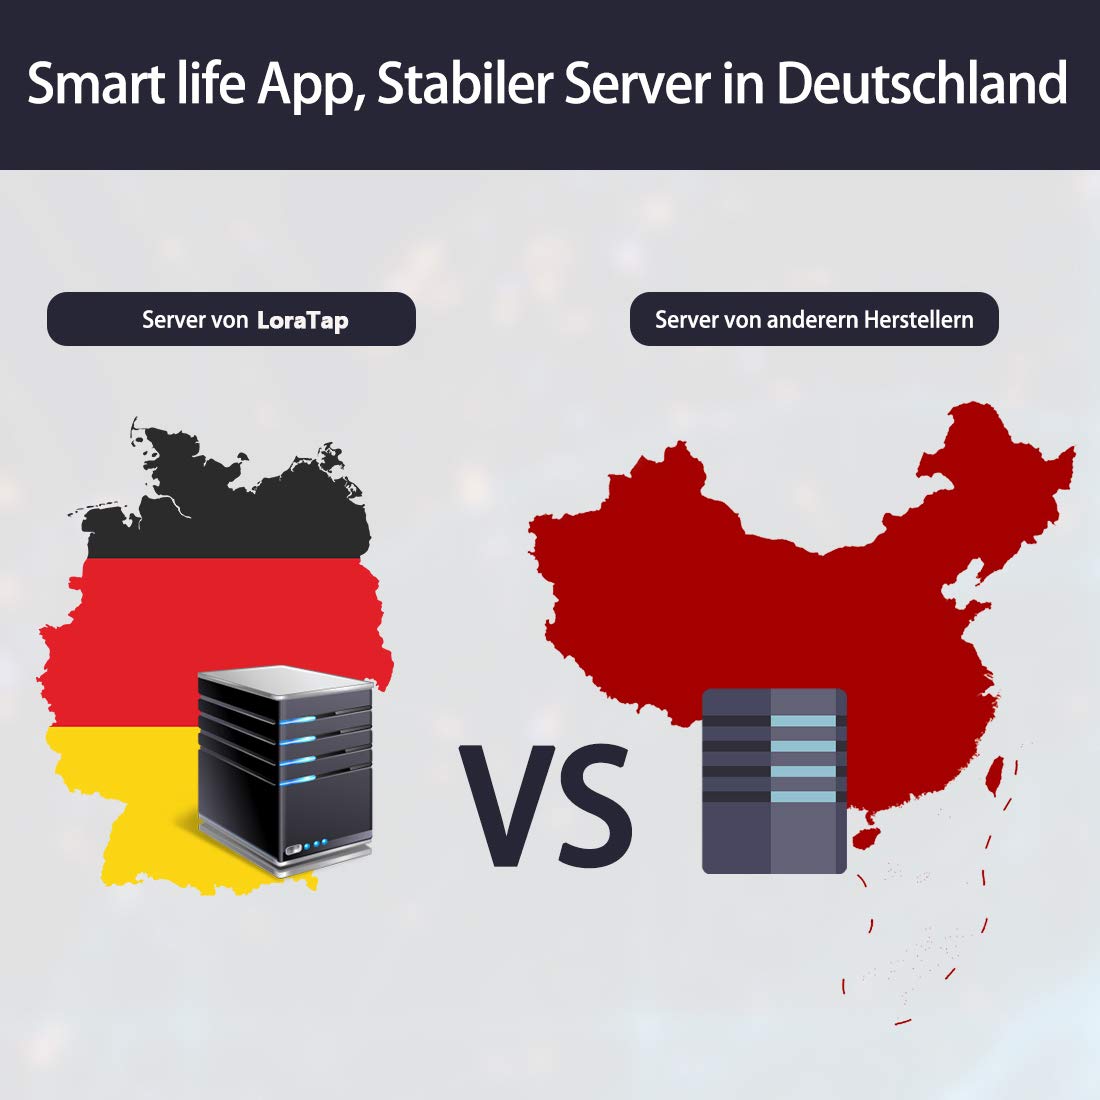
Zavedení
The LoraTap Wi-Fi Relay Receiver is a smart control module designed to integrate traditional switches and electrical appliances into your Wi-Fi smart home system. This device allows for remote control, scheduling, and voice control of connected lights, pumps, and other electrical loads, enhancing convenience and energy efficiency. It is compatible with popular smart home platforms like Google Home and operates via the Smart Life App.
Bezpečnostní informace
- Před instalací, údržbou nebo demontáží zařízení vždy odpojte napájení jističem.
- Instalaci by měl provést kvalifikovaný elektrikář nebo by měla být provedena v souladu s místními elektrotechnickými předpisy.
- Ujistěte se, že specifikace zařízení (objemtage, current, load) are compatible with your electrical system.
- Nevystavujte zařízení vlhkosti nebo extrémním teplotám.
- Uchovávejte mimo dosah dětí.
Specifikace
| Funkce | Detail |
|---|---|
| Vstupní objemtage | 100-250VAC, 50/60Hz |
| Výstupní objemtage | 100-250VAC, 50/60Hz |
| Maximální zatížení | 10A (2300 Watts) |
| Číslo modelu | AK3-AT1-GL-M-X |
| Rozměry | 8.1 x 7.3 x 3.4 cm; 100 grams (Package) |
| Typ konektoru | Rychlé připojení |
| Kontaktní materiál | Copper or Silver |
| Typ kontaktu | Normálně otevřeno |
| Typ montáže | Povrchová nebo zapuštěná montáž |
| Provozní režim | Automatický |
Nastavení a instalace
Before beginning installation, ensure the main power supply is turned off at the circuit breaker to prevent electrical shock.
1. Fyzická instalace a zapojení

Popis obrázku: This image displays the LoraTap Wi-Fi Relay Receiver module. It shows the 'Input' terminals (L for Live, N for Neutral) and 'Output' terminals (N for Neutral, L for Live/Load) clearly labeled. An antenna is visible on top, and regulatory marks (FCC, CE, RoHS) are printed on the device. The module is compact, designed for integration into existing electrical setups.

Popis obrázku: This image illustrates the compact size of the LoraTap Wi-Fi Relay Receiver (48mm x 42mm x 23mm) compared to a larger, older module. Below, it shows the module being installed inside a standard electrical wall box, demonstrating how it connects to the existing wiring for a light switch. The blue wire represents neutral, and the brown wire represents live, connecting to the module's input and output terminals.

Popis obrázku: This diagram provides step-by-step visual instructions for wiring the LoraTap Wi-Fi Relay Receiver. It shows how to connect the Live (L) and Neutral (N) input wires to the module, and then connect the module's output (N and L) to the lamp or load. The diagram also depicts the process of removing a wall plate, installing the module behind a switch, and securing it. It emphasizes the importance of correct wiring for safe and functional operation.
- Turn off the power at the circuit breaker for the circuit you will be working on.
- Open the electrical box or switch housing where you intend to install the module.
- Identify the Live (L) and Neutral (N) wires for the input power supply.
- Connect the input Live (L) and Neutral (N) wires to the corresponding 'Input' terminals on the LoraTap module.
- Connect the Neutral (N) and Live/Load (L) wires leading to your appliance (e.g., lamp) to the corresponding 'Output' terminals on the LoraTap module.
- Ensure all connections are secure. The module is designed for both surface and flush mounting.
- Carefully place the module inside the electrical box, ensuring no wires are pinched.
- Obnovte napájení na jističi.
2. Párování a konfigurace aplikací
The LoraTap Wi-Fi Relay Receiver uses the Smart Life App for control and configuration.
- Stáhněte si aplikaci „Smart Life“ z obchodu s aplikacemi pro váš chytrý telefon (iOS nebo Android).
- Zaregistrujte se nebo se přihlaste ke svému účtu Smart Life.
- Ensure your smartphone is connected to a 2.4GHz Wi-Fi network (5GHz networks are not supported for initial pairing).
- V aplikaci klepněte na „+“ nebo „Přidat zařízení“.
- Follow the in-app instructions to put the device into pairing mode. This usually involves pressing a button on the module or cycling its power. The indicator light on the module will typically flash rapidly.
- Select the device type (e.g., 'Switch' or 'Electrical'). The app should automatically detect the LoraTap module.
- Po zobrazení výzvy zadejte heslo k síti Wi-Fi.
- Once successfully paired, you can rename the device for easier identification (e.g., 'Living Room Light').
Návod k obsluze
1. Remote Control via Smart Life App

Popis obrázku: This image showcases various features of the Smart Life App for controlling the LoraTap module. It highlights 'Remote Control' allowing operation from anywhere, 'Create Schedules' for automated on/off times, and 'Countdown Function' for temporary operation. The app interface displays options for setting timers and managing connected devices.
- Otevřete na svém smartphonu aplikaci Smart Life.
- Select the LoraTap module you wish to control from the device list.
- Klepnutím na ikonu napájení zapnete nebo vypnete připojený spotřebič.
2. Plánování a časovače
- Within the device control interface in the Smart Life app, navigate to the 'Schedule' or 'Timer' section.
- You can set one-time, daily, or weekly schedules for the device to turn on or off automatically.
- Use the 'Countdown' function to set a specific duration after which the device will turn off.
3. Voice Control (Google Home / Amazon Alexa)

Popis obrázku: This image shows a man holding a child in a kitchen, with a voice assistant speaker (Alexa) and a Google Home speaker depicted alongside the LoraTap module. The text indicates 'Voice Control' and shows an example command: "Alexa, turn on the light in the kitchen." This illustrates the seamless integration of the LoraTap module with popular voice assistant platforms for hands-free control.
- Ensure your LoraTap module is successfully paired with the Smart Life app.
- Open your Google Home or Amazon Alexa app.
- Link your Smart Life account within the Google Home/Alexa app's 'Skills' or 'Works with Google' section.
- Discover new devices. Your LoraTap module should appear.
- You can now control the device using voice commands, e.g., "Hey Google, turn on Living Room Light" or "Alexa, turn off Kitchen Lamp."
4. Skupinová kontrola
Popis obrázku: This image demonstrates the group control functionality within the Smart Life App. It shows a single smartphone controlling multiple LoraTap modules simultaneously, indicating that one app can manage several receivers. Conversely, it also illustrates that multiple smartphones can control a single LoraTap receiver, allowing shared access for family members. The app interface displays a power button and timer options for each device.
- In the Smart Life app, you can create groups of devices to control multiple LoraTap modules simultaneously.
- This allows you to turn on/off all lights in a room or area with a single command or tap.
Údržba
- The LoraTap Wi-Fi Relay Receiver requires minimal maintenance.
- Ensure the device is kept clean and free from dust. Disconnect power before cleaning.
- Pravidelně kontrolujte těsnost kabelových spojů, zejména po počáteční instalaci.
- Avoid exposing the device to direct sunlight or extreme heat, which can affect its lifespan.
Odstraňování problémů
- Zařízení nereaguje: Check if the power supply to the module is active. Verify your Wi-Fi network is operational and your smartphone has internet access. Ensure the module is within Wi-Fi range.
- Nelze spárovat: Confirm your Wi-Fi network is 2.4GHz. Ensure the module is in pairing mode (indicator light flashing rapidly). Try resetting the module by cycling its power or holding the pairing button (if available) for several seconds.
- Hlasové ovládání nefunguje: Confirm the Smart Life account is correctly linked in your Google Home or Alexa app. Ensure the device name is recognized by the voice assistant. Try re-discovering devices in the voice assistant app.
- Přerušované připojení: This may indicate a weak Wi-Fi signal. Consider moving your Wi-Fi router closer or using a Wi-Fi extender.
- Zařízení offline v aplikaci: Check your home Wi-Fi network. If the network is down, the device will appear offline. If the network is up, try restarting the module by turning off and on its power supply.
Záruka
LoraTap offers a lifetime quality guarantee for all its products. For warranty claims or service, please retain your proof of purchase.
Podpora
For further assistance, technical support, or inquiries, please refer to the contact information provided with your product packaging or visit the official LoraTap webmísto.


