1. Úvod
Thank you for choosing the La Crosse Technology WS6825 Weather Station. This device provides accurate indoor and outdoor temperature and humidity readings, along with a weather forecast, time, and date. This manual will guide you through the setup, operation, and maintenance of your new weather station to ensure optimal performance.
The WS6825 features a clear, colorful display and includes three wireless outdoor sensors for comprehensive environmental monitoring.
2. Obsah balení
Please ensure all components are present before proceeding with the setup:
- 1 x Display Unit (Main Station)
- 3 x Temperature/Humidity Sensors (Wireless Outdoor Sensors)
- 1 x USB Cable (for optional power)
- 1 x Návod k obsluze (tento dokument)

Image 1: La Crosse Technology WS6825 Weather Station with main display unit and three wireless outdoor sensors.
3. Konec produktuview
3.1 Hlavní zobrazovací jednotka
The main display unit shows all collected data, including indoor and outdoor temperatures, humidity, time, date, and weather forecast. It features a color screen for easy readability and several control buttons.
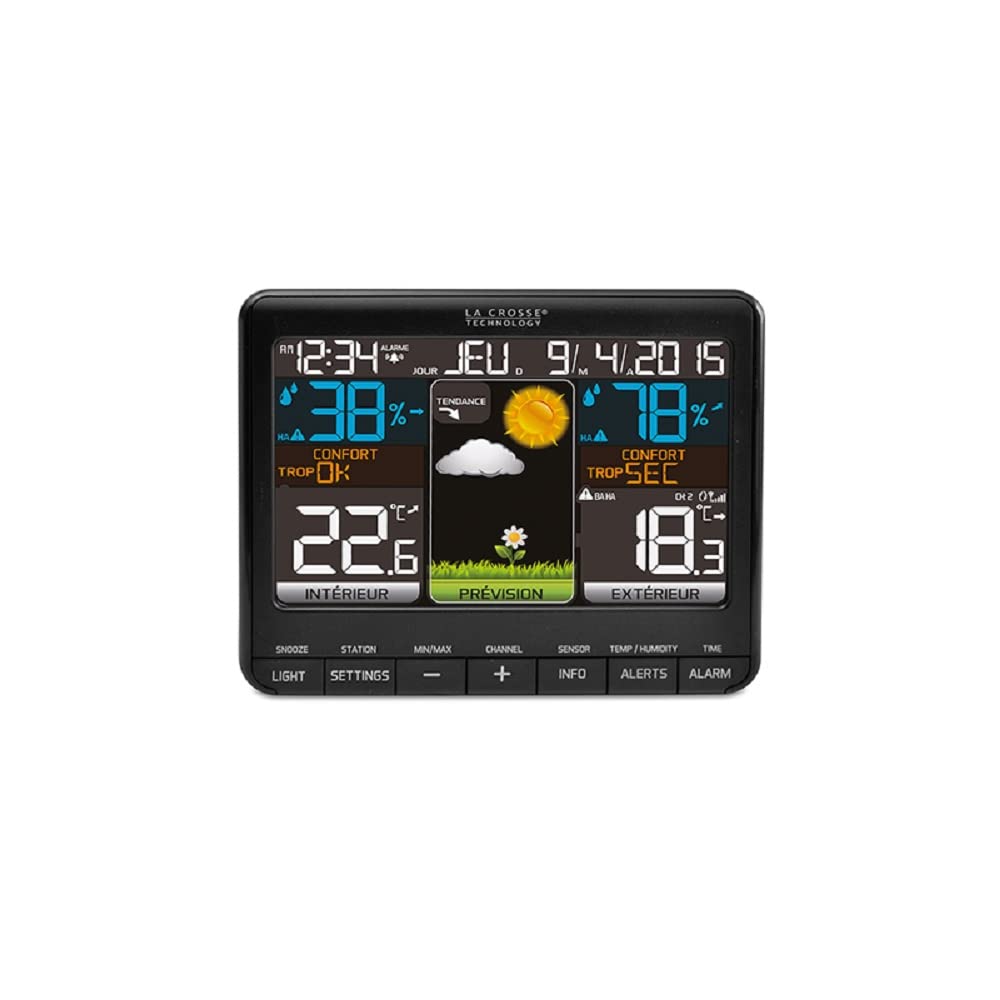
Obrázek 2: Detail view of the WS6825 main display unit, illustrating various data points.
3.2 Bezdrátové venkovní senzory
The three wireless sensors transmit temperature and humidity data to the main unit via 433 MHz radio frequency. Each sensor can be placed in a different location to monitor various outdoor conditions.
3.3 Ovládací tlačítka
The main unit features several buttons for configuration and data access:
- SNOOZE/LIGHT: Aktivuje odložení budíku nebo upravuje podsvícení.
- NASTAVENÍ: Enters setup mode for time, date, and other preferences.
- MIN / MAX: Displays minimum and maximum recorded values.
- , Adjusts values during setup or navigates channels.
- KANÁL: Switches between data from different outdoor sensors.
- SENZOR: Manually searches for outdoor sensors.
- INFO: Displays additional information like heat index or dew point.
- UPOZORNĚNÍ: Sets temperature/humidity alerts.
- POPLACH: Sets and activates time alarms.
4. Nastavení
4.1 Napájení hlavní jednotky
- Insert 3 AAA batteries (not included) into the main display unit, observing polarity.
- Alternatively, connect the provided USB cable to the main unit and a power adapter (not included) for continuous power.
- The display will light up and begin searching for sensors.
4.2 Installing Batteries in Outdoor Sensors
- Open the battery compartment on each of the three outdoor sensors.
- Insert 2 AA batteries (not included) into each sensor, observing polarity.
- Přihrádky na baterie bezpečně uzavřete.
4.3 Párování senzorů
The main unit should automatically detect and pair with the outdoor sensors once they are powered on. If pairing does not occur within a few minutes:
- Ensure the sensors are within range (up to 100 meters in open air).
- Stiskněte tlačítko SENZOR button on the main unit to initiate a manual search.
- On each outdoor sensor, there is a small reset button (often labeled 'TX' or 'RESET'). Press this button to force a signal transmission.
4.4 Počáteční nastavení (čas, datum, jednotky)
- Stiskněte a podržte NASTAVENÍ tlačítko pro vstup do režimu nastavení.
- Použijte +/- buttons to adjust values (e.g., hour, minute, year, month, day).
- Stiskněte NASTAVENÍ znovu pro potvrzení každého nastavení a přechod k dalšímu.
- You can typically set 12/24-hour format, Celsius/Fahrenheit units, and language preference during this process.
- Exit setup mode by pressing NASTAVENÍ repeatedly until the normal display returns, or wait for it to time out.
4.5 Umístění snímače
Pro přesné venkovní měření zvažte následující:
- Place sensors in a shaded area, away from direct sunlight, to prevent inaccurate temperature readings.
- Ensure sensors are protected from direct rain or snow.
- Mount sensors vertically to allow for proper drainage.
- Avoid placing sensors near large metal objects, electrical appliances, or sources of heat/cold that could interfere with readings or transmission.
- Keep sensors within the effective transmission range of the main unit.
5. Obsluha meteorologické stanice
5.1 Zobrazení informací
The display is divided into several sections, showing:
- Čas a datum: Aktuální čas, den v týdnu a datum.
- Vnitřní podmínky: Vnitřní teplota a vlhkost.
- Venkovní podmínky: Outdoor temperature and humidity from the selected sensor.
- Předpověď počasí: Ikony představující předpovědi počasí (např. slunečno, oblačno, deštivo).
- Úroveň pohodlí: An indicator of indoor comfort based on temperature and humidity.
- Trendové indikátory: Arrows showing if temperature or humidity is rising, falling, or stable.
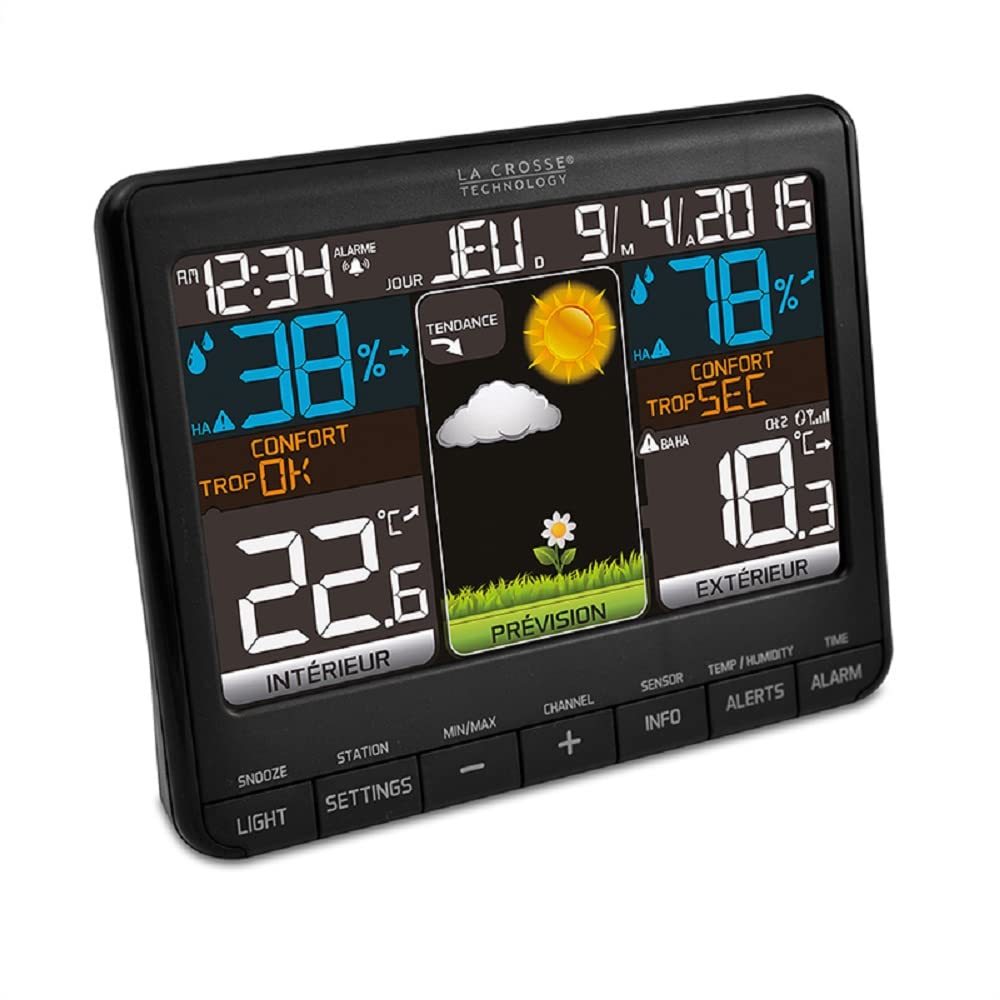
Obrázek 3: Úhlové view of the WS6825 display, showing the clear segmentation of information.
5.2 ViewVíce venkovních senzorů
Stiskněte tlačítko KANÁL button to cycle through the readings from the three connected outdoor sensors (CH1, CH2, CH3). The display will indicate which channel's data is currently shown.
5.3 Minimum/Maximum Readings
Stiskněte tlačítko MIN / MAX tlačítko na view the highest and lowest recorded indoor and outdoor temperatures and humidity levels since the last reset. Press again to cycle through MIN, MAX, and current readings. To reset the MIN/MAX values, press and hold the MIN / MAX tlačítko, zatímco viewing.
5.4 Nastavení alarmů
- Stiskněte tlačítko POPLACH tlačítko na view čas budíku.
- Stiskněte a podržte POPLACH tlačítko pro vstup do režimu nastavení budíku.
- Použijte +/- tlačítky pro nastavení hodin a minut.
- Stiskněte POPLACH pro potvrzení každého nastavení.
- Stiskněte POPLACH once more to activate or deactivate the alarm (an alarm icon will appear/disappear).
5.5 Upozornění na teplotu/vlhkost
The station may support setting high/low alerts for temperature and humidity. Refer to the on-screen prompts or the NOTIFIKACE button functionality for detailed instructions on setting these thresholds.
6. Údržba
6.1 Výměna baterie
- Vyměňte baterie v hlavní jednotce a senzorech, když se na displeji zobrazí indikátor slabé baterie.
- Always replace all batteries in a unit at the same time with new batteries of the same type.
- Staré baterie zlikvidujte zodpovědně v souladu s místními předpisy.
6.2 Čištění
Otřete displej a senzory měkkým hadříkemamp hadříkem. Nepoužívejte abrazivní čisticí prostředky ani rozpouštědla, protože by mohly poškodit povrchy nebo elektronické součástky.
6.3 Environmentální hlediska
Periodically check the placement of your outdoor sensors to ensure they remain protected from extreme weather and are still providing accurate readings. Clear any debris that may accumulate around the sensors.
7. Řešení problémů
| Problém | Možné řešení |
|---|---|
| Žádné údaje o venkovní teplotě/vlhkosti. |
|
| Nepřesné údaje o teplotě/vlhkosti. |
|
| Displej je prázdný nebo tmavý. |
|
| Čas/datum je nesprávný. |
|
8. Specifikace
| Funkce | Detail |
|---|---|
| Číslo modelu | WS6825BLA+2 |
| Značka | Technologie La Crosse |
| Rozměry produktu | 15 x 4.2 x 12.3 cm (hlavní jednotka) |
| Hmotnost | 0.3 g (hlavní jednotka) |
| Rozsah vnitřní teploty | 0 °C až 50 °C (32 °F až 122 °F) |
| Rozsah venkovních teplot | -40 °C až 60 °C (-40 °F až 140 °F) |
| Rozsah vnitřní vlhkosti | 1 % až 99 % RH |
| Rozsah venkovní vlhkosti | 1 % až 99 % RH |
| Technologie připojení | Rádiová frekvence (433 MHz) |
| Zdroj napájení (hlavní jednotka) | Battery Powered (3x AAA, not included) or USB Cable |
| Zdroj energie (senzory) | Battery Powered (2x AA per sensor, not included) |
| Materiál | Kunststoff (plast) |
| Speciální funkce | Color Display, Time & Date, Alarm with Snooze, Calendar, Min/Max Records, Trend Indicators, Weather Forecast, Comfort Level, Heat Index, Dew Point |
9. Záruka a podpora
Produkty La Crosse Technology jsou navrženy pro spolehlivost a výkon. Konkrétní informace o záruce naleznete v záruční kartě, která byla přiložena k nákupu, nebo navštivte oficiální webové stránky La Crosse Technology. website. If you encounter any issues not covered in this manual, please contact La Crosse Technology customer support for assistance.
Uschovejte si prosím doklad o koupi pro případné reklamace.


