1. Konec produktuview
The myTouchSmart Plug-in SunSmart™ Outdoor/Indoor Timer is designed to simplify your routine and enhance home security by automating lighting and appliance schedules. This versatile digital timer is compatible with various bulb types, including LED, CFL, incandescent, and halogen, making it suitable for a wide range of applications both indoors and outdoors.

Figure 1: myTouchSmart 33862 Digital Timer. This image displays the timer unit alongside its packaging, highlighting its main features such as custom scheduling, weather resistance, and battery backup for settings.
Mezi klíčové vlastnosti patří:
- Programovatelné rozvrhy: Set custom ON/OFF times or utilize simple daily presets.
- SunSmart™ Technology: Automatically adjusts ON/OFF times based on local sunrise and sunset.
- Countdown Feature: Customizable countdown from one minute to 24 hours.
- Odolné vůči počasí: Durable design suitable for both outdoor and indoor use.
- Bateriová záloha: Zachovává nastavení během výpadku napájenítagnebo když je odpojen od sítě.
- Dvojitě uzemněné zásuvky: Supports multiple plug-in devices.
- LED kontrolky: Blue LEDs indicate active settings.
- Široká kompatibilita: Works with LED, CFL, incandescent, and halogen bulbs, including dimmable LED/CFL.
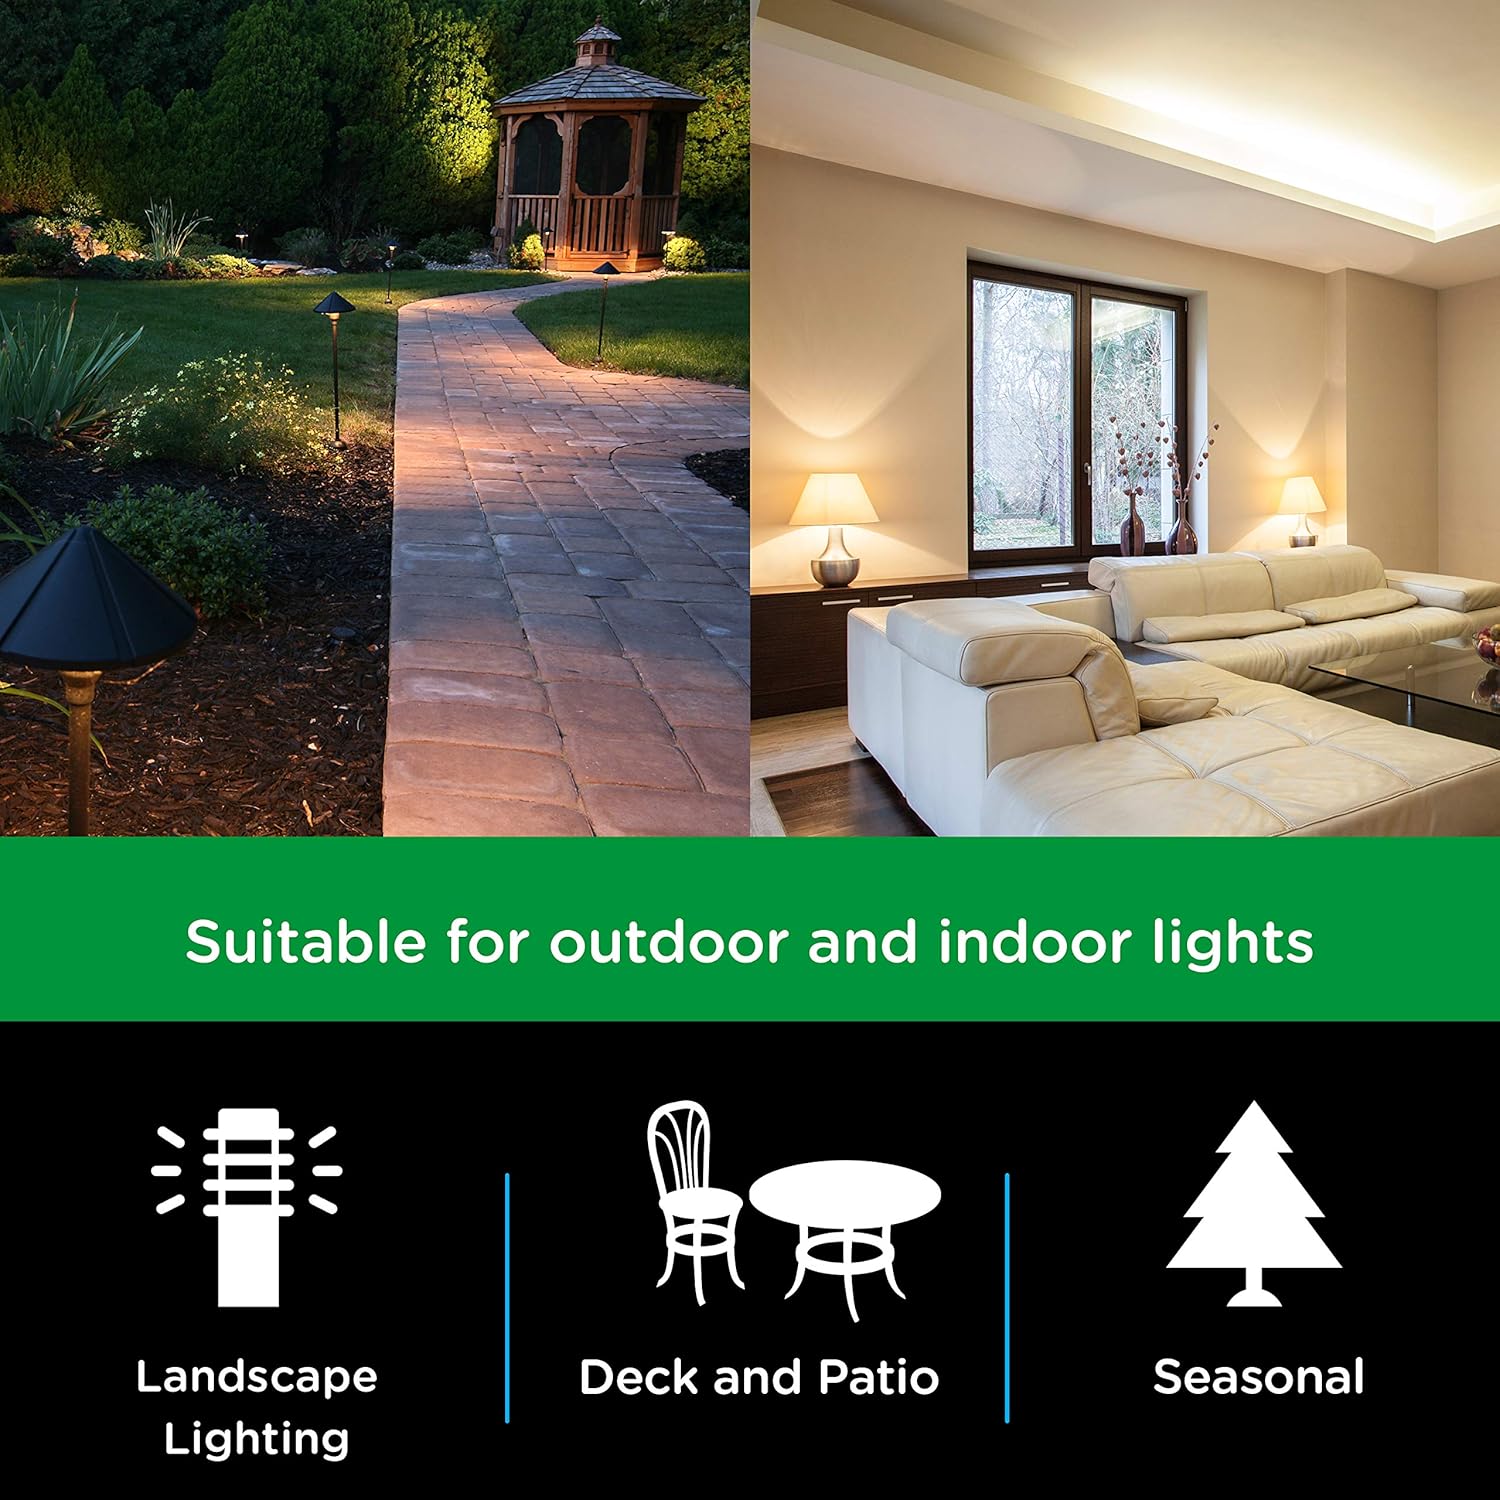
Figure 2: Versatile Application. This image illustrates the timer's suitability for various lighting applications, including landscape, deck and patio, and seasonal decorations.

Figure 3: Bulb Compatibility. This image confirms the timer's compatibility with LED, CFL, Incandescent, and Halogen bulb types.
2. Pokyny k nastavení
Follow these steps to set up your myTouchSmart Digital Timer:
- Plug In the Timer: Insert the timer into a grounded 125V 50/60Hz outlet. For outdoor use, ensure the outlet is GFCI protected and the timer is mounted securely using the built-in options.
- Nastavit aktuální čas:
- Stiskněte tlačítko HODINY button. The display will show the current time setting.
- Použijte NAHORU (▲) or DOLŮ (▼) buttons to adjust the hour. Press and hold for faster adjustment.
- Stiskněte SOUBOR pro přechod na nastavení minut. Použijte NAHORU (▲) or DOLŮ (▼) tlačítka.
- Stiskněte SOUBOR znovu pro potvrzení a ukončení nastavení času.
- Počáteční poplatek: Allow the timer to charge for at least 30 minutes before programming to ensure the battery backup is fully functional.

Figure 4: Simple Setup Guide. This image visually guides the user through the initial setup process, including setting the current time and programming ON/OFF schedules.
3. Návod k obsluze
The myTouchSmart timer offers several programming options to suit your needs:
3.1. Setting Custom ON/OFF Times (My ON/My OFF)
You can program up to 8 custom ON/OFF times for specific days or combinations of days.
- Stiskněte tlačítko MY ON TIME button to set an ON time. The display will show "ON" and the current program number.
- Použití NAHORU (▲) or DOLŮ (▼) pro nastavení hodiny, poté SOUBOR přejít na minuty.
- Stiskněte SOUBOR to select the day(s) of the week for this program. Use NAHORU (▲) or DOLŮ (▼) to cycle through options (e.g., everyday, weekdays, weekends, specific days).
- Repeat steps 1-3 for the corresponding MY OFF TIME button. Ensure the ON and OFF times are for the same program number.
- Stiskněte SOUBOR pro uložení programu.
3.2. SunSmart™ Programming (Sunset ON/Sunrise OFF)
This feature automatically adjusts to local sunrise and sunset times.
- Stiskněte tlačítko SUNSET ON button to activate the timer at sunset.
- Stiskněte tlačítko SUNRISE OFF button to deactivate the timer at sunrise.
- The timer uses your set current time to determine your region's sunrise/sunset.
3.3. Evening Preset
This preset turns the timer ON at sunset and OFF at 12:00 AM.
- Stiskněte tlačítko EVENING ON - 12AM button to activate this preset.
3.4. Odpočítávací časovač
Set a custom countdown for the timer to turn OFF after a specified duration (1 minute to 24 hours).
- Stiskněte tlačítko MY EXTRA PROGRAMS button until "CD" (Countdown) appears.
- Použití NAHORU (▲) or DOLŮ (▼) pro nastavení požadované doby odpočítávání.
- Stiskněte SOUBOR pro zahájení odpočítávání.

Figure 5: Programming Options. This image details the different scheduling capabilities of the timer, such as custom ON/OFF times, automatic sunrise/sunset adjustments, and evening presets.
4. Údržba
To ensure optimal performance and longevity of your myTouchSmart Digital Timer, follow these maintenance guidelines:
- Čištění: Disconnect the timer from the power outlet before cleaning. Use a soft, dry cloth to wipe the exterior. Do not use harsh chemicals or abrasive cleaners.
- Podmínky prostředí: While weather-resistant, avoid submerging the timer in water or exposing it to extreme temperatures beyond its operating range.
- Skladování: If storing the timer for an extended period, unplug it and keep it in a cool, dry place.
- Bateriová záloha: The internal battery is designed to maintain settings during power interruptions. No user maintenance is required for the battery.

Figure 6: Weather Resistance. This image highlights the timer's weather-resistant design, making it suitable for outdoor environments.
5. Řešení problémů
If you encounter issues with your myTouchSmart Digital Timer, refer to the following common problems and solutions:
| Problém | Možná příčina | Řešení |
|---|---|---|
| Timer not turning ON/OFF at programmed times. | Incorrect time setting, program not activated, or conflicting programs. | Verify the current time is set correctly. Ensure the desired program (My ON/OFF, SunSmart, Evening) is active. Check for overlapping or conflicting schedules. |
| Displej je prázdný nebo nereaguje. | No power to the outlet or internal battery depleted. | Check if the outlet has power. Ensure the timer is fully plugged in. Allow the timer to charge for 30 minutes to activate the internal battery backup. |
| Settings lost after unplugging or power outage. | Internal battery backup not charged. | Plug the timer into an active outlet for at least 30 minutes to charge the internal battery. This battery retains settings during power interruptions. |
| Časovač nereaguje na stisknutí tlačítek. | Dočasná softwarová závada. | Unplug the timer from the outlet for a few seconds, then plug it back in to reset. Reprogram if necessary. |
6. Specifikace
Detailed technical specifications for the myTouchSmart 33862 Digital Timer:
- Číslo modelu: 33862
- Barva: Black Dual Outlet - Sunsmart
- Materiál: Plast
- Rozměry produktu: 2"H x 3"Š x 6"V (5.08 cm H x 7.62 cm Š x 15.24 cm V)
- Hmotnost položky: 0.6 libry (9.6 unce / 272 gramů)
- Počet nastavení: 8 (custom programs)
- Elektrické hodnocení: 125V~ 50/60Hz, 15A 1875W General Purpose/Resistive, 10A 1250W Tungsten, 1/2HP
- Kompatibilita: LED, CFL, Incandescent, Halogen bulbs (including dimmable LED/CFL)
- certifikace: CSA

Figure 7: Product Dimensions. This diagram provides precise measurements of the timer unit, including its height, width, depth, and cord length.
7. Informace o záruce
This myTouchSmart Digital Timer is covered by a 1letá omezená záruka from the date of purchase. This warranty covers defects in material and workmanship under normal use. For warranty claims or further details, please contact customer support.
8. Podpora
For additional assistance, technical support, or to inquire about replacement parts, please visit the official myTouchSmart website or contact their customer service department. Keep your product model number (33862) and purchase information readily available when seeking support.
Podrobnější informace naleznete také v oficiální uživatelské příručce ve formátu PDF: myTouchSmart 33862 User Manual (PDF)


