1. Konec produktuview
The Intermatic ST01 is a versatile 7-day heavy-duty programmable timer designed for a wide range of applications. It allows users to set precise ON/OFF schedules for electrical loads, offering convenience and energy savings. This timer is suitable for 120-277 VAC systems and can handle up to 15A, making it ideal for controlling lighting, fans, pumps, and other heavy-duty electrical equipment.
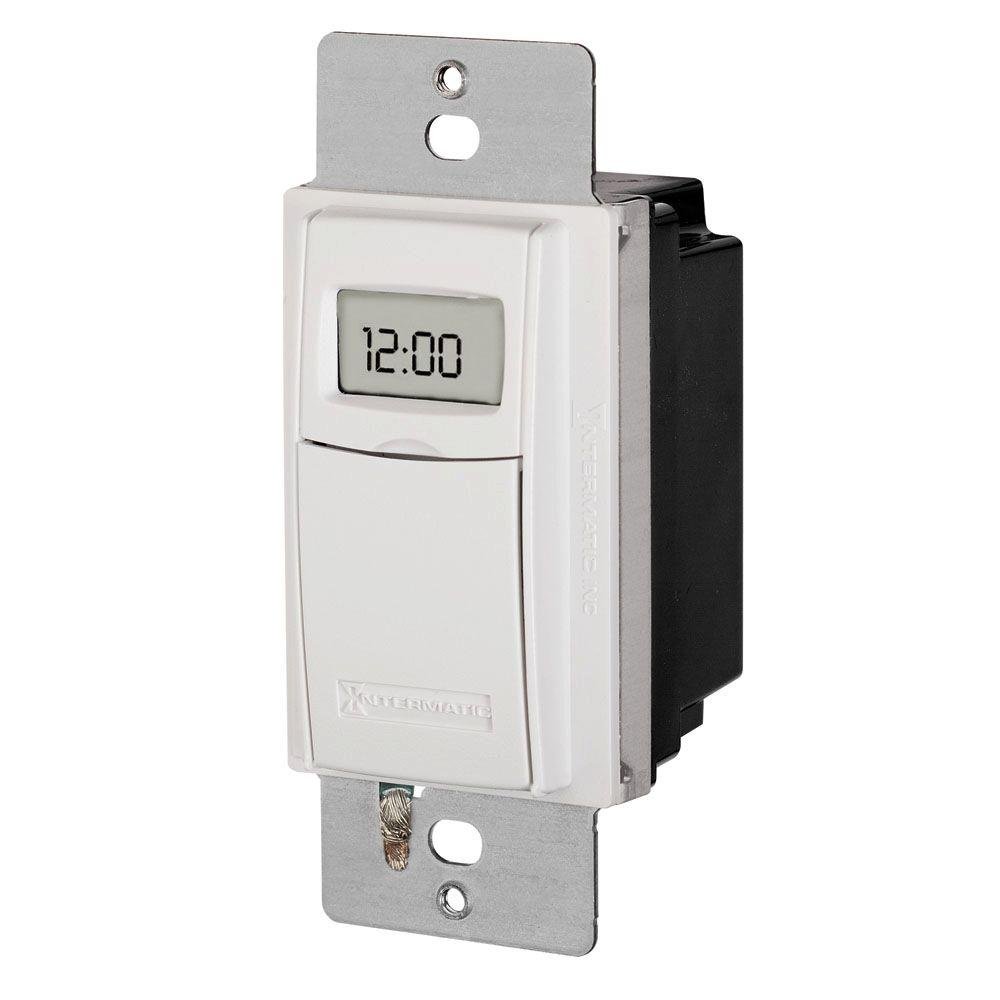
Obrázek 1: Přední strana view of the Intermatic ST01 Programmable Timer, showing its digital display and white finish.
2. Důležité bezpečnostní pokyny
Před instalací nebo provozem tohoto časovače si prosím přečtěte a pochopte všechny pokyny. Nedodržení těchto pokynů může vést k úrazu elektrickým proudem, požáru nebo vážnému zranění.
- Odpojit napájení: Před instalací nebo servisem časovače vždy vypněte napájení jističem nebo pojistkovou skříňkou.
- Kvalifikovaný elektrikář: Installation should be performed by a qualified electrician or trained personnel in accordance with all national and local electrical codes.
- Pouze pro vnitřní použití: This device is intended for indoor use in dry locations only. Do not expose to rain or moisture.
- Správné zapojení: Ensure all wiring connections are secure and correctly matched to the terminal markings. A neutral wire is required for operation.
- Kapacita zatížení: Do not exceed the maximum electrical ratings of the timer (15A, 120-277 VAC).
- Základy: Ensure the timer is properly grounded.
3. Obsah balení
Před zahájením instalace ověřte, zda jsou všechny komponenty přítomny:
- Intermatic ST01 7-Day Heavy-Duty Programmable Timer
- Návod k použití
- Mounting Screws (typically included with wall plate, not explicitly listed in product data)
4. Klíčové vlastnosti
- 7denní programovatelnost: Allows for different schedules on each day of the week.
- Heavy-Duty Rating: Capable of controlling loads up to 15 Amperes.
- Wide Voltage Rozsah: Operates on 120-277 VAC.
- Digitální displej: Clear and easy-to-read digital time and program display.
- Ruční ovládání: Provides temporary or permanent manual control over programmed settings.
- Automatické nastavení letního času: Simplifies time changes.
- Bateriová záloha: Retains program settings during power outages.
5. Technické specifikace
| Specifikace | Hodnota |
|---|---|
| Číslo modelu | ST01 |
| svtage | 120-277 VAC |
| Aktuální hodnocení | 15 Amperes |
| Rozměry produktu | 2.3 x 4.9 x 3 palce |
| Hmotnost položky | 0.01 uncí |
| Barva | Bílý |
| Materiál | Plast |
| Počet nastavení | 3 (This refers to modes, not programs) |
6. Instalační příručka
This section provides general guidelines for installing the Intermatic ST01 timer. For detailed wiring diagrams and specific instructions, refer to the diagram included with your product packaging or consult a qualified electrician.
6.1. Příprava
- Turn off power to the circuit at the main service panel (breaker or fuse box).
- Ujistěte se, že je napájení vypnuté, otestováním obvodu pomocítage tester.
- Remove the existing wall switch or cover plate.
6.2. Zapojení
The ST01 timer requires a neutral wire for operation. Identify the Line (hot), Load, and Neutral wires in your electrical box. The timer typically has corresponding colored wires or marked terminals.
- Připojte Linka (horká) wire from the electrical box to the designated Line terminal/wire on the timer.
- Připojte Zatížení wire (to the light/appliance) from the electrical box to the designated Load terminal/wire on the timer.
- Připojte Neutrální wire from the electrical box to the designated Neutral terminal/wire on the timer.
- Připojte Země wire from the electrical box to the ground screw on the timer or electrical box.
- K zajištění všech spojů použijte drátěné matice.
6.3. Montáž
- Opatrně zasuňte kabelový časovač do nástěnné krabice.
- Secure the timer to the wall box using the provided mounting screws.
- Attach the decorative wall plate (not included) over the timer.
- Obnovte napájení na jističi.
7. Návod k obsluze
Once installed and powered, the timer's display will activate. Follow these steps for initial setup and programming.
7.1. Initial Setup: Setting Current Time and Date
- Stiskněte tlačítko "CLOCK" knoflík. Začnou blikat číslice hodin.
- Použijte "HODINA" a "MINUTA" tlačítky pro nastavení aktuální hodiny a minuty.
- Stiskněte tlačítko "DAY" tlačítko pro nastavení aktuálního dne v týdnu.
- Stiskněte "CLOCK" znovu uložte a ukončete.
7.2. Programming ON/OFF Schedules
The ST01 allows for multiple ON/OFF programs per day. Refer to the specific button layout on your device for exact programming steps, as these can vary slightly.
- Stiskněte tlačítko "PROG" tlačítko. Na displeji se zobrazí „1 ZAP“.
- Použití "HODINA" a "MINUTA" tlačítky nastavte požadovaný čas zapnutí pro program 1.
- Stiskněte "DAY" to select the days of the week for this program (e.g., Mon-Fri, Sat-Sun, or individual days).
- Stiskněte "PROG" znovu. Na displeji se zobrazí „1 VYP“.
- Set the desired OFF time for program 1 using "HODINA" a "MINUTA" tlačítka.
- Opakujte kroky 3–5 pro další programy (2 ZAP/VYP, 3 ZAP/VYP atd.).
- Stiskněte tlačítko "CLOCK" button to exit programming mode and return to normal operation.
7.3. Ruční ovládání
The timer typically features a manual override button (often labeled "MANUAL" or "ON/OFF").
- Dočasné přepsání: Pressing the manual button usually toggles the current state (ON to OFF, or OFF to ON) until the next programmed event.
- Trvalé přepsání: Some models allow holding the button or pressing it multiple times to enter a permanent ON or OFF state, overriding all programs until manually changed again. Consult your device's specific instructions for this feature.
8. Údržba
The Intermatic ST01 timer is designed for long-term, maintenance-free operation. However, a few simple steps can ensure its longevity:
- Čištění: Povrch otřete měkkým, suchým hadříkem. Nepoužívejte abrazivní čisticí prostředky ani rozpouštědla.
- Bateriová záloha: The timer contains an internal battery for program retention during power outages. This battery is typically long-lasting and not user-replaceable. If the display goes blank or programs are lost frequently during power interruptions, the unit may need servicing or replacement.
- Inspekce: Pravidelně kontrolujte, zda jsou kabelové spoje pevné a zda nevykazují známky opotřebení.
9. Řešení problémů
If you experience issues with your Intermatic ST01 timer, refer to the table below for common problems and solutions.
| Problém | Možná příčina | Řešení |
|---|---|---|
| Displej časovače je prázdný. | No power to the timer; incorrect wiring; internal battery depleted. | Check circuit breaker. Verify wiring connections (Line, Neutral). If power is present and wiring is correct, the unit may require replacement. |
| Časovač se nezapíná/nevypíná v naprogramovaných časech. | Incorrect programming; manual override engaged; incorrect current time/day. | Review and re-enter program settings. Check if manual override is active. Verify current time and day are set correctly. |
| Load (light/appliance) does not turn ON/OFF. | Load wire not connected; load device faulty; timer faulty. | Ensure load wire is securely connected. Test the load device directly (e.g., plug into a working outlet). If the load works directly, the timer may be faulty. |
| Programy se po výpadku napájení ztratí.tage. | Internal battery backup is depleted or faulty. | The internal battery is not user-replaceable. The unit may need replacement if this issue persists. |
10. Informace o záruce
Intermatic products are manufactured to the highest quality standards. This product is covered by a limited warranty against defects in material and workmanship. The specific terms and duration of the warranty are typically provided with the product packaging or can be found on the official Intermatic webstránky. Uschovejte si prosím doklad o koupi pro případ reklamace.
11. Zákaznická podpora
For technical assistance, troubleshooting beyond this manual, or warranty inquiries, please contact Intermatic Customer Support. Have your product model number (ST01) and purchase information ready when contacting support.
You can typically find contact information (phone number, email, or support portal) on the official Intermatic webmísto: www.intermatic.com