1. Úvod
This manual provides detailed instructions for the assembly, operation, and maintenance of your Sharkoon VS4-W Series ATX/MicroATX Mid-Tower PC Case, model SHA-VS4-WBK. Please read this manual thoroughly before beginning installation to ensure proper setup and to maximize the lifespan of your product.
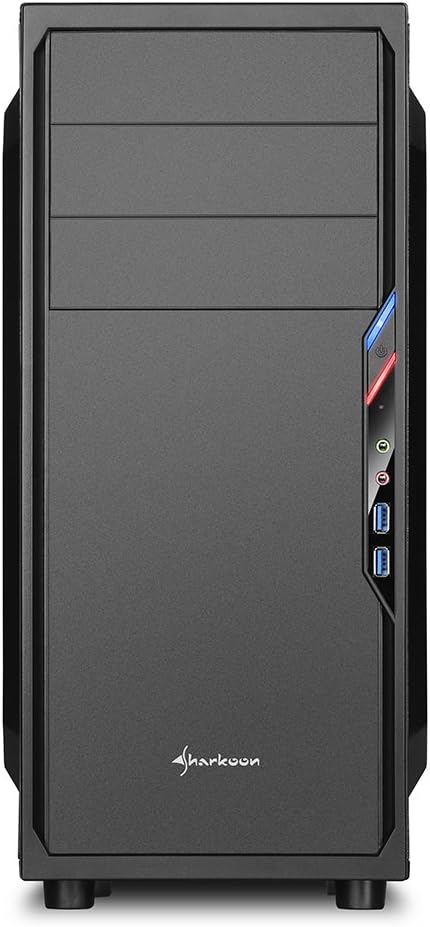
The Sharkoon VS4-W Series is designed for users seeking a cost-effective and functional PC case. It features a full-black aesthetic with an acrylic side window panel, offering a clear view of your internal components. The case supports ATX and Micro-ATX motherboards and provides ample space for various components, including multiple storage drives and long graphics cards.
2. Konec produktuview
2.1. Klíčové vlastnosti
- Acrylic side window panel for component visibility.
- Full-black interior and exterior design.
- Support for ATX and Micro-ATX motherboards.
- Three 5.25-inch drive bays, two with tool-less mechanisms.
- Seven drive bays for storage: three 3.5-inch and four 2.5-inch.
- Generous expansion card space, up to 385mm with 2.5-inch cage removed.
- Cable management space behind the motherboard tray due to a bulged side panel design.
- Podporuje chladiče CPU s výškou až 160 mm.
- Front I/O panel with 2x USB 3.0 and 2x USB 2.0 ports, plus HD Audio.
- Pre-installed 120mm front fan and 120mm blue LED rear fan.
2.2. Identifikace součásti


3. Nastavení a instalace
3.1. Příprava případu
- Vybalte skříň počítače a odstraňte veškerý balicí materiál.
- Umístěte pouzdro na stabilní, rovný povrch.
- Odstraňte boční panely odšroubováním šroubů s křídlovou hlavou na zadní straně skříně.
3.2. Instalace základní desky
- Install the I/O shield provided with your motherboard into the cutout at the rear of the case.
- Ensure standoffs are correctly aligned for your ATX or Micro-ATX motherboard. Install additional standoffs if necessary.
- Carefully place the motherboard into the case, aligning it with the standoffs and I/O shield.
- Zajistěte základní desku šrouby.
3.3. Instalace napájecího zdroje
- Mount the power supply unit (PSU) in the designated area at the bottom rear of the case.
- Zajistěte zdroj šrouby ze zadní strany skříně.
- Route necessary power cables through the cable management cutouts.
3.4. Instalace měniče
- 5.25-inch Drives: For tool-less bays, slide the drive in until it clicks into place. For other bays, secure with screws.
- 3.5-inch Drives: Slide the 3.5-inch drives into the designated bays and secure them.
- 2.5-inch Drives: Mount 2.5-inch SSDs/HDDs onto the dedicated mounting points.
3.5. Instalace rozšiřující karty
- Odstraňte potřebné kryty slotů PCI ze zadní strany skříně.
- Insert your graphics card or other expansion cards into the appropriate PCI-E slots on the motherboard.
- Secure the cards with screws. For longer graphics cards, the 2.5-inch drive cage can be removed to provide up to 385mm of space.
3.6. Správa kabelů
Utilize the space behind the motherboard tray and the various cable routing holes to organize cables. This improves airflow and aesthetics.
4. Návod k obsluze
Once all components are installed and connected, replace the side panels and secure them with the thumbscrews. Connect your peripherals (monitor, keyboard, mouse, etc.) to the motherboard's I/O ports. Connect the power cable to the PSU and a wall outlet. Press the power button on the front panel to start your system.
5. Údržba
5.1. Čištění
- Regularly clean dust filters (if present) to maintain optimal airflow.
- K odstranění prachu z vnitřních součástí a ventilátorů použijte stlačený vzduch.
- Otřete vnější část pouzdra měkkým hadříkemamp tkanina. Vyhněte se abrazivním čisticím prostředkům.
5.2. Údržba ventilátoru
Ensure fans are free from obstructions and spinning correctly. If a fan becomes noisy or stops working, consider replacing it to maintain proper cooling.
6. Řešení problémů
6.1. System Not Powering On
- Check all power connections, including the PSU to the wall, and internal connections to the motherboard and components.
- Ujistěte se, že je kabel tlačítka napájení ze skříně správně připojen k konektoru na předním panelu základní desky.
- Ověřte, zda je spínač zdroje napájení v poloze „ON“.
6.2. Poor Airflow/Overheating
- Vyčistěte všechny prachové filtry a vnitřní součásti.
- Ensure fans are operating correctly and oriented for optimal airflow (intake/exhaust).
- Zlepšete správu kabelů, abyste snížili překážky proudění vzduchu.
6.3. Front Panel USB/Audio Not Working
- Verify that the front panel USB and HD Audio cables are securely connected to the corresponding headers on your motherboard.
7. Specifikace
| Název modelu | VS4-W Series |
| Číslo modelu produktu | SHA-VS4-WBK |
| Typ pouzdra | Střední věž |
| Materiál | Ocel, plast, akryl |
| Barva | Černý |
| Kompatibilita základní desky | ATX, Micro-ATX |
| 5.25" pozice pro mechaniky | 3 (2 with tool-less mechanism) |
| 3.5" Internal Drive Bays | 3 |
| 2.5" pozice pro mechaniky | 4 |
| Rozšiřující sloty PCI | 7 |
| Max. Délka grafické karty | 310mm (385mm with 2.5" cage removed) |
| Max. Výška chladiče CPU | 160 mm |
| Max. Délka PSU | 260 mm |
| Přední I / O porty | 2x USB 3.0, 2x USB 2.0, HD Audio (Mic/Headphone) |
| Předinstalované ventilátory | Front: 1x 120mm, Rear: 1x 120mm Blue LED |
| Způsob chlazení | Chlazení vzduchem |
| Rozměry produktu (D x Š x V) | 44.5 x 20 x 43 cm |
| Hmotnost položky | 3.5 kg |
8. Záruka a podpora
For warranty information and technical support, please refer to the official Sharkoon webnebo se obraťte na místního prodejce. Uschovejte si doklad o koupi pro případ reklamace.
Official Sharkoon Webmísto: www.sharkoon.com


