1. Úvod
Vivitek D519 je všestranný a přenosný digitální projektor navržený pro vysoce kvalitní prezentace a mediální zážitky. Díky jasu 3000 lumenů, nativnímu rozlišení XGA (1024x768) a kontrastnímu poměru 15 000:1 zajišťuje jasný a zářivý obraz. Tato příručka vás provede nastavením, obsluhou a údržbou projektoru D519.
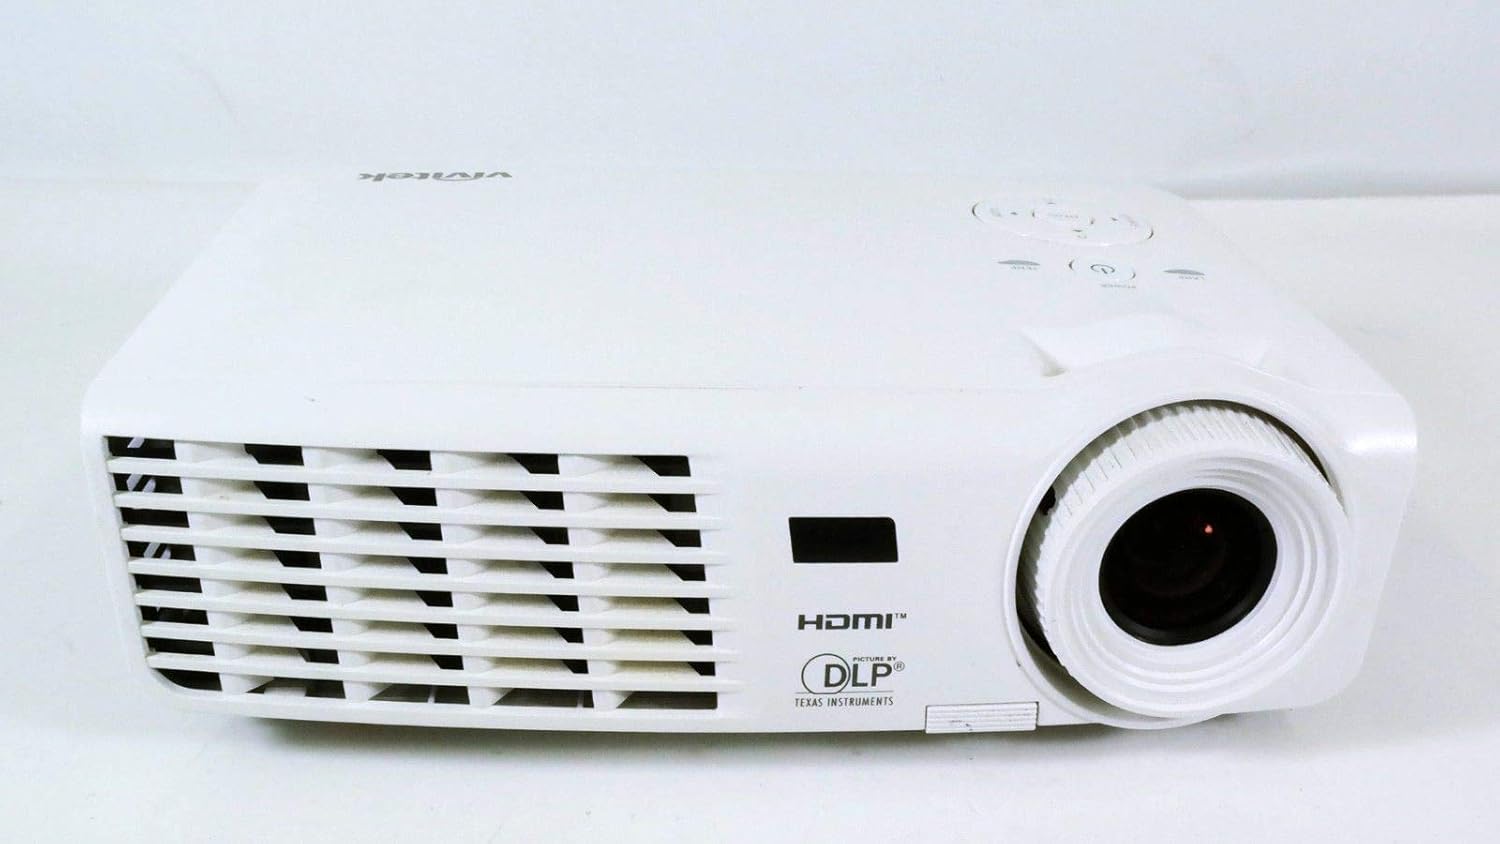
Obrázek 1.1: Přední strana view projektoru Vivitek D519, zobrazující objektiv a ventilaci.
2. Nastavení
2.1 Vybalení projektoru
Opatrně vyjměte všechny součásti z obalu. Ujistěte se, že jsou přítomny všechny níže uvedené položky:
- Projektor Vivitek D519
- AC napájecí kabel
- VGA kabel
- Dálkové ovládání (s bateriemi)
- Přepravní pouzdro
- Uživatelská příručka (CD)
- Krytka objektivu
- Záruční list
2.2 Fyzické umístění
Umístěte projektor na stabilní, rovný povrch nebo jej bezpečně upevněte. Zajistěte dostatečné větrání kolem projektoru, abyste zabránili jeho přehřátí. Neumísťujte jej do blízkosti zdrojů tepla ani na přímé sluneční světlo.
2.3 Připojení zařízení
Projektor D519 nabízí různé možnosti připojení. Připojte zdrojové zařízení (např. notebook, DVD přehrávač) k příslušnému vstupnímu portu na projektoru.

Obrázek 2.1: Zadní view projektoru Vivitek D519, s zvýrazněním vstupních portů HDMI, VGA, S-Video a audia.
- HDMI: Pro digitální video a audio ve vysokém rozlišení připojte kabel HDMI ze zdroje k portu HDMI projektoru.
- VGA: Pro analogové počítačové video. Připojte kabel VGA z počítače k portu VGA projektoru.
- Audio vstup: Pro analogový audio vstup. Připojte audio kabely k portům L-AUDIO-R nebo AUDIO IN dle potřeby.
- S-Video: Pro video ve standardním rozlišení.
- RS-232: Pro ovládání projektoru pomocí počítače nebo řídicího systému.
2.4 Zapnutí
Připojte napájecí kabel střídavého proudu k napájecímu konektoru projektoru a poté k elektrické zásuvce. Stiskněte tlačítko Moc Stisknutím tlačítka na ovládacím panelu projektoru nebo na dálkovém ovladači projektor zapněte. Rozsvítí se kontrolka napájení.
3. Ovládání projektoru
3.1 Ovládací panel Overview
Ovládací panel na horní straně projektoru umožňuje základní ovládání bez dálkového ovladače.

Obrázek 3.1: Nahoře view projektoru Vivitek D519, zobrazující ovládací panel s tlačítky napájení, nabídky, zdroje a navigace.
- Vypínač: Slouží k zapnutí nebo vypnutí projektoru.
- Tlačítko zdroje: Cyklicky přepíná dostupné vstupní zdroje (HDMI, VGA, S-Video atd.).
- Tlačítko nabídky: Přístup k nabídce OSD (On-Screen Display) pro pokročilá nastavení.
- Navigační tlačítka (nahoru/dolů/vlevo/vpravo): Používá se k navigaci v možnostech nabídky a úpravě nastavení.
- Tlačítko Auto: Automaticky upraví obraz pro optimální zobrazení.
3.2 Úprava obrazu
Jakmile je projektor zapnut a je vybrán vstupní zdroj, může být nutné upravit obraz, aby byl jasnější a měl větší velikost.
- Zaostřovací kroužek: Otáčením ostřícího kroužku kolem objektivu zaostříte obraz.
- Zoom Ring: Otáčením kroužku zoomu upravte velikost obrazu bez nutnosti pohybu projektoru. Model D519 má poměr zoomu 1.1:1.
- Korekce lichoběžníkového zkreslení: Pokud se obraz jeví jako lichoběžníkový, použijte funkci korekce lichoběžníkového zkreslení (přístupnou prostřednictvím nabídky OSD) k jeho vyrovnání.
3.3 Používání nabídky na obrazovce (OSD)
Stiskněte tlačítko Menu na projektoru nebo dálkovém ovladači pro přístup k nabídce OSD. Pomocí navigačních tlačítek procházejte kategorie, jako například Obraz, Zobrazení, Nastavení a Informace. Stiskněte Vstupte (nebo prostřední tlačítko na navigační podložce) pro výběr možnosti a úpravu nastavení.
4. Údržba
4.1 lamp Život a náhrada
Projektor lamp má jmenovitou životnost 4000 hodin ve standardním režimu a až 6000 hodin v úsporném režimu. Když je lamp dosáhne konce své životnosti, lamp Kontrolka se rozsvítí a na obrazovce se může zobrazit zpráva. Další informace naleznete v podrobné uživatelské příručce (na CD).amp pokyny k výměně.
4.2 Čištění projektoru
- Čočka: Používejte měkký hadřík bez žmolků, speciálně určený pro optické čočky. Nepoužívejte abrazivní čisticí prostředky.
- Casing: Otřete projektor casing s měkkým, damp tkanina. Vyhněte se použití agresivních chemikálií nebo rozpouštědel.
- Větrací otvory: Pravidelně kontrolujte a čistěte větrací otvory, abyste zajistili správné proudění vzduchu a zabránili hromadění prachu, které může vést k přehřátí. Používejte měkký kartáč nebo stlačený vzduch.
5. Řešení problémů
Tato část se zabývá běžnými problémy, se kterými se můžete setkat u projektoru Vivitek D519.
| Problém | Možná příčina | Řešení |
|---|---|---|
| Na obrazovce není žádný obraz | Odpojený napájecí kabel; Nesprávný vstupní zdroj; Zdrojové zařízení vypnuté. | Zkontrolujte připojení napájení; Stiskněte tlačítko „Zdroj“ pro výběr správného vstupu; Ujistěte se, že je zdrojové zařízení zapnuté. |
| Obraz je rozmazaný | Objektiv rozostřený; Projektor je příliš blízko/daleko od promítací plochy. | Upravte zaostřovací kroužek; Upravte vzdálenost projektoru nebo použijte kroužek zoomu. |
| Obrázek je lichoběžníkový | Projektor není kolmý k promítací ploše. | Upravte korekci lichoběžníkového zkreslení pomocí nabídky OSD. |
| Projektor se neočekávaně vypíná | Přehřátí; Lamp blížící se konec života. | Ujistěte se, že jsou větrací otvory volné; Nechte projektor vychladnout; Zvažteamp výměna, pokud kontrolka svítí. |
| Zkreslený obraz při spuštění | Softwarová závada; Problém s připojením. | Restartujte projektor; Zkontrolujte všechna kabelová připojení; Pokud problém přetrvává, obraťte se na podporu Vivitek. |
6. Specifikace
Klíčové technické specifikace projektoru Vivitek D519:
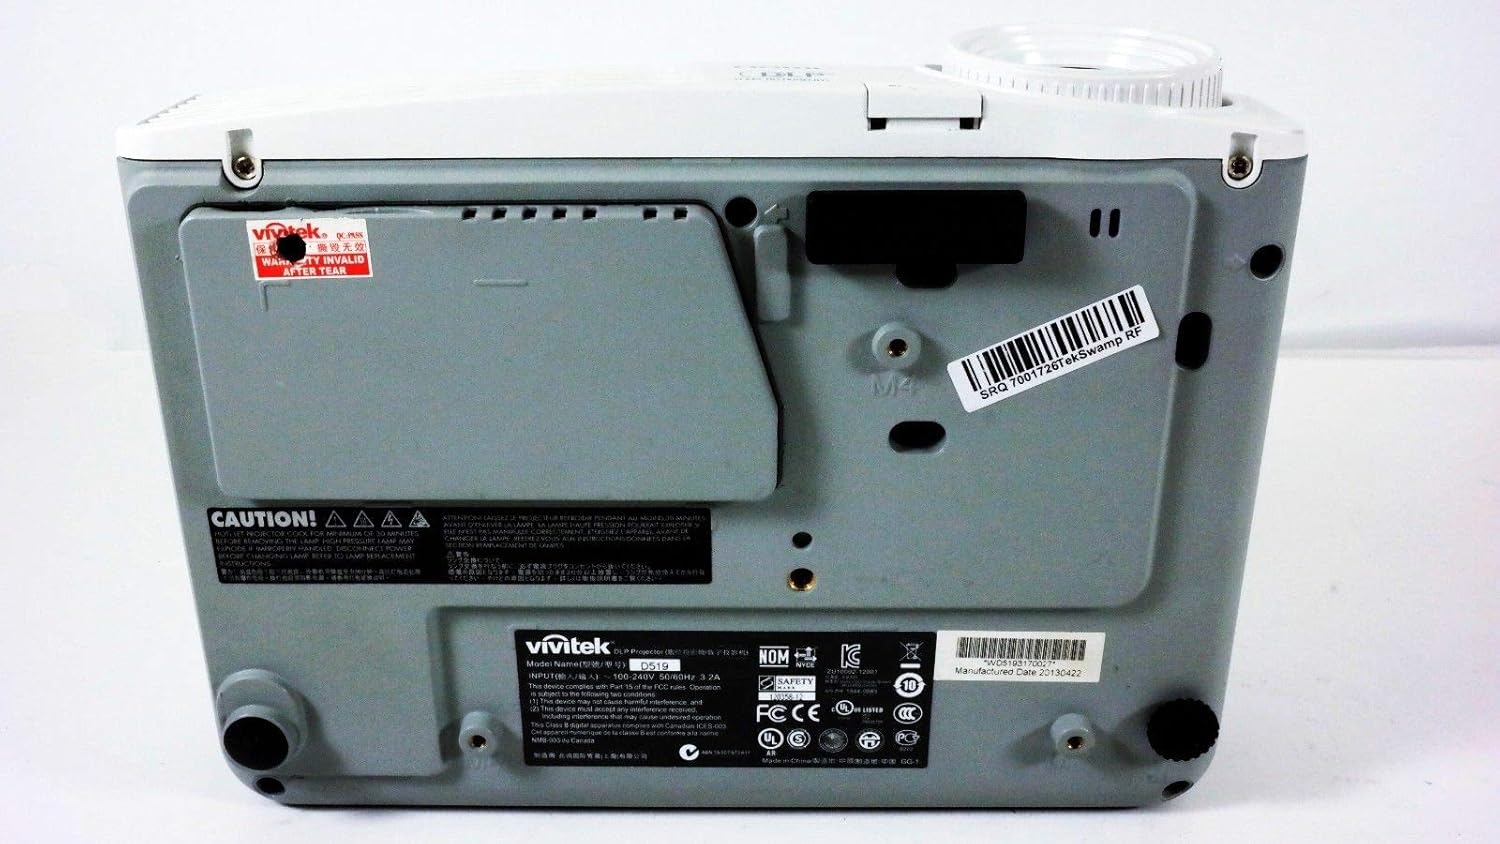
Obrázek 6.1: Spodní část view projektoru Vivitek D519 s uvedením produktového štítku s informacemi o modelu a sériovém čísle.
| Funkce | Detail |
|---|---|
| Číslo modelu | DPU35-262VVUA |
| Technologie displeje | Technologie jednoho 0.55” DLP displeje od společnosti Texas Instruments |
| Nativní rozlišení | XGA (1024 x 768) |
| Jas | 3000 XNUMX lumenů |
| Kontrastní poměr | 15,000:1 |
| Lamp Život | 4000 hodin (standardní) / 6000 hodin (ekonomický) |
| Poměr zoomu | 1.1:1 (manuální zoom a ostření) |
| Konektivita | HDMI v1.3, VGA, S-Video, L-Audio-R, Audio vstup, RS-232 |
| Speciální funkce | Kompatibilní s HD, 3D-Ready, Kompatibilní velikost obrazovky: 40 - 300 palců |
| Rozměry produktu | 7.5 x 10.3 x 3.1 palce |
| Hmotnost položky | 4.35 libry |
7. Záruka a podpora
Váš projektor Vivitek D519 je dodáván s omezenou zárukou. Podrobné podmínky naleznete v záručním listu, který je součástí balení produktu. V případě potřeby technické podpory, servisu nebo reklamací se obraťte na zákaznický servis Vivitek prostřednictvím jejich oficiálních webwebu nebo kontaktních informací uvedených v záruční dokumentaci.
Doporučuje se zaregistrovat produkt online, abyste mohli dostávat aktualizace a podporu.