
1. Úvod
The Portta NS10 Film and Slide Scanner is designed to convert various film and slide formats into digital images. This device operates independently, requiring no computer for scanning, and features a 5-inch LCD screen for real-time preview and adjustments. Digital images are saved to an SD card and can be viewed on the scanner or an external display via HDMI output.
Mezi klíčové vlastnosti patří:
- Compatibility with 35mm (135), 126, 110 film, and Super 8 (photo only) negatives and slides.
- Selectable 16MP or 22MP high-resolution output.
- Large 5-inch LCD screen for instant preview and image alignment.
- Direct saving to SD card (up to 128GB).
- HDMI output for viewv televizi.
- Built-in image adjustment tools for brightness, color, and orientation.
2. Obsah balení a nastavení
Before using the scanner, ensure all components are present and set up correctly.
2.1 Obsah balení
Balíček by měl obsahovat následující položky:
- Portta Film & Slide Scanner
- 135 Negative Adapter
- 135 filmový adaptér
- 110 Slide Adapter
- 110 Negative Adapter
- 110 filmový adaptér
- Super 8 Film Adapter
- Hinged Slide Holder
- Čisticí kartáč
- Kabel USB A na USB C

Obrázek 2.1: Portta NS10 Film and Slide Scanner and its accessories. This image displays the main scanner unit, various film and slide adapters (135, 110, Super 8), a hinged slide holder, a cleaning brush, and a USB A to USB C cable.
2.2 Počáteční nastavení
- Připojení napájení: Connect the scanner to a power source using the provided USB A to USB C cable.
- Vložení SD karty: Insert an SD card (up to 128GB, not included) into the SD Card Slot on the side of the scanner. Ensure it is inserted correctly until it clicks into place.
- Film/Slide Adapter Preparation: Select the appropriate adapter for your film or slide type. Open the adapter and carefully place your film or slide into the designated slot. Close the adapter securely.
3. Návod k obsluze
3.1 Powering On and Basic Navigation
- Zapnutí: Press the Power ON/OFF button located on the front panel to turn on the scanner. The Portta logo will appear, followed by the main menu.
- Navigace v nabídce: Use the directional buttons (left/right arrows) to navigate through menu options and the 'OK' button to confirm selections. The 'Home' button returns to the main menu.

Obrázek 3.1: Panel Description. This image highlights the 5-inch LCD screen, Power ON/OFF button, Home button, OK/Image Settings button, Capture button, Forward/Flip button, Back/Mirror button, Film/Slide Adapter Slot, HDMI Port, SD Card Slot, and USB Port.
3.2 Vkládání filmů a diapozitivů
The scanner supports various film and slide types. Ensure you use the correct adapter for each format.
- Kompatibilní formáty: 135 Film (35mm), 126 Film (Small-Format Cartridge Film), 110 Film (Subminiature Film), Super 8 (Photo Only), 135 Slide (35mm), 126 Slide, 110(2x2) Slide, 110(1x1) Slide.
- Unsupported Formats: The scanner does not support 8mm or 16mm film for video conversion.

Obrázek 3.2: Compatible Film & Slides. This diagram illustrates the various film and slide formats supported by the scanner, including 135 film, 126 film, 110 film, Super 8 (photo only), and corresponding slide types.
- Vložkový adaptér: Slide the prepared film or slide adapter into the Film/Slide Adapter Slot on the side of the scanner.
- Continuous Loading: For film strips, gently push the film through the adapter. The scanner is designed for smooth, continuous feeding to scan frame by frame.

Obrázek 3.3: Continuous Loading. This image demonstrates the process of inserting film, advancing it smoothly, and scanning frame by frame for efficient digitization.
3.3 Skenování a ukládání obrázků
- Select Film Type: From the main menu, select the appropriate film type (e.g., 135 Film, 110 Slide).
- Předview: The image from your film or slide will appear on the 5-inch LCD screen.
- Upravit obrázek: Use the 'OK' button to access image settings. You can adjust brightness, color balance, and orientation (flip/mirror) as needed.
- Zachytit: Press the 'Capture' button (camera icon) to take a digital photo of the displayed image. The image will be saved to the inserted SD card.
- Rezoluce: You can choose between 16MP standard or enhanced 22MP output for your scans.

Obrázek 3.4: 16MP/22MP High-Res Scans. This image shows the scanner actively displaying a high-resolution scanned image on its screen, indicating the quality of the digital conversion.
3.4 Viewa přenos obrázků
- View on Scanner: Saved images can be reviewed directly on the scanner's 5-inch LCD screen using the playback option in the main menu.
- Úložiště SD karty: All captured images are stored on the SD card. To transfer images to a computer, remove the SD card from the scanner and insert it into a computer's SD card reader.
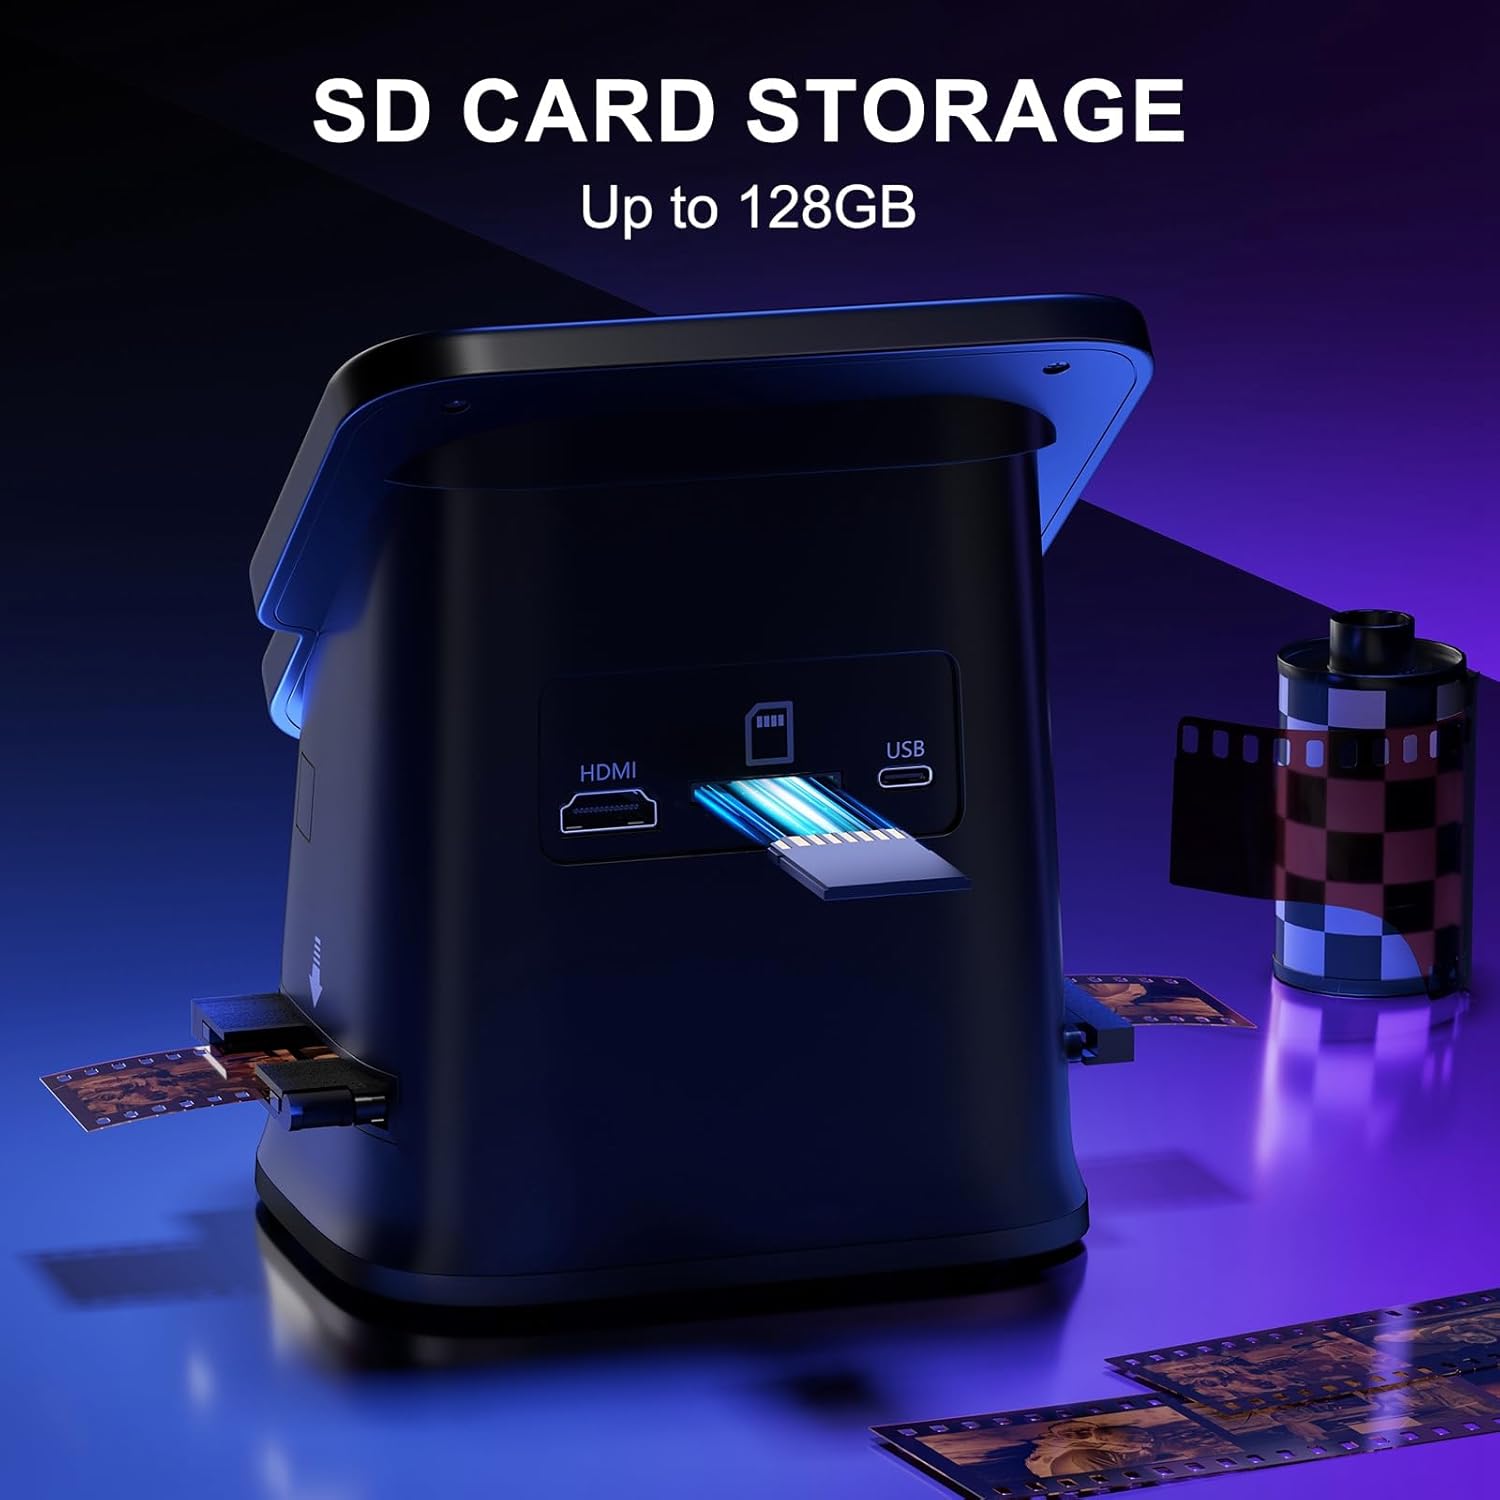
Obrázek 3.5: SD Card Storage. This image illustrates the scanner's capability to save digital photos directly to an SD card, which can then be used to view images on a computer.
3.5 Výstup HDMI
Connect the scanner to a TV or monitor using an HDMI cable (not included) to view naskenované obrázky na větší obrazovce.
- Connect one end of an HDMI cable to the HDMI Port on the scanner.
- Druhý konec připojte k HDMI vstupu na televizoru nebo monitoru.
- Select the correct HDMI input on your TV/monitor to display the scanner's output.
3.1 video: PORTTA NS10 Film & Slide Scanner OverviewToto video poskytuje obecný přehledview of the Portta NS10 Film & Slide Scanner, demonstrating its features and ease of use for converting old films and slides to digital format.
4. Údržba
4.1 Čištění skeneru
Pravidelné čištění pomáhá udržovat optimální kvalitu skenování.
- Čištění objektivu: Use the provided cleaning brush to gently remove dust from the film scanning area and lens. Avoid using liquid cleaners directly on the lens.
- Čištění exteriéru: Vnější povrch skeneru otřete měkkým, suchým hadříkem. Nepoužívejte abrazivní čisticí prostředky ani rozpouštědla.
4.2 Skladování
When not in use, store the scanner and its accessories in a cool, dry place away from direct sunlight and excessive dust.
5. Řešení problémů
If you encounter issues with your Portta NS10 scanner, refer to the following common problems and solutions:
- Bez napájení: Ensure the USB cable is securely connected to both the scanner and a working power source.
- Problémy s kvalitou obrazu (prach/skvrny): Use the cleaning brush to remove any dust from the film/slide and the scanner's lens. Ensure film/slides are clean before scanning.
- Film/Slide Not Loading Smoothly: Check that the film/slide is correctly inserted into the appropriate adapter and that the adapter is properly aligned in the scanner slot. Curled film may require careful handling.
- Obrázky se neukládají: Verify that an SD card is inserted correctly and has sufficient free space. The SD card should be formatted if it's new or causing issues.
- No Output on TV via HDMI: Confirm the HDMI cable is securely connected to both the scanner and the TV, and that the correct HDMI input is selected on the TV.
- Nesprávné barvy: Use the built-in color adjustment tools on the scanner to correct color balance. Note that heavily faded or damaged film may produce less accurate colors.
6. Specifikace
| Funkce | Specifikace |
|---|---|
| Typ skeneru | Film |
| Značka | Portta |
| Název modelu | NS10 |
| Technologie připojení | USB |
| Rozměry produktu (D x Š x V) | 5.31"H x 5.31"Š x 6.3"V |
| Rezoluce | 22 Megapixels (selectable 16MP/22MP) |
| Hmotnost položky | 407 gramů |
| Maximální velikost média | 35 mm |
| Typ média | Negative, Diapositive (Slides) |
| Supported Film Formats | 135, 126, 110 Film & Slides, Super 8 (Photo Only) |
| Skladování | SD karta (až 128 GB) |
| Zobrazit | 5palcový LCD displej |
| Výstup | HDMI |
7. Záruka a podpora
7.1 Informace o záruce
The Portta NS10 Film and Slide Scanner comes with a 2-year warranty from the date of purchase. This warranty covers manufacturing defects and malfunctions under normal use. Please retain your proof of purchase for warranty claims.
7.2 Zákaznická podpora
For technical assistance, troubleshooting not covered in this manual, or warranty inquiries, please contact Portta customer support. Refer to the product packaging or the official Portta webstránky s nejaktuálnějšími kontaktními informacemi.