1. Úvod
This manual provides detailed instructions for the safe and proper installation, operation, and maintenance of your LOKLNEYK Universal TV Bracket, Model liangwei 90. This low-profile wall mount is designed for most 14-60 inch flat or curved TVs with a maximum VESA compatibility of 200x200mm and a maximum load capacity of 40kg.
Please read this manual thoroughly before installation and retain it for future reference. Ensure all components are present and undamaged before proceeding.
2. Bezpečnostní informace
VAROVÁNÍ: Improper installation may result in serious personal injury or damage to your TV and property. If you do not understand these instructions or have doubts about the safety of the installation, please contact a qualified installer.
- Do not exceed the maximum load capacity of 40kg (88 lbs).
- Ujistěte se, že konstrukce stěny bezpečně unese celkovou hmotnost držáku a televizoru.
- Pro bezpečné upevnění vždy používejte detektor sloupků k nalezení sloupků ve zdi. V případě montáže do betonu nebo cihel použijte vhodné hmoždinky (nejsou vždy součástí balení).
- Během instalace používejte vhodné ochranné pomůcky, včetně ochrany očí.
- Během instalace držte děti a domácí zvířata mimo dosah.
- Nepřetahujte šrouby, mohlo by dojít k poškození.
- Tento výrobek je určen pouze pro vnitřní použití.
3. Specifikace produktu
| Typ produktu | TV Mount Accessories |
| Kompatibilita velikosti obrazovky | 14-60 inches (Flat/Curved TVs) |
| Kompatibilita VESA | Max VESA 200x200mm |
| Maximální zatížení | 40 kg (88 lb) |
| Nastavení | Fixed with 0-15° tilting angle |
| Typ instalace | Montáž na stěnu |
| Materiál | Ocel válcovaná za studena |
| Hmotnost položky | 1.76 uncí (0.05 kg) |
| Číslo modelu | liangwei 90 |
Note: The product is designed for a low-profile installation, keeping your TV close to the wall.
4. Obsah balení
Please verify that all parts are included before installation. If any parts are missing or damaged, do not proceed with installation and contact customer support.
- Nástěnná deska (1)
- Ramena držáků televizorů (2)
- Mounting Hardware (Screws, Washers, Spacers, Wall Anchors - specific quantities may vary)
- Bubble Level (1) (Often included for installation)

Figure 1: Mount Dimensions and VESA Compatibility. This image illustrates the overall dimensions of the mount (440mm width, 417mm height) and indicates compatibility for 26-60 inch TVs. While the image shows VESA up to 400x400mm, please adhere to the product specification of Max VESA 200x200mm.
5. Nastavení a instalace
Follow these steps carefully to install your LOKLNEYK Universal TV Bracket.
5.1 Potřebné nástroje (není součástí balení)
- Tužka
- Vrtat
- Šroubovák s křížovou hlavou
- Vyhledávač trámů (pro dřevěné trámové stěny)
- Měřicí páska
- Level (a small bubble level is often included)
5.2 Připevnění držáků televizoru k televizoru
- Opatrně položte televizor displejem dolů na měkký, čistý povrch, abyste zabránili poškození obrazovky.
- Identifikujte montážní otvory VESA na zadní straně televizoru.
- Select the appropriate screws, washers, and spacers from the provided hardware that fit your TV's mounting holes. Ensure the screws are long enough to securely fasten the brackets but not so long that they damage internal components.
- Attach the two vertical TV bracket arms to the back of your TV using the selected hardware. Ensure the hooks on the bracket arms are facing upwards and the arms are centered and level. Do not overtighten.
5.3 Montáž nástěnné desky
- Determine the desired height for your TV. Mark the center of where you want the TV to be.
- Hold the wall plate against the wall at the desired height and use a level to ensure it is perfectly horizontal. Mark the drilling locations through the holes on the wall plate.
- Pro dřevěné stěny s nosníky: Use a stud finder to locate the center of two adjacent wood studs. Drill pilot holes at the marked locations. Secure the wall plate to the studs using the provided wood screws and washers.
- Pro betonové/cihlové zdi: Drill pilot holes at the marked locations. Insert the plastic wall anchors into the drilled holes. Secure the wall plate using the provided concrete screws and washers.
- Verify the wall plate is securely fastened and level before proceeding.

Figure 2: Wall Plate Installation. This image shows the main wall plate securely mounted to a wall, ready for the TV to be attached.

Figure 3: Mount Construction Detail. This image emphasizes the cold-rolled steel material, indicating durability, and shows a built-in bubble level for accurate installation.
5.4 Zavěšení televizoru
- With assistance, carefully lift the TV with the attached bracket arms.
- Hook the TV bracket arms onto the top edge of the wall plate.
- Gently lower the TV until the bracket arms fully engage with the wall plate.
- Secure the TV to the wall plate using the safety screws or locking mechanisms located at the bottom of the TV bracket arms. This prevents accidental dislodging.
- Check that the TV is level and securely mounted.
6. Provoz
The LOKLNEYK Universal TV Bracket is a low-profile wall mount designed for a fixed position with a slight tilting capability.
- Pevná pozice: Once installed, your TV will be held securely in a fixed position close to the wall, optimizing space.
- Úhel náklonu: This mount allows for a 0-15° tilting adjustment. To adjust the tilt, loosen the tilt adjustment screws on the side of the TV bracket arms, set the desired angle, and then securely tighten the screws. This feature helps reduce glare and provides a comfortable viewing experience from various positions.
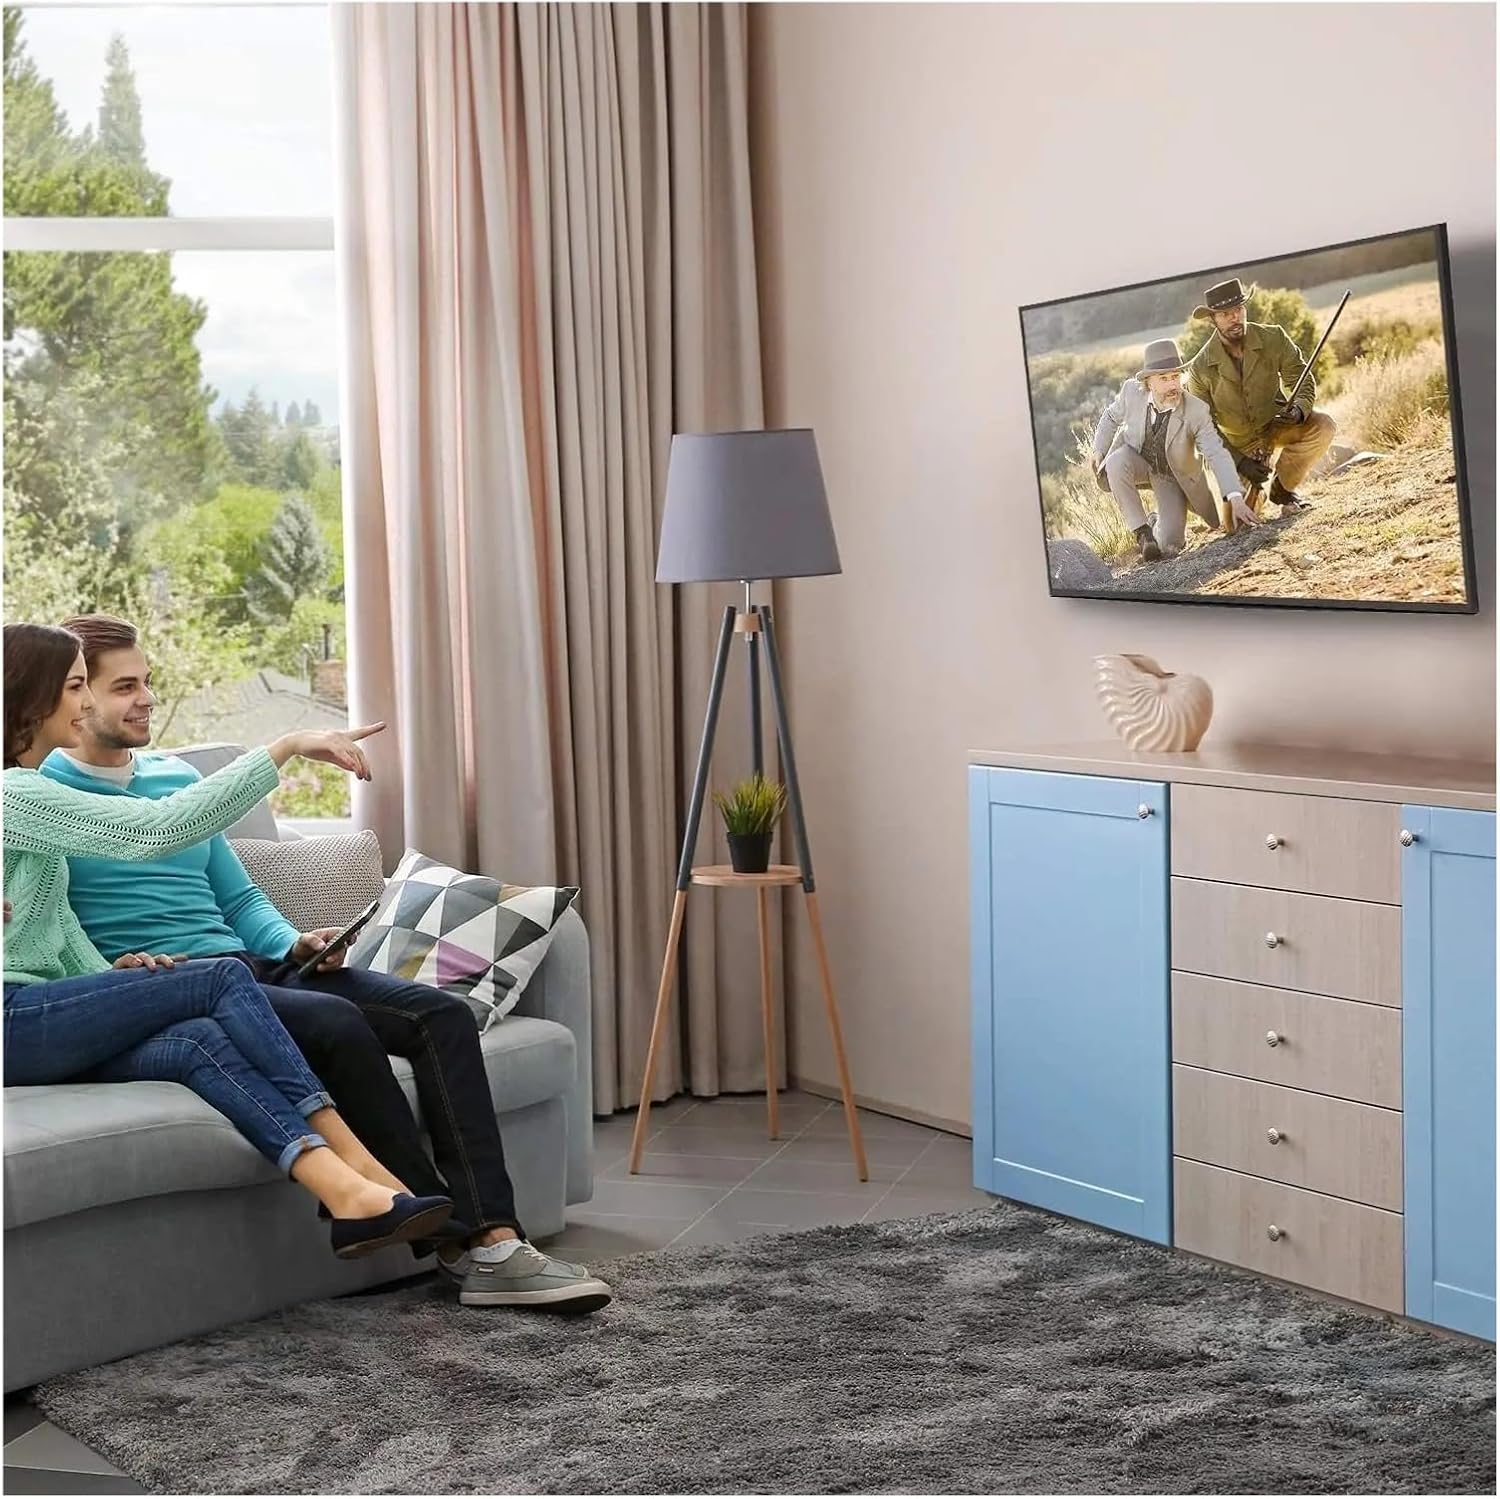
Obrázek 4: Optimální Viewing Experience. This image demonstrates the TV mounted on the wall, providing an enhanced viewzkušenosti a úspora místa.
7. Údržba
Pravidelná údržba zajistí dlouhou životnost a bezpečnost vašeho televizního držáku.
- Čištění: Držák pravidelně otírejte prachem měkkým, suchým hadříkem. Nepoužívejte abrazivní čisticí prostředky ani rozpouštědla.
- Zkontrolujte připojení: Annually, or if you notice any instability, check all screws and bolts to ensure they are securely tightened. Do not overtighten.
- Kontrola poškození: Periodically inspect the mount for any signs of wear, corrosion, or damage. If any damage is found, contact customer support for replacement parts or advice.
8. Řešení problémů
Pokud se během instalace nebo po ní setkáte s problémy, podívejte se na následující běžné problémy a jejich řešení.
| Problém | Možná příčina | Řešení |
|---|---|---|
| Televizor není vodorovně | Nástěnná deska není během instalace v rovině. | Remove TV, adjust wall plate to be level, re-mount TV. Use a level during installation. |
| TV feels unstable | Screws not fully tightened; incorrect wall anchors used; wall structure insufficient. | Ensure all screws are tightened. Verify wall type and use correct anchors. Consult a professional if wall structure is questionable. Do not exceed weight capacity. |
| Cannot attach TV bracket arms to TV | Nesprávný vzor VESA; použité nesprávné šrouby. | Verify your TV's VESA pattern matches the mount's compatibility (max 200x200mm). Ensure correct screw diameter and length are used for your TV. |
| TV does not tilt | Tilt adjustment screws are too tight. | Loosen the tilt adjustment screws slightly, adjust the angle, then re-tighten. |
9. Záruka a podpora
For warranty information or technical support, please refer to the documentation included with your purchase or contact LOKLNEYK customer service directly. Please have your model number (liangwei 90) and purchase details ready when contacting support.
Manufacturer: LOKLNEYK
Datum první dostupnosti: 10. ledna 2026