1. Úvod
Thank you for choosing the plplaaoo Smart WiFi Programmable Thermostat. This device is designed to provide precise and efficient temperature control for your home's 16A electric floor heating system. With its digital touch screen and WiFi connectivity, you can manage your home's climate remotely via a mobile application, set custom schedules, and share control with family members. Please read this manual thoroughly before installation and operation to ensure proper use and safety.
2. Bezpečnostní informace
- Elektrické nebezpečí: Installation must be performed by a qualified electrician. Disconnect power at the circuit breaker before installation or maintenance.
- Ujistěte se, že veškeré zapojení splňuje místní elektrotechnické předpisy a předpisy.
- Neinstalujte termostat v místech s nadměrnou vlhkostí, přímým slunečním zářením nebo extrémními teplotami.
- This thermostat is designed for 100-250VAC, 50/60Hz electric floor heating systems. Verify your system's compatibility.
- Udržujte zařízení mimo dosah dětí.
3. Obsah balení
Zkontrolujte prosím balení, zda neobsahuje následující položky:
- Smart WiFi Programmable Thermostat (ME82 LED 7 WiFi)
- Montážní šrouby
- Uživatelská příručka (tento dokument)
- C-wire adapter (if applicable for your system)
4. Konec produktuview
The plplaaoo Smart Thermostat features a sleek black design with a responsive LED touch display. It provides clear temperature readouts and intuitive controls for easy operation.
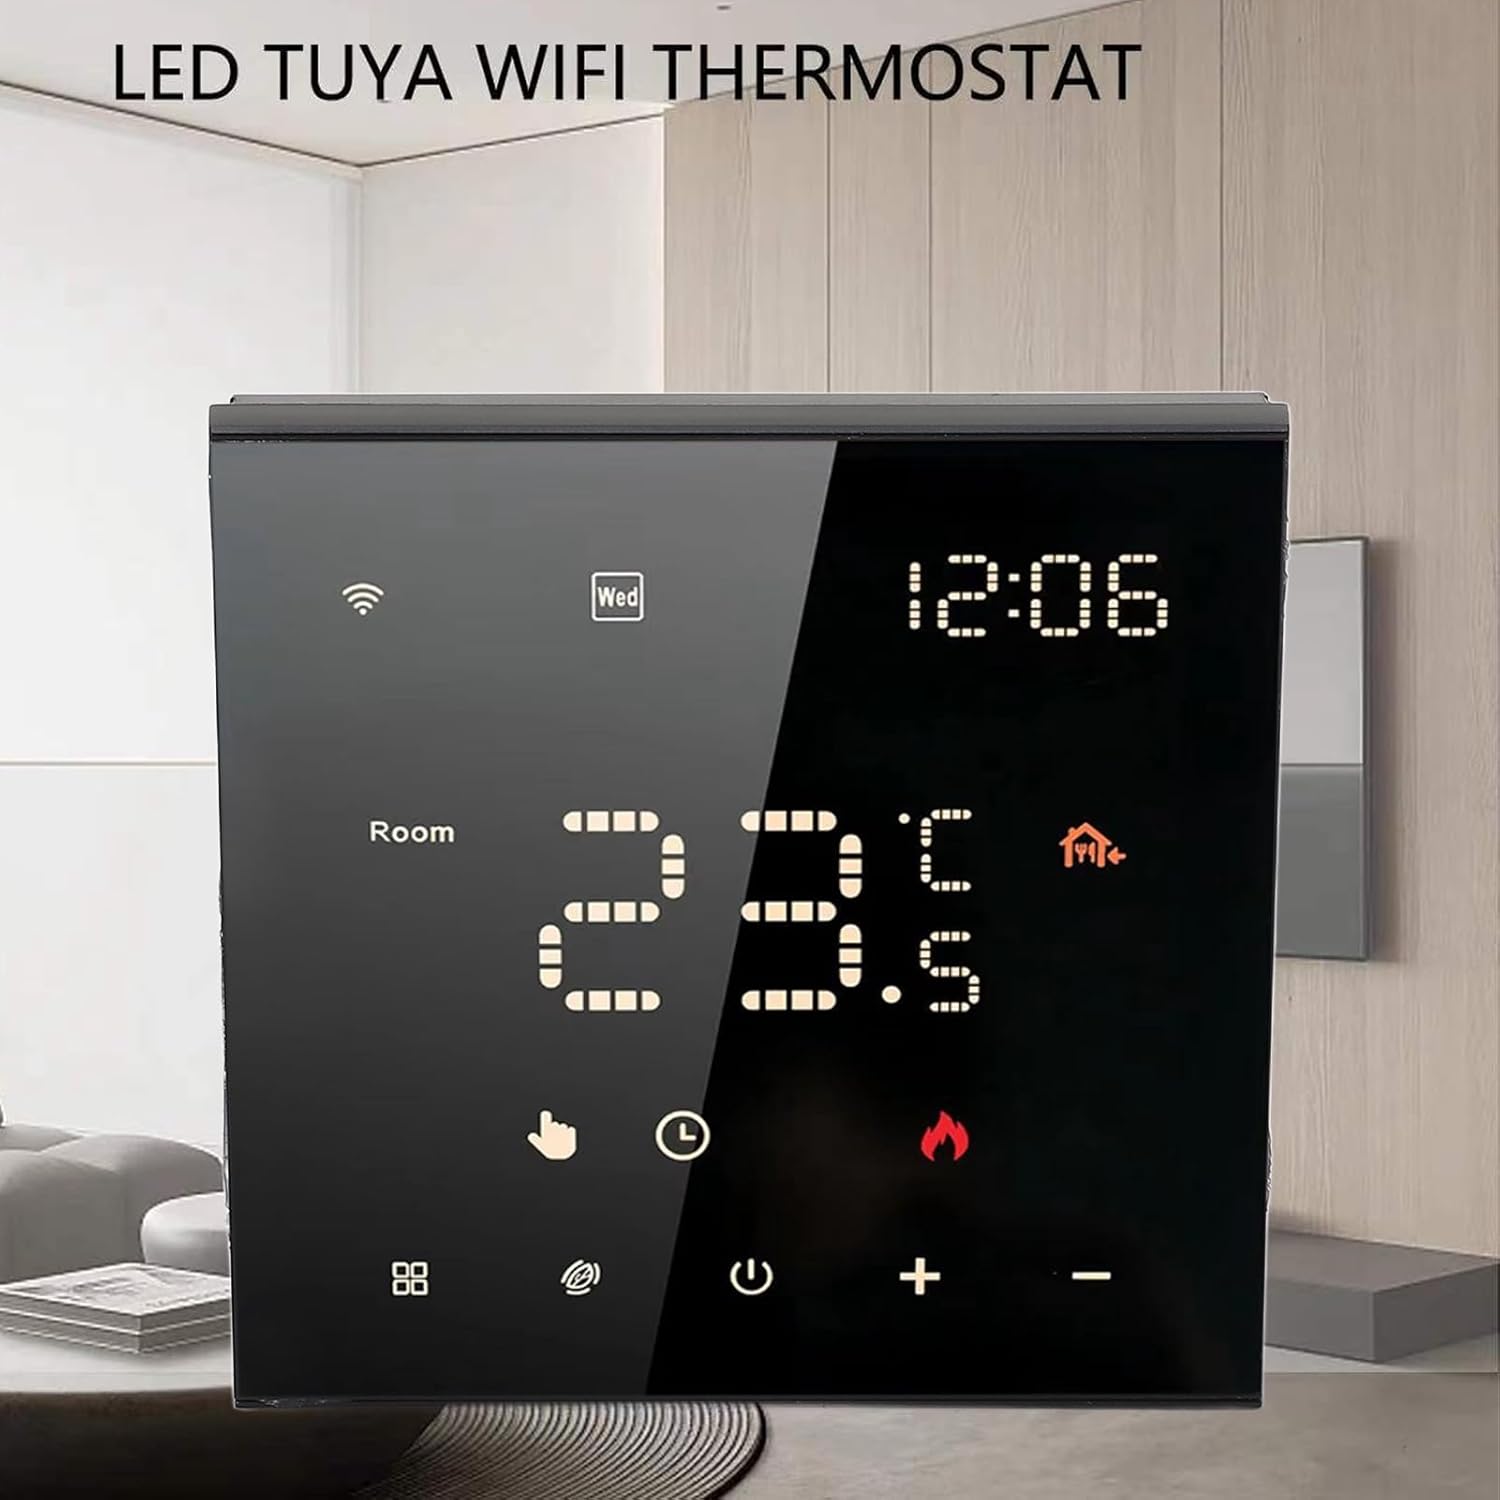
Obrázek 4.1: Přední strana view of the thermostat with its LED display.

Figure 4.2: Detail of the touch-sensitive control buttons.

Obrázek 4.3: Zadní view of the thermostat with wiring connections.
5. Nastavení a instalace
Professional installation is recommended for this device. Ensure power is disconnected before beginning installation.
5.1 Wiring Diagram (Refer to Figure 4.3)
- L1, N1: Power input for the thermostat (100-250VAC).
- S, L: Load connections for your electric floor heating system.
- 1, 2: External sensor connections (if applicable).
- 3, 4: Additional control connections (if applicable).
Connect the wires from your electric floor heating system and power supply to the corresponding terminals on the back of the thermostat. Ensure all connections are secure.
5.2 Montáž
- Install the backplate of the thermostat into a standard electrical wall box.
- Secure the backplate using the provided mounting screws.
- Carefully attach the front panel of the thermostat to the backplate, ensuring it clicks into place.
5.3 Počáteční zapnutí
Once installed, restore power at the circuit breaker. The thermostat display should light up. Follow the on-screen prompts for initial setup, including time and date.
6. Návod k obsluze
6.1 Digital Touch Screen Operation
The thermostat features a responsive LED touch display for direct control:
- Vypínač: Stisknutím zapnete nebo vypnete termostat.
- Tlačítka '+' / '-': Adjust the target temperature up or down.
- Tlačítko režimu (pokud je k dispozici): Cycle through different operating modes (e.g., Manual, Program).
- Ikona Wi-Fi: Indicates WiFi connection status. A blinking icon usually means it's in pairing mode.
6.2 Smart App Control (WiFi Connectivity)
Control your thermostat remotely using the dedicated mobile application. This feature allows you to adjust settings from anywhere, monitor energy usage, and manage schedules.
- Stáhněte si aplikaci: Hledat the 'Smart Life' or 'Tuya Smart' app in your mobile app store (iOS or Android).
- Registrace/Přihlášení: Vytvořte si účet nebo se přihlaste, pokud jej již máte.
- Přidat zařízení: Follow the in-app instructions to add your thermostat. This typically involves putting the thermostat into pairing mode (often by holding a specific button or following a sequence) and connecting it to your home WiFi network.
- Dálkové ovládání: Once connected, you can adjust temperature, change modes, and set schedules directly from the app.

Obrázek 6.1: Dálkové ovládání přes mobilní aplikaci.
6.3 7-Day Programmable Schedule
Optimize comfort and energy efficiency by setting a customized weekly schedule. You can program different temperatures for various times of the day (e.g., waking up, leaving home, returning, sleeping) for each day of the week.
- Access the scheduling feature through the mobile app or directly on the thermostat's touch screen (refer to the on-screen menu for 'Program' or 'Schedule').
- Set desired temperatures and times for up to 6 periods per day.
- Save your schedule. The thermostat will automatically adjust the temperature according to your programmed settings.
6.4 Family Sharing Feature
The mobile app allows you to grant access to other family members or guests, enabling multiple users to control the thermostat. This is ideal for households with varying schedules or rental properties.
- In the mobile app, navigate to the device settings for your thermostat.
- Look for a 'Share Device' or 'Family Management' option.
- Invite other users by entering their app account details. They will then have control over the thermostat.
7. Údržba
Pro zajištění optimálního výkonu a dlouhé životnosti termostatu:
- Čištění: Gently wipe the screen and body with a soft, dry cloth. Do not use abrasive cleaners, solvents, or spray directly onto the device.
- Vyhněte se překážkám: Ensure no objects block the thermostat's internal temperature sensor (if visible) to maintain accurate readings.
- Aktualizace softwaru: Periodically check the mobile app for any available firmware updates for your thermostat to ensure you have the latest features and bug fixes.
8. Řešení problémů
Pokud narazíte na problémy s termostatem, podívejte se na následující běžné problémy a jejich řešení:
| Problém | Možná příčina | Řešení |
|---|---|---|
| Termostat není zapnutý/obrazovka je prázdná. | Žádné napájení z jističe; nesprávné zapojení. | Check circuit breaker. Verify wiring connections (consult an electrician if unsure). |
| Topný systém nereaguje. | Incorrect wiring; thermostat in OFF mode; system malfunction. | Ensure thermostat is ON and in heating mode. Check wiring. Consult HVAC professional. |
| Problémy s připojením k Wi-Fi. | Nesprávné heslo WiFi; router příliš daleko; síť 5 GHz. | Ensure correct 2.4GHz WiFi network and password. Move router closer or use a WiFi extender. Re-pair the device via the app. |
| Nepřesný údaj o teplotě. | Sensor obstruction; thermostat location. | Ensure no drafts or heat sources directly affect the thermostat. Verify sensor connections if external. |
9. Specifikace
- Typ položky: Chytrý termostat
- Materiál pláště: Počítač zpomalující hoření
- Model: ME82 LED 7 WiFi
- Napájení: 100-250VAC, 50/60Hz
- Room Temperature Range: 5℃~70℃ (41°F~158°F)
- Přesnost zobrazení teploty: ±0.5℃
- Hmotnost položky: 9.4 unce (přibližně 266 g)
- Rozměry balení: 3.94 x 3.94 x 2.76 palců (přibližně 10 x 10 x 7 cm)
10. Záruka a podpora
For warranty information or technical support, please refer to the purchase platform or contact plplaaoo customer service directly. Keep your purchase receipt as proof of purchase.
Pro další pomoc prosím navštivte plplaaoo Store on Amazon.