1. Úvod
This manual provides detailed instructions for the setup, operation, and maintenance of your ATTACK SHARK X8 Ultra Wireless Gaming Mouse. Designed for high-performance gaming, the X8 Ultra features a lightweight design, multiple connectivity options, and advanced sensor technology.

Obrázek 1.1: Nahoře view of the ATTACK SHARK X8 Ultra Wireless Gaming Mouse.
2. Obsah balení
Ověřte, zda jsou v balení přítomny všechny položky:
- ATTACK SHARK X8 Ultra Wireless Gaming Mouse
- 8K USB-C Receiver
- USB-A to USB-C Charging Cable (Paracord)
- Replacement Mouse Feet Skates
- Uchopovací páska
- Uživatelská příručka (tento dokument)
3. Rozložení a funkce myši
Familiarize yourself with the key components and features of your X8 Ultra mouse.

Obrázek 3.1: Konecview of the X8 Ultra's internal components and external features.
- Levé/pravé tlačítko pro kliknutí: Equipped with Omron micro switches for tactile feedback and durability.
- Rolovací kolečko: Provides smooth scrolling with subtle tactile bumps.
- Boční tlačítka: Programmable buttons located on the left side for additional functions.
- Tlačítko DPI: Located on the underside of the mouse, allows cycling through preset DPI levels.
- Přepínač připojení: Located on the underside, allows switching between 2.4GHz wireless, Bluetooth, and wired modes.
- PAW3950MAX Sensor: Vysoce přesný optický senzor pro přesné sledování.
- Nordic 52840 MCU: Advanced microcontroller for efficient performance and low latency.
- Nano-Ice Coating: Surface treatment designed to keep grip cool during extended use.
4. Průvodce nastavením
4.1 Nabíjení myši
- Připojte konec nabíjecího kabelu s konektorem USB-C k myši.
- Connect the USB-A end of the charging cable to an available USB port on your computer or a USB wall adapter.
- The mouse LED indicator will show charging status. A full charge provides up to 300 hours of intermittent use.
4.2 Připojení myši
The X8 Ultra supports three connection modes: 2.4GHz Wireless, Bluetooth, and Wired USB.
Bezdrátový režim 2.4 GHz:
- Locate the 8K USB-C receiver.
- Zapojte přijímač do volného USB portu na vašem počítači.
- Set the connectivity switch on the underside of the mouse to the "2.4G" position.
- Myš by se měla automaticky připojit.

Image 4.1: The 8K USB-C receiver for 2.4GHz wireless connection.
Režim Bluetooth:
- Set the connectivity switch on the underside of the mouse to the "BT" position.
- V počítači otevřete nastavení Bluetooth a vyhledejte nová zařízení.
- Select "ATTACK SHARK X8 Ultra" from the list of available devices to pair.
Kabelový režim USB:
- Připojte konec nabíjecího kabelu s konektorem USB-C k myši.
- Connect the USB-A end of the charging cable to an available USB port on your computer.
- Set the connectivity switch on the underside of the mouse to the "Wired" position.
- Myš bude fungovat jako kabelové zařízení a zároveň se bude nabíjet.
5. Návod k obsluze
5.1 Nastavení DPI
The X8 Ultra features a PixArt PAW3950MAX sensor with adjustable DPI from 50 to 42,000. To change DPI settings:
- Press the DPI button on the underside of the mouse to cycle through preset DPI levels.
- The LED indicator on the mouse will change color to indicate the current DPI setting.
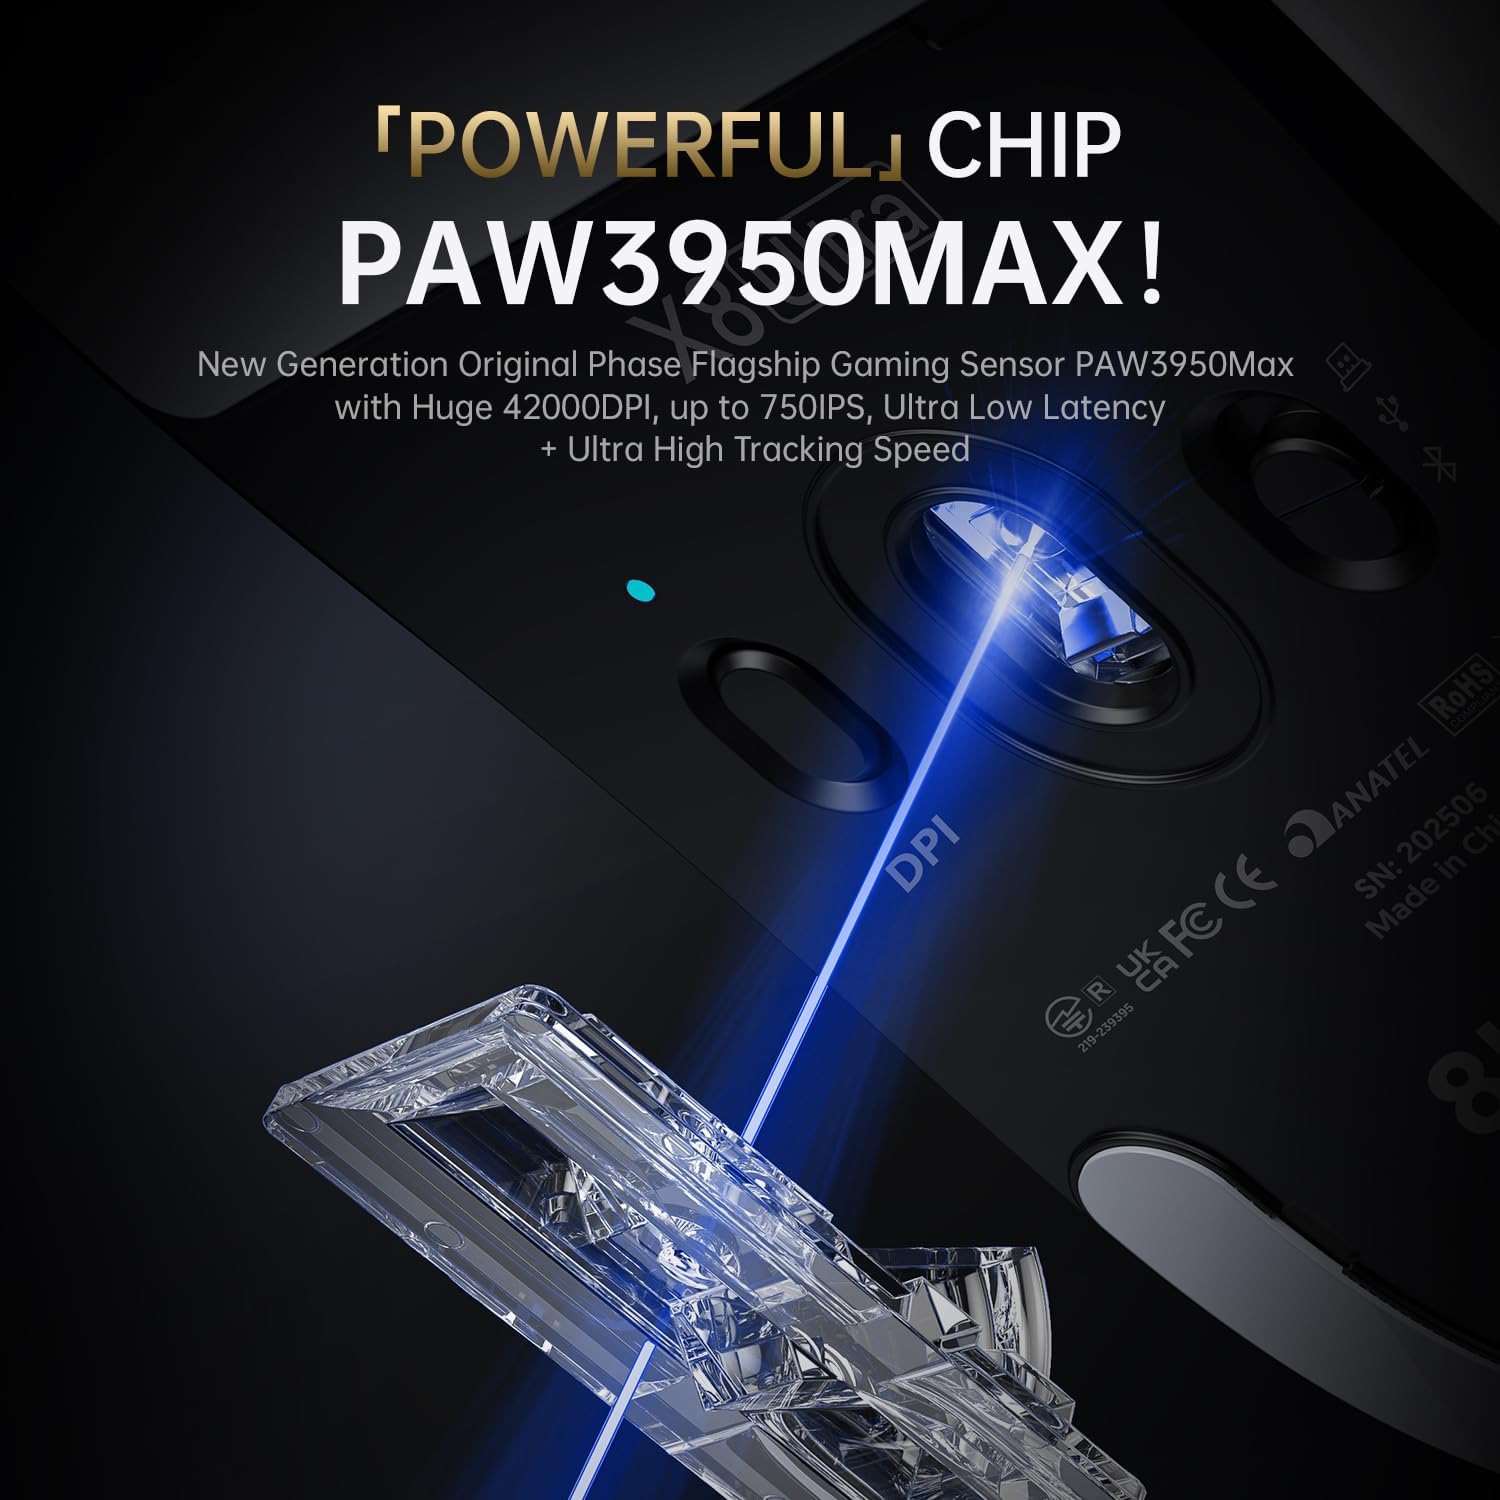
Image 5.1: The PixArt PAW3950MAX sensor for precise tracking.
5.2 Cloud Driver Software
For advanced customization, including DPI adjustment, polling rate, button remapping, macro recording, and competitive mode settings, use the web-based Cloud Driver software.
- Ensure your mouse is connected to your computer (preferably via 2.4GHz wireless or wired mode for full functionality).
- Otevřete svůj web browser and navigate to the official ATTACK SHARK webmísto (např. www.attackshark.pro).
- Locate the Cloud Driver section for the X8 Ultra model.
- Follow the on-screen instructions to customize your mouse settings. Settings are saved directly to the mouse's memory.

Image 5.2: The Cloud Driver interface for advanced mouse configuration.
5.3 Míra dotazování
The X8 Ultra supports an 8KHz wireless polling rate for ultra-low latency and faster response. In wired mode, it operates at 1KHz. The polling rate can be adjusted via the Cloud Driver software.

Image 5.3: Explanation of 8K Polling Rate technology.
6. Údržba
6.1 Čištění
- K otření povrchu myši použijte měkký, suchý hadřík.
- Pro odolnou špínu lehceampnavlhčete hadřík vodou nebo jemným čisticím roztokem.
- Avoid using harsh chemicals or abrasive materials that could damage the mouse's finish or sensor.
- Regularly clean the optical sensor area on the underside of the mouse with a cotton swab to ensure optimal tracking performance.
6.2 Péče o baterii
- Chcete-li prodloužit životnost baterie, vyhněte se častému úplnému vybíjení myši.
- Pokud myš delší dobu nepoužíváte, skladujte ji na chladném a suchém místě.
- If the mouse will not be used for a long time, charge it to about 50% before storage.
6.3 Replacing Mouse Feet Skates
The package includes replacement PTFE mouse feet skates for maintaining smooth glide. When the existing skates show significant wear:
- Carefully peel off the old mouse feet using a thin tool.
- Clean the surface where the skates were attached to remove any adhesive residue.
- Peel the backing from the new skates and carefully apply them to the corresponding areas on the mouse's underside.
- Pevně zatlačte, abyste zajistili správnou přilnavost.

Image 6.1: PTFE anti-slip footpads for smooth mouse movement.
7. Řešení problémů
| Problém | Možné řešení |
|---|---|
| Myš nereaguje v bezdrátovém režimu. |
|
| Zpoždění nebo přerušované připojení. |
|
| Inaccurate tracking. |
|
| Cloud Driver software not detecting mouse. |
|
8. Specifikace
Key technical specifications for the ATTACK SHARK X8 Ultra Wireless Gaming Mouse:

Image 8.1: Detailed technical specifications for the X8 Ultra and other X8 series models.
| Funkce | Detail |
|---|---|
| Model | X8 Ultra |
| Senzor | PixArt PAW3950MAX |
| Rozsah DPI | 50 - 26 000 DPI |
| Rychlost pohybu | 750 IPS |
| Akcelerace | 60G |
| Životnost tlačítka | 100 milionů kliknutí |
| Mikrospínač | Přepínač Omron |
| Míra hlasování | Wireless 8000Hz / Wired 1000Hz |
| MCU | Nordic 52840 |
| Konektivita | Wired / 2.4GHz Wireless / Bluetooth |
| Hmotnost | 55 g |
| Kapacita baterie | 500 XNUMX mAh |
| Rozměry | Přibližně 125.5 x 63 x 40 mm (4.96 x 2.5 x 1.6 palce) |
9. Záruka a podpora
ATTACK SHARK products are designed for reliability and performance. For warranty information, technical support, or service inquiries, please refer to the official ATTACK SHARK webwebu nebo se přímo obraťte na jejich zákaznický servis.
Oficiální Webmísto: www.attackshark.pro
Značková prodejna: ATTACK SHARK Amazon Store
Uschovejte si prosím doklad o koupi pro uplatnění záruky.