
1. Úvod
This manual provides essential information for the proper setup, operation, and maintenance of your JMGO 100-inch Projector Screen. Please read these instructions carefully before use to ensure optimal performance and longevity of your product.
Klíčové vlastnosti:
- Rychlé a snadné nastavení: Designed for rapid assembly and disassembly, suitable for both permanent and portable applications.
- Špičková kvalita obrazu: Supports 4K, 3D, and HDR content, offering high brightness and accurate color reproduction for an immersive viewzkušenosti.
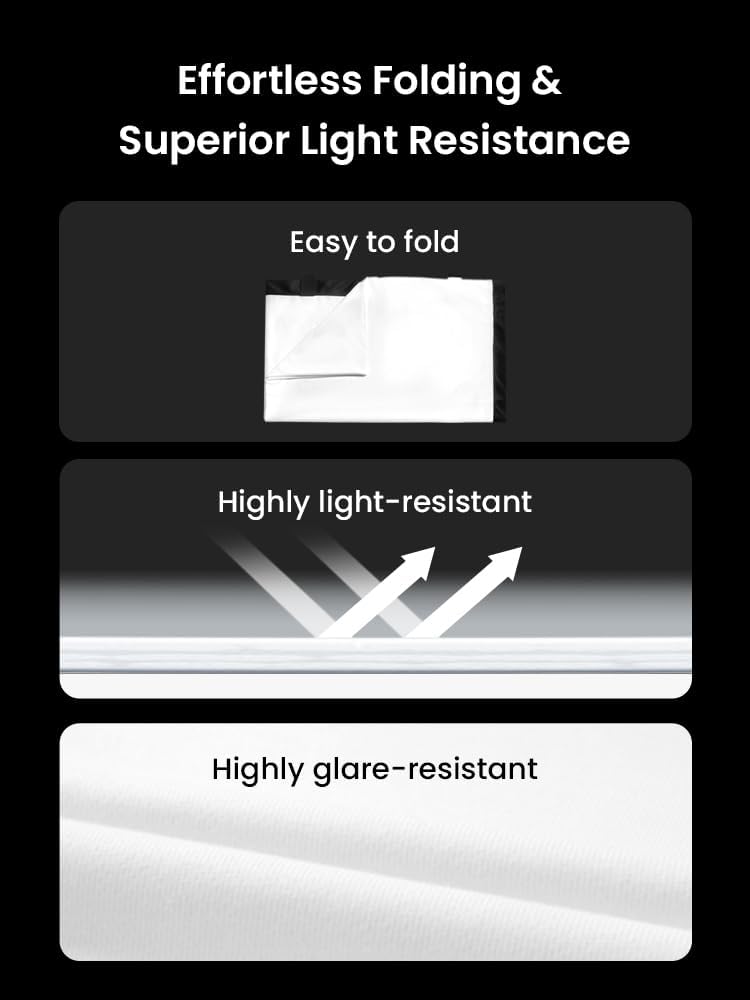
- Odolný a všestranný: Features high light resistance, anti-wrinkle technology, and enhanced opacity for superior contrast. Supports both front and rear projection.
- Přizpůsobivé použití: Ideal for various environments including home theaters, outdoor movie nights, camping, office presentations, and classroom settings.
2. Pokyny k nastavení
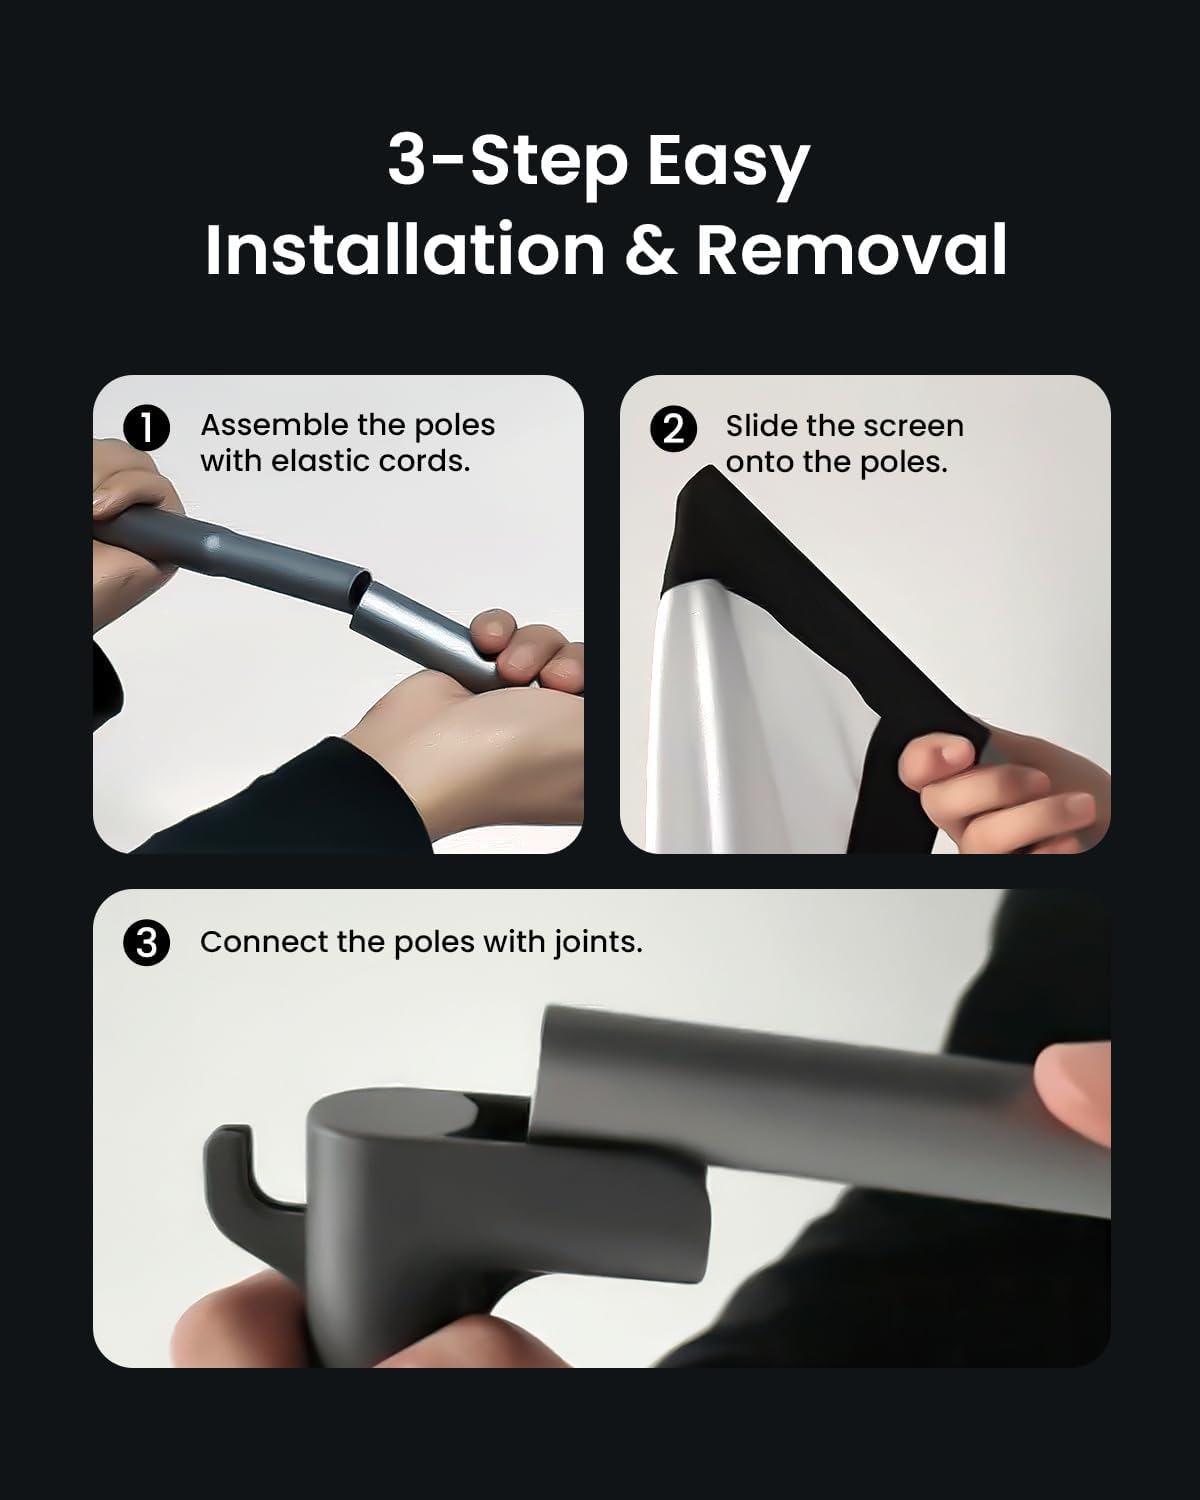
Follow these steps to assemble your JMGO 100-inch Projector Screen:
- Sestavte tyče: Connect the pole segments using the elastic cords inside. Ensure all connections are secure.
- Slide the Screen onto the Poles: Carefully slide the screen material onto the assembled poles. The screen has sleeves designed to accommodate the poles.
- Connect Poles with Joints: Use the provided joints (T-joints and elbow joints) to connect the assembled poles, forming the complete frame. Ensure all joints are firmly attached.
Product Dimensions and Components:
Refer to the diagram below for a visual representation of the screen components and overall dimensions.

3. Návod k obsluze
Once assembled, position your projector screen for optimal viewing. The screen is designed to provide a high-quality image experience.
Viewing zkušenosti:
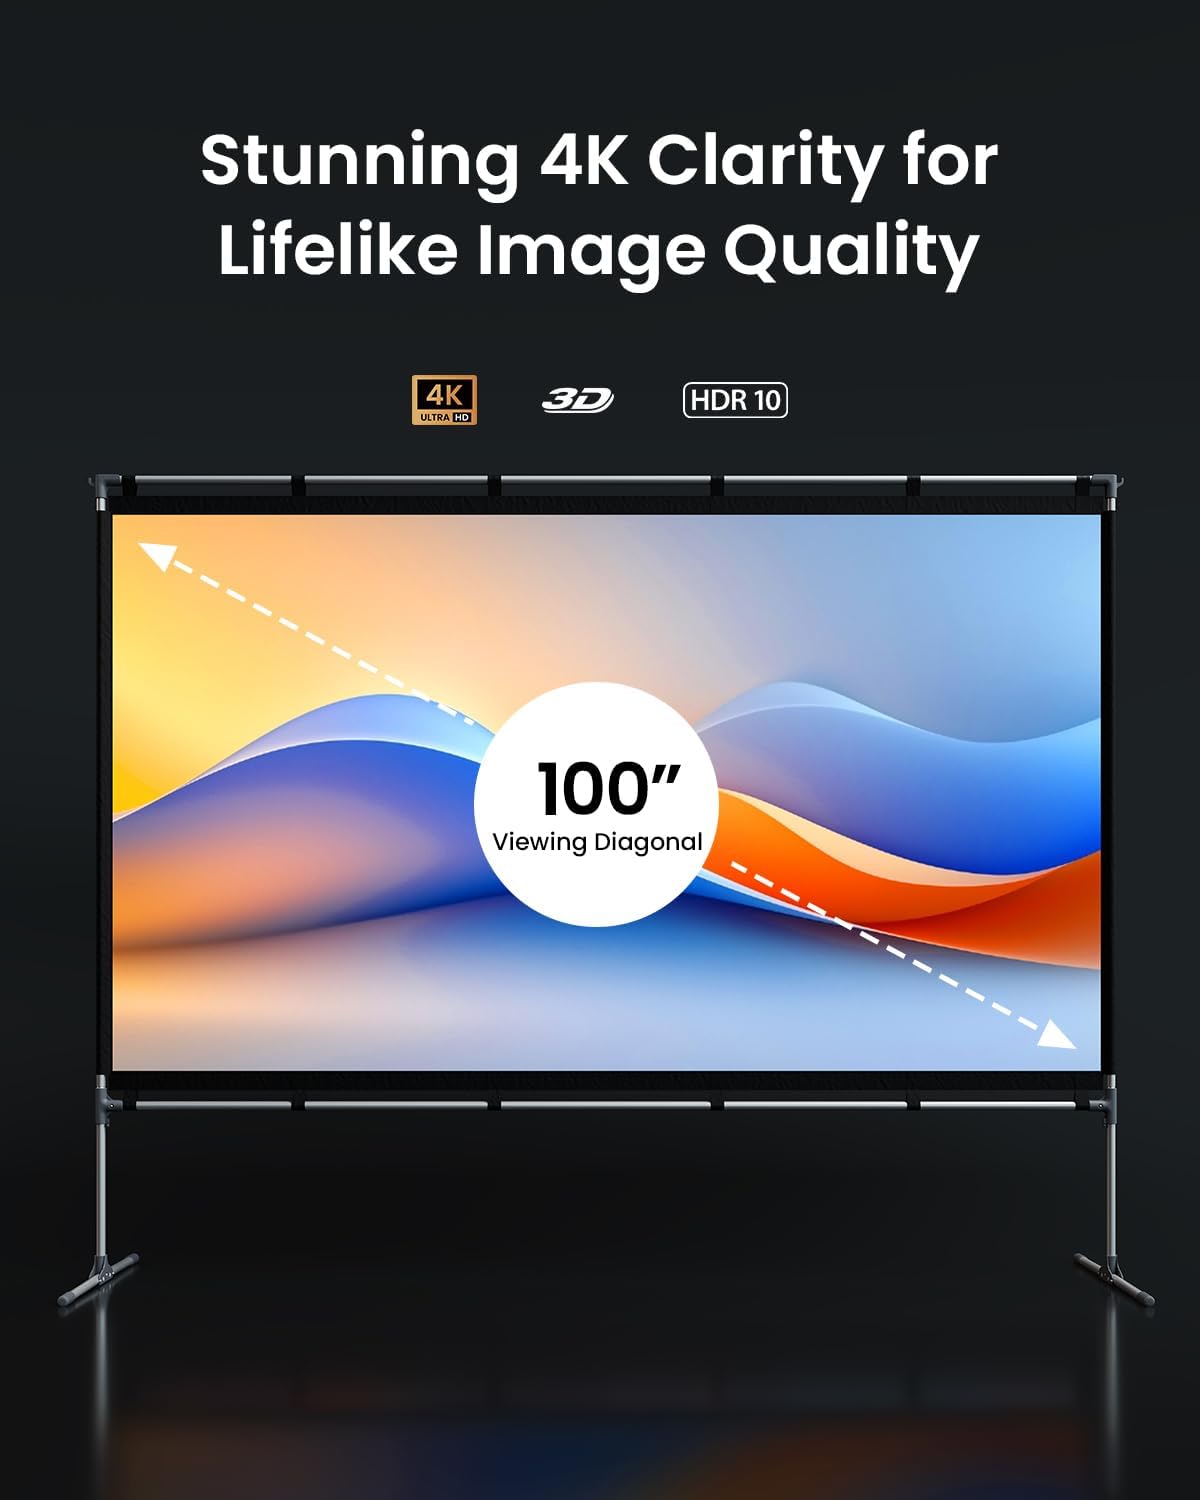
- The screen supports 4K, 3D, and HDR content, ensuring a vibrant and detailed picture.
- Its specialized fabric offers high contrast and color accuracy.
- The wide 160-degree viewing angle ensures a clear picture from various positions.
- Suitable for both front and rear projection setups.

4. Údržba
To maintain the quality and performance of your projector screen, follow these guidelines:
- Čištění: Gently wipe the screen surface with a soft, damp cloth. Avoid abrasive cleaners or harsh chemicals, as these can damage the screen material.
- Skladování: When not in use, disassemble the screen and fold it carefully. Store it in a dry, cool place away from direct sunlight. The anti-wrinkle technology helps prevent creases during storage.
- Zacházení: Avoid sharp objects near the screen surface to prevent punctures or tears.
5. Řešení problémů
If you encounter issues with your projector screen, consider the following common solutions:
- Vrásky na obrazovce: Ensure the screen is stretched tautly across the frame during assembly. The material is designed to be anti-wrinkle, but improper setup can cause minor creases.
- Nestabilní rám: Verify that all pole connections and joints are securely fastened. For outdoor use, ensure ground stakes and water bags (if included) are properly utilized to stabilize the frame.
- Špatná kvalita obrazu: Check your projector's settings and ensure it is aligned correctly with the screen. Verify that the screen surface is clean and free from obstructions.
Pro další pomoc se prosím obraťte na zákaznickou podporu.
6. Specifikace
| Funkce | Detail |
|---|---|
| Značka | JmGO |
| Číslo modelu | JMUS_Screen_61020146-01 |
| Typ montáže | Montáž na podlahu |
| Rozměry produktu | 100 cm Š x 100 cm V |
| Rozměry displeje | 100 palců (úhlopříčka) |
| Materiál | Specialized Fabric |
| Screen Finish | Matný |
| Viewúhel | 160 stupňů |
| Výrobce | JMGO |
7. Informace o záruce
The JMGO 100-inch Projector Screen comes with a 1letá omezená záruka od data nákupu. Tato záruka se vztahuje na výrobní vady vzniklé běžným používáním. Nevztahuje se na škody způsobené nesprávným použitím, nehodami, neoprávněnými úpravami nebo nesprávnou instalací.
Uschovejte si prosím doklad o koupi pro uplatnění záruky.
8. Zákaznická podpora
For any questions, technical support, or warranty inquiries, please contact JMGO Customer Service.

E-mail: after-sales@jmgo.com
Please include your model number and a detailed description of your issue when contacting support.