1. Úvod
This manual provides detailed instructions for the installation, operation, and maintenance of your ELUSH 60Amp MPPT Solar Charge Controller. This device is designed to efficiently manage power from your solar panels to charge various battery types, including LiFePO4, AGM, and Gel batteries, in 12V, 24V, and 48V systems.
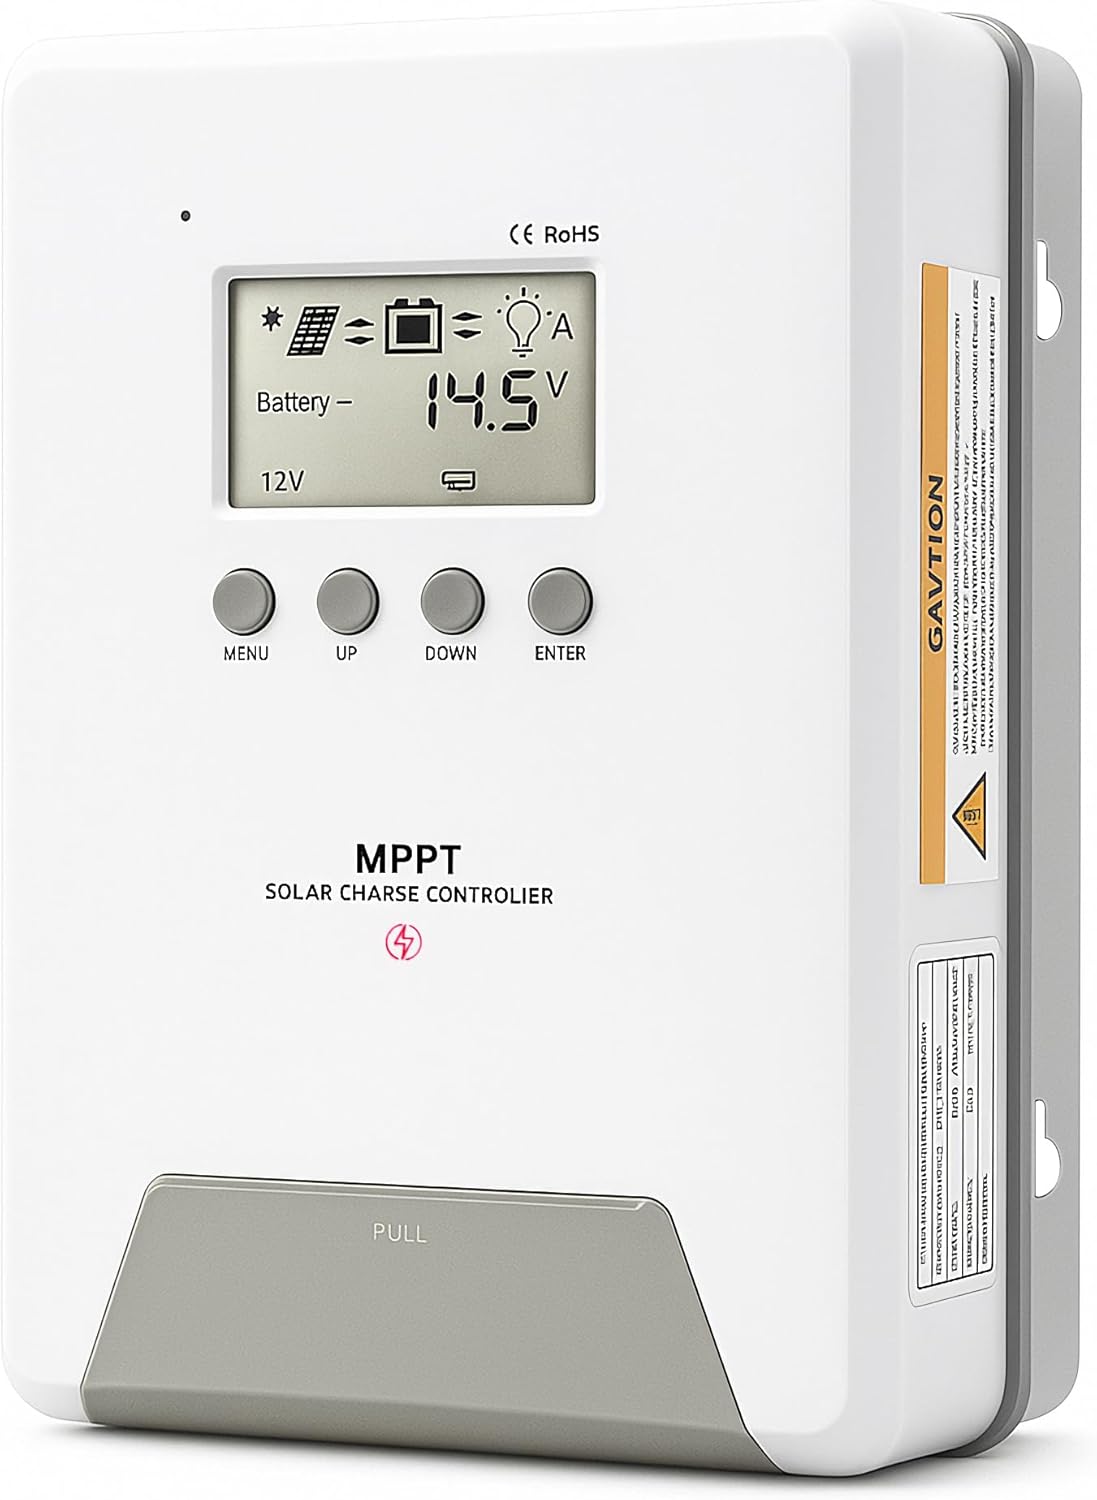
Image 1.1: ELUSH 60Amp MPPT Solar Charge Controller.
2. Klíčové vlastnosti
- Pokročilá MPPT technologie: Maximizes energy harvest from solar panels with tracking efficiency no less than 99% and peak conversion efficiency up to 98%.
- System Auto-Detection: Automatically detects 12V, 24V, and 48V DC system voltages upon startup.
- Široká kompatibilita baterií: Supports Sealed (AGM), Gel, Flooded lead-acid batteries, and Lithium batteries (LiFePO4, Ternary Lithium/Li-ion).
- Přehledný LCD displej: Provides real-time monitoring of PV voltage, objem baterietage/current, charging power, accumulated energy generation, and load status.
- Essential Built-in Protections: Includes safeguards against overvoltage, nadproud, podvoltage, and high temperature.
- Efektivní odvod tepla: Features a high-quality aluminum heatsink for stable operation and optimal performance.

Image 2.1: MPPT Technology highlighting 99% tracking efficiency and 98% peak conversion efficiency.
3. Safety Information and System Protection
The ELUSH MPPT Solar Charge Controller is equipped with multiple protection features to ensure safe and reliable operation of your solar power system. Always adhere to local electrical codes and safety guidelines during installation and operation.
- Ochrana proti nadměrnému vybití: Prevents batteries from being discharged below a safe voltage úroveň.
- Ochrana proti přetížení: Safeguards against excessive current draw from the load terminals.
- Short-circuiting Protection: Protects against short circuits in the solar panel, battery, or load circuits.
- Ochrana proti přepólování: Prevents damage from incorrect battery or solar panel connections.
- Ochrana proti přebíjení: Ensures batteries are not overcharged, extending their lifespan.
- Teplotní kompenzace: Adjusts charging parameters based on battery temperature for optimal charging.
- Ochrana proti zpětnému proudu: Prevents current from flowing back from the battery to the solar panel at night.

Image 3.1: Visual representation of the controller's system protection features.
4. Instalace a zapojení
Proper installation is crucial for the safe and efficient operation of your solar charge controller. Follow these steps carefully.
4.1 Pořadí připojení
Abyste předešli poškození, vždy připojujte komponenty v následujícím pořadí:
- Připojte baterii: Connect the battery to the controller's battery terminals. Ensure correct polarity (+ to + and - to -). The battery terminals should be installed with safety fuses. Ensure the distance does not exceed 150mm.
- Připojte zátěž: Připojte stejnosměrné zátěže ke svorkám zátěže regulátoru.
- Connect the solar panel: Connect the solar panel to the controller's solar energy terminals. Ensure correct polarity.
- Power on the controller: The controller will automatically power on once all connections are secure.
Poznámka: If you want to connect an inverter, connect it directly to the battery, not to the load terminal of the controller.

Image 4.1: Diagram showing the connection points for solar energy, battery, and load.

Image 4.2: Step-by-step visual guide for connecting the system components.
4.2 Hidden Installation Wiring
For a clean and secure installation, the wiring can be routed and hidden. After all connections are properly made and tested, tighten the screws on the terminals and close the bottom cover of the controller to complete the installation. This protects the wiring and provides a neat appearance.
5. Návod k obsluze
Řídicí jednotka je vybavena intuitivním LCD displejem a tlačítky pro monitorování a konfiguraci.
5.1 LCD displej a tlačítka
The LCD screen provides real-time information about your system. The buttons allow you to navigate menus and adjust settings.
- Teplotní senzor: Located on the controller, it measures ambient temperature for accurate charging compensation.
- LCD displej: Shows PV voltage, objem baterietage, charging current, load status, and other system parameters.
- Tlačítko MENU: Used to enter and exit menu settings.
- Tlačítko NAHORU: Navigates upwards through menu options or increases values.
- Tlačítko DOLŮ: Navigates downwards through menu options or decreases values.
- Tlačítko ENTER: Potvrzuje výběry nebo vstupuje do podnabídek.
Image 5.1: The controller's LCD display and button layout for user interaction.
5.2 Automatická Voltage Recognition and Battery Compatibility
The controller automatically detects the system voltage (12V, 24V, or 48V) upon startup. It is compatible with a wide range of battery types, ensuring efficient and safe charging for your specific setup.
- Lithium-ion batteries (Li): For standard lithium-ion chemistries.
- Lithium Iron Phosphate batteries (LiFePO4): Specifically designed for LiFePO4 batteries.
- Lead-acid batteries (BAT): Includes Sealed (AGM), Gel, and Flooded types.

Image 5.2: Illustration of automatic voltage recognition and compatibility with various battery types.
6. Specifikace
| Značka | ELUSH |
| Číslo modelu | DM60A |
| Aktuální hodnocení | 60A |
| System Voltage | 12V/24V/48V Auto Detection |
| Max PV Input Voltage | 150V |
| Materiál | Hliník |
| Typ zobrazení | LCD |
| Barva | Černý |
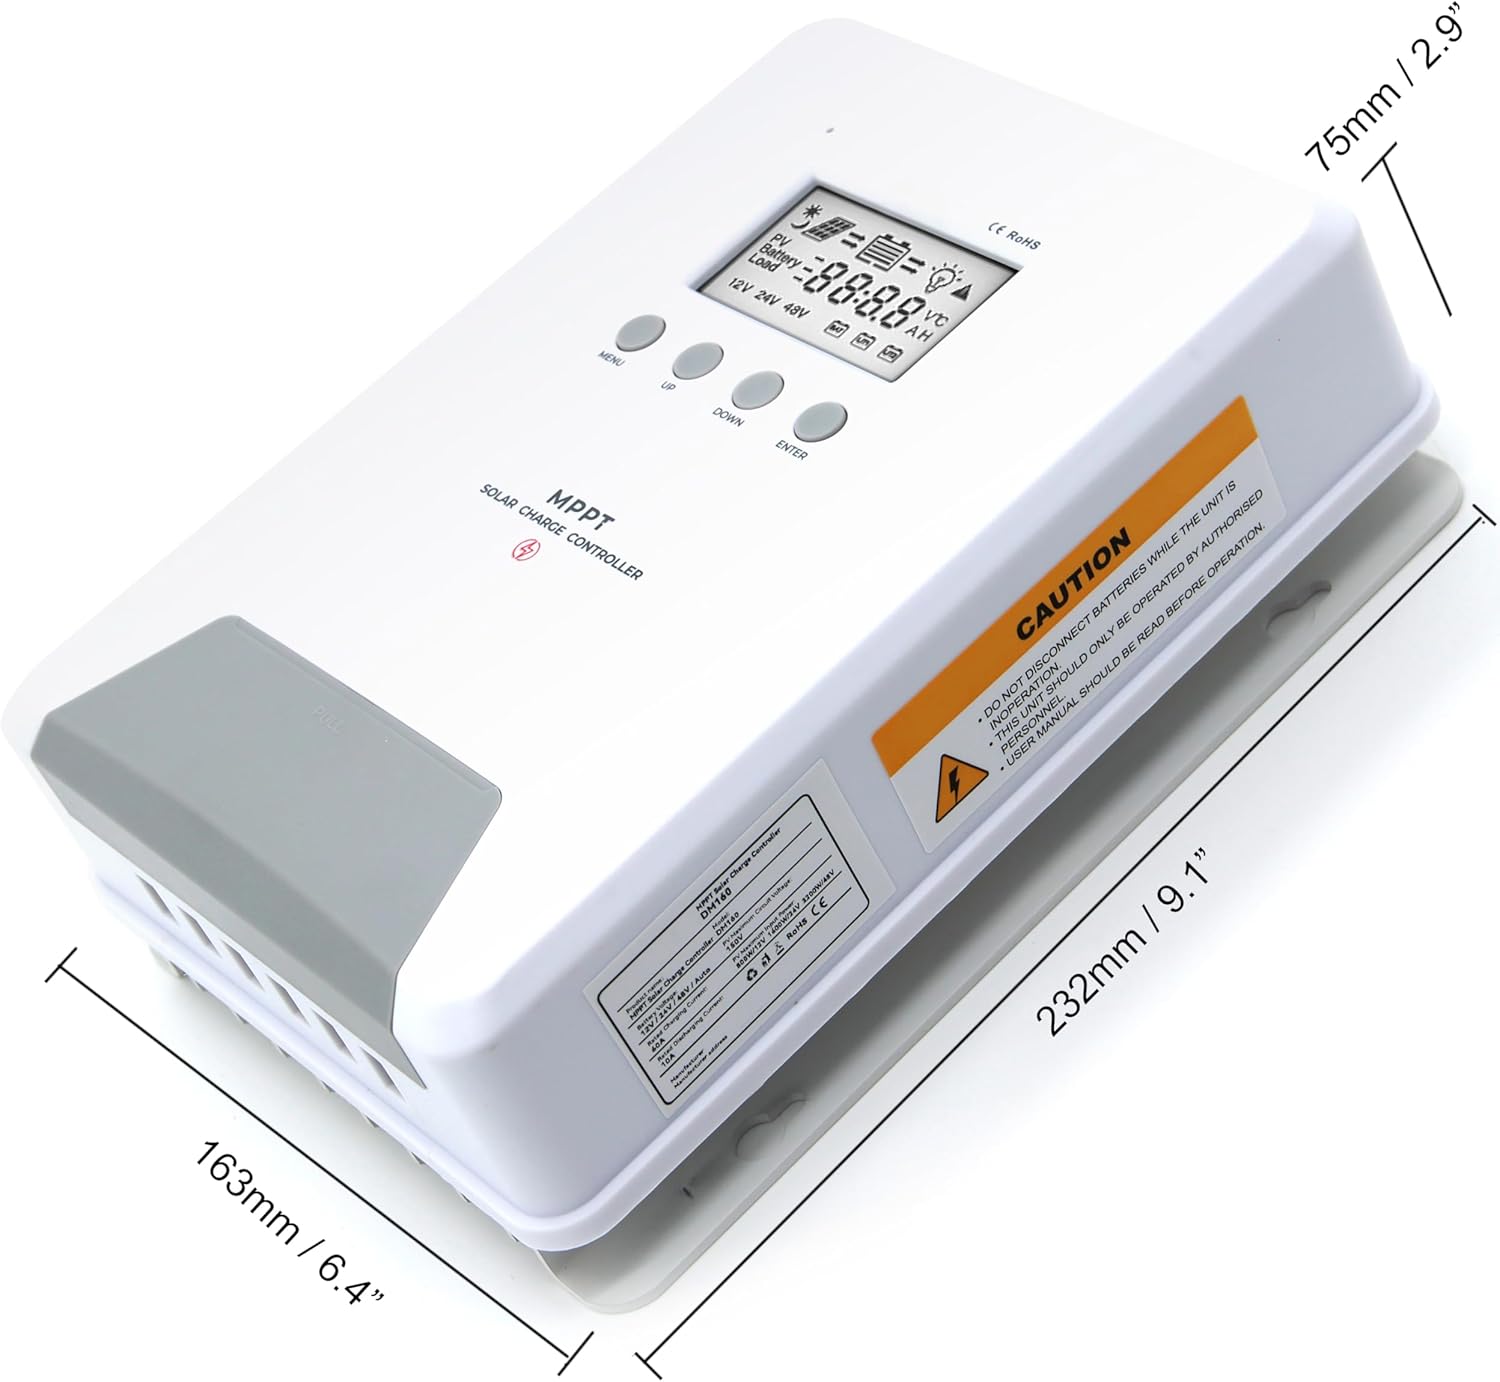
Image 6.1: Physical dimensions of the ELUSH 60Amp MPPT Solar Charge Controller.
7. Údržba
Pro zajištění optimálního výkonu a dlouhé životnosti vašeho solárního regulátoru nabíjení se doporučuje pravidelná údržba:
- Kontrola připojení: Pravidelně kontrolujte veškeré kabelové spoje, zda nejsou pevně utažené a zda nejsou zkorodované. Volné spoje mohou způsobit přehřátí a poškození.
- Vyčistěte ovladač: Udržujte ovladač čistý a bez prachu a nečistot. K otření vnějšího povrchu používejte suchý hadřík. Ujistěte se, že ventilační otvory nejsou zablokované.
- Monitorování výkonu: Regularly check the LCD display for normal operating parameters. Note any unusual readings or error codes.
- Stav baterie: Ujistěte se, že jsou vaše baterie dobře udržovány v souladu s pokyny výrobce.
8. Řešení problémů
If you encounter issues with your ELUSH MPPT Solar Charge Controller, refer to the following basic troubleshooting steps:
- Žádný displej/Žádné napájení: Zkontrolujte připojení baterie a ujistěte se, že je baterie dostatečně nabitá.tage je v provozním rozsahu regulátoru. Zkontrolujte, zda jsou pojistky neporušené.
- Baterie se nenabíjí: Confirm solar panel connections and polarity. Check for sufficient sunlight and ensure solar panel voltage je nad objemem baterietage. Verify battery type settings are correct.
- Načtení nefunguje: Check load connections and ensure the load current does not exceed the controller's rating. Verify load output settings on the controller.
- Kódy chyb: If the LCD displays an error code, consult the full product manual (if available) or contact technical support for specific guidance.
- Přehřívání: Ensure the controller is installed in a well-ventilated area, away from direct sunlight or heat sources. Check for any obstructions to the heatsink.
9. Záruka a podpora
ELUSH provides professional technical support for its products. If you have any questions, require assistance with installation, operation, or troubleshooting, please feel free to contact us. Refer to your purchase documentation for specific warranty terms and contact information.