
1. Úvod
The ChunHee WT42 Wireless Intercom System provides reliable two-way communication for homes, offices, and businesses. Designed for clear sound and extended range, this system facilitates easy room-to-room communication without the need for Wi-Fi. This manual provides essential instructions for setup, operation, and maintenance to ensure optimal performance of your intercom units.
2. Co je v krabici
- Intercom Unit x 2
- Nabíjecí kabel USB-C x 2
- Napájecí adaptér x 2
- Belt Clip x 2 (pre-attached)
- Šňůrka na krk x 2
3. Konec produktuview
The ChunHee WT42 intercom units are compact and designed for ease of use. Each unit features an antenna for extended range, a speaker, a microphone, and several control buttons.
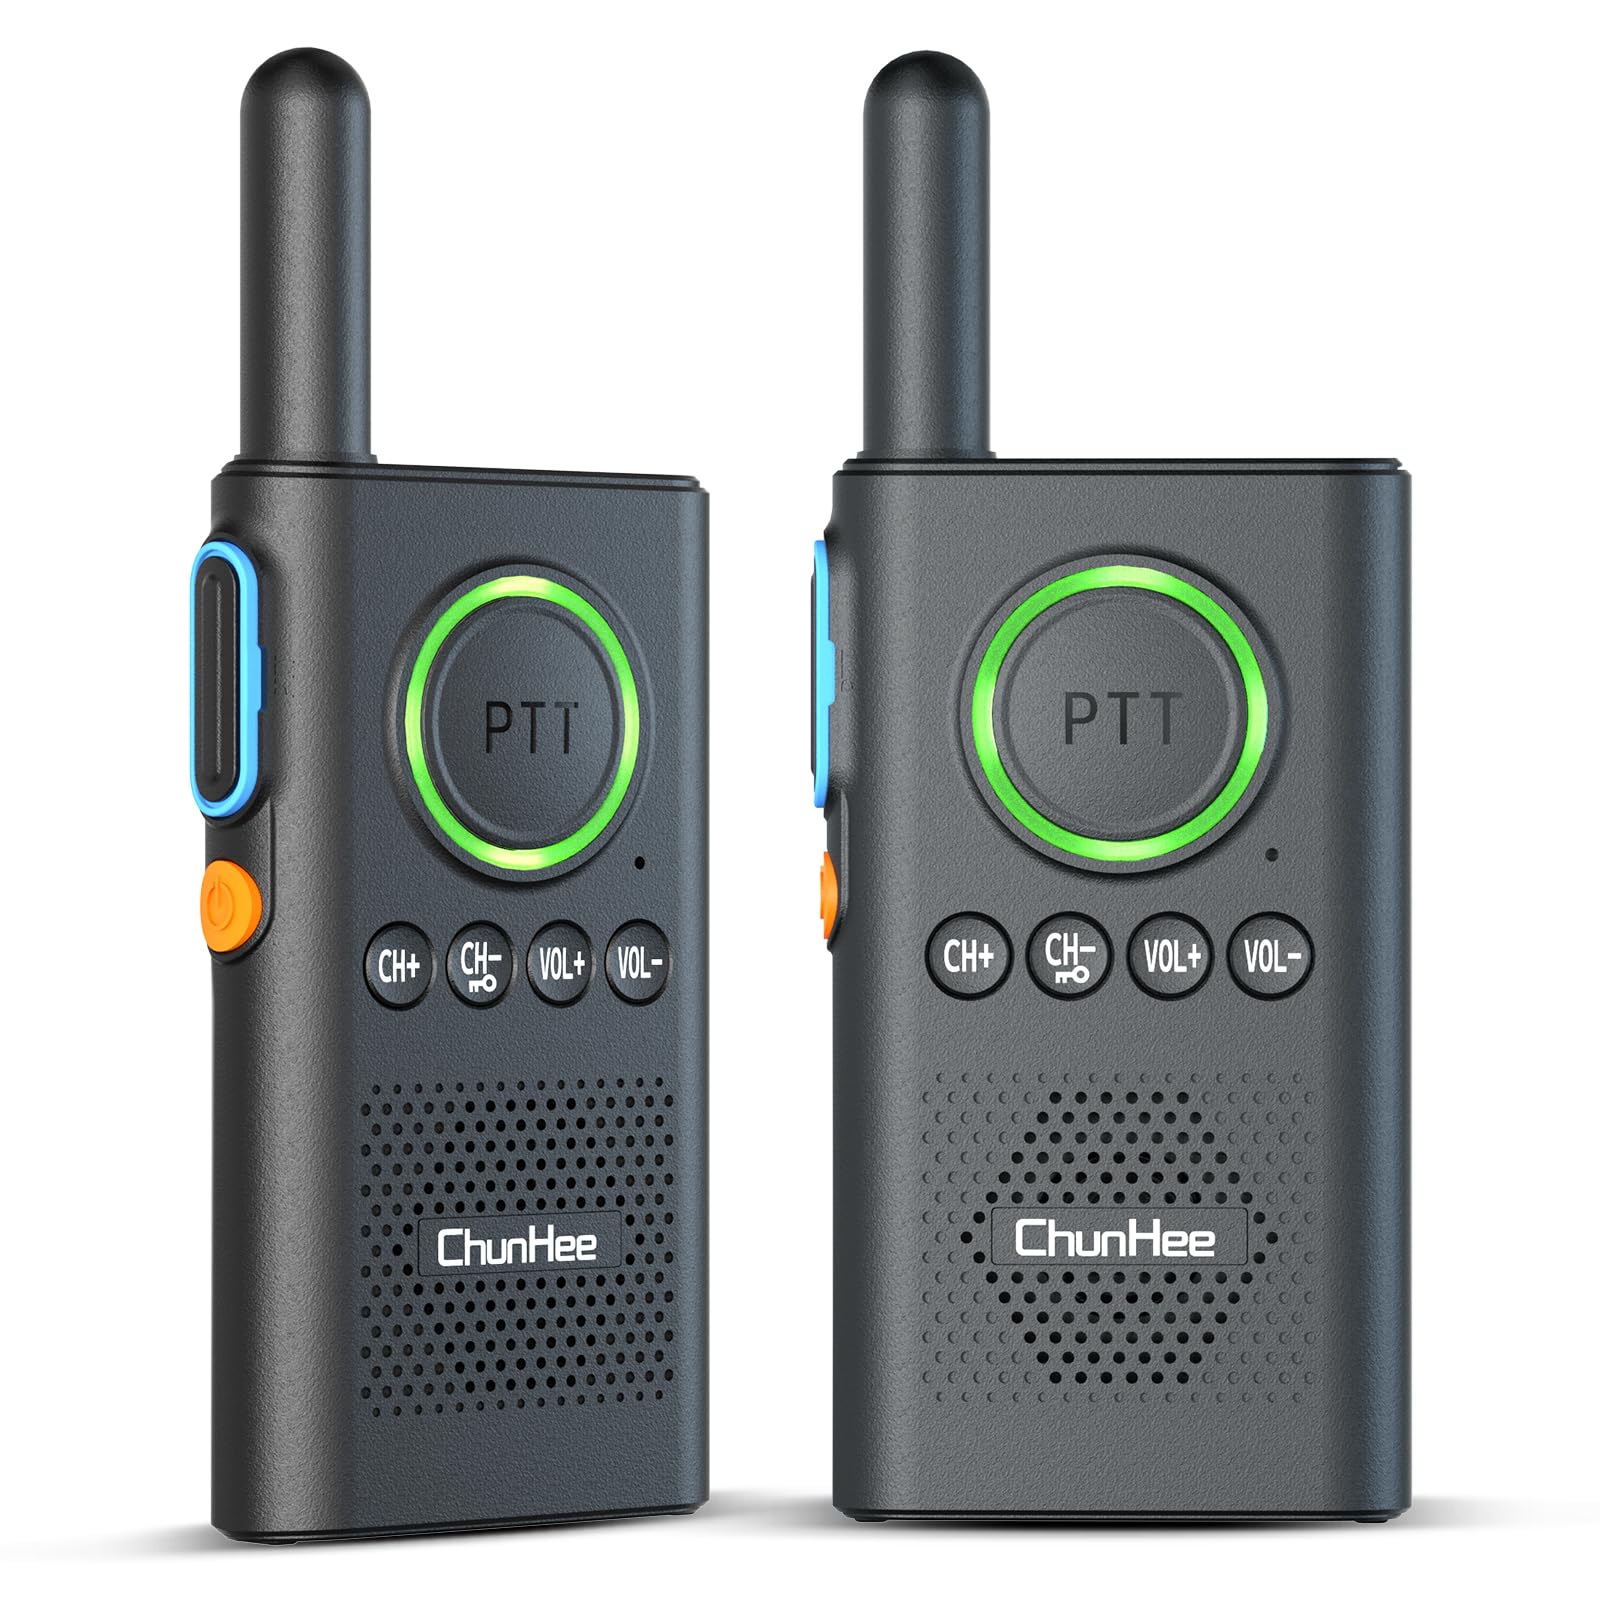
Figure 1: ChunHee WT42 Wireless Intercom Unit
Ovládací prvky a indikátory
- Tlačítko PTT (Push-to-Talk): Large central button for transmitting voice. Lights up red when transmitting, green when receiving.
- Vypínač: Orange button on the side. Hold for 3 seconds to power on/off.
- Tlačítka CH+ / CH-: Adjust communication channels.
- Tlačítka VOL+ / VOL-: Upravte hlasitost reproduktoru.
- Channel Confirmation Button: Blue button on the side, above the power button. Press to confirm the current channel.
- Port USB-C: Located at the bottom for charging.
- Sluchátkový jack: Located at the top for private listening.
4. Nastavení
4.1 Charging the Intercom Units
Before first use, fully charge both intercom units. The units feature a 1000mAh battery, providing 70-80 hours of use and 2-3 hours for a full charge. A voice alert "Please charge" will sound when power is low.
- Connect the provided USB-C charging cable to the charging port at the bottom of each intercom unit.
- Plug the other end of the cable into a power adapter, laptop, or power bank.
- The indicator light will show charging status (e.g., red for charging).
- Once fully charged, disconnect the units.

Obrázek 2: Informace o baterii a nabíjení

Figure 3: Indicator Light Alerts
4.2 Zapnutí/vypnutí
- Zapnutí: Hold the orange Power Button on the side for approximately 3 seconds until you hear a voice prompt.
- Vypnutí: Hold the orange Power Button on the side for approximately 3 seconds until you hear a voice prompt.
Video 1: Demonstrates how to power on/off the intercom units and adjust volume.
4.3 Pairing Intercoms
For two intercom units to communicate, they must be set to the same channel.
- Ensure both intercom units are powered on.
- Použijte CH+ or CH- buttons to select the desired channel for both units. Ensure both units display the same channel number.
- Once both units are on the same channel, they are paired and ready for communication.
Video 2: Instructions on how to pair two intercom units by setting them to the same channel.
5. Návod k obsluze
5.1 Nastavení hlasitosti
Chcete-li upravit hlasitost, stiskněte tlačítko VOL+ tlačítko pro zvýšení popř VOL- button to decrease the volume level. A voice prompt will indicate the current volume level.
5.2 Speaking (PTT Function)
To speak, press and hold the large PTT (Push-to-Talk) button. The PTT button will light up red, indicating transmission. Release the button to listen. For clear communication, speak directly into the microphone located below the PTT button.
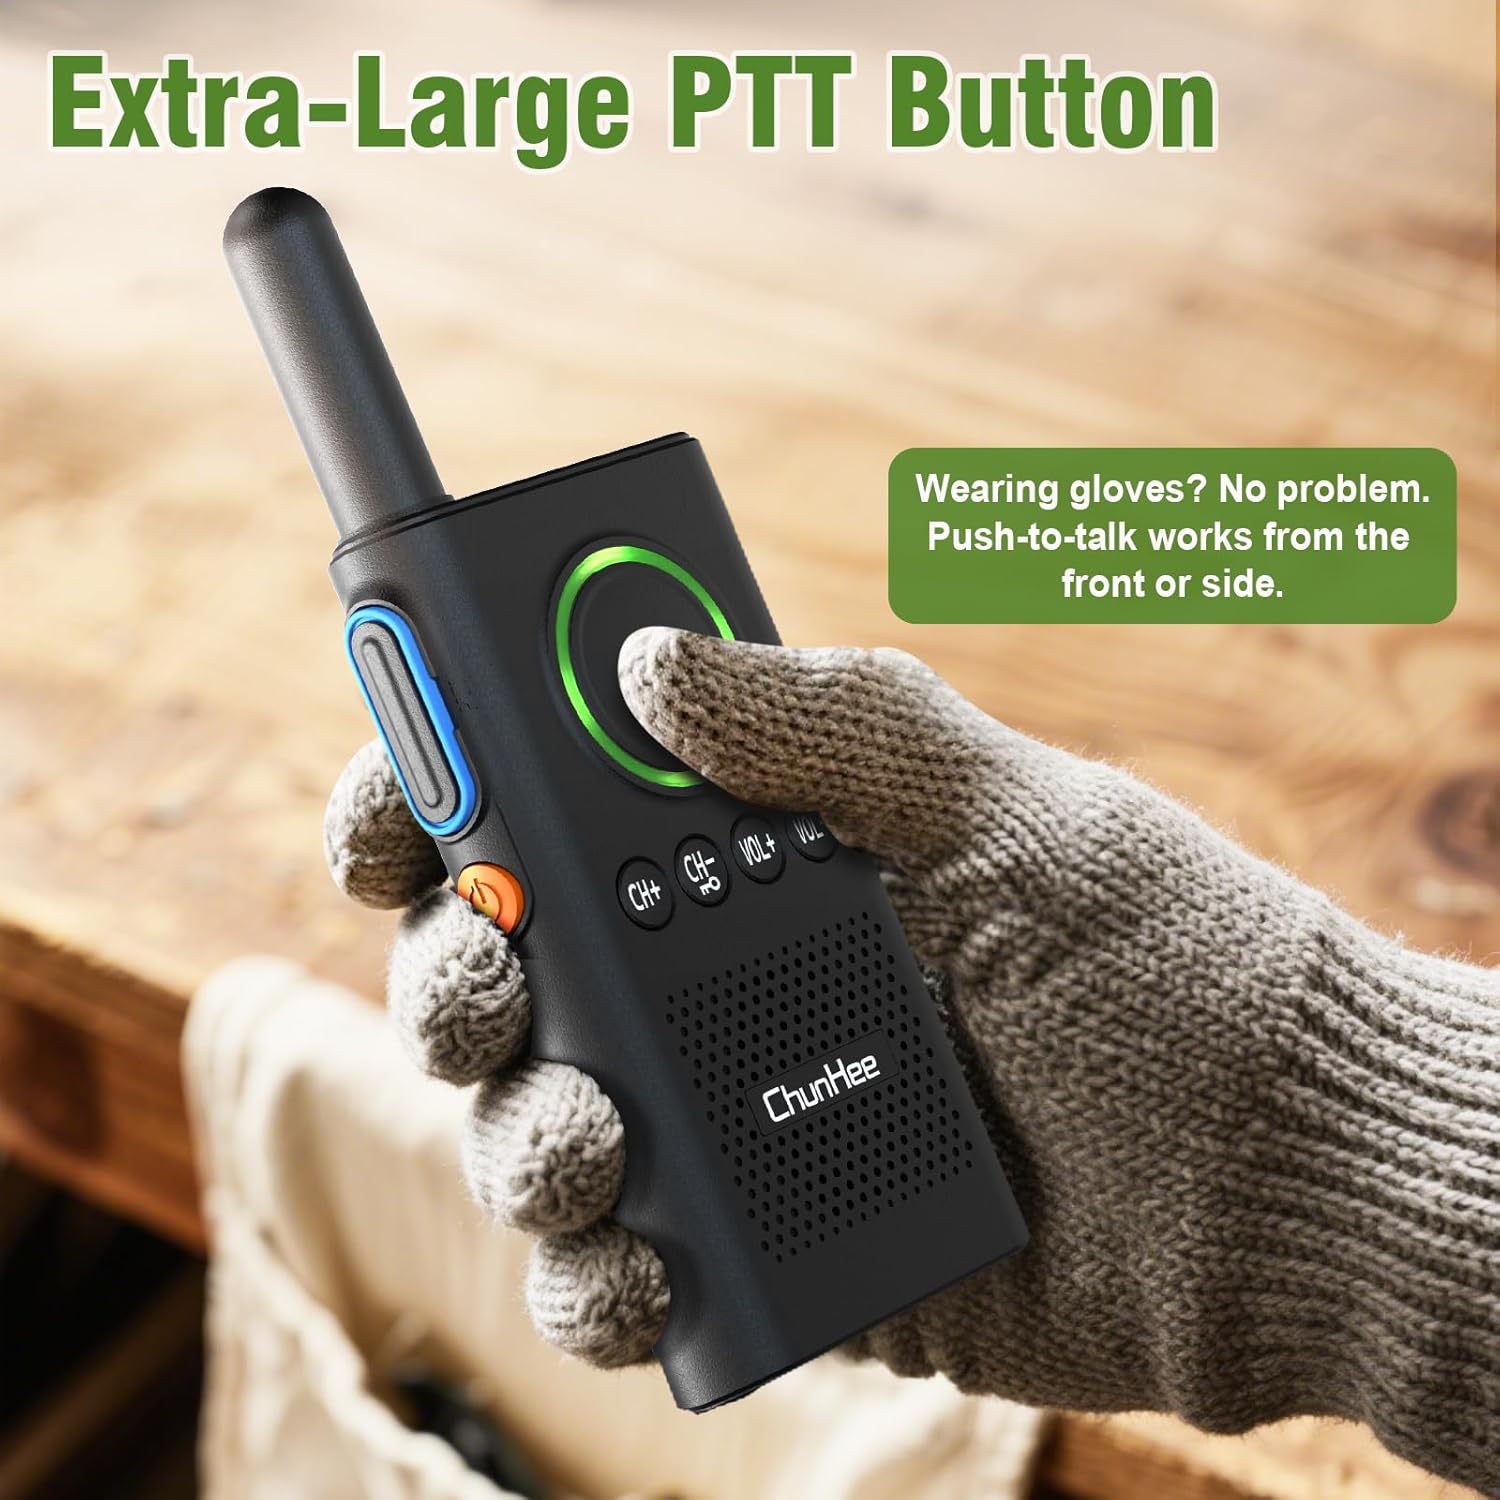
Figure 4: Extra-Large PTT Button for easy use.
5.3 VOX (Voice Operated Exchange) Hands-Free Function
The VOX function allows for hands-free communication, automatically transmitting your voice when you speak, without needing to press the PTT button. This is ideal for multitasking.
- To Enable VOX: With the device powered off, hold the CH+ tlačítko a Tlačítko napájení simultaneously. Release when you hear a "beep" and see the flashing light, indicating VOX is ON.
- To Disable VOX: With the device powered off, hold the CH+ tlačítko a Tlačítko napájení simultaneously. Release when you hear a "beep beep" and see the flashing light, indicating VOX is OFF.
Video 3: Detailed guide on how to enable and disable the VOX function.

Figure 5: Hands-Free VOX Function in use.
5.4 Zámek kanálu
The channel lock feature prevents accidental channel changes and cross-talk, ensuring stable communication.
- To Lock Channel: Podržte CH- button until you hear a "DI" sound. The keyboard is now locked.
- To Unlock Channel: Podržte CH- button again until you hear a "DIDI" sound. The keyboard is now unlocked.
Video 4: Explains how to lock and unlock the intercom keyboard to prevent accidental changes.

Figure 6: Channel Lock ensures stable communication.
6. Údržba
- Keep the intercom units clean by wiping them with a soft, dry cloth.
- Nevystavujte jednotky extrémním teplotám, přímému slunečnímu záření nebo vlhkosti.
- Nepokoušejte se jednotky rozebírat ani opravovat sami, jinak ztratíte platnost záruky.
- Pokud jednotky nepoužíváte, skladujte je na chladném a suchém místě.
7. Řešení problémů
| Problém | Možná příčina | Řešení |
|---|---|---|
| Žádná síla | Slabá baterie | Charge the intercom unit fully. |
| Cannot communicate | Units on different channels | Ensure both units are set to the same channel. |
| Špatná kvalita zvuku | Out of range, obstacles, or low battery | Move closer, reduce obstacles, or charge battery. |
| Accidental button presses | Keyboard not locked | Activate the channel lock function. |
8. Specifikace
- Rozměry produktu: 1.26 x 6.3 x 9 palce
- Hmotnost položky: 10.8 unce
- Počet kanálů: 16
- Speciální funkce: Half-duplex with VOX
- Maximální dosah hovoru: 3300 Feet (in open areas)
- svtage: 5 voltů
- Baterie: 1 Lithium Polymer battery required (included), 1000mAh
- Úroveň odolnosti proti vodě: Není odolný vůči vodě
9. Záruka a podpora
For warranty information, technical support, or any inquiries regarding your ChunHee WT42 Wireless Intercom System, please contact the manufacturer directly through their official website or the contact information provided with your purchase. Keep your purchase receipt for warranty claims.