
Zavedení
Welcome to the ULTRICS Digital Multimeter D2 user manual. This device is designed for precise and reliable electrical measurements, suitable for professionals and DIY enthusiasts. It accurately measures AC/DC voltage, DC current, resistance, continuity, and diodes. This manual provides essential information for safe and effective operation, helping you to maximize the utility of your new multimeter.
Bezpečnostní informace
VAROVÁNÍ: Always exercise extreme caution when working with electrical circuits. Improper use of this multimeter can result in electric shock, personal injury, or damage to the device.
- Nepřekračujte maximální vstupní hodnoty pro žádný rozsah.
- Do not use the multimeter if it or the test leads appear damaged. Inspect them before each use.
- Ensure the function switch is in the correct position before making measurements. Changing ranges while connected to a live circuit can cause damage.
- Disconnect power to the circuit before measuring resistance, continuity, or diodes.
- Buďte opatrní při práci s objtagnad 30 V AC RMS, 42 V peak nebo 60 V DC. Tyto objemytages pose a significant shock hazard.
- Always connect the common (COM) test lead first, then the live lead. Disconnect the live lead first, then the common lead.
- Replace the battery when the low battery indicator appears to ensure accurate readings and proper device function.
This multimeter is rated CAT II 600V, indicating its suitability for measurements on circuits directly connected to the low-voltage instalace.
Obsah balení
Ověřte, zda jsou v balení přítomny všechny položky:
- 1 x ULTRICS Digital Multimeter D2
- 2 x měřicí kabely (červený a černý)
- 1 x 9V baterie
- 1 x Uživatelská příručka (tento dokument)
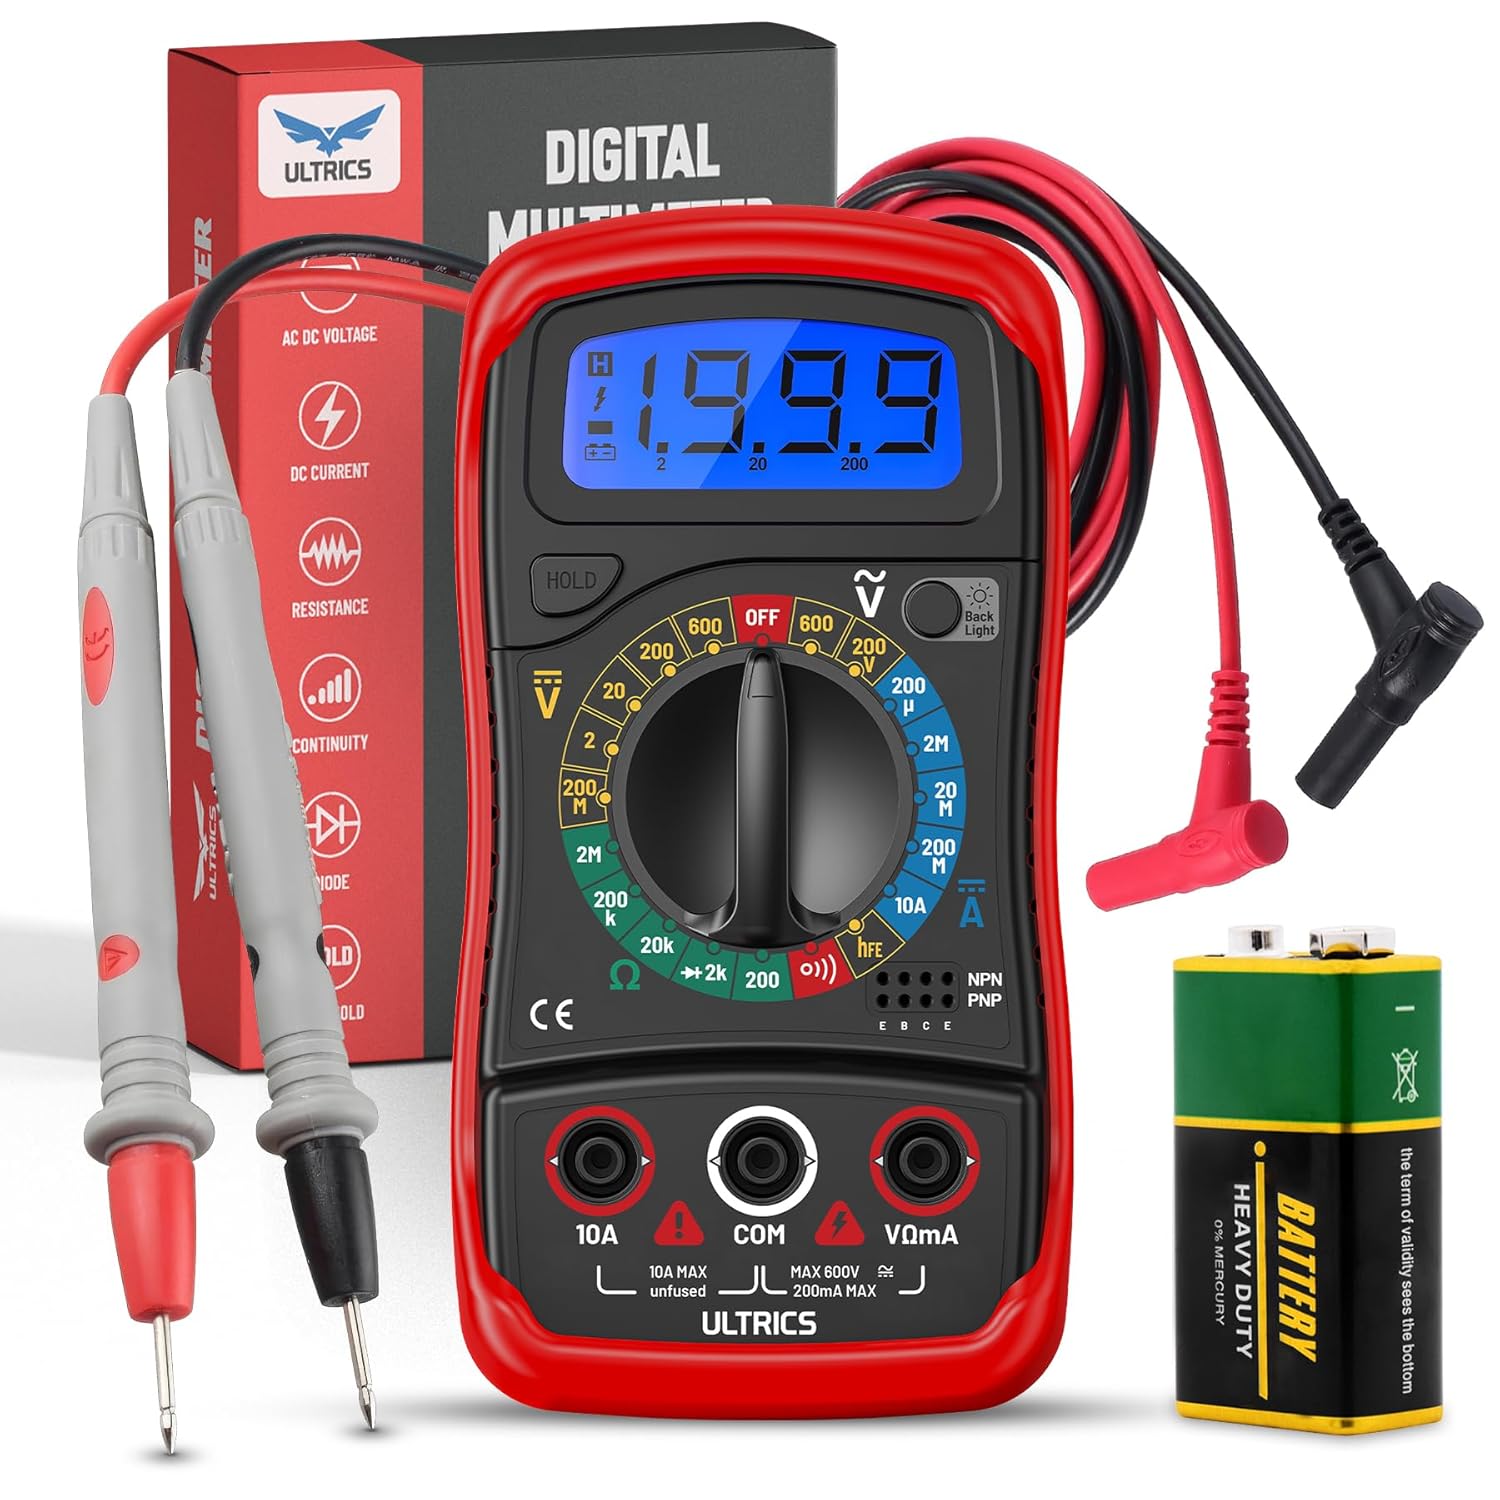
Image: Contents of the ULTRICS Digital Multimeter D2 package, including the multimeter, red and black test leads, and a 9V battery.
Konec produktuview
Familiarize yourself with the components of your ULTRICS Digital Multimeter D2.

Image: Detailed diagram of the ULTRICS Digital Multimeter D2, highlighting its key components such as the LCD display, data hold button, backlight button, function switch, test lead jacks, and protective rubber shell.
- LCD displej: Shows measurement readings, units, and polarity. Features a bright backlight for low-light conditions.
- Tlačítko pro pozastavení dat: Freezes the current reading on the display for easier recording.
- Tlačítko podsvícení: Aktivuje nebo deaktivuje podsvícení displeje.
- Přepínač funkcí (otočný volič): Vybere požadovanou funkci a rozsah měření.
- Vstupní konektor 10A: Used for measuring DC current up to 10 Amperes.
- COM (Common) Input Jack: The negative (-) input for all measurements. Always connect the black test lead here.
- Vstupní konektor VΩmA: The positive (+) input for voltage, odpor a miliampere current measurements. Connect the red test lead here.
- Transistor Test Jacks (hFE): Used for testing NPN and PNP transistors.
- Protective Rubber Shell: Provides durability and protection against minor impacts and splashes.
- Skládací stojan: Allows for hands-free operation and easy viewúhel.
Nastavení
Instalace baterie
The ULTRICS Digital Multimeter D2 requires one 9V battery (included).
- Najděte přihrádku na baterie na zadní straně multimetru.
- Pomocí šroubováku odstraňte šroub, který zajišťuje kryt baterie.
- Opatrně sejměte kryt baterie.
- Připojte 9V baterii k bateriovým svorkám a dbejte na správnou polaritu (+ k + a - k -).
- Vložte baterii do přihrádky.
- Nasaďte kryt baterie a zajistěte jej šroubem.
Připojení testovacích vodičů
Always ensure test leads are securely connected before taking measurements.
- Insert the black test lead's banana plug into the COM (Společný) vstupní konektor.
- Pro většinu měření (objemtage, resistance, continuity, diode, small current), insert the red test lead's banana plug into the VΩmA vstupní jack.
- For high current measurements (up to 10A DC), insert the red test lead's banana plug into the 10A vstupní jack.
Návod k obsluze
This section details how to perform various measurements using your multimeter.
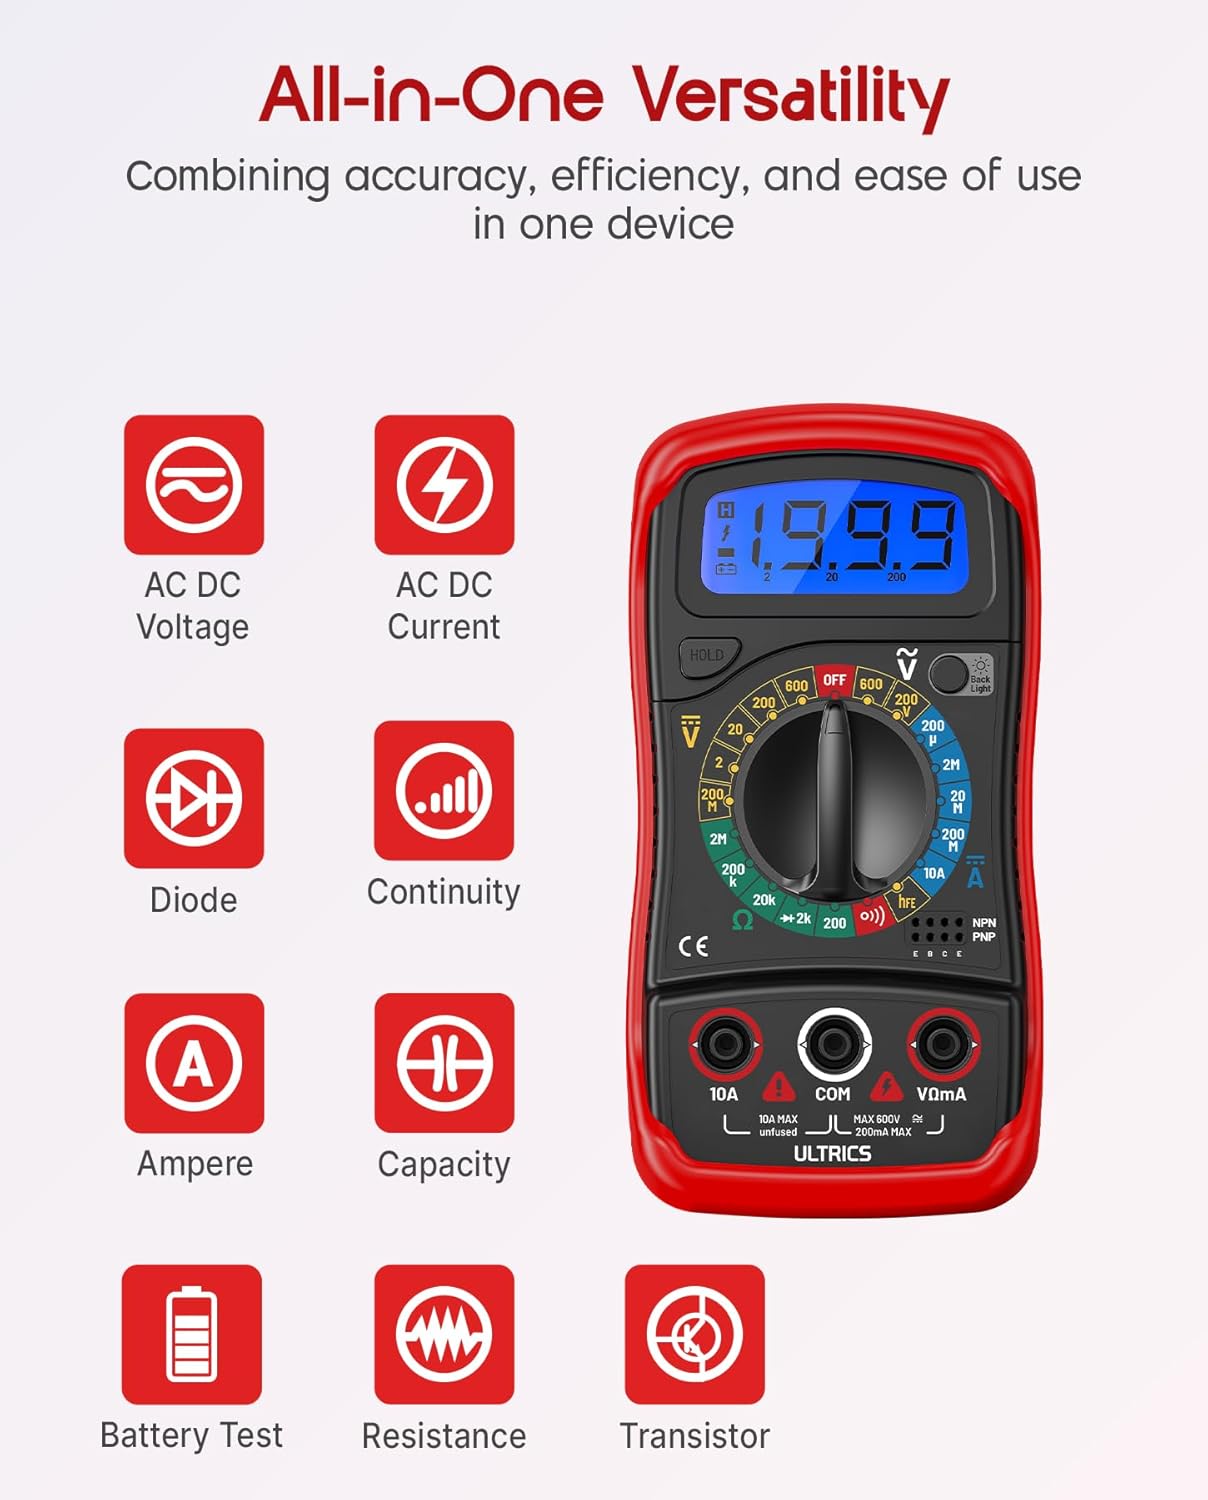
Image: Visual representation of the multimeter's versatile functions, including AC/DC Voltage, AC/DC Current, Diode, Continuity, Ampere, Capacity, Battery Test, Resistance, and Transistor measurements.
Měření DC Voltage (VDC)
- Připojte černý testovací vodič k COM zdířku a červený měřicí kabel k VΩmA zvedák.
- Turn the function switch to the desired VDC range (e.g., 200mV, 2V, 20V, 200V, 600V). If unsure, start with the highest range and decrease as needed.
- Připojte měřicí vodiče paralelně k měřené součástce nebo obvodu.
- Přečtěte si svtage hodnota na LCD displeji.
Měření AC Voltage (VAC)
- Připojte černý testovací vodič k COM zdířku a červený měřicí kabel k VΩmA zvedák.
- Turn the function switch to the desired VAC range (e.g., 200V, 600V).
- Zapojte měřicí vodiče paralelně přes AC napětítage zdroj.
- Přečtěte si svtage hodnota na LCD displeji.
Measuring DC Current (ADC)
POZOR: Never connect the multimeter in parallel when measuring current. Always connect it in series with the circuit. Improper connection can damage the multimeter or the circuit.
- Vypněte napájení obvodu.
- For currents up to 200mA, connect the black test lead to the COM zdířku a červený měřicí kabel k VΩmA zvedák.
- For currents up to 10A, connect the black test lead to the COM zdířku a červený měřicí kabel k 10A zvedák.
- Turn the function switch to the desired ADC range (e.g., 200µA, 2mA, 20mA, 200mA, 10A).
- Přerušte obvod a zapojte multimetr sériově s obvodem.
- Turn on power to the circuit.
- Odečtěte aktuální hodnotu na LCD displeji.
- Turn off power to the circuit before disconnecting the multimeter.
Measuring Resistance (Ω)
POZOR: Ensure the circuit is completely de-energized before measuring resistance. Measuring resistance on a live circuit can damage the multimeter.
- Připojte černý testovací vodič k COM zdířku a červený měřicí kabel k VΩmA zvedák.
- Turn the function switch to the desired Ω range (e.g., 200Ω, 2kΩ, 20kΩ, 200kΩ, 2MΩ, 20MΩ).
- Připojte měřicí vodiče k součástce, jejíž odpor chcete měřit.
- Odečtěte hodnotu odporu na LCD displeji.
Test kontinuity
The continuity test checks for a complete circuit path. An audible buzzer will sound if continuity is detected.
- Připojte černý testovací vodič k COM zdířku a červený měřicí kabel k VΩmA zvedák.
- Otočte přepínač funkcí do polohy Kontinuita (buzzer) position.
- Připojte měřicí vodiče k obvodu nebo součástce.
- Pokud je odpor nižší než přibližně 50 Ω, ozve se bzučák, který signalizuje přerušení obvodu.
Test diod
Diodový test měří propustný objemtagkapka diody.
- Připojte černý testovací vodič k COM zdířku a červený měřicí kabel k VΩmA zvedák.
- Otočte přepínač funkcí do polohy Dioda pozice.
- Connect the red test lead to the anode (+) and the black test lead to the cathode (-) of the diode.
- Přečtěte si dopředu svtage drop on the LCD display. Reverse the leads; the display should show "OL" (Overload) for a good diode.
Test hFE tranzistoru
This function tests the DC current gain (hFE) of NPN and PNP transistors.
- Otočte přepínač funkcí do polohy hFE pozice.
- Určete vodiče emitoru (E), báze (B) a kolektoru (C) tranzistoru.
- Insert the transistor leads into the corresponding holes in the hFE socket on the multimeter, ensuring correct NPN or PNP type.
- Odečtěte hodnotu hFE na LCD displeji.
Funkce Data Hold
Stiskněte tlačítko DRŽET Stisknutím tlačítka zmrazíte aktuální hodnotu na displeji. Opětovným stisknutím zrušíte pozastavení a obnovíte živé hodnoty.
Funkce podsvícení
Stiskněte tlačítko Podsvícení button to turn the LCD backlight on or off, improving visibility in dim environments.

Obrázek: Detailní záběr view of the multimeter's LCD display, demonstrating its bright backlight feature for enhanced readability in various lighting conditions.
Údržba
Čištění
Chcete-li multimetr vyčistit, otřete jeho pouzdro čisticím prostředkem.amp cloth and a mild detergent. Do not use abrasives or solvents, as these may damage the casing nebo displej.
Výměna baterie
When the low battery indicator appears on the display, replace the 9V battery as described in the "Installing the Battery" section to ensure continued accurate readings.
Výměna pojistky
If the current measurement function stops working, the fuse may need replacement. This multimeter is equipped with internal fuses for protection.
- Ujistěte se, že je multimetr VYPNUTÝ a všechny měřicí vodiče jsou odpojené.
- Odstraňte kryt baterie a baterii.
- Carefully open the main casing (this may require removing additional screws, typically located under the rubber shell).
- Locate the fuse(s) on the circuit board. This model typically uses a 200mA/250V fuse for the mA range and a 10A/250V fuse for the 10A range.
- Replace the blown fuse with a fuse of the same type and rating. Never use a fuse with a different rating.
- Reassemble the multimeter, ensuring all screws are tightened and the casing is properly sealed.
Skladování
If the multimeter is not used for a long period, remove the battery to prevent leakage and store the device in a cool, dry place, away from direct sunlight and extreme temperatures.
Odstraňování problémů
| Problém | Možná příčina | Řešení |
|---|---|---|
| Žádný displej nebo tlumený displej | Vybitá nebo vybitá baterie | Vyměňte 9V baterii. |
| Zobrazuje se „OL“ (přetížení) | Input value exceeds selected range; open circuit (for resistance/continuity) | Select a higher range; check for breaks in the circuit or component. |
| Nesprávné údaje | Nesprávná volba funkce/rozsahu; špatné připojení měřicího kabelu; slabá baterie | Verify function switch position and range; ensure leads are firmly connected; replace battery. |
| Měření proudu nefunguje | Spálená pojistka | Replace the appropriate fuse (refer to Maintenance section). |
| No continuity buzzer | Open circuit; resistance too high | Ensure circuit is closed; check resistance value (buzzer typically activates below 50Ω). |
Specifikace
| Funkce | Detail |
|---|---|
| Model | Digital Multimeter D2 |
| Zobrazit | 3 ½ digit LCD, 1999 counts, with backlight |
| DC svtage | 200mV / 2V / 20V / 200V / 600V |
| AC svtage | 200V / 600V |
| Stejnosměrný proud | 200µA / 2mA / 20mA / 200mA / 10A |
| Odpor | 200 Ω / 2 kΩ / 20 kΩ / 200 kΩ / 2 MΩ / 20 MΩ |
| Test diod | Ano |
| Bzučák spojitosti | Ano |
| Test hFE tranzistoru | Ano |
| Data Hold | Ano |
| Zdroj napájení | 9V baterie |
| Hodnocení bezpečnosti | IEC CAT II 600V, CE, RoHS compliant |
| Rozměry (D x Š x V) | 14.6 x 10 x 5 cm (5.75 x 3.94 x 1.97 palce) |
| Hmotnost | 240 gramů (0.53 lb) |
Záruka a podpora
ULTRICS provides a 12-month warranty for this product, covering manufacturing defects from the date of purchase. Please retain your proof of purchase for warranty claims.
For technical support, warranty claims, or any questions regarding your ULTRICS Digital Multimeter D2, please contact ULTRICS customer service through the retailer's platform or the official ULTRICS webweb. Před kontaktováním podpory si prosím připravte údaje o nákupu a číslo modelu.
Výrobce: ULTRICS
Číslo modelu: Digital Multimeter D2
ASIN: B0DYP62MW7