
1. Úvod
This manual provides essential information for the safe and efficient operation of your MakeSkyBlue MPPT Solar Charge Controller, model 40A-V123. This device is designed to optimize power harvesting from your solar panels and efficiently charge your battery bank in 12V, 24V, or 48V solar systems. Please read this manual thoroughly before installation and use.
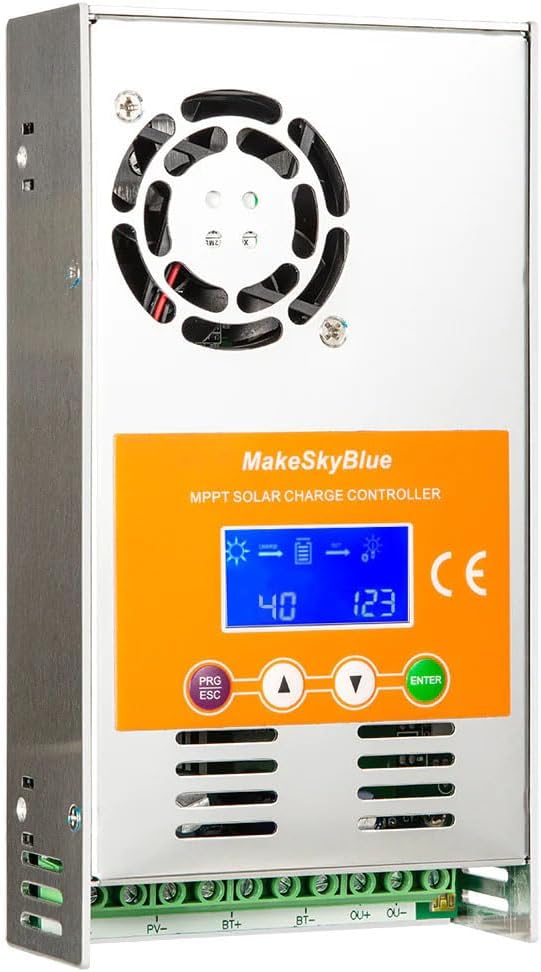
Figure 1: MakeSkyBlue 40A-V123 MPPT Solar Charge Controller
2. Bezpečnostní pokyny
Během instalace a provozu dodržujte následující bezpečnostní opatření:
- Ujistěte se, že veškeré kabely jsou správně polarizované a bezpečně připojené, aby nedošlo k poškození regulátoru a dalších součástí.
- Vždy připojte baterii k regulátoru nabíjení první, and disconnect it poslední.
- Do not connect the solar panel array to the controller without a battery connected.
- Ensure the solar panel array's open circuit voltage (Voc) does not exceed the controller's maximum input voltage.
- Regulátor instalujte v dobře větraném prostoru, mimo dosah hořlavých materiálů a přímého slunečního záření.
- Use appropriate circuit breakers or fuses for all connections (solar, battery, load).
- Avoid touching live terminals. Only qualified personnel should perform electrical work.
3. Konec produktuview
The MakeSkyBlue 40A-V123 MPPT Solar Charge Controller features advanced Maximum Power Point Tracking technology to maximize energy harvest from your solar array. It includes a multi-function LCD for monitoring and parameter adjustment, and supports 12V, 24V, and 48V battery systems with automatic voltage detekce.
3.1 Klíčové vlastnosti
- Intelligent Maximum Power Point Tracking (MPPT) technology.
- Built-in DSP controller for high performance.
- Tři stage charging algorithm to optimize battery performance and lifespan.
- Multi-function LCD display with backlight for real-time data and error codes.
- Automatická baterie objtage detection (12V/24V/48V).
- Compatible with various battery types including Lead-Acid, AGM, and Gel.
- Protection features: limited current, temperature, and overcharging.

Figure 2: Compatible Battery Types (Gel, Flooded, AGM)

Figure 3: Illustration of Maximum Power Point Tracking (MPPT) vs. PWM
4. Nastavení a instalace
Follow these steps for proper installation of your MPPT solar charge controller. Refer to the wiring diagram for visual guidance.
4.1 Schéma zapojení

Figure 4: MPPT Charge Controller System Wiring Diagram
4.2 kroky instalace
- Montáž: Mount the controller vertically on a non-flammable surface in a cool, dry, and well-ventilated area. Ensure adequate clearance around the unit for heat dissipation.
- Připojení baterie: Connect the battery cables to the controller's BAT+ and BAT- terminals. Ensure correct polarity. The controller will automatically detect the battery voltage (12V, 24V nebo 48V).
- Připojení solárního panelu: Connect the solar panel array cables to the controller's PV+ and PV- terminals. Ensure correct polarity. The controller will begin charging the battery.
- Připojení zátěže (volitelné): If using the load output, connect your DC loads to the OUT+ and OUT- terminals. Ensure the total current draw does not exceed the controller's rated load current.
- Ověřte připojení: Double-check all connections for tightness and correct polarity before powering on the system.
Important: Always connect the battery first and disconnect it last. Failure to follow this sequence may damage the controller.
5. Návod k obsluze
The controller's LCD display provides real-time system status and allows for parameter adjustments. The control buttons are PRG/ESC, Up (▲), Down (▼), and ENTER.
5.1 Funkce LCD displeje
The LCD cycles through various screens displaying system information. You can manually cycle through screens using the Up/Down buttons or enter parameter settings using PRG/ESC and ENTER.
- Hlavní displej: Shows charging status, battery level, and output status.
- Cumulative Power Generation: Displays total energy generated by the solar panels.
- PV svtage and Load Power: Shows current solar panel voltage and load power consumption.
- Baterie Voltage and Load Current: Zobrazuje aktuální objem baterietage a zátěžový proud.
- Accumulated Discharge: Shows total energy discharged from the battery.
- Vnitřní teplota: Displays the internal temperature of the controller.
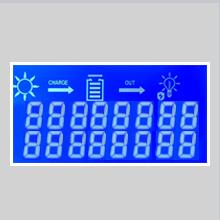
Figure 5: Main Display showing charge and output status.
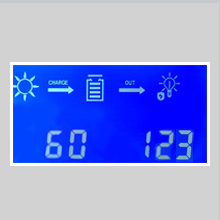
Figure 6: Display showing cumulative power generation.
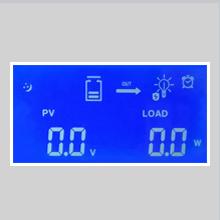
Figure 7: Display showing PV voltage and load power.
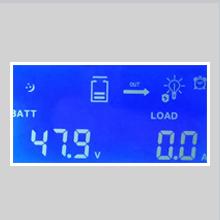
Figure 8: Display showing battery voltage a zátěžový proud.
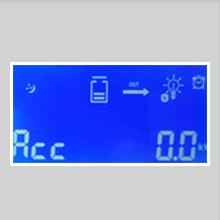
Figure 9: Display showing accumulated discharge.
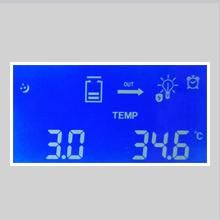
Figure 10: Display showing internal temperature.
5.2 Nastavení parametrů
To enter parameter adjustment mode, press the PRG/ESC tlačítko. Použijte Up (▲) a Dolů (▼) buttons to navigate through parameters and adjust values. Press ENTER to confirm changes. Press PRG/ESC znovu pro ukončení režimu nastavení.
Common adjustable parameters include:
- b00: Load working mode (e.g., 24H for continuous, or timed modes).
- b01: Ochrana proti přebití svtage (e.g., 55.2V for 48V system).
- b02: Charging recovery svtage (e.g., 58.0V for 48V system).
- b03: Ochrana proti nadměrnému vybití svtage (e.g., 40.0V for 48V system).
- b04: Rekuperace přepětí voltage.
- b06: Battery type setting (e.g., 47.9V for a specific battery type).
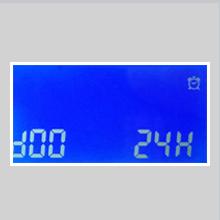
Figure 11: Parameter b00 for load working mode.
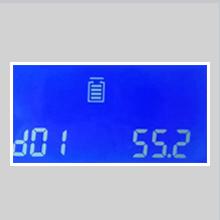
Figure 12: Parameter b01 for overcharge protection voltage.
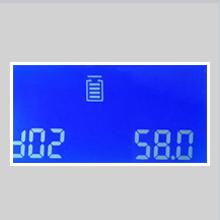
Figure 13: Parameter b02 for charging recovery voltage.
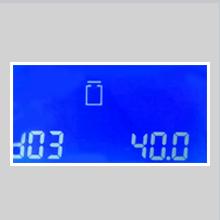
Figure 14: Parameter b03 for over-discharge protection voltage.
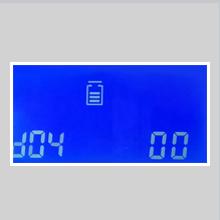
Figure 15: Parameter b04 for over-discharge recovery voltage.
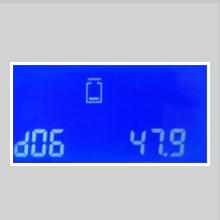
Figure 16: Parameter b06 for battery type setting.
Refer to the full product manual (if available from the manufacturer) for a complete list of parameters and their recommended settings for different battery types.
6. Údržba
Pravidelná údržba zajišťuje optimální výkon a dlouhou životnost vašeho solárního regulátoru nabíjení:
- Čištění: Periodically clean the controller's exterior, especially the cooling fins and fan openings, to prevent dust buildup and ensure proper heat dissipation. Use a dry cloth.
- Kontrola připojení: Annually inspect all wiring connections for tightness and corrosion. Loose connections can cause overheating and power loss.
- Větrání: Ensure the installation area remains well-ventilated and free from obstructions.
- Kontrola baterie: Regularly check your battery bank for signs of damage, corrosion, or electrolyte levels (for flooded batteries).
7. Řešení problémů
The LCD display can show error codes to indicate specific issues. If an error occurs, note the code and refer to the manufacturer's documentation for detailed troubleshooting steps. General troubleshooting tips include:
- Žádný displej/Žádné napájení: Zkontrolujte připojení baterie a ujistěte se, že má dostatečné napětítage.
- Bez nabíjení: Verify solar panel connections, ensure sufficient sunlight, and check for any shading on the panels. Confirm PV array voltage je v provozním rozsahu regulátoru.
- Overcharging/Undercharging: Check battery type settings and charging parameters (b01, b02). Ensure the battery is healthy.
- Načtení nefunguje: Check load connections, ensure the load output is enabled (b00 setting), and verify the load current does not exceed the controller's rating. Check for over-discharge protection (b03).
- Over-temperature Error: Ensure adequate ventilation around the controller. Clean any dust from cooling fins.
If the issue persists, contact MakeSkyBlue customer support.
8. Specifikace
Key technical specifications for the MakeSkyBlue 40A-V123 MPPT Solar Charge Controller:
| Funkce | Specifikace |
|---|---|
| Model | 40A-V123 |
| System Voltage | 12V / 24V / 48V Auto |
| Maximum PV Array Power (12V Battery) | ≤ 720 XNUMX W |
| Maximum PV Array Power (24V Battery) | ≤ 1440 XNUMX W |
| Maximum PV Array Power (48V Battery) | ≤ 2800 XNUMX W |
| PV Array Open Circuit Voltage (Voc) (12V Battery) | 20 V - 80 V |
| PV Array Open Circuit Voltage (Voc) (24V Battery) | 37 V - 105 V |
| PV Array Open Circuit Voltage (Voc) (48V Battery) | 72 V - 160 V |
| Limited Current Protection | 61A |
| Teplotní ochrana | > 75 ℃ |
| Fan-on Temperature | > 45 ℃ |
| Fan-off Temperature | <40 ℃ |
| Ochrana proti přebití Voltage (12V baterie) | 15V |
| Ochrana proti přebití Voltage (24V baterie) | 30V |
| Ochrana proti přebití Voltage (48V baterie) | 60V |
| Provozní teplota | Až 45 ℃ |
| Typ zobrazení | LCD |
| Hmotnost položky | 2.87 libry (1300 gramů) |
| Rozměry balení | 9.84 x 7.87 x 2.76 palce |
| UPC | 634769632563 |
8.1 Rozměry produktu

Figure 17: Product Dimensions (approx. 21.65cm H x 14.96cm W x 8.66cm D)
9. Záruka a podpora
For warranty information, technical support, or service inquiries, please contact MakeSkyBlue directly through their official channels. Keep your purchase receipt as proof of purchase.
Můžete navštívit MakeSkyBlue Store on Amazon pro více informací.