
sonecesiya YES0237M
sonecesiya Accessories Kit Instruction Manual for Dreame W10 / W10 Pro Robot Vacuum Cleaner
Model: YES0237M
Zavedení
This instruction manual provides detailed guidance for the installation, maintenance, and replacement of components within the sonecesiya Accessories Kit for Dreame W10 and W10 Pro Robot Vacuum Cleaners. Proper use and maintenance of these replacement parts will help ensure your robot vacuum operates efficiently and maintains optimal cleaning performance.
Konec produktuview
The sonecesiya Accessories Kit (Model YES0237M) is designed to provide essential replacement parts for your Dreame W10 or W10 Pro robot vacuum cleaner. The kit includes:
- 1 Hlavní kartáč
- 2 boční kartáče
- 2 filtry
- 2 mop podložky
- 1 čisticí nástroj

Image: All components included in the sonecesiya Accessories Kit, featuring one main brush, two side brushes, two filters, two mop pads, and a cleaning tool.
Kompatibilita
This accessory kit is specifically compatible with the following robot vacuum cleaner models:
- Dreame W10 Robot Vacuum Cleaner
- Dreame W10 Pro Robot Vacuum Cleaner
Ensure your robot vacuum model matches one of the listed models for proper fit and function.
Pokyny k instalaci
1. Instalace hlavního kartáče
- Vypněte robotický vysavač a postavte ho dnem vzhůru na rovný povrch.
- Vyhledejte kryt hlavního kartáče, obvykle zajištěný západkami nebo šrouby. Otevřete nebo sejměte kryt.
- Odstraňte starý hlavní kartáč.
- Insert the new main brush into its designated slot, ensuring the ends align with the brush bearings.
- Bezpečně zavřete kryt hlavního kartáče.

Image: The main brush, highlighting its anti-tangle design and ease of installation and disassembly. It is constructed from rubber and nylon for reduced noise.

Obrázek: Podrobný view of the main brush, showing its bristles and orange core, ready for installation.
2. Instalace bočního kartáče
- Vypněte robotický vysavač a otočte ho dnem vzhůru.
- Vyhledejte boční kartáče. Obvykle jsou upevněny šroubem.
- Odšroubujte a vyjměte starý boční kartáč.
- Align the new side brush with the post and secure it with the screw.
3. Instalace filtru
- Otevřete přihrádku na prach robotického vysavače.
- Odstraňte popelnici.
- Vyhledejte filtr v nádobě na prach. Vyjměte starý filtr.
- Insert the new filter into the dustbin, ensuring it is seated correctly.
- Zavřete nádobu na prach a vložte ji zpět do vysavače.

Image: A high-efficiency particulate arrestance filter, designed to capture 99.97% of particles as small as 0.3 microns, preventing them from re-entering the air.

Obrázek: Detailní záběr view of the filter, showing its pleated design for maximum surface area and filtration efficiency.
4. Mop Pad Installation
- Locate the mop pad attachment area on the underside of the robot vacuum.
- Remove the used mop pads.
- Attach the new mop pads, ensuring they are securely fastened, typically via Velcro or a clip mechanism.
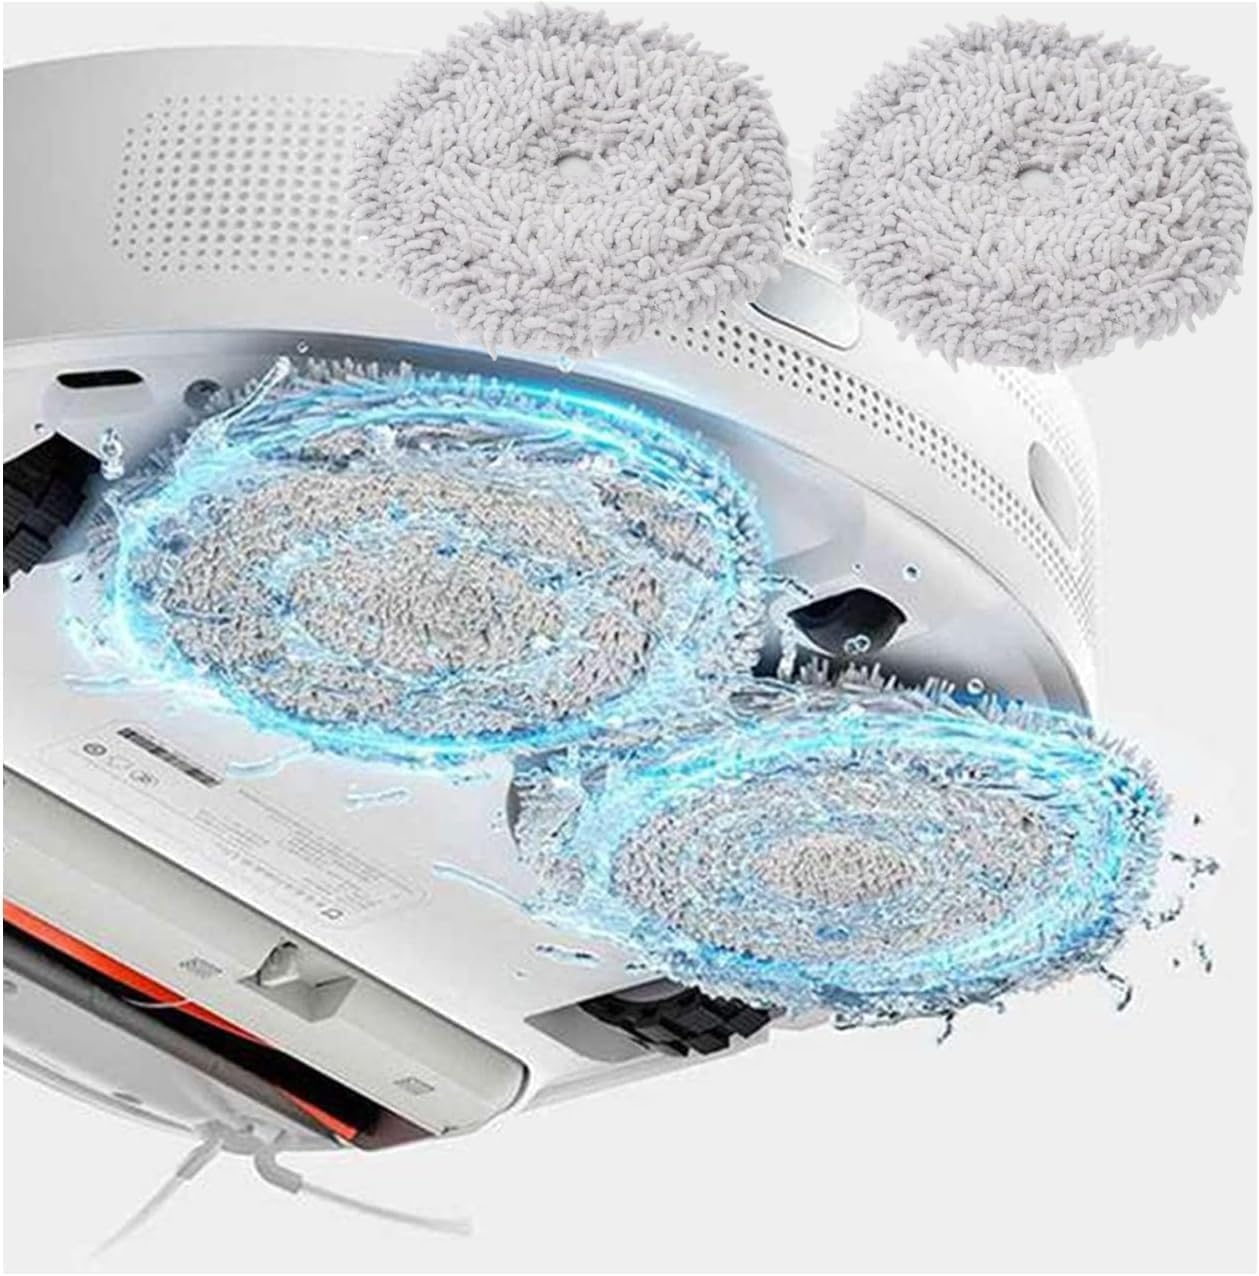
Image: Two mop pads attached to the underside of a robot vacuum, illustrating their placement for effective floor cleaning.
Údržba
Regular maintenance of your robot vacuum's accessories is crucial for optimal performance and longevity. Always turn off and unplug the robot vacuum before performing any maintenance.
1. Čištění hlavního kartáče
- Remove the main brush as described in the installation section.
- Use the provided cleaning tool to remove hair, debris, and tangled threads from the brush bristles.
- If necessary, rinse the brush under running water. Ensure it is completely dry before reinstallation.
- Inspect the brush for wear and tear. Replace if bristles are significantly damaged or worn.
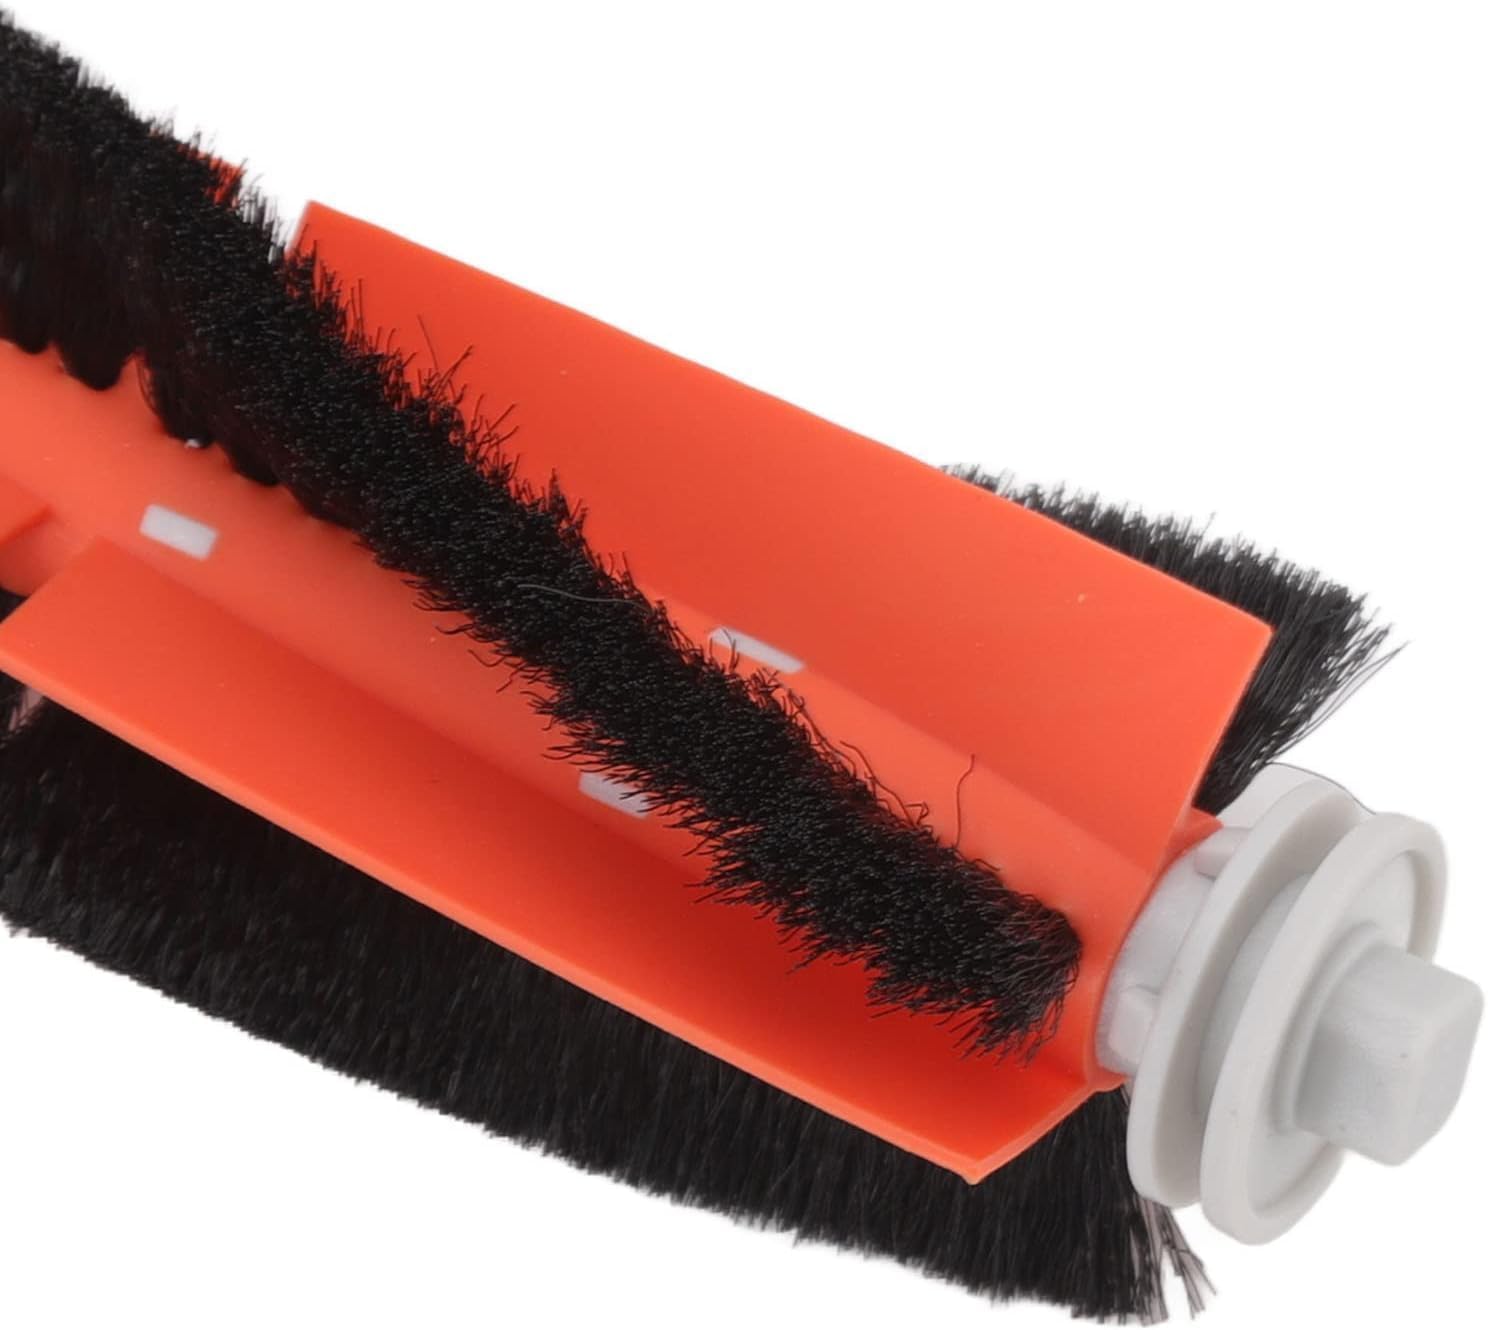
Image: A close-up of the main brush, showing how hair and debris can accumulate and be removed, emphasizing the importance of regular cleaning.
2. Čištění bočních kartáčů
- Odstraňte boční kartáče.
- Remove any hair or debris tangled around the bristles or the brush base.
- If bristles are bent, you can soak them in warm water for a few minutes to help them regain their shape.
- Replace side brushes if bristles are excessively worn or damaged.
3. Čištění a výměna filtrů
- Vyjměte filtr z nádoby na prach.
- Jemně poklepejte filtrem o odpadkový koš, abyste odstranili uvolněný prach a nečistoty.
- The filters in this kit are washable. Rinse the filter under cool, running water until the water runs clear. Do not use detergent.
- Allow the filter to air dry completely for at least 24 hours before reinstallation. Do not expose to direct sunlight or heat.
- Replace filters every 2-3 months, or more frequently depending on usage and environment, to maintain optimal filtration performance.

Image: Two filters being rinsed under water, demonstrating their washable and reusable nature. This helps prevent secondary pollution.
4. Čisticí podložky na mopy
- Remove the mop pads from the robot vacuum.
- Wash the mop pads by hand or machine wash with similar colors. Do not use bleach.
- Air dry completely before reattaching to the vacuum.
- Vyměňte mopové podložky, když vykazují známky výrazného opotřebení, snížené savosti nebo poškození.
Specifikace
| Materiál | Acrylonitrile Butadiene Styrene (ABS), Non-woven Fabric, Nylon, Microfiber |
| Main Brush Size | 11 cm (délka) |
| Velikost filtru | 14 x 4.9 x 1.2 cm |
| Délka bočního kartáče | 4 + 8.5 cm (total length of arms) |
| Číslo modelu | YES0237M |
| Zahrnuté komponenty | 1 Main Brush, 2 Side Brushes, 2 Filters, 2 Mop Pads, 1 Cleaning Brush |
Odstraňování problémů
Pokud se po výměně dílů setkáte s problémy, zvažte následující:
- Snížený čisticí výkon: Ensure all brushes are free of tangles and debris. Check that filters are clean and properly seated.
- Neobvyklé zvuky: Verify that the main brush and side brushes are correctly installed and not obstructed.
- Nepadnoucí díly: Double-check that the kit is compatible with your specific Dreame W10 or W10 Pro model. Refer to the "Compatibility" section.
- Vacuum Error Messages: Consult your Dreame W10/W10 Pro robot vacuum's original user manual for specific error code interpretations.
Záruka a podpora
For any questions regarding the sonecesiya Accessories Kit, or if you experience issues not covered in this manual, please contact sonecesiya customer support. Refer to your purchase documentation for specific warranty details and contact information.
You can often find support information on the brand's official webwebu nebo prostřednictvím prodejce, u kterého byl produkt zakoupen.
Ask a question about this manual
Ask about setup, troubleshooting, compatibility, parts, safety, or missing instructions. Manuals+ will review the question and use this page’s manual context to help answer it.