
1. Důležité bezpečnostní informace
Před zahájením instalace si prosím přečtěte a pochopte všechny pokyny. Nedodržení těchto pokynů může vést k úrazu elektrickým proudem, požáru nebo zranění osob.
- Před instalací nebo údržbou se ujistěte, že je napájení vypnuto jističem.
- Veškeré zapojení musí být v souladu s národními a místními elektrotechnickými předpisy.
- The ceiling fan must be mounted to a structure capable of supporting a minimum of 35 lbs (15.9 kg).
- Neprovozujte ventilátor s poškozenými lopatkami nebo krytem.
- Pokud je ventilátor v provozu, udržujte ruce, oděv a jiné předměty v dostatečné vzdálenosti od lopatek ventilátoru.
- Tento ventilátor je určen pouze pro vnitřní použití.
2. Obsah balení
Verify that all components listed below are included in your package. If any parts are missing or damaged, contact LEDLUX customer support before proceeding with installation.
- Montáž skříně motoru
- Lopatky ventilátoru (8 kusy)
- Downrods (4.5", 12", 24" options)
- Montážní konzola
- Dálkové ovládání a přijímač
- Sada hardwaru (šrouby, podložky, matice)
- Návod k použití
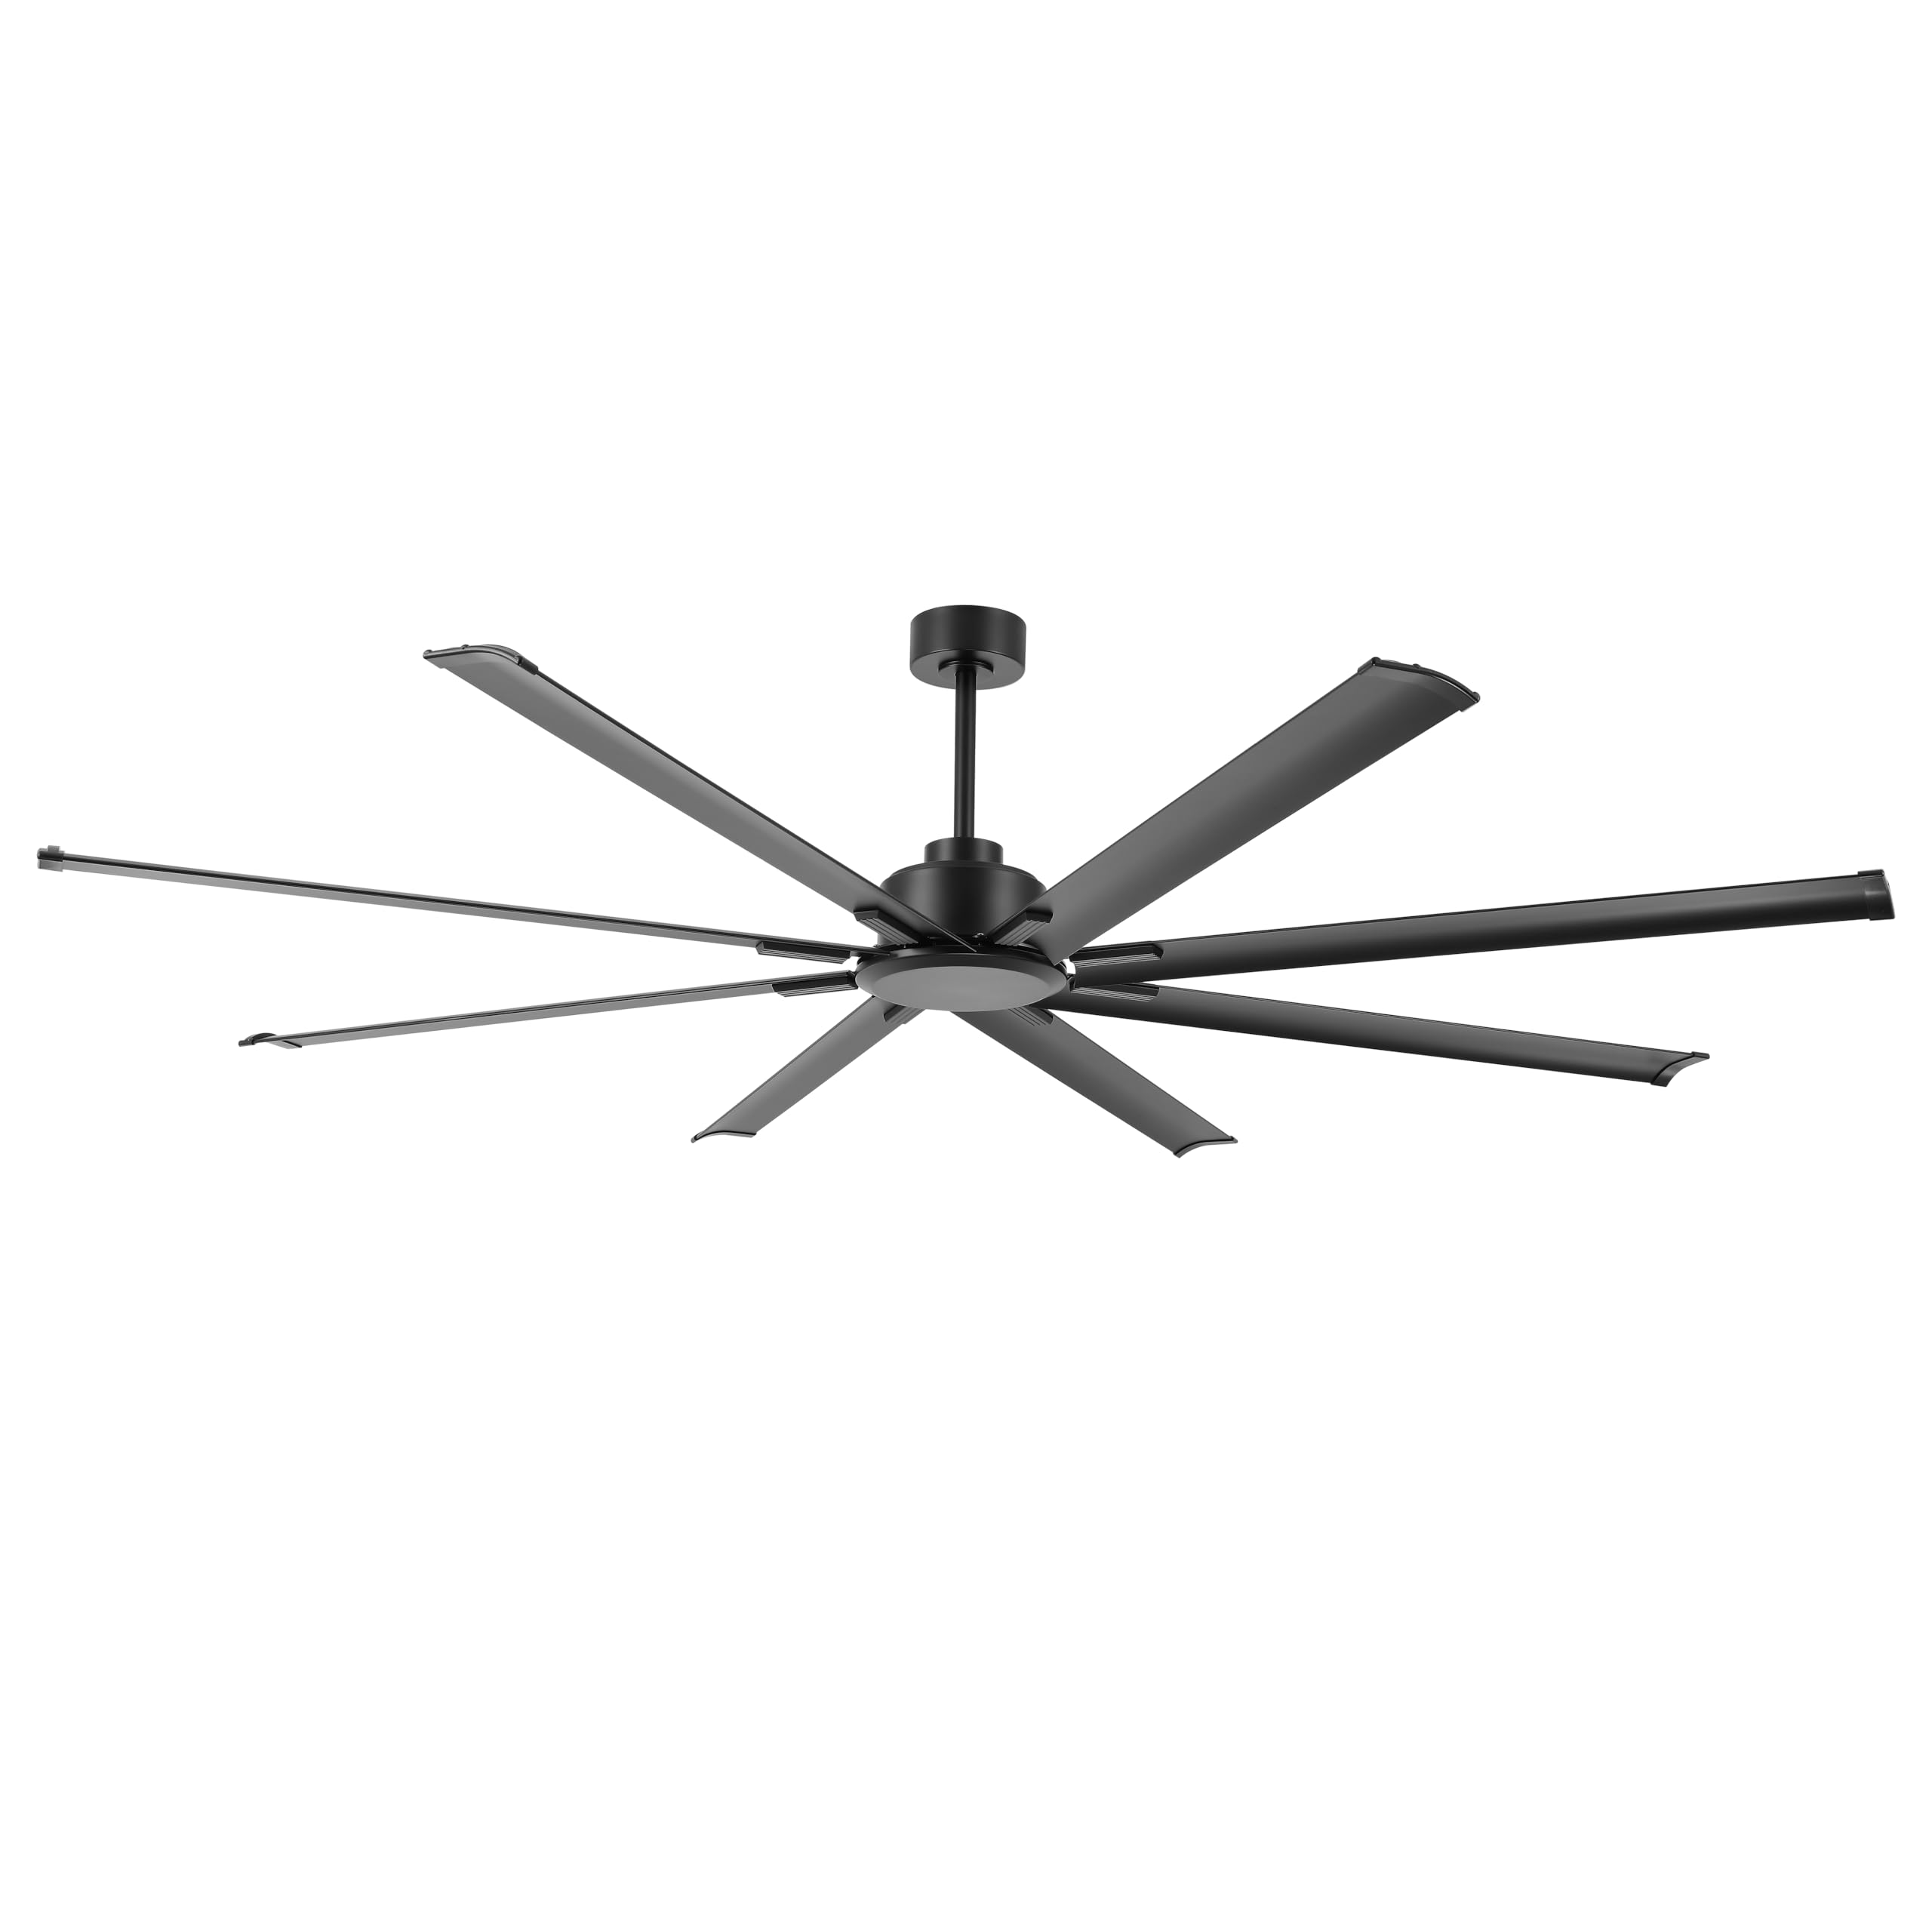
Image: The LEDLUX 96-inch ceiling fan, showcasing its eight black aluminum blades, central motor housing, and the included remote control. This image provides an overview of the main product components.
3. Nastavení a instalace
Follow these steps carefully for proper installation of your LEDLUX ceiling fan.
3.1 Kontrolní seznam před instalací
- Vypněte napájení hlavním jističem.
- Ujistěte se, že místo montáže unese hmotnost ventilátoru.
- Gather necessary tools (screwdriver, wire strippers, ladder, etc.).
3.2 Montáž ventilátoru
- Attach the mounting bracket to the ceiling junction box. Ensure it is securely fastened to a structural beam.
- Select the appropriate downrod (4.5", 12", or 24") for your ceiling height.
- Protáhněte kabely ventilátoru skrz vybranou spojovací tyč.
- Secure the downrod to the motor housing.
- Opatrně zvedněte sestavu ventilátoru a zavěste ji na montážní konzolu.

Image: A diagram illustrating the overall dimensions of the 96-inch ceiling fan, including its width and height with different downrod lengths (12.7", 20.3", 32.5"). It also shows how the fan can be mounted on both flat and sloped ceilings, along with the three included downrod sizes (4.5", 12", 24").

Image: This image displays the LEDLUX ceiling fan installed in three different room settings: a high ceiling, a low ceiling, and a slanted ceiling, demonstrating its versatility for various architectural styles.
3.3 Zapojení kabeláže
- Connect the fan's wires to the household wiring according to the wiring diagram provided in the full manual. Use wire nuts to secure connections.
- Install the remote receiver into the mounting bracket canopy.
- Connect the receiver wires to the fan and household wires as instructed.
3.4 Upevnění čepelí
- Attach each of the 8 fan blades to the motor housing using the provided screws and washers. Ensure all screws are tightened securely.
4. Návod k obsluze
Your LEDLUX ceiling fan is controlled by the included remote control. Ensure batteries are installed correctly in the remote.
4.1 Funkce dálkového ovládání

Obrázek: Podrobný view of the remote control for the LEDLUX ceiling fan, highlighting buttons for speed adjustment (1-6), fan on/off, forward/reverse function, natural wind mode, and timer settings (1H/2H/4H/8H).
- Tlačítko zapnutí/vypnutí: Zapíná nebo vypíná ventilátor.
- Tlačítka rychlosti (1-6): Upravuje rychlost ventilátoru od nízké (1) po vysokou (6).
- Tlačítko vpřed/vzad: Mění směr otáčení čepele.
- Tlačítka časovače (1H/2H/4H/8H): Sets the fan to turn off automatically after the selected duration.
- Natural Wind Button: Simulates a natural breeze by cycling through various speeds.
4.2 Reversible Function (Summer/Winter Mode)
The fan features a reversible DC motor, allowing for year-round use to optimize air circulation.
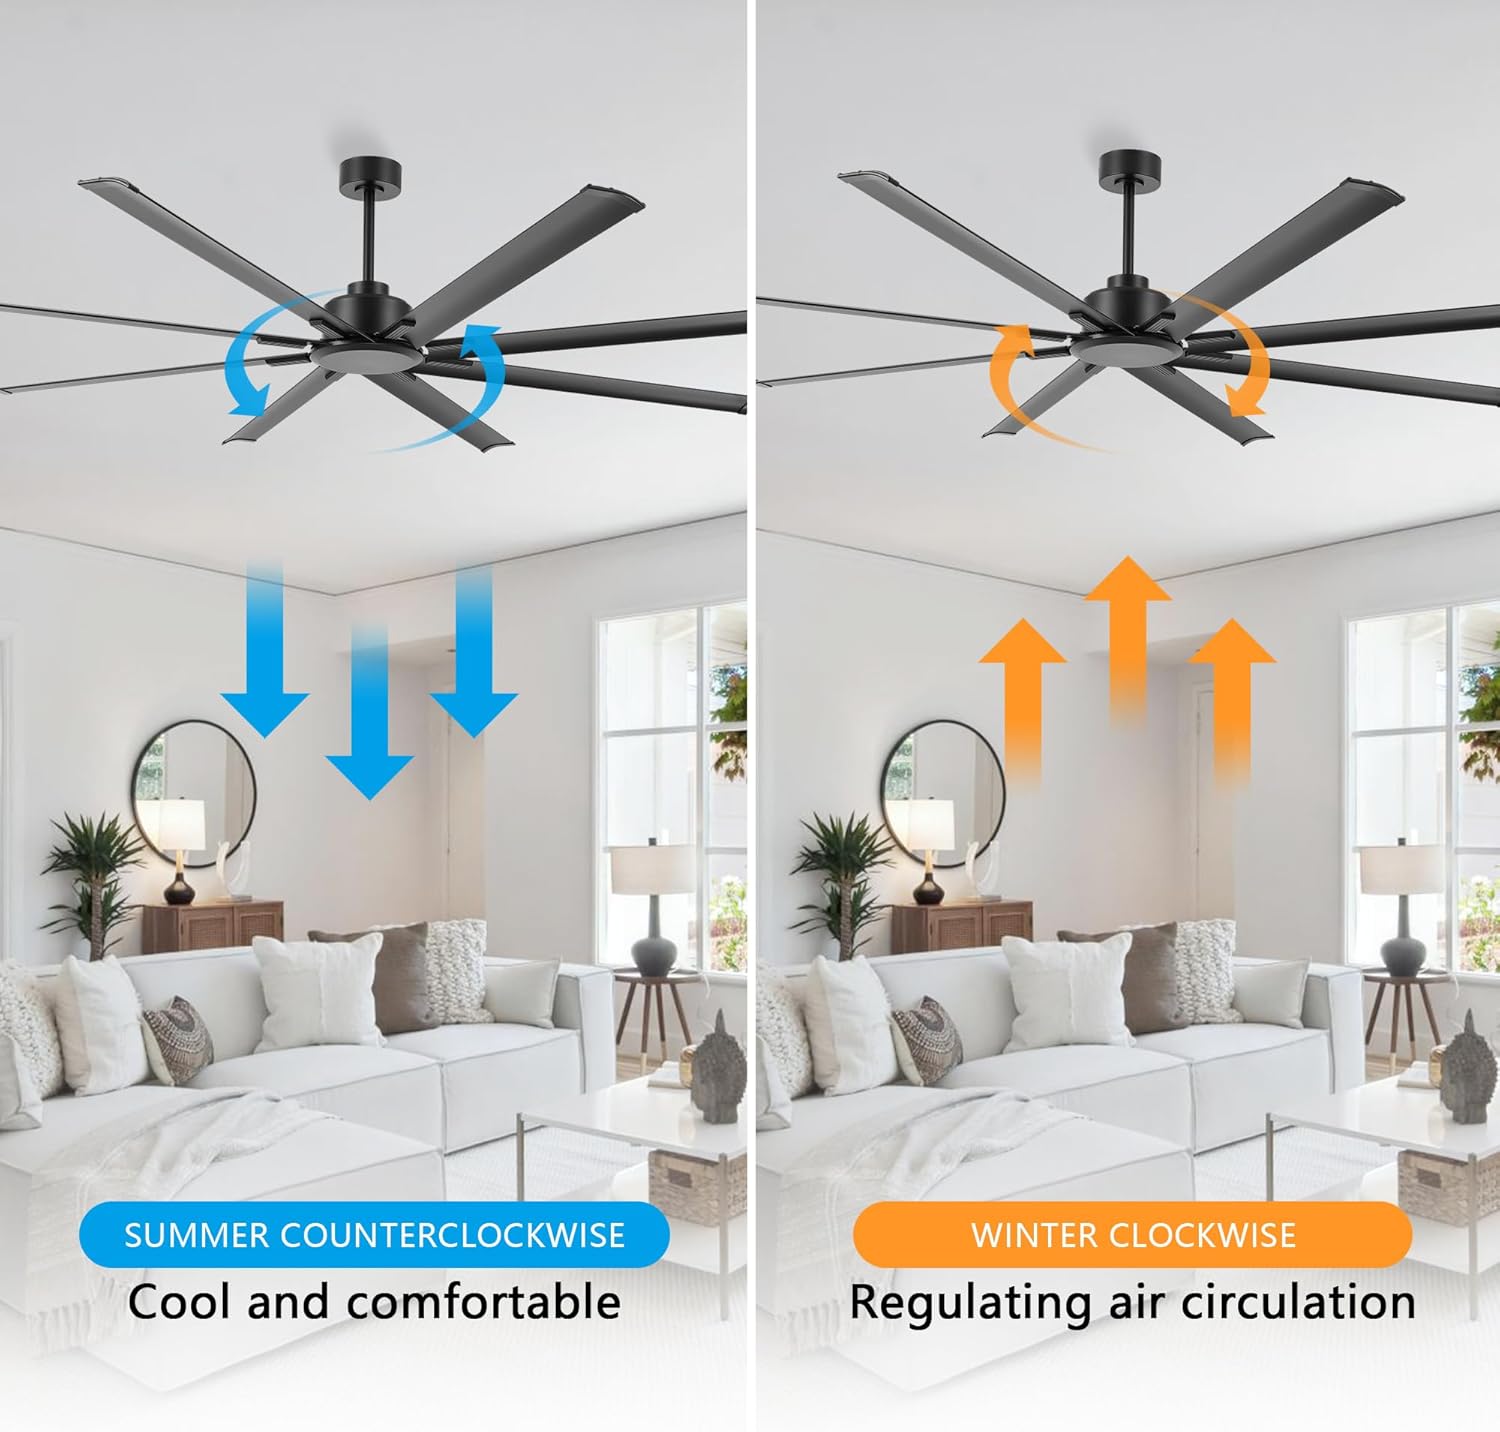
Image: This image illustrates the reversible function of the ceiling fan. On the left, blue arrows indicate counter-clockwise rotation for a cooling downdraft in summer. On the right, orange arrows show clockwise rotation for an updraft to circulate warm air in winter.
- Letní režim (proti směru hodinových ručiček): Press the reverse button to make the blades rotate counter-clockwise, creating a downward airflow that produces a cooling effect.
- Zimní režim (ve směru hodinových ručiček): Press the reverse button again to make the blades rotate clockwise, creating an upward airflow that helps circulate warm air trapped near the ceiling.
4.3 Funkce časovače
Use the timer buttons on the remote control to set the fan to operate for a specific duration before automatically turning off.

Image: This graphic highlights the silent operation of the fan, stating sound is less than 35dB, and illustrates the available timer settings: 1 hour, 2 hours, 4 hours, and 8 hours.
- Press the 1H, 2H, 4H, or 8H button to activate the timer. The fan will run for the selected time and then shut off.
- To cancel the timer, press the fan On/Off button or select a different timer setting.
5. Údržba
Pravidelná údržba zajistí optimální výkon a dlouhou životnost vašeho stropního ventilátoru.
- Čištění: Pravidelně otírejte lopatky ventilátoru a kryt motoru měkkým hadříkemamp tkanina. Nepoužívejte abrazivní čisticí prostředky nebo rozpouštědla.
- Utahovací šrouby: Check all screws on the fan blades and mounting hardware annually to ensure they are secure.
- Vyvážení čepele: If the fan wobbles, ensure all blades are securely attached and consider using a blade balancing kit (not included) if necessary.
6. Řešení problémů
Pokud narazíte na problémy s ventilátorem, podívejte se na následující běžné problémy a jejich řešení:
| Problém | Možná příčina | Řešení |
|---|---|---|
| Ventilátor se nespustí | Žádné napájení ventilátoru | Check circuit breaker and wall switch. Ensure all wiring connections are secure. |
| Dálkové ovládání nefunguje | Dead batteries or incorrect pairing | Replace remote batteries. Refer to the full manual for remote pairing instructions. |
| Ventilátor se nadměrně chvěje | Loose blades or unbalanced blades | Ensure all blade screws are tight. Check for bent blades. Use a blade balancing kit if needed. |
| Hlučný provoz | Loose screws or motor issues | Utáhněte všechny šrouby. Pokud hluk přetrvává, kontaktujte zákaznickou podporu. |
7. Specifikace
| Funkce | Detail |
|---|---|
| Značka | LEDLUX |
| Číslo modelu | SYCF9605 |
| Barva | Černý |
| Typ montáže | Stropní držák |
| Počet rychlostí | 6 |
| svtage | 12 V (DC) |
| Vnitřní/venkovní použití | Krytý |
| Kontrolní metoda | Vzdálený |
| Účinnost | Vysoká účinnost |
| Počet čepelí | 8 |
| Materiál čepele | Hliník |
8. Záruka a podpora
LEDLUX si stojí za kvalitou svých produktů.

Image: A graphic detailing the LEDLUX "Worry-Free Promise," which includes a 3-Year Full Warranty on all parts and a 10-Year Motor Warranty.
- Záruka na motor: The DC motor is covered by a 10-year free replacement warranty.
- Záruka na díly: All other parts of the fan are covered by a full 3-year warranty.
For warranty claims, technical assistance, or missing parts, please contact LEDLUX customer support through the retailer where the product was purchased or visit the official LEDLUX webmísto.