1. Důležitá bezpečnostní opatření
Please read these instructions carefully before using your Salter Retro 4-Slice Toaster. Keep this manual for future reference.
- Nedotýkejte se horkých povrchů. Vždy používejte rukojeti nebo knoflíky.
- Abyste se chránili před úrazem elektrickým proudem, neponořujte kabel, zástrčky ani toustovač do vody ani jiné kapaliny.
- Když je jakýkoli spotřebič používán dětmi nebo v jejich blízkosti, je nutný pečlivý dohled.
- Vytáhněte zástrčku ze zásuvky, když ji nepoužíváte a před čištěním. Před nasazením nebo sejmutím dílů nechte vychladnout.
- Neprovozujte žádný spotřebič s poškozenou šňůrou nebo zástrčkou nebo poté, co spotřebič nefunguje správně nebo byl jakýmkoliv způsobem poškozen.
- Nepoužívejte venku.
- Nenechávejte kabel viset přes okraj stolu nebo pultu ani se dotýkat horkých povrchů.
- Neumisťujte na horký plynový nebo elektrický hořák nebo do jeho blízkosti nebo do vyhřáté trouby.
- Nepoužívejte spotřebič k jinému než určenému použití.
- Nadměrně velké potraviny, obaly z kovové fólie ani kuchyňské náčiní se nesmí vkládat do toustovače, protože by mohly představovat riziko požáru nebo úrazu elektrickým proudem.
- Pokud jsou topinkovače zakryty nebo se dotýkají hořlavého materiálu, včetně záclon, závěsů, stěn a podobně, když jsou v provozu, může dojít k požáru.
- Nepokoušejte se vytlačit jídlo, když je toustovač zapojený.
- Always unplug the toaster before cleaning the crumb tray.
2. Konec produktuview
The Salter Retro 4-Slice Toaster is designed for efficient and convenient toasting. It features four wide slots, allowing you to toast various bread types, including bagels and crumpets. With 6 browning levels and dedicated functions for defrosting, reheating, and canceling, you can achieve your desired toast consistency every time.
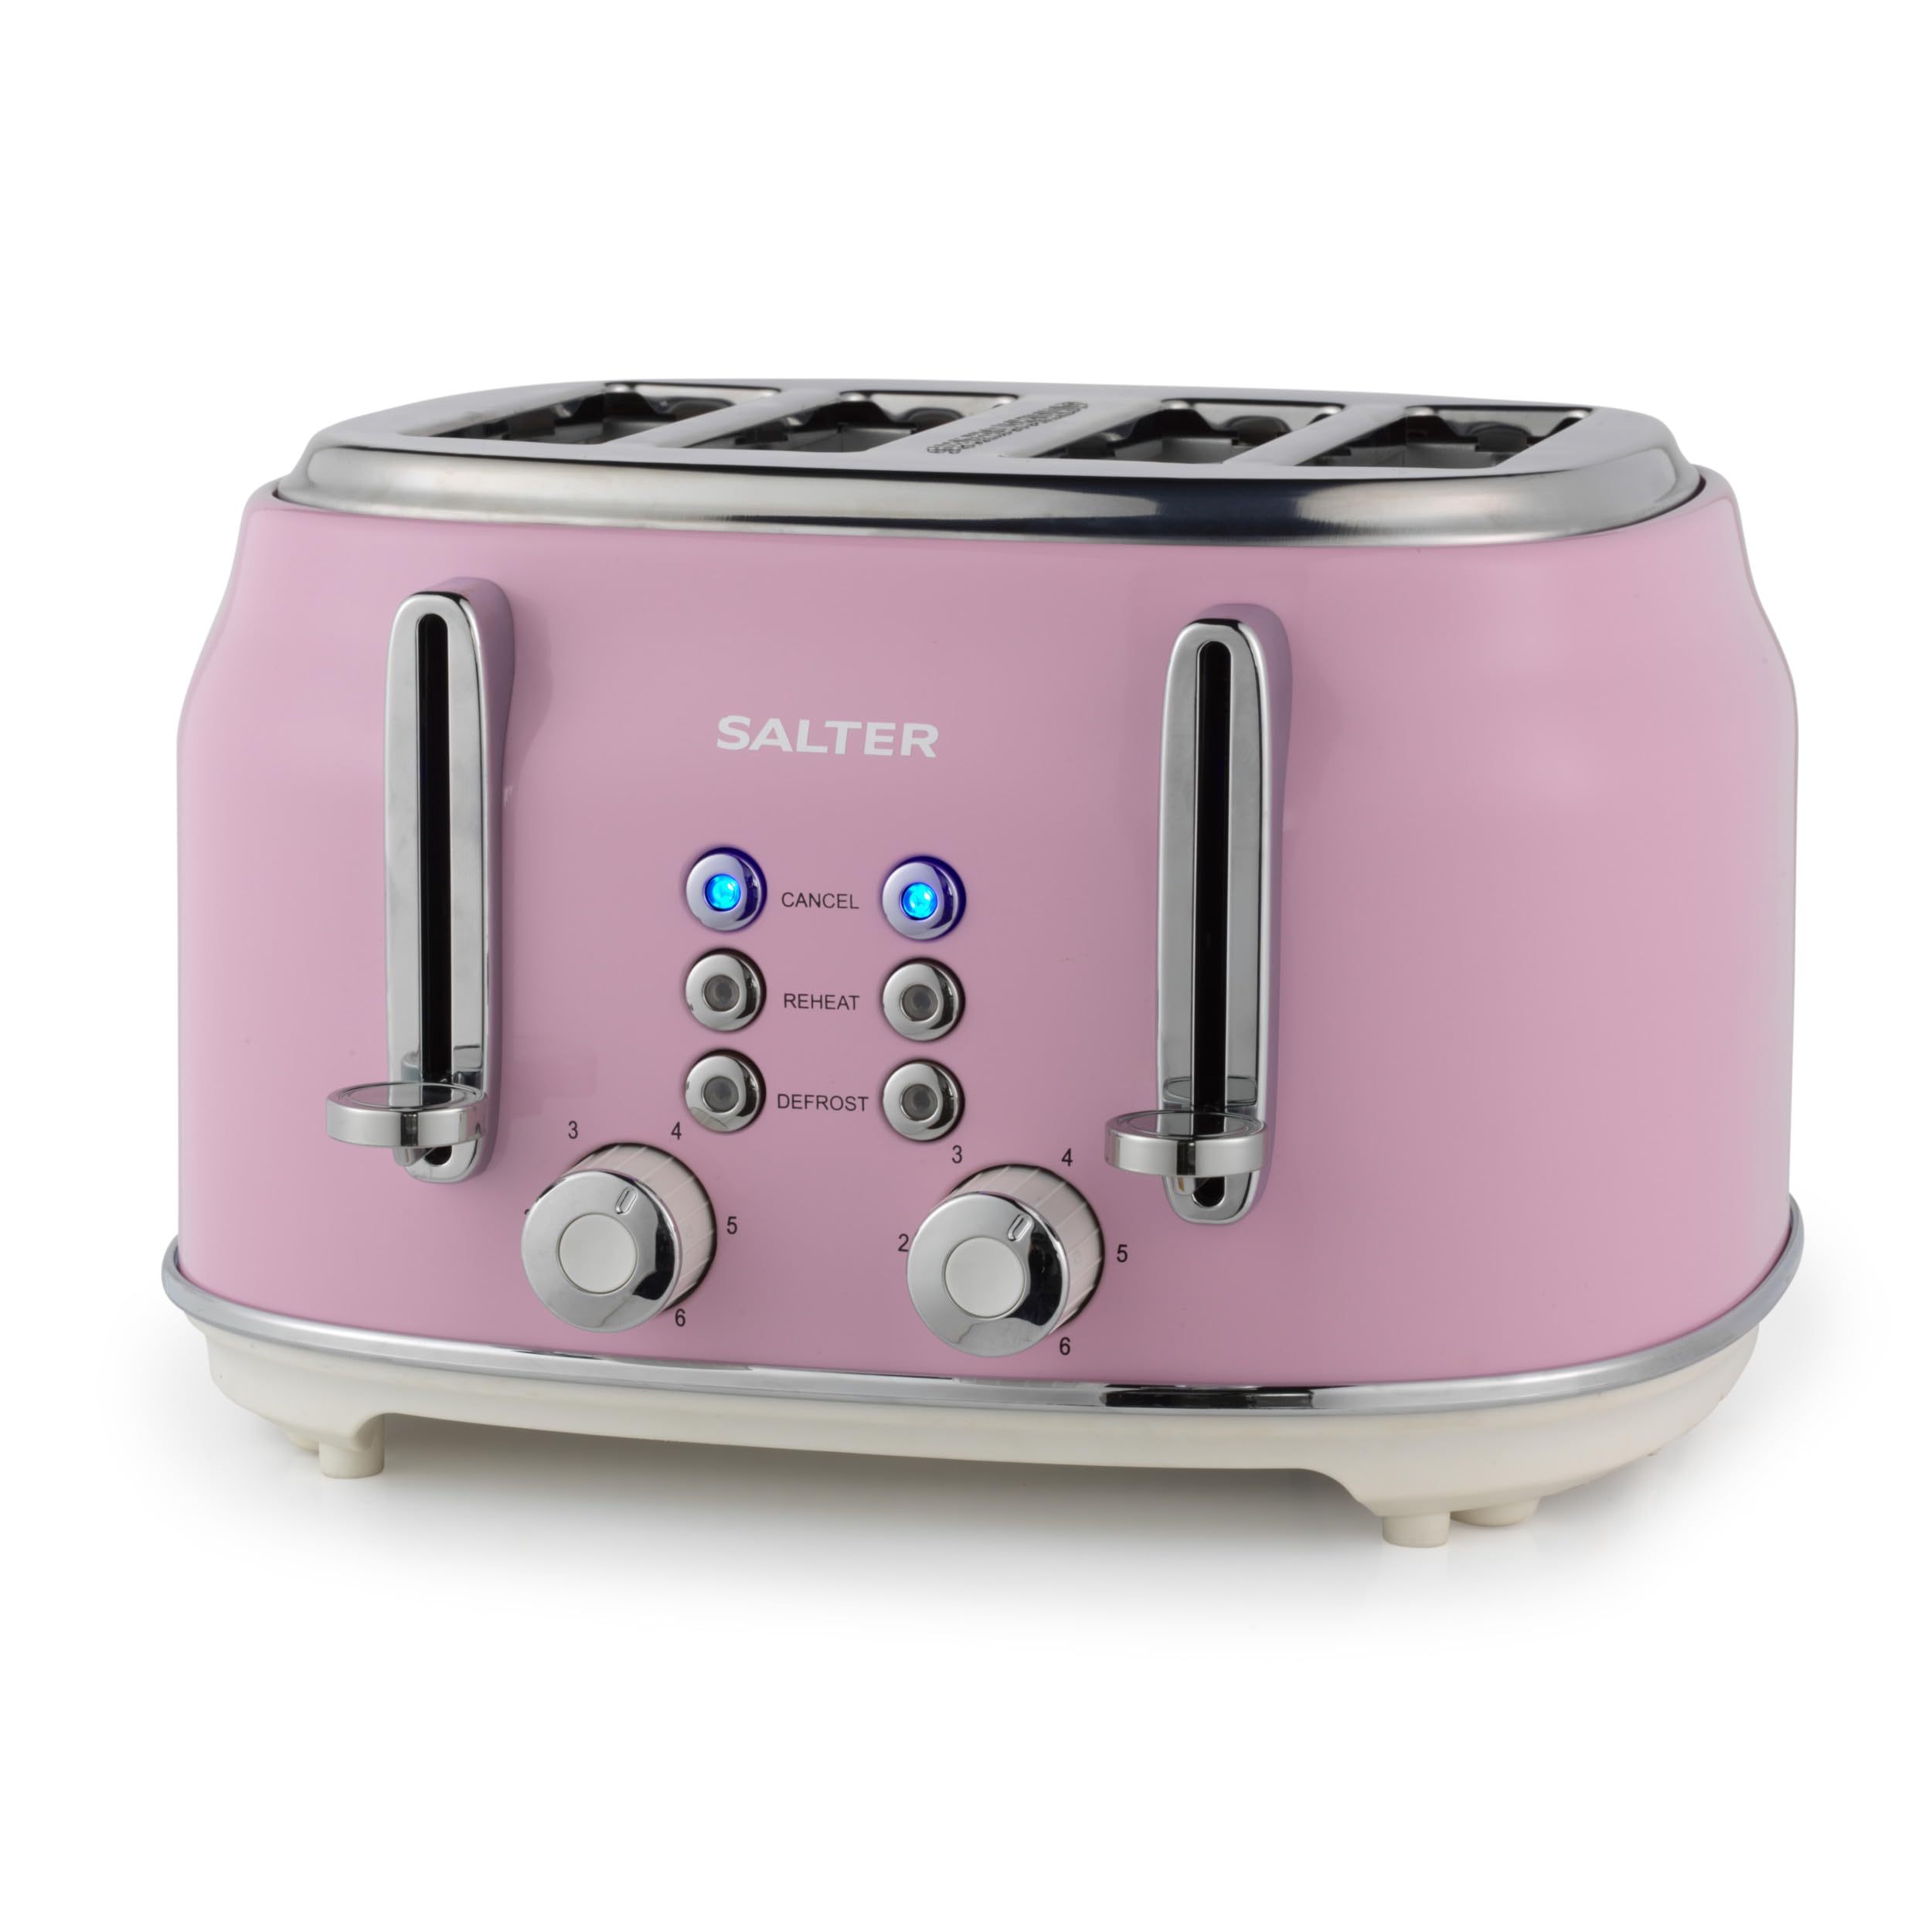
Image: The Salter Retro 4-Slice Toaster in a stylish pink finish, featuring chrome levers and control knobs, positioned on a kitchen counter.
3. Nastavení
- Vybalte toustovač a odstraňte všechny obalové materiály.
- Umístěte toustovač na stabilní, žáruvzdorný a suchý povrch, mimo dosah hořlavých materiálů.
- Ensure the crumb tray is correctly inserted at the bottom of the toaster.
- Before first use, operate the toaster without bread on the highest browning setting to burn off any manufacturing residues. This may produce a slight odor and smoke, which is normal. Ensure adequate ventilation.
4. Návod k obsluze
4.1. Opékání chleba
- Insert up to four slices of bread into the toaster slots. The wide slots accommodate various bread types.
- Zvolte požadovanou úroveň opečení pomocí regulátoru opečení (1-6). Úroveň 1 je pro světlé opečení a úroveň 6 pro tmavé opečení.
- Press down the toast lever until it locks into place. The indicator light will illuminate, and the toasting cycle will begin.
- Once the toasting cycle is complete, the toast will automatically eject, and the lever will return to its original position.

Image: Close-up of the toaster's control panel, showing the browning level dial and the 'Cancel', 'Reheat', and 'Defrost' buttons.
4.2. Speciální funkce
The toaster includes three special functions:
- Zrušit: Press the 'CANCEL' button to stop the toasting cycle at any time. The toast will immediately eject.
- Znovu zahřát: Use the 'REHEAT' button to warm up previously toasted bread without further browning. Insert the toast, press the lever, then press 'REHEAT'.
- Odmrazování: The 'DEFROST' function allows you to toast frozen bread. Insert frozen bread, press the lever, then press 'DEFROST'. The toaster will automatically adjust the toasting time.

Image: The toaster with the 'CANCEL' button glowing blue, indicating the function is active or has been pressed.
4.3. High-Lift Ejection
The high-lift ejection feature allows you to easily retrieve smaller items like crumpets or bagels without burning your fingers. Simply lift the toast lever further up after the toasting cycle is complete.

Image: A hand demonstrating the high-lift function by pushing the toast lever upwards to raise the toast higher from the slots.
5. Údržba a čištění
Pravidelné čištění zajišťuje optimální výkon a prodlužuje životnost vašeho toustovače.
5.1. Cleaning the Crumb Tray
- Ensure the toaster is unplugged and completely cool.
- Vytáhněte vyjímatelnou misku na drobky, která se nachází ve spodní části toustovače.
- Nahromaděné drobky vyhoďte.
- Otřete zásobník reklamouamp hadříkem a před opětovným vložením důkladně osušte.
- Nikdy nepoužívejte topinkovač bez nasazené misky na drobky.

Image: A hand pulling out the removable crumb tray from the bottom of the toaster, showing accumulated crumbs.
5.2. Čištění exteriéru
- Otřete vnější povrch toustovače měkkým,amp tkanina. Nepoužívejte abrazivní čisticí prostředky ani drátěnky.
- Před opětovným zapojením toustovače se ujistěte, že je zcela suchý.
6. Řešení problémů
| Problém | Možná příčina | Řešení |
|---|---|---|
| Topinkovač se nezapne. | Not plugged in; power outlet faulty; toast lever not fully depressed. | Check power connection; try a different outlet; ensure toast lever is fully locked down. |
| Chleba uvízl v toustovači. | Bread slice too thick or uneven. | Unplug the toaster and carefully remove the bread using non-metallic tongs. Do not use metal objects. |
| Toast je příliš světlý/tmavý. | Nastavení stupně zhnědnutí je nesprávné. | Adjust the browning control dial to a higher or lower setting for future use. |
| Z toustovače se valí kouř. | Crumbs accumulated; food stuck; first use burn-off. | Unplug immediately. Clean crumb tray. Remove any stuck food. If first use, ensure ventilation. |
7. Specifikace
- Číslo modelu: EK5739PNKVDE
- Značka: Salter
- Barva: Růže
- Materiál: Hliník
- Moc: 1630W
- Počet řezů: 4
- Nastavení zhnědnutí: 6
- Speciální vlastnosti: Wide Slots, Defrost, Reheat, Cancel Functions, Removable Crumb Tray, High-Lift Ejection, Auto-Centering
- Hmotnost: 3 kg
8. Záruka a podpora
Your Salter Retro 4-Slice Toaster comes with a standard manufacturer's warranty. For detailed warranty information, product support, or to inquire about replacement parts, please refer to the warranty card included in your product packaging or visit the official Salter website. Do not attempt to repair the appliance yourself, as this may void the warranty and pose a safety risk.