
Zavedení
Thank you for choosing the Mesqool Projection Alarm Clock. This device is designed to provide a reliable and versatile alarm solution, especially for heavy sleepers and individuals with hearing impairments. It features a clear projection display, a powerful vibrating bed shaker, dual alarms, and convenient USB charging. Please read this manual thoroughly to understand its functions and ensure optimal performance.

Image: The Mesqool Projection Alarm Clock displaying time on a wall in a bedroom setting.
Vlastnosti produktu
- Flexible Projection Clock: Features a 180° rotatable projector to display time on your wall or ceiling. Optimal projection distance is 1.5-3 meters. The projection can be flipped 180° and adjusted for brightness (4 levels) and focus for clear visibility.
- Vibrating Bed Shaker & Adjustable Buzzer: Includes a 1.8m long bed shaker to place under your pillow or mattress. Choose from 3 alarm modes: Buzzer only, Vibrator only, or both Buzzer and Vibrator. The strong vibration is effective for heavy sleepers and the hearing impaired without disturbing others.
- Duální budík a funkce odložení buzení: Set two separate alarms for different schedules. The large 'SNOOZE' button provides an extra 9 minutes of sleep. Press 'ALARM ON/PAUSE' to deactivate the alarm for 24 hours.
- USB Charging Port & Time Format: Equipped with a 5V/1A USB output port for charging your phone. Supports 12H/24H time formats and Daylight Saving Time (DST).
- Nastavitelný jas a hlasitost: The display brightness can be adjusted through 5 levels using the 'DIMMER' button. The alarm volume increases gradually and can be set to level 0 when using the vibrator.
- Velký LED displej: Features large, clear digital numbers for easy readability, suitable for seniors or those with impaired vision.
Nastavení
1. Připojení napájení
Connect the provided 5V/2A power adapter to the alarm clock and plug it into a wall outlet. The clock requires continuous power for all functions to operate.

Image: The 5V/2A power adapter included with the alarm clock.
2. Instalace záložní baterie
Pro zálohování během napájenítages, insert 2 AAA batteries (not included) into the battery compartment located at the back of the unit. These batteries will save time and alarm settings but will not power the display or projection.

Obrázek: Zadní view of the alarm clock, illustrating the battery compartment and USB charging port. Note that batteries only save settings, not power the display.
3. Připojení třepačky postele
Plug the bed shaker's 1.8m cable into the designated port on the alarm clock. Place the shaker under your pillow or mattress for effective vibration.

Image: The alarm clock on a nightstand with the bed shaker connected and placed near a pillow.
Návod k obsluze
1. Nastavení času a data
- Press and hold the 'SET TIME' button to enter time setting mode.
- Use the '+' or '-' buttons to adjust hours, then press 'SET TIME' to confirm and move to minutes.
- Opakujte několik minut.
- Press the '12/24H' button to switch between 12-hour and 24-hour formats.
- Press the 'DST' button to activate or deactivate Daylight Saving Time.

Image: A hand interacting with the alarm clock's buttons to set the time, showing 12-hour and 24-hour display options.
2. Projekční funkce
The projector allows you to display the time on your wall or ceiling.
- Aktivovat projekci: Ensure the projector is turned on.
- Upravit úhel: Rotate the projector 180° to direct the time display to your desired location (wall or ceiling).
- Převrátit obrázek: If the projected image is upside down, press the 'PROJECTION ON/FLIP/OFF' button to invert its orientation.
- Upravit zaostření: Rotate the focus ring on the projector to achieve a clear image at your chosen distance (optimal 1.5-3m).
- Upravit jas: Press the 'PROJECTION DIMMER' button to cycle through 4 levels of projection brightness.

Image: A visual guide demonstrating the four steps to operate the projection feature, including adjusting angle, flipping, focusing, and dimming.

Image: The alarm clock projecting the time onto a wall, showing a sleeping person in bed, highlighting the flexible projection feature.
3. Nastavení alarmů (duální alarmy)
Hodiny podporují dva nezávislé budíky (Budík 1 a Budík 2).
- Press the 'ALARM 1' or 'ALARM 2' button to select the alarm you wish to set. The alarm icon will flash.
- Stiskněte a podržte vybrané tlačítko „ALARM“ pro vstup do režimu nastavení času budíku.
- Use the '+' or '-' buttons to adjust the alarm hour, then press the 'ALARM' button to confirm and move to minutes.
- Opakujte několik minut.
- After setting the time, press the 'ALARM' button again to select the alarm mode:
- BZUČET: Buzzer sound only.
- VIB: Vibrating bed shaker only.
- BUZZ & VIB: Both buzzer sound and vibrator.
- To turn off an active alarm for 24 hours, press the 'ALARM ON/PAUSE' button.

Image: The alarm clock illustrating its dual alarm capability, showing different wake-up times for two individuals.

Image: The alarm clock's display showing icons that represent the different alarm modes: buzzer, vibrator, and a combination of both.
4. Funkce odložení buzení
When an alarm sounds, press the large 'SNOOZE' button to temporarily silence the alarm for 9 minutes. The alarm will sound again after 9 minutes. You can repeat this process multiple times.

Image: A hand pressing the prominent 'SNOOZE OK' button on the top of the alarm clock.
5. Nastavení jasu displeje
Press the 'DIMMER' button repeatedly to cycle through 5 levels of display brightness (from brightest to off). Choose a brightness level that is comfortable for your environment.
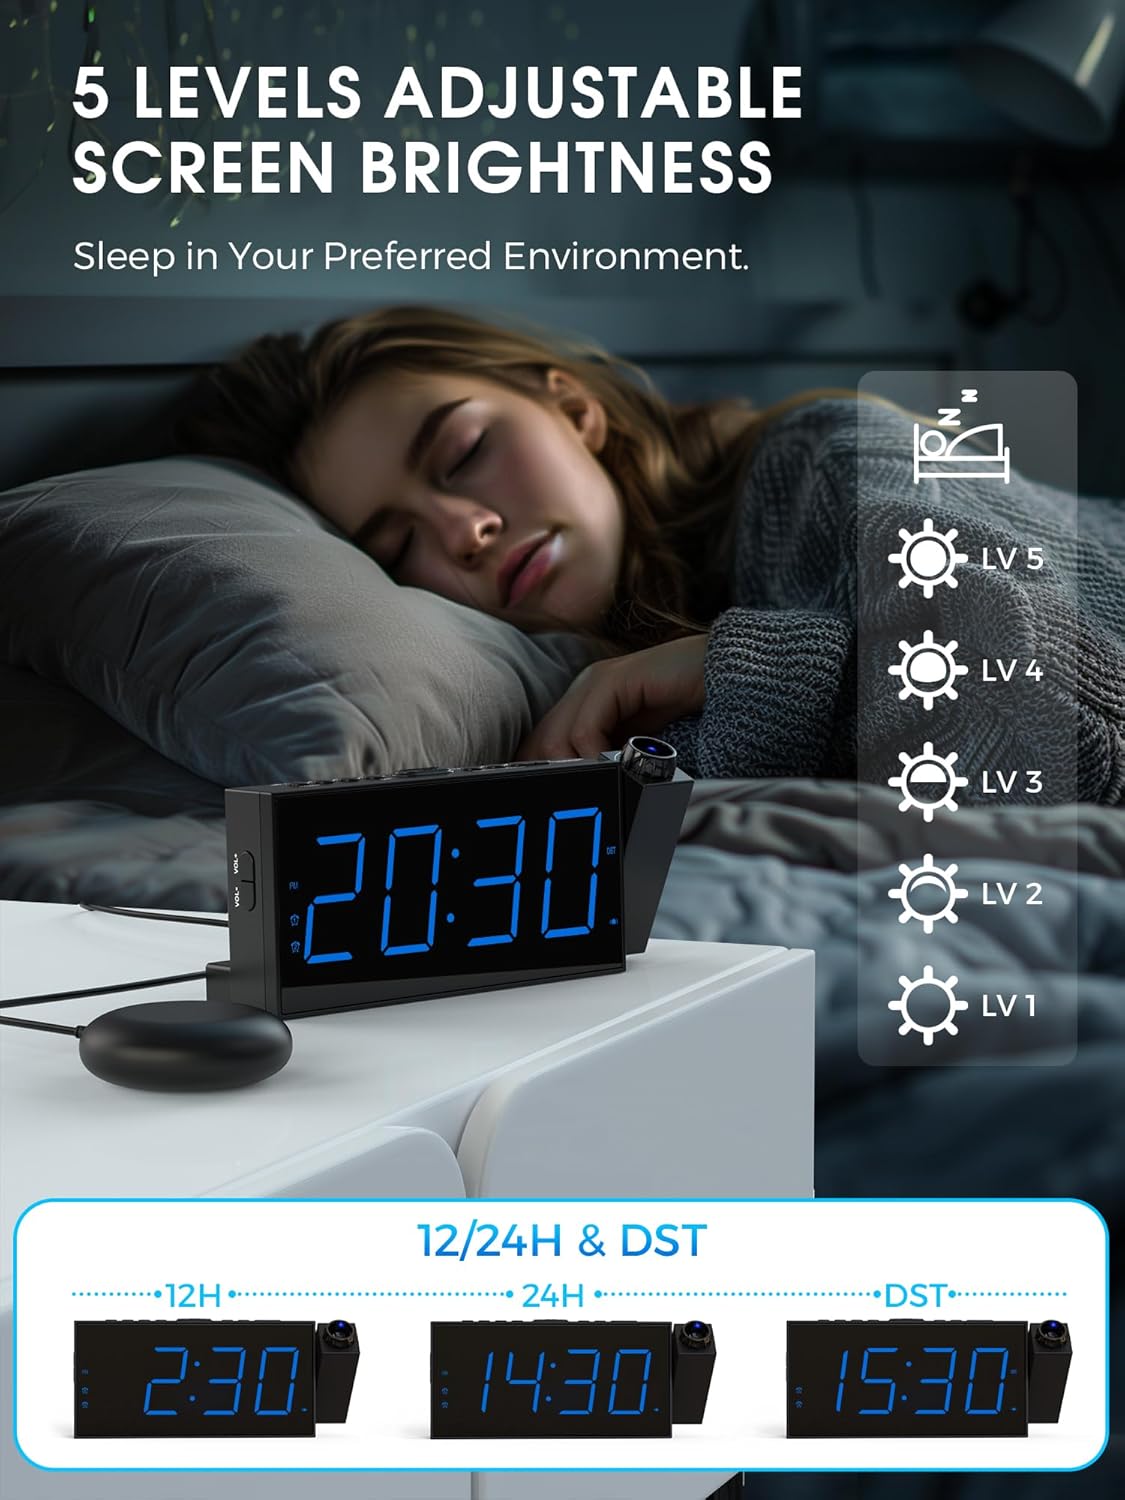
Image: A person sleeping in bed, with the alarm clock displaying different brightness levels, indicating the adjustable screen brightness feature.
6. Nastavení hlasitosti alarmu
The alarm volume can be adjusted. If the bed shaker is connected, the volume can be set to level 0. The alarm sound increases gradually to avoid startling you.

Image: The alarm clock displaying volume level '05' with visual representations of sound waves, indicating adjustable volume.
7. USB nabíjecí port
Use the 5V/1A USB output port on the back of the alarm clock to charge your smartphone or other small electronic devices.

Image: A smartphone connected and charging via the USB port on the alarm clock.
Údržba
- Budík čistěte měkkým, suchým hadříkem. Nepoužívejte abrazivní čisticí prostředky ani rozpouštědla.
- Udržujte zařízení mimo dosah vody a vysoké vlhkosti.
- Nevystavujte zařízení přímému slunečnímu záření nebo extrémním teplotám.
- Ensure the projector lens is clean for optimal projection clarity.
Odstraňování problémů
| Problém | Možná příčina | Řešení |
|---|---|---|
| Zobrazení hodin je vypnuté. | Not connected to power; power outage. | Ensure the power adapter is securely plugged in. Check power outlet. If using battery backup, the display will not light up. |
| Projekce je rozmazaná. | Focus not adjusted; projector lens dirty. | Rotate the focus ring on the projector until the image is clear. Clean the projector lens with a soft cloth. |
| Projection is upside down. | Image orientation needs flipping. | Press the 'PROJECTION ON/FLIP/OFF' button to flip the projected image 180°. |
| Budík nezvoní/nevibruje. | Alarm not set; incorrect alarm mode; volume too low; bed shaker not connected. | Verify alarm time and mode settings. Ensure volume is not set to 0 (if using buzzer). Check bed shaker connection. |
| Nabíjení přes USB nefunguje. | Device not compatible; cable faulty; clock not powered. | Ensure the device is compatible with 5V/1A charging. Try a different USB cable. Confirm the alarm clock is powered by the adapter. |
Specifikace
| Funkce | Detail |
|---|---|
| Značka | Mesqool |
| Číslo modelu | 1001i |
| Barva | Modrý |
| Typ zobrazení | Digitální LED |
| Speciální funkce | Vibrating Alarm, Dual Alarm, Large Display, Adjustable Vibration Intensity, USB Charging Port, Projection |
| Rozměry produktu | 9.1L x 3H centimeters (approx. 20.3 x 9.1 x 3 cm) |
| Zdroj napájení | Elektrické napájení (adaptér 5V/2A je součástí balení) |
| Zálohování baterie | 2 x AAA batteries (not included) for time/setting memory |
| Projekční vzdálenost | Optimal 1.5-3 meters |
| Jas projekce | 4 nastavitelné úrovně |
| Jas displeje | 5 nastavitelné úrovně |
| Režimy alarmu | Buzzer, Vibrator, Buzzer & Vibrator |
| Doba odložení | 9 minut |
| Materiál | Plast |
| Hmotnost položky | 240 gramů |
Záruka a podpora
This Mesqool product comes with a limited warranty. For specific warranty details, support, or service inquiries, please refer to the warranty card included in your product packaging or visit the official Mesqool website. You may also contact Mesqool customer service directly through the retailer where the product was purchased.
Konec produktuview Video
Watch this video for a visual guide on the Mesqool Projection Alarm Clock's features and operation, including projection distance, focus, rotation, brightness, and alarm modes.
Video: Komplexní přehledview of the Mesqool Projection Alarm Clock, demonstrating its key features such as adjustable projection, focus ring, 180-degree image flip, 5 levels of projection brightness, and the three alarm modes including the bed shaker.