
Konec produktuview
The PPLEE Vibrating Alarm Clock is designed to provide multiple wake-up options, including a loud buzzer, a powerful bed shaker, or both, making it suitable for heavy sleepers, the hearing impaired, and individuals who prefer a gentle wake-up without disturbing others. It features a large LED display, adjustable brightness, a multi-color night light, and convenient USB/Type-C charging ports.

Figure 1: PPLEE Vibrating Alarm Clock and Bed Shaker.
Obsah balení
- PPLEE Vibrating Alarm Clock
- Wired Bed Shaker
- Napájecí adaptér
- Uživatelská příručka (tento dokument)

Obrázek 2: Součásti balení.
Nastavení
1. Připojení napájení
Connect the provided power adapter to the DC IN port on the back of the alarm clock and plug it into a standard 100-240V AC outlet. The clock display will illuminate.

Figure 3: Powering the alarm clock.
2. Battery Backup (Not Included)
Pro sílu outage protection, insert 2 AAA batteries (not included) into the battery compartment on the back of the clock. These batteries will maintain time and alarm settings during a power failure, though the display may dim.

Figure 4: Installing backup batteries.
3. Připojení třepačky postele
Plug the wired bed shaker into the "VIB" port on the back of the alarm clock. Place the bed shaker under your mattress or pillow for optimal vibration.
Video 1: Demonstrates connecting the bed shaker and its vibration function. This video is from a seller and is genuinely useful for setup.
Návod k obsluze
1. Nastavení času
- Stiskněte tlačítko "SET TIME" tlačítko na zadní straně hodin. Číslice hodin budou blikat.
- Použijte "HODINA" a "MIN" buttons (located on top of the clock, often integrated with the night light buttons) to adjust the hour.
- Stiskněte "SET TIME" again to confirm the hour and move to minute adjustment. The minute digits will flash.
- Použijte "HODINA" a "MIN" tlačítka pro nastavení minut.
- Stiskněte "SET TIME" one more time to save the time, or wait 3-5 seconds for it to save automatically.
Video 2: Demonstrates how to set the time on the alarm clock. This video is from a seller and is genuinely useful for operation.
2. Nastavení alarmu
- Posuňte "POPLACH" přepněte na zadní stranu "NA" pozice.
- Stiskněte tlačítko "SET ALARM" knoflík. Začnou blikat číslice hodin.
- Použijte "HODINA" a "MIN" tlačítka pro nastavení hodiny budíku.
- Stiskněte "SET ALARM" again to confirm the hour and move to minute adjustment. The minute digits will flash.
- Použijte "HODINA" a "MIN" tlačítka pro nastavení minut budíku.
- Stiskněte "SET ALARM" one more time to save the alarm time, or wait 3-5 seconds for it to save automatically.
Video 3: Demonstrates how to set the alarm on the clock. This video is from a seller and is genuinely useful for operation.
3. Alarm Modes (Buzzer/Vibration)
The alarm clock offers three wake-up modes:
- Pouze bzučák: Posuňte "BUZZ/VIB" přepnout na "BUZZ".
- Pouze vibrace: Posuňte "BUZZ/VIB" přepnout na "VIB".
- Both Buzzer and Vibration: Posuňte "BUZZ/VIB" switch to the middle position.
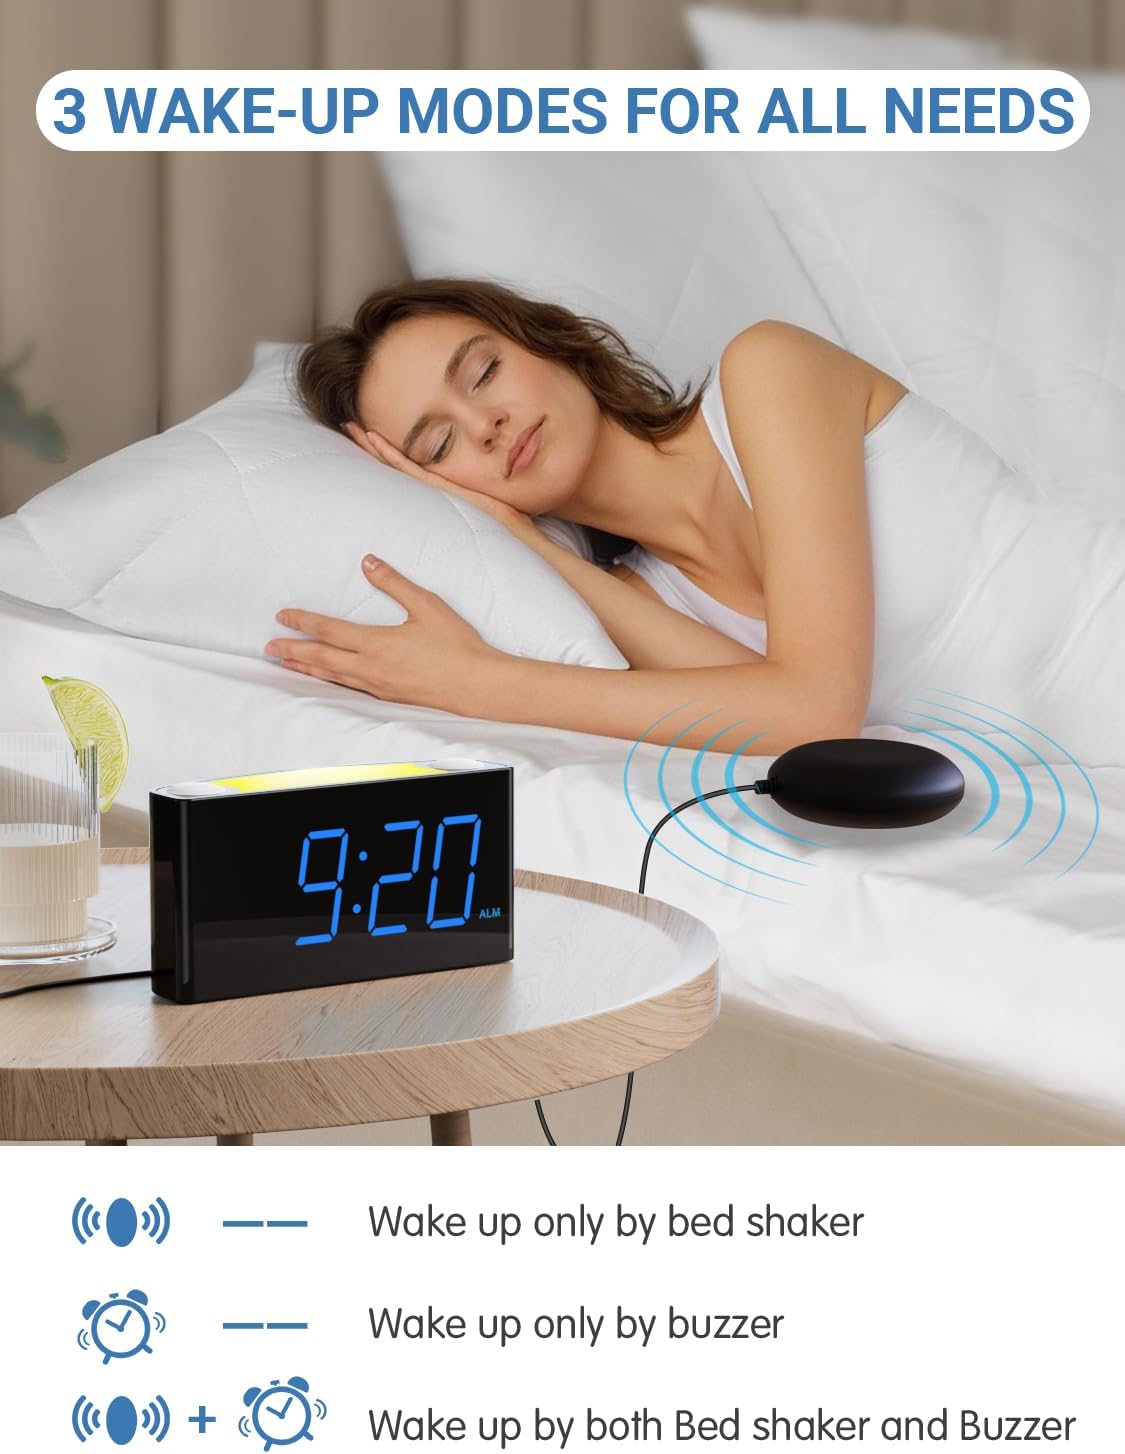
Figure 5: Three available wake-up modes.
Video 4: Demonstrates the three alarm modes (buzzer, vibration, or both). This video is from a seller and is genuinely useful for operation.
4. Nastavení hlasitosti alarmu
Použijte "ALARM VOLUME" slider on the back of the clock to select between Low, Medium, or High alarm sound levels.

Figure 6: Adjusting the alarm volume.
5. Funkce odložení buzení
Když zazvoní budík, stiskněte velké "PODŘIMOVAT" tlačítko na horní straně hodin pro dočasné ztlumení budíku na 9 minut.

Figure 7: Using the snooze button.
6. Zobrazte jas
Použijte "STMÍVAČ" slider on the back of the clock to adjust the LED display brightness from 0% (off) to 100% (brightest).

Figure 8: Adjusting screen brightness.
7. Noční světlo
The clock features a 7-color night light. Press the night light button (often integrated with the "HOUR" button) on top of the clock to cycle through the colors or turn it off.

Figure 9: Cycling through night light colors.
Video 5: Demonstrates the 7-color night light feature. This video is from a seller and is genuinely useful for operation.
8. 12/24-Hour Time Format & DST
To switch between 12-hour and 24-hour time formats, press and hold the "HODINA" button on top of the clock.
To activate or deactivate Daylight Saving Time (DST), press and hold the "SET TIME" tlačítko.

Figure 10: 12-hour and 24-hour time display options.
Video 6: Demonstrates how to switch between 12/24-hour format and activate/deactivate DST. This video is from a seller and is genuinely useful for operation.
9. Nabíjecí porty USB a typu C
The alarm clock includes dual USB and Type-C output ports on the back for charging your smart devices.

Figure 11: USB and Type-C charging ports.
Video 7: Demonstrates the USB charging ports. This video is from a seller and is genuinely useful for operation.
Údržba
- Udržujte zařízení suché a čisté.
- Use a soft, dry cloth to clean the display and exterior. Avoid abrasive cleaners.
- Ensure proper ventilation around the clock.
Odstraňování problémů
No Display / Clock Not Turning On
- Check if the power adapter is securely plugged into both the clock and the wall outlet.
- Ověřte, zda je zásuvka funkční.
- Pokud používáte záložní baterii, ujistěte se, že jsou baterie správně vloženy a nejsou vybité.
Alarm Not Sounding/Vibrating
- Ensure the alarm is set to "ON" using the ALARM switch.
- Check the "BUZZ/VIB" switch is set to your desired mode (BUZZ, VIB, or both).
- Adjust the "ALARM VOLUME" slider to a higher setting.
- Ensure the bed shaker is properly connected to the "VIB" port.
Příliš tmavý/jasný displej
- Adjust the "DIMMER" slider on the back of the clock to your preferred brightness level.
Time Incorrect
- Re-set the time following the "Setting the Time" instructions.
- Check if DST is correctly enabled or disabled for your region.
- If using battery backup, ensure batteries are fresh to maintain time during power interruptions.
Specifikace
| Funkce | Popis |
|---|---|
| Značka | PPLEE |
| Číslo modelu | PPLEE-1008I |
| Typ zobrazení | Digitální LED |
| Speciální funkce | 3 Wake-up Modes (Buzzer, Vibration, Both), Loud Alarm, Large Display, Night Light (7 Colors), Snooze, Adjustable Volume, Adjustable Brightness (5-level), USB Charging Port, Type-C Charger |
| Rozměry produktu | 6.46 cm Š x 3.39 cm V |
| Zdroj napájení | Corded Electric with Battery Backup Settings (2 AAA batteries, not included) |
| Technologie připojení | USB, typ C |
| Materiál | Plast |
| Hmotnost položky | 15.5 unce |
Záruka a podpora
For product support, troubleshooting assistance, or warranty inquiries, please contact PPLEE customer service. Refer to the product packaging or the official PPLEE webstránky s nejaktuálnějšími kontaktními informacemi.
Uschovejte si prosím doklad o koupi pro účely záruky.