
Dělostřelectvo Sidewinder X4 Pro
Uživatelská příručka k 4D tiskárně Artillery Sidewinder X3 Pro
Model: Sidewinder X4 Pro
Zavedení
This manual provides comprehensive instructions for the setup, operation, maintenance, and troubleshooting of your Artillery Sidewinder X4 Pro 3D Printer. Please read this manual carefully before using the printer to ensure optimal performance and safety.

Image: The Artillery Sidewinder X4 Pro 3D Printer, showcasing its compact design and integrated control screen.
Vlastnosti produktu
- Vysokorychlostní tisk: Achieves speeds up to 500mm/s with 12,000mm/s² acceleration, powered by Klipper firmware and a 1.5GHz processor.
- Superior Drive Structure: Features metal linear guides on X and Y axes for precise, stable, and quiet motion, enhancing durability.
- All-Metal Dual-Gear Direct Extruder: Designed for precise extrusion and smooth filament feeding, reducing nozzle clogging, especially for flexible materials.
- Remote Wi-Fi Printing: Includes a detachable wireless transmission module for remote control and material break detection.
- 4.3-inch Full-Color Touchscreen: Detachable screen with model preview support for intuitive operation.
- Automatické vyrovnání postele: 9x9 (81-point) auto-leveling system ensures accurate bed positioning for consistent first layers.
- Předmontovaný design: 95% pre-assembled for quick setup, suitable for both beginners and experienced users.
- High-Temperature Nozzle: Capable of printing with a 300°C high-temp nozzle.
- PEI Magnetic Steel Plate: Provides excellent adhesion and easy removal of prints.
- Sada LED světel: Integrated lighting for better visibility during printing.
Nastavení a montáž
The Artillery Sidewinder X4 Pro comes 95% pre-assembled, making the setup process straightforward. Follow these steps to prepare your printer for its first use.
1. Rozbalení a kontrola
Carefully remove all components from the packaging. Inspect for any visible damage during transit. Ensure all parts listed in the packing list are present.
2 Základní montáž
Connect the gantry to the base if not already attached. Secure all screws as indicated in the quick start guide provided with the printer. Connect the necessary cables, including the power cable and the touchscreen cable.

Image: The dimensions of the Artillery Sidewinder X4 Pro, showing its compact footprint of approximately 17"D x 20"W x 17"H.
3. Připojení napájení a počáteční spuštění
Connect the power cable to a suitable power outlet (100V-240V AC compatible). Turn on the printer. The 4.3-inch full-color touchscreen will power on.
4. Nastavení Wi-Fi
Navigate to the Wi-Fi settings on the touchscreen. Connect the printer to your local Wi-Fi network for remote printing capabilities. The external detachable long-range wireless transmission module facilitates this connection.
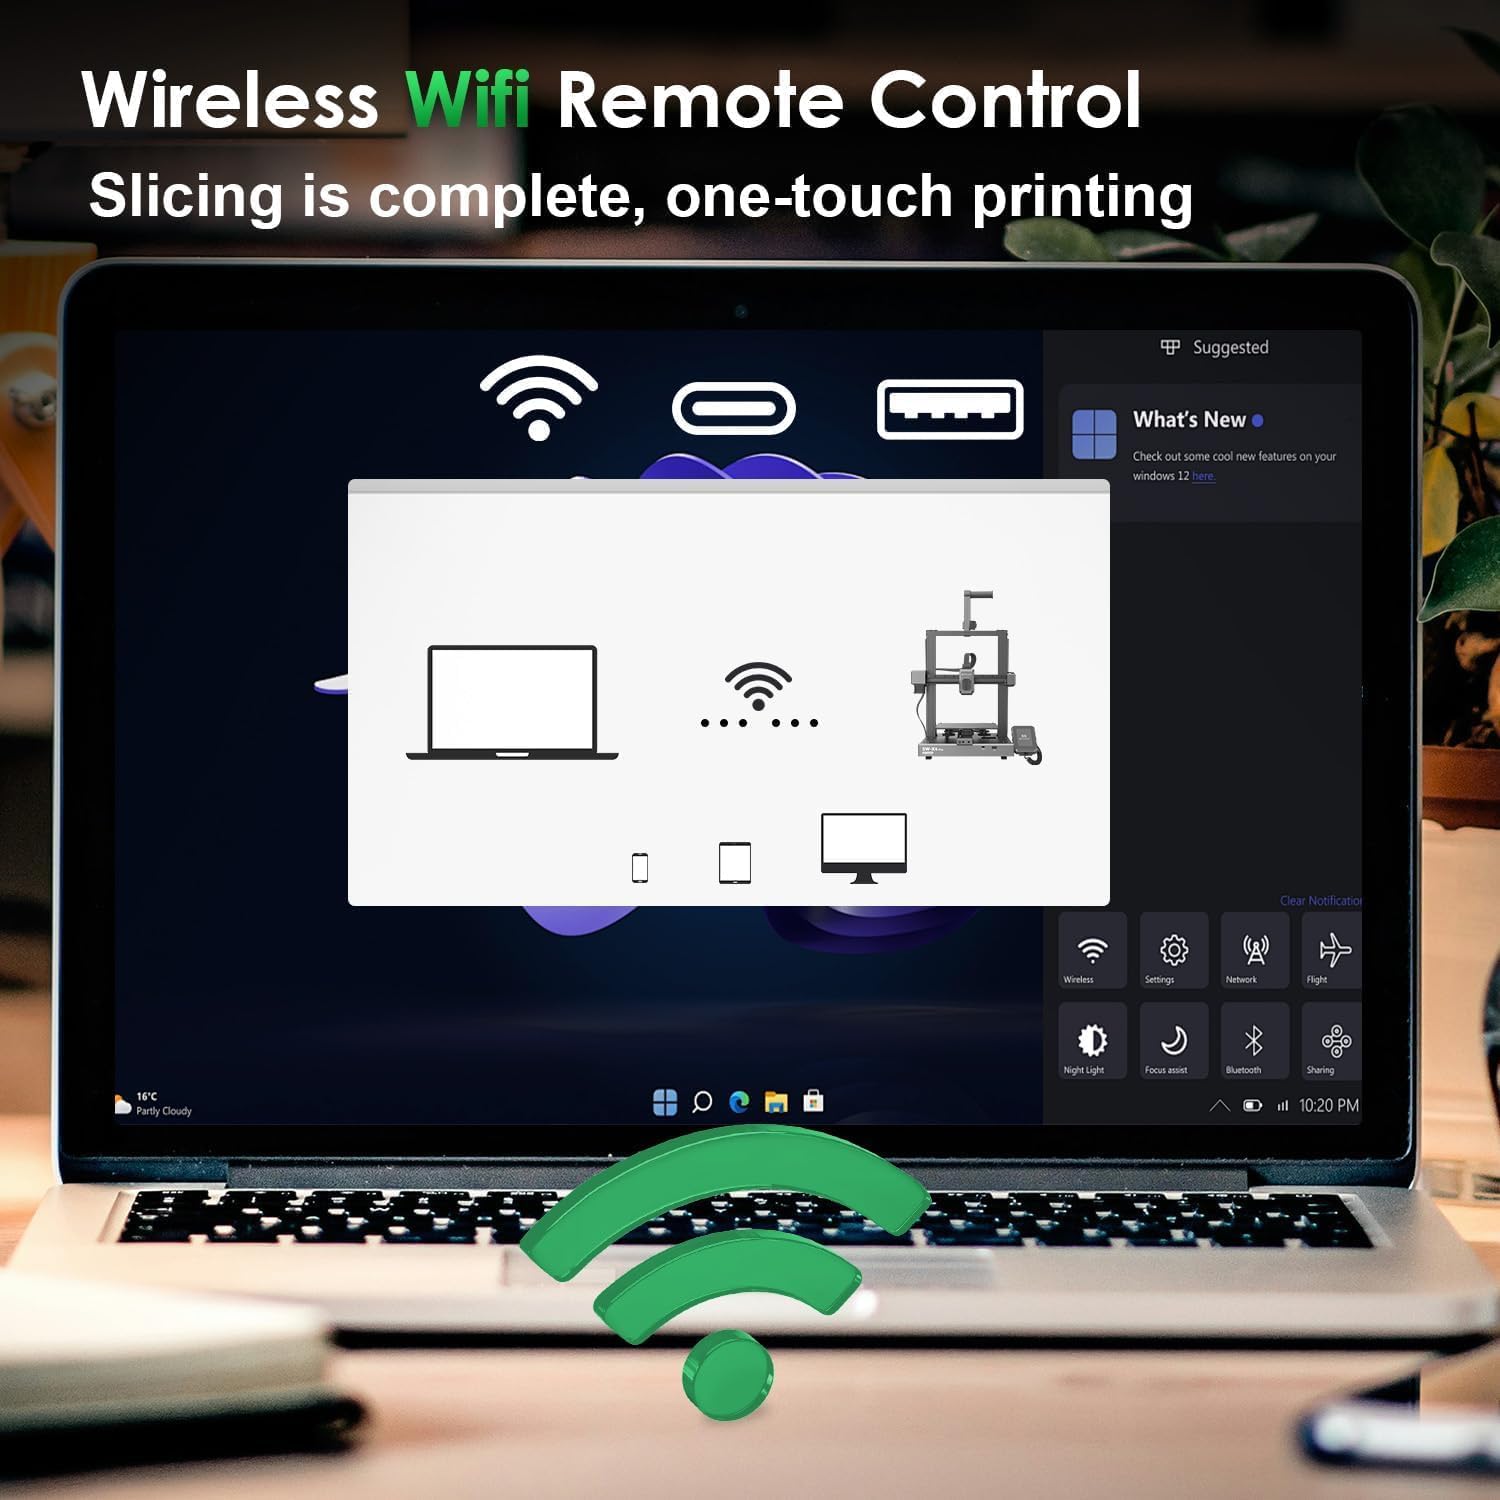
Image: Illustration of the wireless Wi-Fi remote control feature, allowing users to manage prints from a computer or mobile device.
5. Automatic Bed Leveling
The Sidewinder X4 Pro features 9x9 (81-point) auto-leveling. Initiate the auto-leveling process through the touchscreen menu. The printer will automatically probe the bed to compensate for any unevenness, ensuring an optimal first layer.

Image: Visual representation of the 81-point auto bed leveling system, showing the printer's sensor mapping the print surface.
Návod k obsluze
Once set up, your Artillery Sidewinder X4 Pro is ready for printing. This section covers the basic steps for preparing and starting a print.
1. Zatížení filamentu
Ensure the extruder is heated to the appropriate temperature for your filament type. Insert the filament into the dual-gear direct extruder. The system is designed for smooth feeding and is compatible with various materials, including flexible filaments.

Obrázek: Detail view of the dual-gear direct extruder, illustrating its mechanism for powerful and steady filament propulsion.
2. Příprava modelu (krájení)
Use a compatible slicing software, such as ArtillerySlicer (version 3.0.1 or newer), to convert your 3D model (e.g., STL, OBJ) into G-code. This software allows you to configure print settings like layer height, infill, and print speed. The printer's Klipper firmware and 1.5GHz processor enable high-speed printing up to 500mm/s.

Image: Screenshot of the ArtillerySlicer software interface, showing a 3D model ready for slicing and print preparation.
3. Zahájení tisku
Přeneste G-kód file to the printer via Wi-Fi or a USB drive. Select the desired file from the touchscreen. The touchscreen supports model preview, allowing you to verify the print before starting. Confirm settings and initiate the print. The printer's X and Y-axis linear rails ensure precise and smooth movement during high-speed operations.

Image: Depiction of the Artillery Sidewinder X4 Pro achieving a maximum printing speed of 500mm/s with 12000mm/s² acceleration.

Image: Close-up of the XY-Metal Linear Guide Rail system, highlighting its role in precise and smooth movement for enhanced print quality and durability.
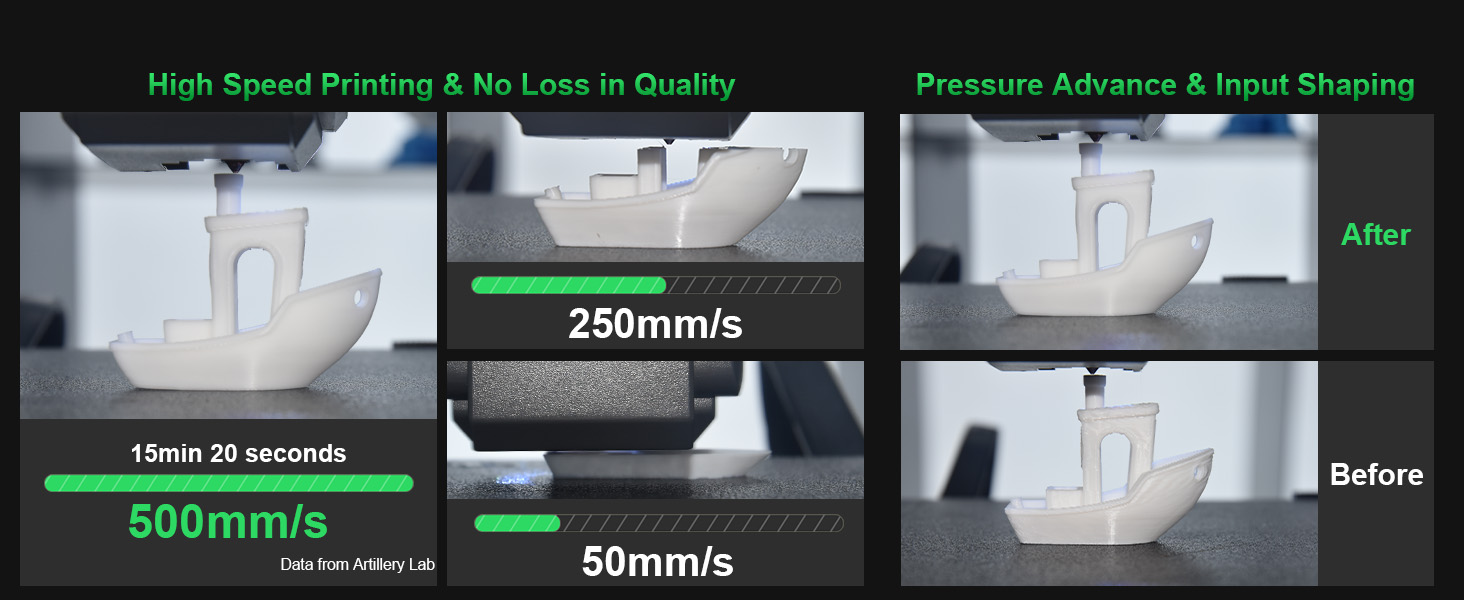
Image: Comparison showing high-speed printing at 500mm/s versus slower speeds, demonstrating quality retention with pressure advance and input shaping.
Údržba
Regular maintenance ensures the longevity and consistent performance of your Artillery Sidewinder X4 Pro.
1. Čištění tiskové podložky
After each print, allow the PEI magnetic steel plate to cool. Remove prints and gently clean the surface with isopropyl alcohol to remove any residue. This maintains optimal adhesion for future prints.
2. Extruder and Nozzle Maintenance
Periodically check the all-metal dual-gear direct extruder for filament debris. If clogs occur, follow the manufacturer's instructions for clearing them. The high-temp nozzle and heat dissipation system are designed to reduce clogging, but regular inspection is recommended.
3. Linear Rail Lubrication
The X and Y-axis metal linear guide rails benefit from occasional lubrication to maintain smooth and precise movement. Refer to the detailed maintenance guide on the official Artillery website for recommended lubricants and frequency.
4. Aktualizace firmwaru
Check the Artillery official website regularly for firmware updates. Keeping your Klipper firmware up-to-date can improve performance, add features, and resolve potential issues.
Odstraňování problémů
This section addresses common issues you might encounter with your Sidewinder X4 Pro and provides potential solutions.
1. Print Not Sticking to Bed / Uneven First Layer
- Řešení: Re-run the 81-point auto-leveling process. Ensure the print bed is clean and free of grease or debris. Adjust Z-offset if necessary after auto-leveling.
- Poznámka: Some users report issues with the hot bed having factory defects or requiring frequent re-leveling. Ensure your auto-leveling sensor is clean and functioning correctly.
2. Nozzle Clogging / Extrusion Issues
- Řešení: Check the filament path for obstructions. Ensure the hotend temperature is appropriate for the filament. Perform a cold pull or use a nozzle cleaning needle to clear blockages. Verify the dual-gear direct extruder is feeding filament correctly.
3. Problémy s připojením k Wi-Fi
- Řešení: Ensure the external wireless transmission module is securely connected. Restart the printer and your Wi-Fi router. Re-enter Wi-Fi credentials on the touchscreen. Check for any network interference.
4. Printer Crashes / Unresponsive Software
- Řešení: Power cycle the printer. Ensure the firmware is up-to-date. If using ArtillerySlicer, ensure it's the latest version and compatible with your printer's firmware.
5. Z-axis Vibration / Homing Issues
- Řešení: Verify that the limit controllers and the stable double-tie rod triangular structure are properly secured. Ensure no cables are obstructing the Z-axis movement. If homing causes the print head to slam, check endstop sensors and recalibrate if possible.
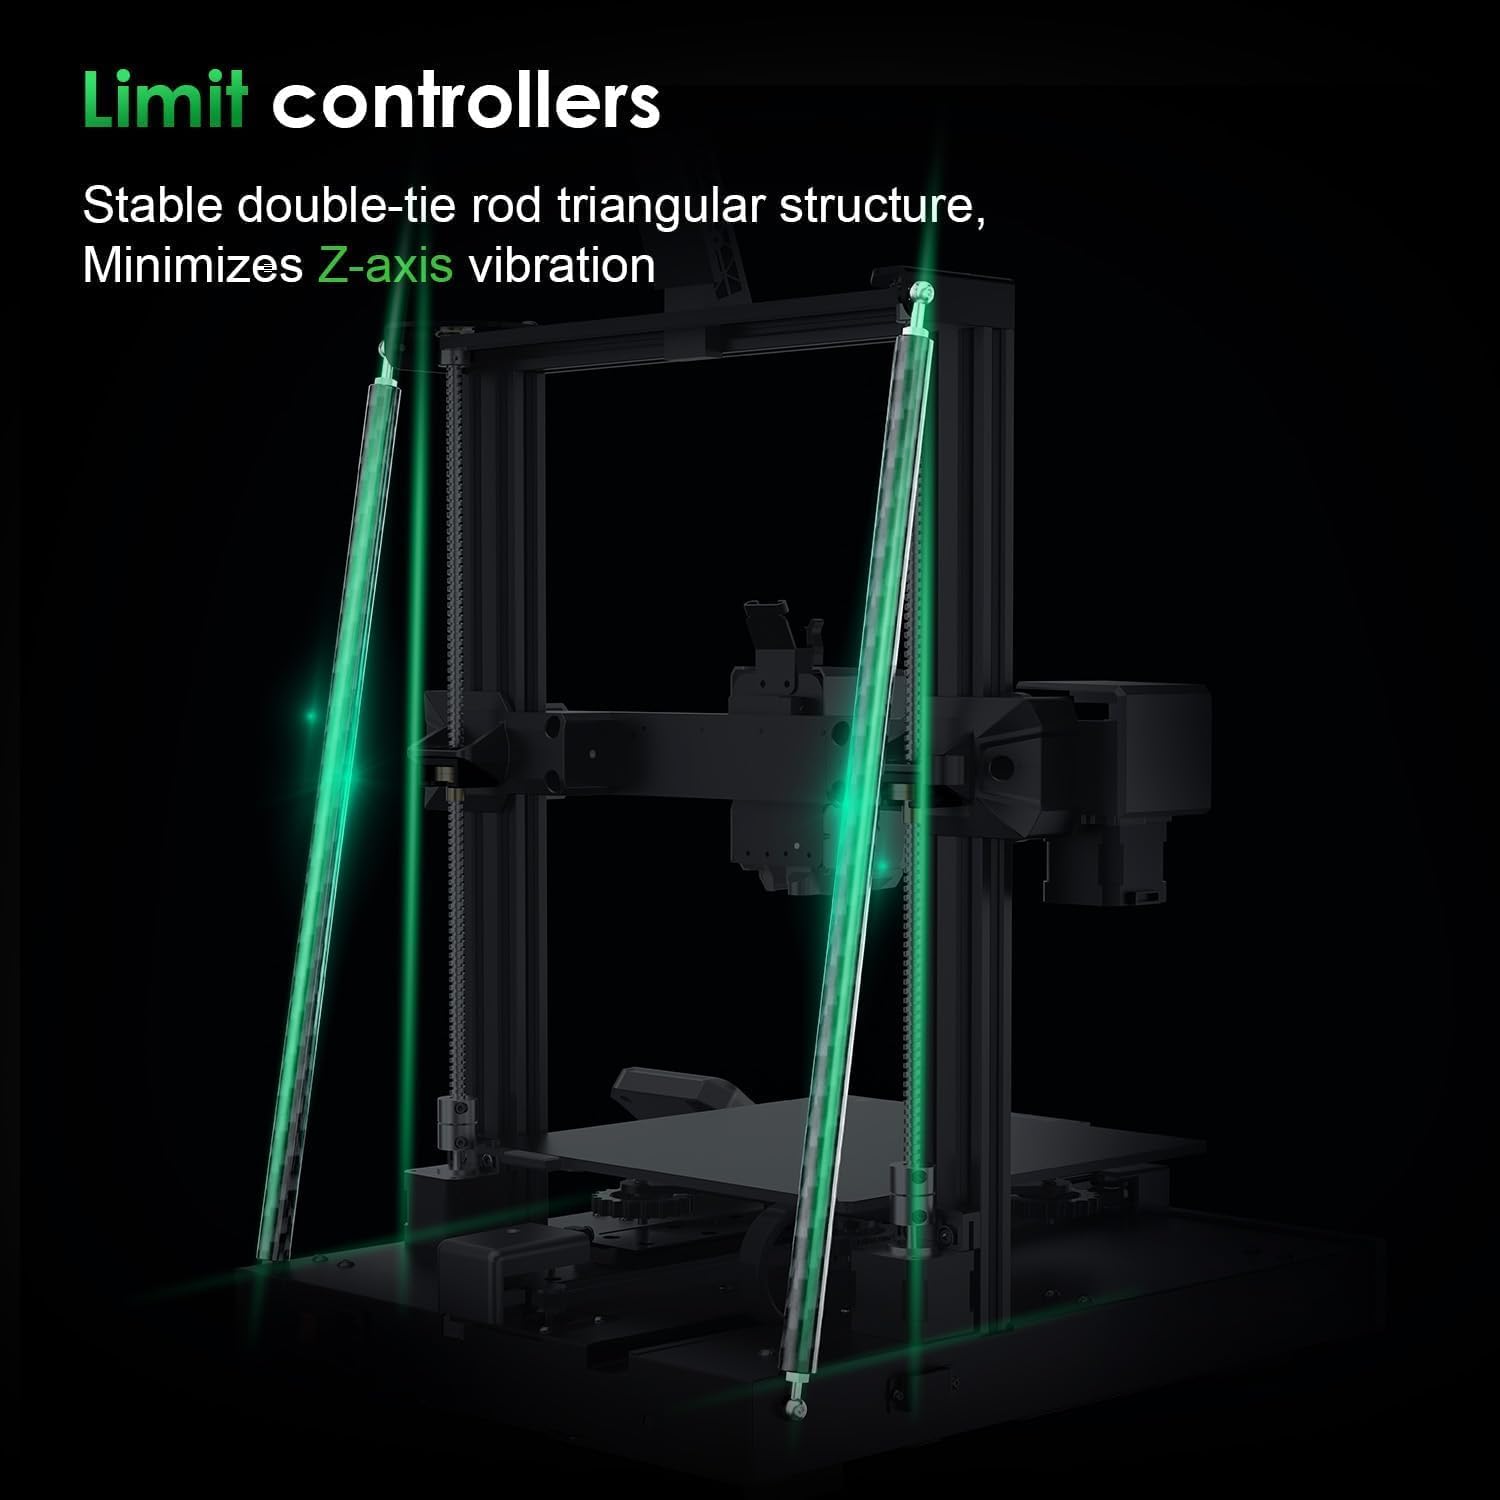
Image: Illustration of the limit controllers and the stable double-tie rod triangular structure, designed to minimize Z-axis vibration.

Image: Frequently Asked Questions section, addressing common queries about power supply, first layer issues, and handling defective/missing parts.
Specifikace
| Funkce | Detail |
|---|---|
| Model | Sidewinder X4 Pro |
| Technologie tisku | FDM (Fused Deposition Modeling) |
| Maximální rychlost tisku | 500 mm/s |
| Akcelerace | 12,000 XNUMX mm/s² |
| Procesor | ARM 64-bit 1.5GHz (Klipper firmware) |
| Extruder | All-metal Dual-Gear Direct Drive |
| Teplota trysky | Do 300°C |
| Postavte talíř | PEI Magnetic Steel Plate |
| Nivelace | 9x9 (81-point) Auto-Leveling |
| Konektivita | Wi-Fi, USB |
| Zobrazit | 4.3-inch Full-Color Detachable Touchscreen |
| Linear Rails | X and Y-axis Metal Linear Guides |
| Rozměry produktu | 17"H x 20"Š x 17"V (43.18 cm H x 50.8 cm Š x 43.18 cm V) |
| Hmotnost položky | 24 libry (10.89 kg) |
| Materiál | Kov |
| Barva | Černá-002 |
| Napájení | 100V-240V AC |

Image: A comparison table highlighting key specifications of the Sidewinder X4 Pro against other 3D printers.
Záruka a podpora
Informace o záruce
Specific warranty terms and conditions for the Artillery Sidewinder X4 Pro 3D Printer are typically provided with your product documentation or can be found on the official Artillery webwebu. Podrobné informace o záručním krytí, době trvání a postupu při reklamaci naleznete v těchto zdrojích.
Zákaznická podpora
For technical assistance, troubleshooting, or inquiries regarding defective or missing parts, you can contact Artillery customer support through the following channels:
- Podpora Amazon: For purchases made through Amazon, you can contact Amazon customer service for assistance with after-sales issues.
- Official Artillery Webmísto: Visit the official Artillery website to submit support tickets, access FAQs, and find community forums for additional help and printing tips. Providing relevant equipment information will help expedite your support request.
It is recommended to join the Artillery community to discuss and share printing tips with other users. This can be a valuable resource for practical advice and solutions to common issues.
Ask a question about this manual
Ask about setup, troubleshooting, compatibility, parts, safety, or missing instructions. Manuals+ will review the question and use this page’s manual context to help answer it.