
MINIX H1
Uživatelská příručka bezdrátového HDMI extenderu MINIX H1
Model: H1
1. Úvod
The MINIX H1 Wireless HDMI Extender provides a seamless, plug-and-play solution for wirelessly transmitting high-definition video and audio. This system consists of a transmitter and a receiver, designed for easy connection to laptops, PCs, cameras, gaming consoles (like PS5), and output devices such as monitors, TVs, and projectors. It supports 1080P HD transfer with a robust 2.4/5GHz transmission protocol, offering extended range and low latency for various applications including business presentations, classroom use, and home entertainment.
2. Obsah balení
Prosím, ověřte, zda jsou v balení přítomny všechny položky:
- MINIX H1 Wireless HDMI Transmitter Unit
- MINIX H1 Wireless HDMI Receiver Unit
- USB-A to USB-C Power Cable (for Receiver)
- Uživatelská příručka

Figure 2.1: The MINIX H1 Wireless HDMI Extender package contents, showing the transmitter and receiver units.
3. Konec produktuview
The MINIX H1 system comprises two main components: a Transmitter (TX) and a Receiver (RX). Both units feature an HDMI connector and a USB connector for power. The Receiver unit also includes a Pair/Reset button on its side.
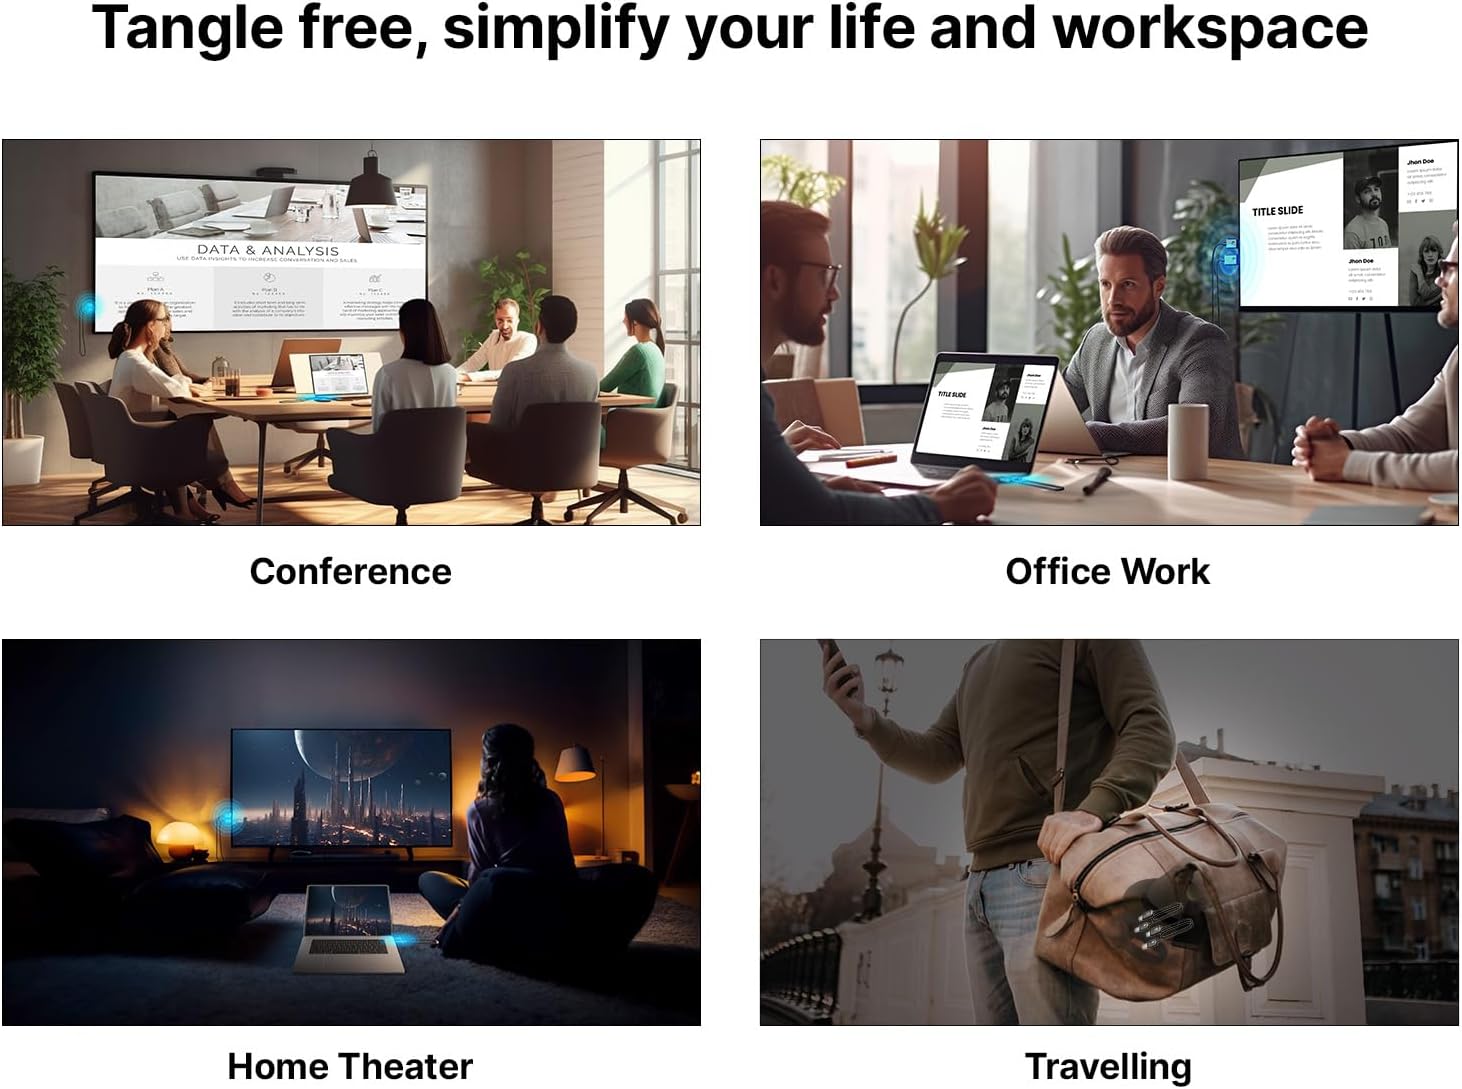
Figure 3.1: Detailed diagram showing the HDMI and USB ports on both the Transmitter and Receiver units. The Pair/Reset button is located on the side of the Receiver. The cable length is approximately 693mm.
4. Nastavení
The MINIX H1 is designed for seamless plug-and-play operation, requiring no drivers or apps. Follow these steps for quick setup:
- Připojení vysílače (TX): Plug the HDMI connector of the Transmitter unit into the HDMI output port of your source device (e.g., laptop, PC, gaming console).
- Napájení vysílače (TX): Plug the USB connector of the Transmitter unit into a USB-A port on your source device or a separate 5V/0.5A USB power adapter.
- Připojení přijímače (RX): Plug the HDMI connector of the Receiver unit into an available HDMI input port on your display device (e.g., TV, monitor, projector).
- Zapnutí přijímače (RX): Plug the USB connector of the Receiver unit into a USB-A port on your display device or a separate 5V/0.5A USB power adapter. Note: The Receiver requires an external USB-A power source with a minimum of 5V/0.5A output.
- Automatické připojení: The transmitter and receiver units will automatically pair and establish a connection within approximately 12 seconds.

Figure 4.1: Visual representation of the plug-and-play setup, highlighting no drivers, no apps, and no login required.

Figure 4.2: The MINIX H1 offers an extended wireless transmission range of up to 50 meters (164 feet) in an open environment. For optimal performance, it is best used within 25 meters. When transmitting signals through walls, the effective distance is within 10 meters (32 feet).
5. Návod k obsluze
Once connected, the MINIX H1 will automatically mirror your source device's display to the connected monitor or TV. You can typically switch between mirroring and extending your display directly from your source device's operating system settings.
- Zrcadlový režim: Duplicates your source device's screen on the external display.
- Rozšířený režim: Extends your desktop across both displays, allowing for more screen real estate.

Figure 5.1: The MINIX H1 provides flexible display options, allowing you to mirror your screen or extend your desktop across multiple displays.
The system delivers Full HD 1080P resolution at 60Hz, ensuring sharp and vibrant visuals with swift and low-latency 5GHz transmission.
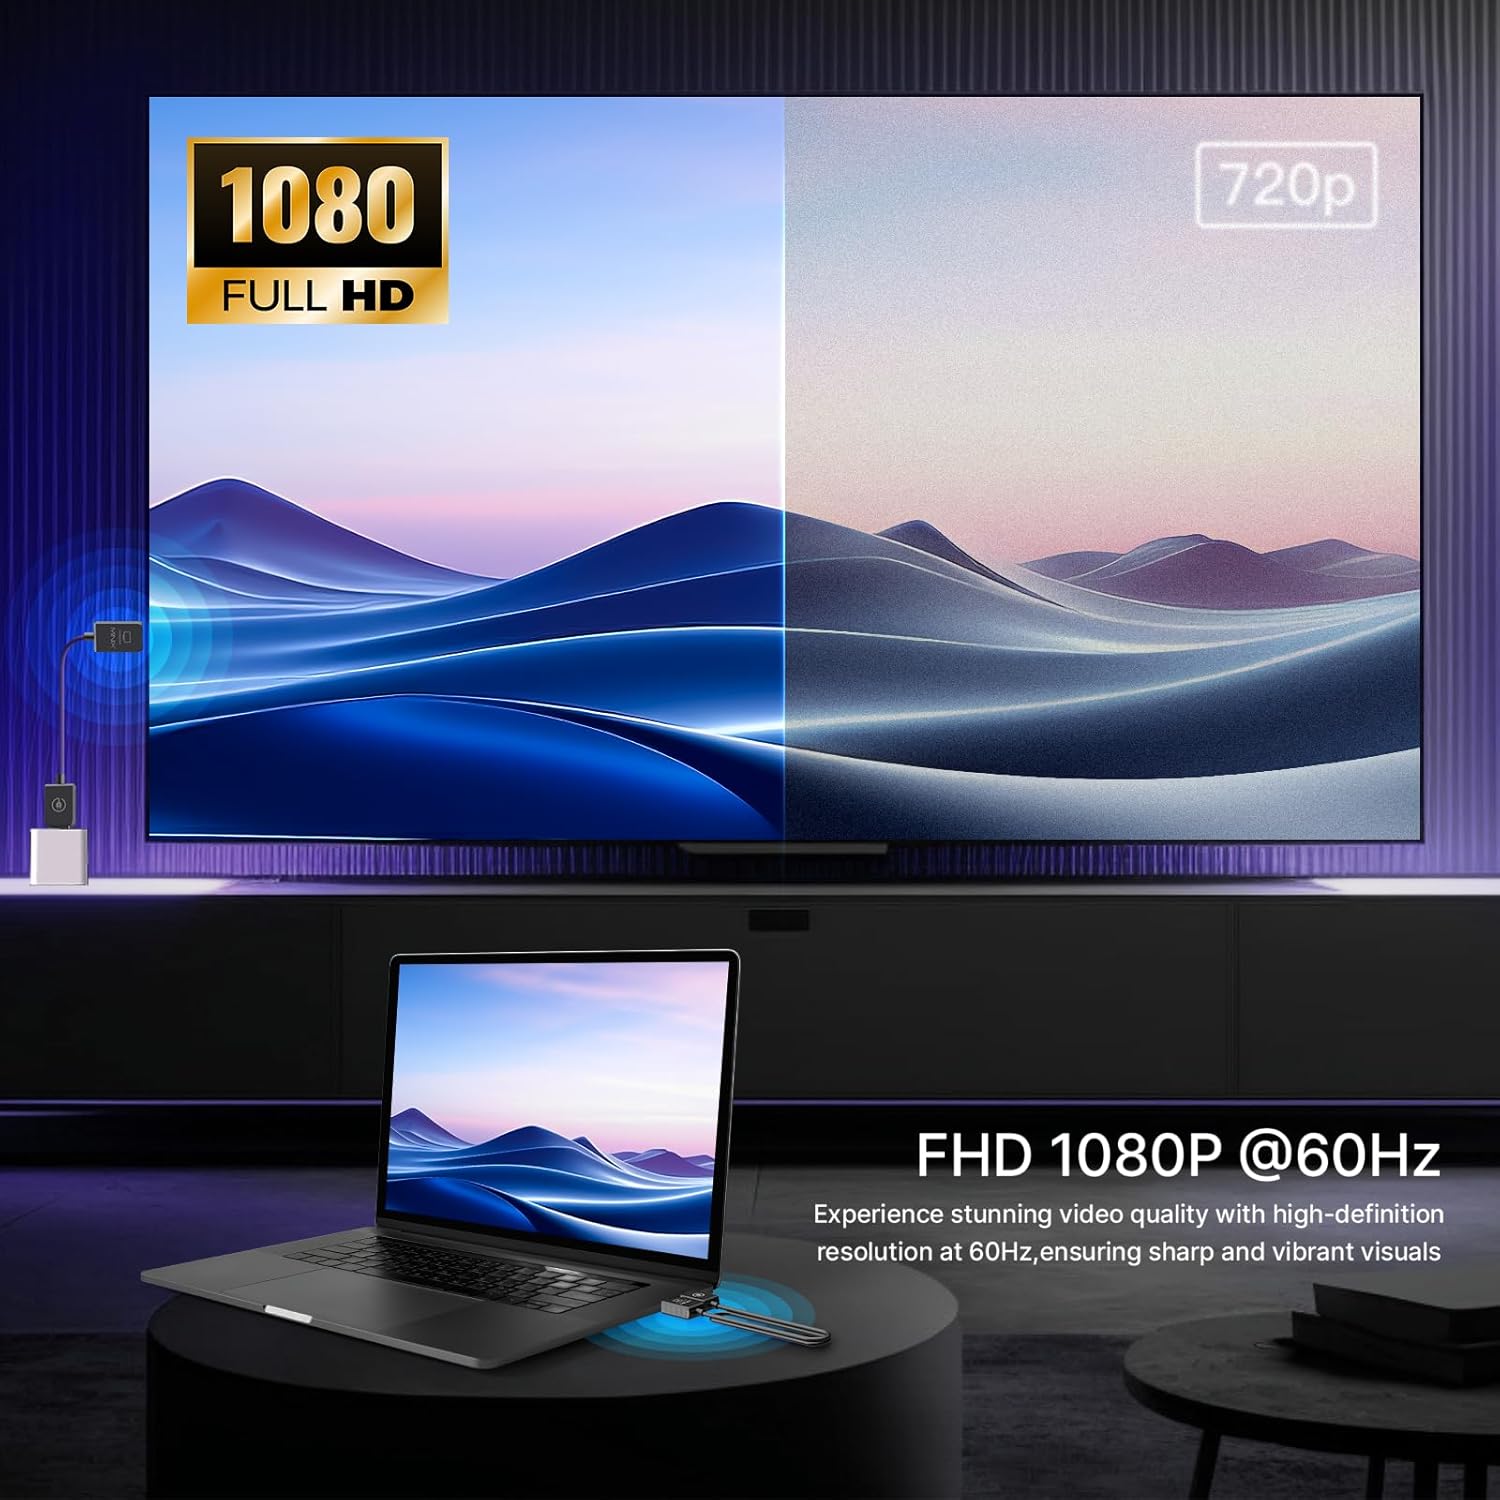
Figure 5.2: The MINIX H1 provides Full HD 1080P resolution at 60Hz for high-definition video quality.
Oficiální video produktu:
Video 5.1: An official product video demonstrating the MINIX H1 Wireless HDMI Extender in use, highlighting its plug-and-play functionality and seamless display mirroring.
6. Specifikace
| Funkce | Detail |
|---|---|
| Rozměry produktu | 26.9 x 0.7 x 0.35 palce |
| Hmotnost položky | 1.23 unce |
| Číslo modelu | H1 |
| Značka | MINIX |
| Barva | Černý |
| Typ konektoru | HDMI |
| Kompatibilní zařízení | Osobní počítač |
| Protokol bezdrátového přenosu | 2.4/5 GHz |
| Max Wireless Range (Open Environment) | 50 m (164 stop) |
| Max Wireless Range (Through Walls) | 10 m (32 stop) |
| Rozlišení videa | Full HD 1080P @ 60Hz |
| Rozsah provozních teplot | 23 °F až 158 °F (-5 °C až +70 °C) |
7. Řešení problémů
- No Signal/Pixelation/Freezing:
Ensure both the Transmitter and Receiver units are properly powered (Receiver requires 5V/0.5A external power). Check that HDMI connections are secure. Reduce the distance between the transmitter and receiver, especially if there are obstacles like walls. Unplug and reconnect both units to reset the connection.
- Lag/Delay in Video:
While designed for low latency, some minor lag may occur, particularly with fast-paced content like competitive gaming. Ensure units are within optimal range (preferably under 25m). Minimize interference from other 2.4/5GHz wireless devices.
- Device Becomes Warm During Use:
It is normal for the device to become warm during usage under normal operating conditions, as stated in the product features. This does not indicate a malfunction.
8. Údržba
To ensure the longevity and optimal performance of your MINIX H1 Wireless HDMI Extender, follow these simple maintenance guidelines:
- Udržujte jednotky čisté otíráním měkkým, suchým hadříkem.
- Nevystavujte jednotky extrémním teplotám, vlhkosti nebo přímému slunečnímu záření.
- Nepokoušejte se jednotky rozebírat ani opravovat sami, jinak ztratíte platnost záruky.
- Pokud jednotky nepoužíváte, skladujte je na chladném a suchém místě.
9. Záruka a podpora
For warranty information and technical support, please refer to the official MINIX webwebové stránky nebo se obraťte přímo na jejich zákaznický servis. Podrobnosti lze obvykle nalézt na obalu produktu nebo v oficiálních online zdrojích výrobce.
Official MINIX Webmísto: www.minix.com.hk
MINIX Forum: www.theminixforum.com
Facebook: www.facebook.com/minixtech
Ask a question about this manual
Ask about setup, troubleshooting, compatibility, parts, safety, or missing instructions. Manuals+ will review the question and use this page’s manual context to help answer it.