
1. Úvod
Thank you for choosing the PROFLO PFXXC810HE Wall Mounted Two-Piece Elongated Toilet. This manual provides essential information for the safe installation, operation, maintenance, and troubleshooting of your new toilet. Please read these instructions thoroughly before installation and retain them for future reference.

Image 1.1: PROFLO brand logo.
2. Bezpečnostní informace
VAROVÁNÍ: Improper installation or maintenance can lead to water damage, personal injury, or product damage. Always follow local plumbing and building codes.
- Ensure the water supply is turned off before beginning any installation or maintenance.
- Během instalace používejte vhodné osobní ochranné prostředky (OOP), jako jsou ochranné brýle a rukavice.
- This toilet is heavy. Use proper lifting techniques or seek assistance to prevent injury.
- Do not use harsh abrasive cleaners on the vitreous china surface, as this may damage the finish.
- For wall-mounted installations, ensure the wall carrier system is correctly installed and secured according to its manufacturer's instructions.
3. Obsah balení
Carefully unpack all components and check for any damage. Ensure all items listed below are present. If any parts are missing or damaged, contact PROFLO customer support immediately.
- Toilet Bowl (Elongated, Wall Mounted)
- Toilet Tank Assembly
- Left Hand Trip Lever
- Tank-to-Bowl Hardware
- Wax Ring or Gasket (may be included or sold separately depending on region)
- Installation Hardware (bolts, washers, nuts for wall mounting - specific to carrier system)
- Návod k instalaci (tento návod)
Note: Toilet seat is sold separately. Wall carrier system for wall-mounted toilets is also sold separately.
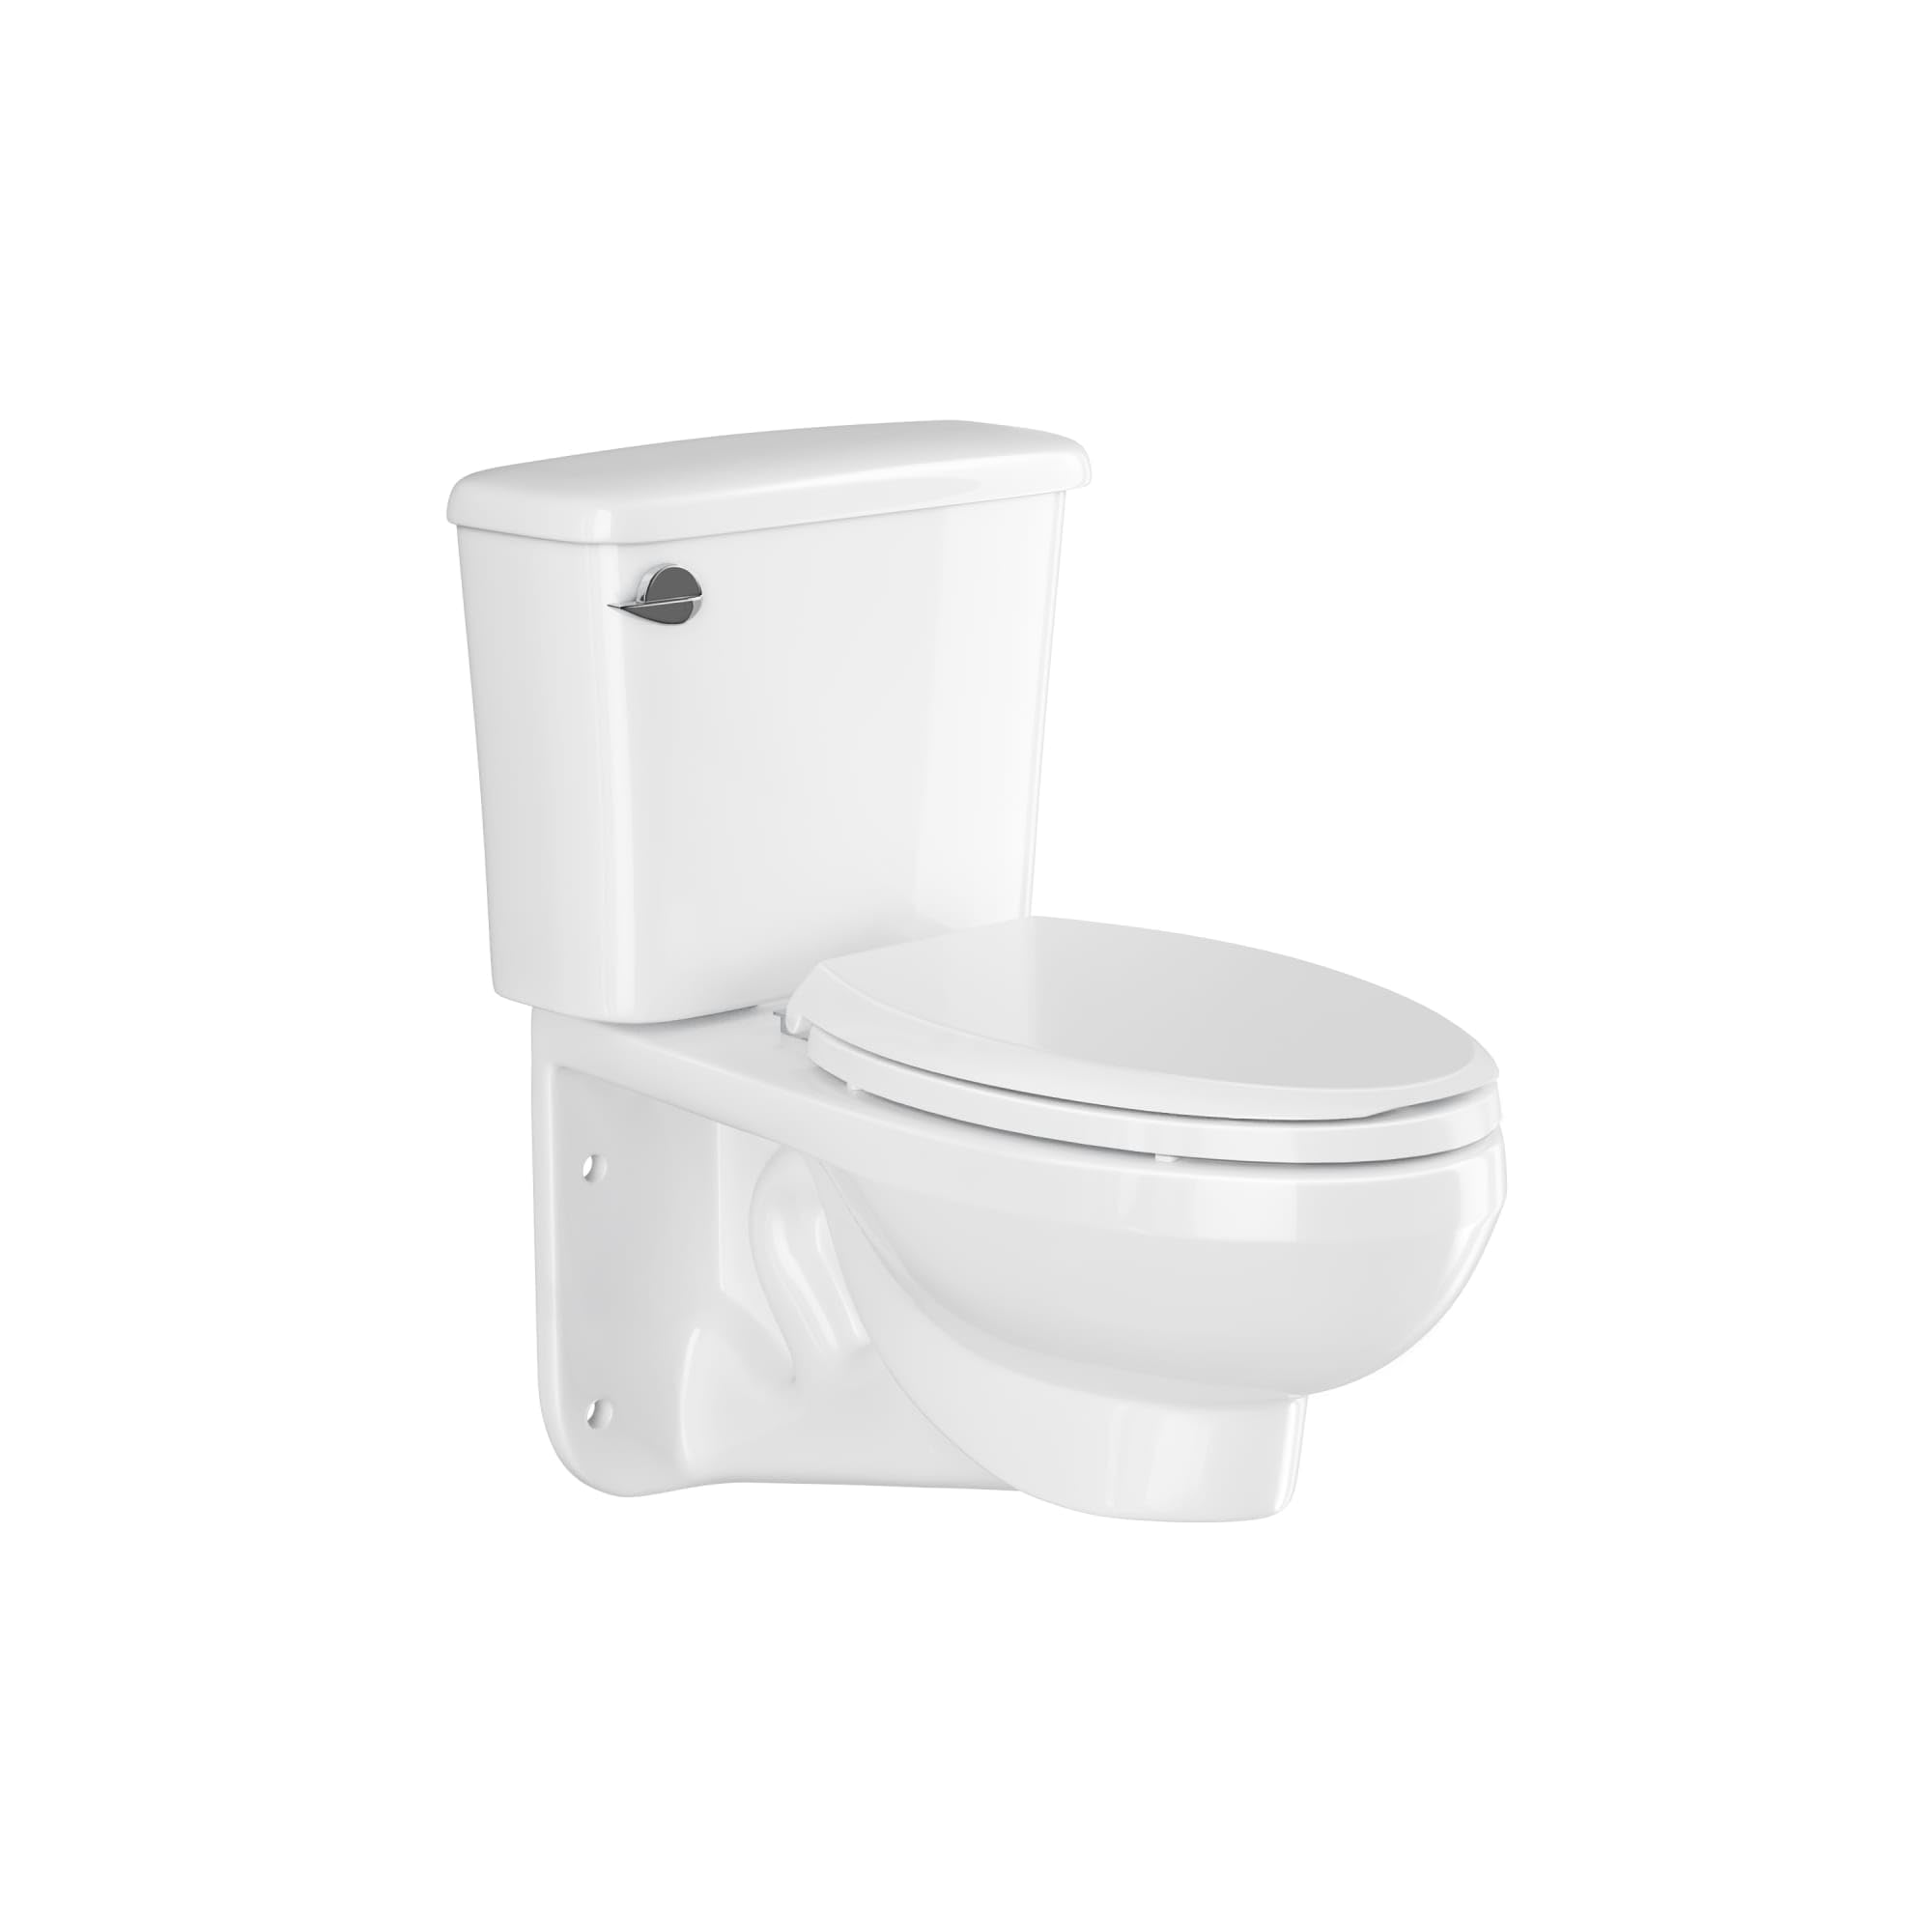
Image 3.1: PROFLO PFXXC810HE Wall Mounted Two-Piece Elongated Toilet (less seat).
4. Nastavení a instalace
Installation of a wall-mounted toilet requires specific plumbing knowledge and adherence to local codes. It is highly recommended that installation be performed by a qualified professional plumber.
4.1 Kroky před instalací
- Vypněte přívod vody: Locate the main water shut-off valve and turn off the water supply to the bathroom. Flush the existing toilet to drain the tank.
- Remove Old Toilet (if applicable): Disconnect the water supply line, remove mounting bolts, and carefully lift and remove the old toilet. Clean the flange area.
- Inspect Wall Carrier System: Ensure the wall carrier system (purchased separately) is securely installed and properly aligned according to its manufacturer's instructions. Verify the waste outlet and water supply connections are accessible and correctly positioned.
4.2 Assembling the Toilet
- Attach Tank to Bowl: Place the tank gasket onto the bowl's inlet opening. Carefully align the tank with the bowl and secure it using the provided tank-to-bowl bolts, washers, and nuts. Tighten evenly to prevent leaks, but do not overtighten.
- Install Trip Lever: Insert the left-hand trip lever into the designated hole on the tank. Connect the chain from the flapper to the trip lever arm. Adjust chain slack as needed.
4.3 Mounting the Toilet
- Prepare Waste Outlet: Apply a wax ring or rubber gasket to the toilet bowl's waste outlet, ensuring a watertight seal.
- Mount Bowl to Carrier: Carefully lift the assembled toilet bowl and align its mounting holes with the threaded rods extending from the wall carrier system. Slide the toilet onto the rods.
- Bezpečná toaleta: Install the washers and nuts onto the threaded rods. Tighten evenly and gradually, alternating between nuts, until the toilet is secure against the wall. Do not overtighten, as this can crack the vitreous china.
- Připojte přívod vody: Connect the flexible water supply line from the shut-off valve to the toilet tank's fill valve. Hand-tighten, then use a wrench for a quarter turn. Do not overtighten.
4.4 Po instalaci
- Zapněte přívod vody: Slowly turn on the main water supply valve. Allow the tank to fill. Check for leaks around all connections.
- Zkušební proplach: Flush the toilet several times to ensure proper operation and check for any leaks or issues.
- Instalace toaletního sedátka: Follow the manufacturer's instructions for installing your chosen toilet seat (sold separately).

Obrázek 4.1: Příkladample of a wall-mounted toilet installation in a bathroom setting.
5. Návod k obsluze
The PROFLO PFXXC810HE toilet operates with a standard left-hand trip lever.
- To flush the toilet, press down firmly on the left-hand trip lever located on the front of the tank.
- Hold the lever down briefly to ensure a complete flush.
- Release the lever, and the tank will refill automatically.
This toilet is designed for efficient water usage, consuming 1.28 gallons per flush (GPF).
6. Údržba
Regular cleaning and maintenance will ensure the longevity and optimal performance of your PROFLO toilet.
6.1 Čištění toalety
- Use a soft cloth or sponge with mild, non-abrasive cleaning solutions specifically designed for toilets.
- Avoid using abrasive powders, scouring pads, or cleaners containing harsh chemicals like bleach, acids, or ammonia, as these can damage the vitreous china finish and internal components.
- For hard water stains, use a cleaner formulated for mineral deposits and follow the product's instructions carefully.
- Clean the exterior surfaces, bowl, and under the rim regularly.
6.2 Vnitřní komponenty
- Periodically inspect the fill valve, flapper, and trip lever for wear and tear. Replace components as needed.
- Ensure the water level in the tank is set correctly, typically to the waterline mark indicated inside the tank.
7. Řešení problémů
Než zavoláte servis, znovuview následující běžné problémy a jejich řešení.
| Problém | Možná příčina | Řešení |
|---|---|---|
| Toaleta běží nepřetržitě | Flapper not sealing, fill valve malfunction, trip lever chain too tight. | Check flapper for debris or wear; adjust chain slack; inspect/replace fill valve. |
| Slabé spláchnutí | Low water level in tank, clogged rim jets, partial clog in trapway. | Adjust water level; clean rim jets; use a toilet auger for clogs. |
| Toilet clogs frequently | Excessive waste, foreign objects, partial clog. | Use less toilet paper; avoid flushing non-flushable items; use a plunger or auger. |
| Leaks at base or connections | Loose connections, damaged wax ring/gasket, cracked tank/bowl. | Tighten connections (do not overtighten); replace wax ring/gasket; inspect for cracks (contact support if found). |
If you are unable to resolve an issue using these troubleshooting steps, please contact PROFLO customer support.
8. Specifikace
| Funkce | Detail |
|---|---|
| Číslo modelu | PFXXC810HE |
| Výrobce | PROFLO |
| Vyplachovací typ | Single Flush, 1.28 Gallons Per Flush (GPF) |
| Typ WC | Two-Piece, Wall Mounted |
| Tvar mísy | Protáhlý |
| Lever Placement | Levá ruka |
| Materiál | Vitreous Čína |
| Barva | Bílý |
| Vyhovuje ADA | Ano |
| Hmotnost položky | 80.3 libry |
| Rozměry produktu | 28 x 18.56 x 31 palce (délka x šířka x výška) |
9. Informace o záruce
The PROFLO PFXXC810HE toilet carries the following limited warranties:
- Sklivcová Čína: Doživotní omezená záruka
- Fittings (Internal Components): 5 rok omezená záruka
This warranty covers defects in material and workmanship under normal use and service. For full warranty details and to make a claim, please refer to the official PROFLO warranty documentation or contact customer support. Proof of purchase is required for all warranty claims.
10. Zákaznická podpora
For technical assistance, replacement parts, or warranty inquiries, please contact PROFLO customer support.
- Webmísto: Visit the official PROFLO webweb s podpůrnými zdroji a kontaktními informacemi.
- Telefon: Refer to your product packaging or the PROFLO webweb s nejaktuálnějším telefonním číslem zákaznického servisu.
When contacting support, please have your model number (PFXXC810HE) and proof of purchase readily available.