1. Úvod
The Xigmatek Hero II Air 3F is a mid-tower PC case designed for optimal airflow and component compatibility. It features a tempered glass side panel, support for various motherboard form factors, and pre-installed cooling fans. This manual provides detailed instructions for the installation of components, operation, maintenance, and troubleshooting of your PC case.
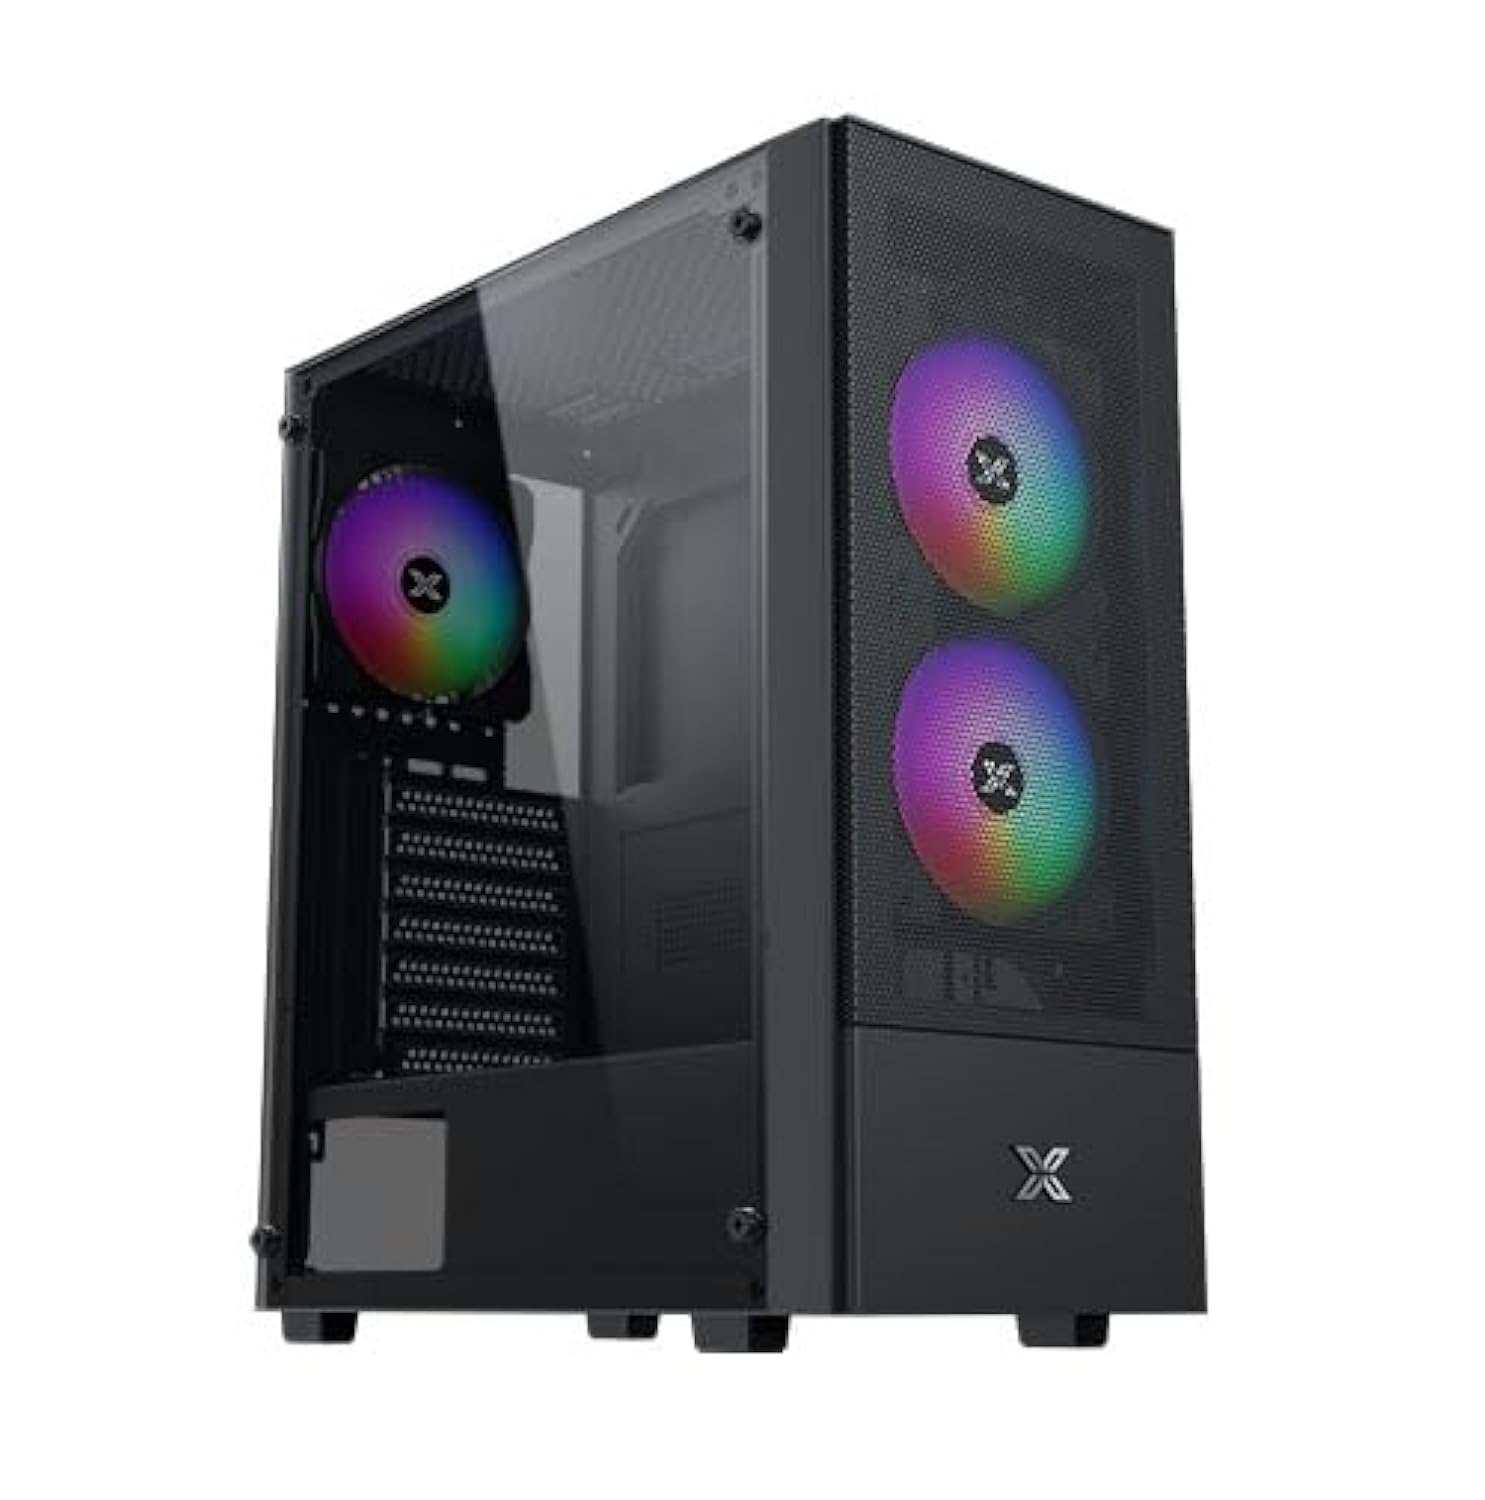
Figure 1: Xigmatek Hero II Air 3F Mid-Tower PC Case overview.
2. Bezpečnostní informace
Please read and understand all safety instructions before installing components into the PC case.
- Před jakoukoli instalací nebo údržbou vždy odpojte napájecí kabel ze zásuvky.
- Noste antistatický náramek, abyste zabránili poškození citlivých součástí elektrostatickým výbojem (ESD).
- Handle components carefully to avoid physical damage.
- Uchovávejte malé součástky a šrouby mimo dosah dětí.
- Zajistěte dostatečné větrání kolem skříně počítače, abyste zabránili přehřátí.
- Do not operate the PC case with the side panel removed unless necessary for troubleshooting or maintenance.
3. Obsah balení
Ověřte, zda jsou v balení přítomny všechny položky:
- Xigmatek Hero II Air 3F Mid-Tower PC Case
- Accessory box (containing screws, cable ties, and other small parts)
- 3 x 120mm fixed RGB fans (pre-installed)
- Uživatelská příručka (tento dokument)
4. Nastavení a instalace komponent
Follow these steps to install your PC components into the Xigmatek Hero II Air 3F case.
4.1 Instalace základní desky
Skříň podporuje základní desky formátů ATX, Micro-ATX a Mini-ITX.
- Odstraňte boční panel z tvrzeného skla odšroubováním šroubů s křídlovou hlavou.
- Nainstalujte kryt I/O (pokud není předem připojen k základní desce) do zadního otvoru skříně.
- Align your motherboard with the standoffs inside the case. Ensure the standoffs match your motherboard's form factor.
- Zajistěte základní desku dodanými šrouby.
- Install the CPU cooler. The case supports CPU air coolers up to 165mm in height.

Figure 2: Component clearance for motherboard (ATX), CPU cooler (165mm), and graphics card (340mm).
4.2 Instalace úložného disku
The case offers multiple storage options:
- HDD Cage: Supports 2 x 3.5" HDDs or 2 x 2.5" SSDs in a combo cage located at the bottom.
- MB panel: Supports 2 x 2.5" SSDs mounted behind the motherboard tray.
- For 3.5" HDDs or 2.5" SSDs in the cage, slide the drive into the bay and secure with screws.
- For 2.5" SSDs behind the motherboard tray, mount the SSDs directly onto the designated spots using screws.

Figure 3: Locations for SSDs (behind motherboard tray) and HDD/SSD combo cage.
4.3 Instalace jednotky napájecího zdroje (PSU)
The case supports standard PS2 ATX PSUs up to 165mm in length.
- Vyhledejte montážní držák zdroje v zadní spodní části skříně.
- Slide the PSU into the designated compartment from the rear of the case.
- Zajistěte zdroj šrouby z vnější strany skříně.
4.4 Instalace grafické karty (GPU)
The case accommodates graphics cards up to 340mm in length.
- Odstraňte potřebné kryty rozšiřujících slotů ze zadní strany skříně.
- Insert the graphics card into the appropriate PCIe slot on your motherboard.
- Připevněte grafickou kartu ke skříni pomocí šroubů.
4.5 Fan and Liquid Cooling Installation
The Hero II Air 3F comes with three pre-installed 120mm fixed RGB fans. Additional fan and liquid cooling support is available:
- Přední: 3 x 120mm fans (pre-installed)
- Nahoře: 2 x 120mm or 2 x 140mm fans
- Zadní: 1 x 120mm fan (pre-installed)
- Liquid Cooling Radiator Support: Front 360mm, Top 240mm, Rear 120mm.
- Mount additional fans or radiators to the designated locations using the appropriate screws.
- Ensure proper airflow direction for optimal cooling (intake at front, exhaust at rear/top).

Figure 4: Illustration of superior airflow design with front intake and rear exhaust.
4.6 Správa kabelů
The case provides space behind the motherboard tray and cutouts for efficient cable routing.
- Route power cables and data cables through the designated cutouts to the back of the motherboard tray.
- Use cable ties (provided in the accessory box) to bundle and secure cables, ensuring a clean interior and unobstructed airflow.
5. Obsluha skříně počítače
Once all components are installed and cables are connected, you can operate your PC.
5.1 Přední I/O porty
The top-mounted I/O panel provides convenient access to essential ports and controls:
- Vypínač: Zapnutí/vypnutí systému.
- Resetovací tlačítko: Chcete-li restartovat systém.
- Porty USB 2.0 (x2): Pro připojení zařízení s rozhraním USB 2.0.
- Port USB 3.0 (x1): Pro připojení zařízení s rozhraním USB 3.0.
- HD Audio Jack: Pro připojení sluchátek a mikrofonů.
- LED spínač: To control the lighting of the pre-installed RGB fans.

Figure 5: Diagram of the top-mounted I/O ports including Power, Reset, USB 2.0, USB 3.0, HD Audio, and LED Switch.
5.2 Fan Operation and RGB Control
The pre-installed fans provide cooling for your system. The LED Switch on the I/O panel allows you to cycle through different lighting modes for the fixed RGB fans. Note that the pre-installed fans use Molex connectors for power.
6. Údržba
Pravidelná údržba pomáhá zajistit optimální výkon a dlouhou životnost komponent vašeho počítače.
- Čištění prachu: Periodically clean dust filters and the interior of the case using compressed air or a soft brush. Dust accumulation can impede airflow and lead to overheating.
- Kontrola kabeláže: Ujistěte se, že kabely jsou úhledně uspořádané a nebrání proudění vzduchu.
- Kontrola ventilátoru: Check fans for any obstructions or unusual noises.
7. Řešení problémů
Tato část se zabývá běžnými problémy, se kterými se můžete setkat.
- Ventilátory se netočí nebo se nerozsvítí RGB:
- Ensure all fan power connectors (Molex) are securely connected to the power supply.
- Verify that the LED Switch cable from the I/O panel is correctly connected to the fan controller or motherboard header (if applicable). Note that the pre-installed fans have fixed RGB and are controlled by the LED switch.
- Systém se nezapíná:
- Check all power connections, including the 24-pin ATX, 8-pin CPU, and GPU power cables.
- Ensure the power button cable from the I/O panel is correctly connected to the motherboard's front panel header.
- Ověřte, zda je vypínač zdroje napájení v poloze „ON“.
- Poor airflow or high temperatures:
- Check for dust buildup on fans and filters and clean them.
- Pro optimální sání a odvod spalin se ujistěte, že jsou ventilátory správně orientovány.
- Verify that no cables are obstructing airflow paths.
8. Specifikace
Detailed specifications for the Xigmatek Hero II Air 3F PC Case.

Figure 6: Official specifications table for the Hero II Air 3F.
| Funkce | Specifikace |
|---|---|
| Název produktu | Hero II Air 3F |
| Materiál | Slitina oceli |
| Rozměry (D x Š x V) | 390 x 195 x 450 mm |
| Drive Bays | HDD Cage: 2 x 3.5" & 2.5" combo; MB Panel: 2 x 2.5" SSD |
| Rozšiřující sloty | 7 Standard Slots |
| Podpora základní desky | ATX, M-ATX, Mini ITX |
| Podpora napájení | Standard PS2 ATX PSU (Max 165mm length) |
| Podpora fanoušků | Top: 2 x 120mm or 2 x 140mm; Front: 3 x 120mm; Rear: 1 x 120mm |
| Podpora kapalného chlazení | Front: 360mm; Top: 240mm; Rear: 120mm |
| I/O panel | 1 x USB 3.0, 2 x USB 2.0, HD Audio, LED Switch |
| Výška chladiče CPU | Max 165 mm |
| Délka VGA karty | Max 340 mm |
| Délka PSU | Max 165 mm |
| Předinstalované ventilátory | 3 x 120mm Fixed RGB Fans |
| Vlastnosti | Tempered glass side panel, advanced cooling system, easy cable management |
9. Informace o záruce
The Xigmatek Hero II Air 3F PC Case comes with a 2-letá záruka from the date of purchase. This warranty covers manufacturing defects and material faults under normal use. It does not cover damage caused by misuse, accident, modification, or unauthorized repair. Please retain your proof of purchase for warranty claims.
10. Podpora
For further assistance, technical support, or warranty inquiries, please contact Xigmatek customer service through their official webwebu nebo místního distributora.