
1. Úvod
Thank you for choosing the Diydeg 30A MPPT Solar Controller and 50W Solar Panel Kit. This kit is designed to provide efficient solar charging for 12V and 24V battery systems in various applications such as RVs, marine vessels, trailers, and camping setups. This manual provides essential information for the safe and effective installation, operation, and maintenance of your solar kit.
2. Bezpečnostní informace
Před instalací a provozem si pečlivě přečtěte všechny bezpečnostní pokyny. Nedodržení těchto pokynů může vést k úrazu elektrickým proudem, požáru nebo vážnému zranění.
- Ujistěte se, že všechna připojení jsou bezpečná a řádně izolovaná, aby se zabránilo zkratu.
- Do not attempt to disassemble or repair the solar panel or controller. Contact qualified personnel for service.
- Během instalace používejte vhodné osobní ochranné prostředky (OOP), jako jsou rukavice a ochrana očí.
- Avoid touching exposed wires or terminals when the system is connected to a power source.
- Solární panel instalujte na místě s dostatečným větráním a mimo dosah hořlavých materiálů.
- The solar controller is designed for 12V/24V lead-acid batteries (Flooded, GEL, Deep Cycle). Do not use with other battery types unless specified.
3. Obsah balení
Ověřte, zda jsou v balení obsaženy všechny níže uvedené položky:
- 1 x 50W solární panel
- 1 x 30A MPPT Solar Charge Controller
- 1 x Connecting Wire (DC output cable for solar panel)
- 4x přísavky
- 1 x User Specification (this manual)
- 1 x Car Charging Cable (cigarette lighter adapter)
- 1 x Output Clip (alligator clips for battery connection)

Image: Complete contents of the Diydeg 50W Solar Panel Kit, including the solar panel, controller, cables, and suction cups.
4. Nastavení a instalace
4.1 Umístění solárních panelů
Position the 50W solar panel in a location that receives maximum direct sunlight throughout the day. Avoid shaded areas. The panel is designed to be portable and can be mounted using the included suction cups or other suitable mounting hardware (not included).
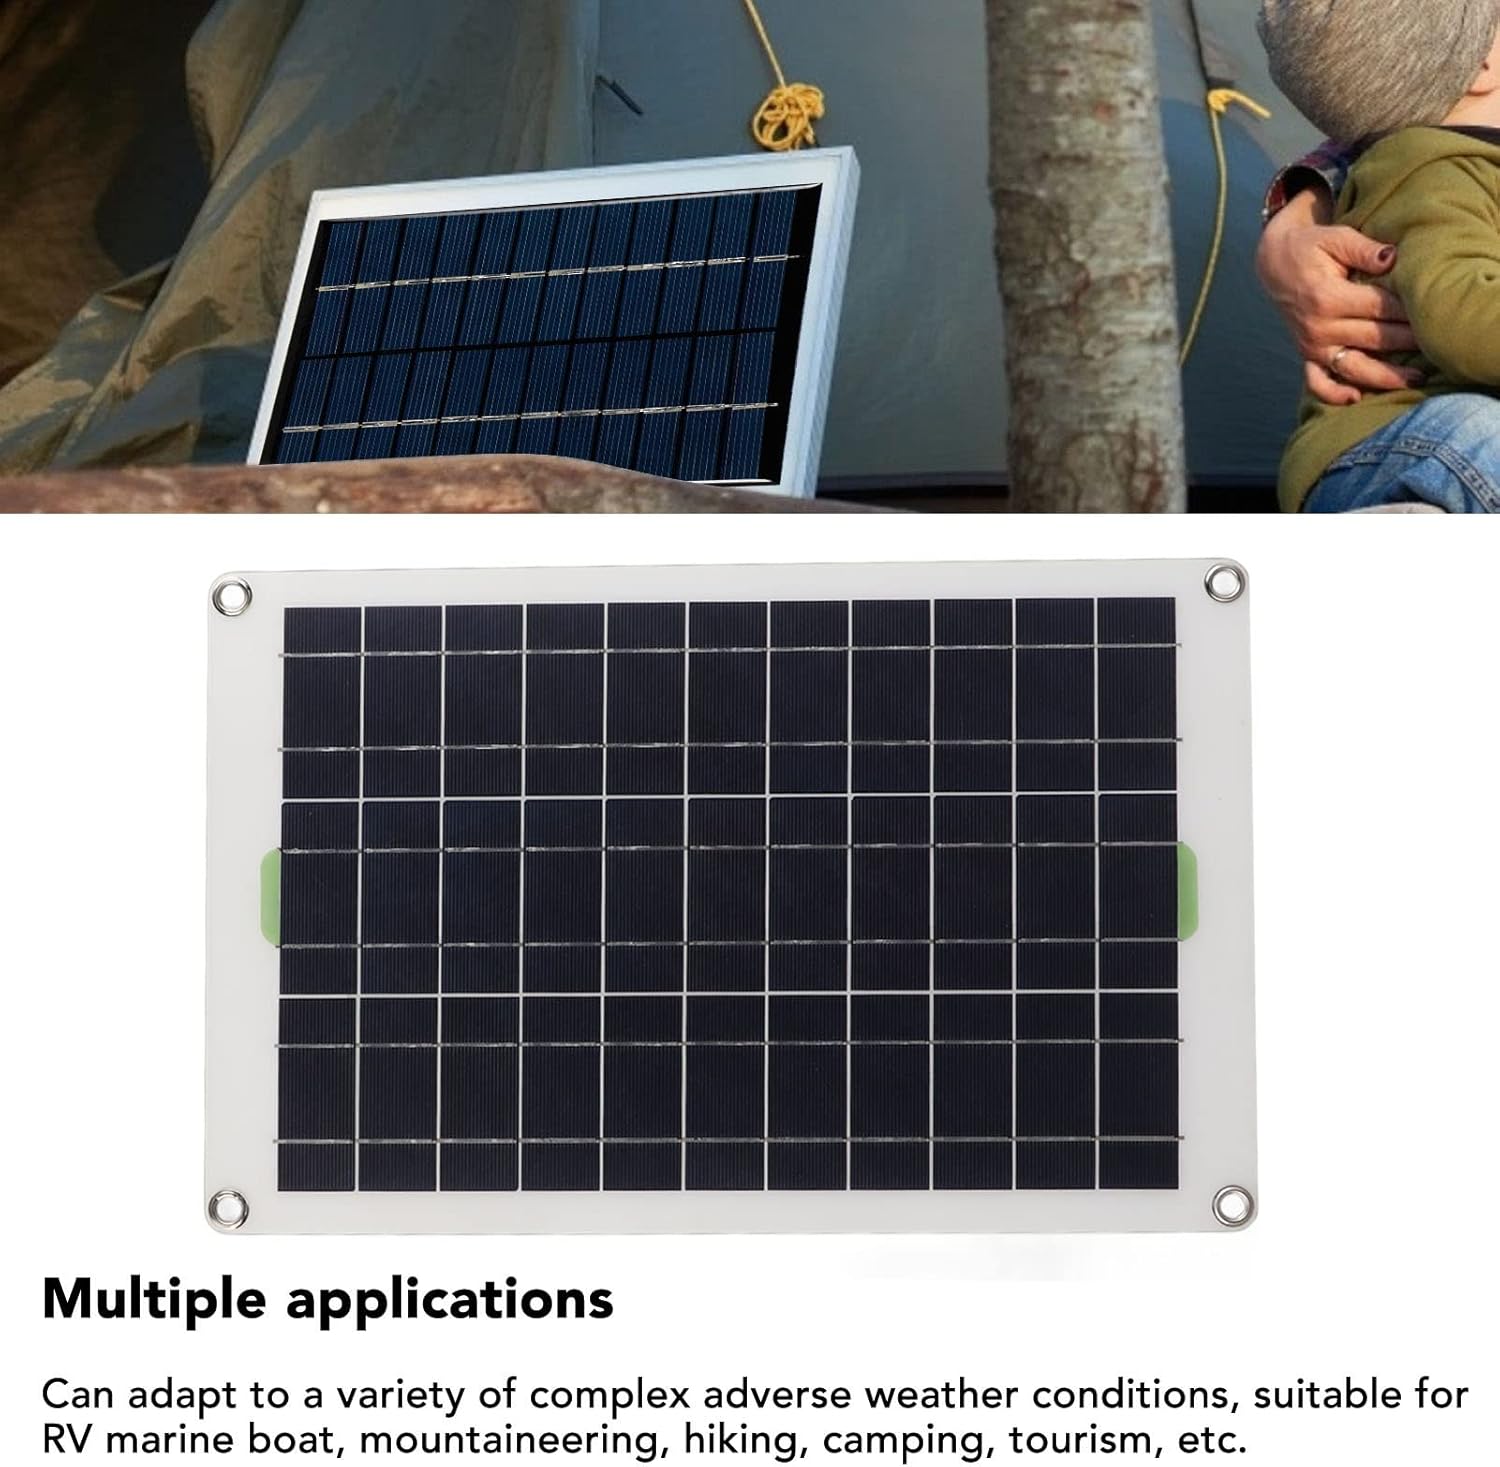
Image: The 50W solar panel set up outdoors next to a tent, demonstrating a typical campaplikace.

Obrázek: Detailní záběr view of the monocrystalline silicon solar panel, highlighting its construction and efficiency.
4.2 Připojení ovladače
Follow these steps to connect the solar panel to the controller and then to your battery:
- Connect the Battery First: Connect the alligator clips (output clip) to your 12V or 24V battery terminals. Ensure correct polarity: red to positive (+), black to negative (-). Then, connect the other end of the alligator clip cable to the DC output port on the solar charge controller.
- Připojte solární panel: Connect the DC output cable from the 50W solar panel to the solar input port on the charge controller.
- Optional: Car Charging Cable: If charging via a car's cigarette lighter, connect the car charging cable to the controller and then to the vehicle's cigarette lighter socket.
Důležité: Always connect the battery to the controller před connecting the solar panel. Disconnect in the reverse order: solar panel first, then battery.

Image: The 30A MPPT solar charge controller, showing its display and connection ports.

Image: Various connection cables included with the kit, such as the car charging cable and alligator clips, along with the suction cups.
5. Návod k obsluze
5.1 Počáteční zapnutí
Once the battery and solar panel are connected, the controller will automatically detect the battery voltage (12V or 24V) and begin charging. The display on the controller will show charging status, battery voltage, and other relevant parameters.

Obrázek: Podrobný view of the solar charge controller's display and control buttons, indicating various functions like MCU control, set voltage, full protect, and built-in timer.
5.2 Funkce ovladače
The 30A solar controller is equipped with multiple protective functions to ensure battery longevity and system safety:
- Ochrana proti přebití: Zabraňuje nabití baterie nad její kapacitu.
- Přepětítage ochrana: Ochranná opatření proti nadměrnému objemutage vstup.
- Discharge Protection: Prevents deep discharge of the battery.
- Ochrana proti zkratu: Protects the system from damage due to short circuits.
- Ochrana proti zpětnému připojení: Zabraňuje poškození způsobenému nesprávnou polaritou připojení.
The controller also features a built-in timer and options for setting voltage, which can be adjusted via the buttons on the unit. Refer to the controller's specific instructions for detailed programming.
6. Údržba
Regular maintenance ensures optimal performance and extends the lifespan of your solar kit.
- Čištění solárních panelů: Pravidelně čistěte povrch solárního panelu měkkým hadříkemamp cloth to remove dust, dirt, and debris. A clean panel ensures maximum light absorption.
- Kontroly připojení: Annually inspect all electrical connections for tightness and corrosion. Ensure wires are not frayed or damaged.
- Controller Inspection: Keep the controller free from dust and moisture. Ensure adequate ventilation around the controller to prevent overheating.
- Stav baterie: Sledujte stav baterie a hladinu elektrolytu (u zaplavených baterií) podle doporučení výrobce baterie.
7. Řešení problémů
If you encounter issues with your solar kit, refer to the following common problems and solutions:
| Problém | Možná příčina | Řešení |
|---|---|---|
| No charging indicated on controller | No sunlight; Loose connections; Reversed polarity; Faulty panel/controller. | Ensure panel is in direct sunlight. Check all wiring for secure connections and correct polarity. Test components if possible. |
| Low charging current/voltage | Partial shading on panel; Dirty panel surface; Insufficient sunlight; Undersized panel. | Relocate panel to avoid shade. Clean panel surface. Ensure clear skies. Consider a larger panel if output is consistently low. |
| Displej ovladače je vypnutý | Battery not connected or discharged; Loose battery connection. | Ensure battery is connected and has sufficient charge. Check battery connections. |
| Metal grommets rusting (as per user feedback) | Non-stainless steel material exposed to moisture. | Apply rust-inhibiting coating or replace with stainless steel grommets if possible. Store in dry conditions when not in use. |
If the problem persists after attempting these solutions, please contact Diydeg customer support.
8. Specifikace
Key technical specifications for the Diydeg 30A MPPT Solar Controller and 50W Solar Panel Kit:
| Funkce | Specifikace |
|---|---|
| Značka | Diydeg |
| Číslo modelu | Diydegf5wt308os6 |
| Solar Panel Maximum Power | 50 wattů |
| Materiál solárních panelů | Monokrystalický křemík |
| Typ ovladače | MPPT (sledování maximálního výkonového bodu) |
| Controller Current Rating | 30A |
| System Voltage | 12V / 24V Auto-sensing |
| Použitelné typy baterií | Lead-acid (Flooded, GEL, Deep Cycle) |
| Speciální funkce | Portable, Overcharge Protection, Overvoltage Protection, Discharge Protection, Short Circuit Protection, Reverse Connection Protection |
| Hmotnost položky | 680 g |
| Rozměry balíku | 45.08 x 29.21 x 3.81 cm |
9. Záruka a podpora
For warranty information, technical support, or service inquiries, please contact Diydeg customer service through your original point of purchase. Keep your purchase receipt as proof of purchase.