
1. Úvod
This manual provides instructions for the installation, operation, and maintenance of the Nureva HDL300 Audio Conferencing System. The HDL300 is designed to deliver high-quality audio for meeting spaces up to 25 x 25 feet, utilizing Microphone Mist technology for comprehensive voice pickup.
2. Důležité bezpečnostní informace
- Před použitím zařízení si přečtěte všechny pokyny.
- Uschovejte tento návod pro budoucí použití.
- Nevystavujte zařízení vodě nebo vlhkosti.
- Používejte pouze nástavce a příslušenství specifikované výrobcem.
- Veškeré opravy svěřte kvalifikovanému servisnímu personálu.
3. Obsah balení
Před zahájením instalace ověřte, zda jsou všechny komponenty přítomny:
- Nureva HDL300 Integrated Wall-Mounted Soundbar
- Připojte modul
- Napájení
- USB-B kabel
- Ethernetový kabel
- Wall Mount Bracket and Hardware
4. Nastavení a instalace
4.1 Mounting the HDL300 Soundbar
The HDL300 soundbar is designed for wall mounting. Ensure the mounting surface is capable of supporting the device's weight (approximately 18 lbs).
- Select an appropriate location on the wall, typically below a display screen, ensuring clear line of sight for audio pickup.
- Use the provided wall mount bracket as a template to mark drilling locations.
- Drill pilot holes and secure the wall mount bracket using the supplied hardware.
- Carefully lift and attach the HDL300 soundbar to the mounted bracket.
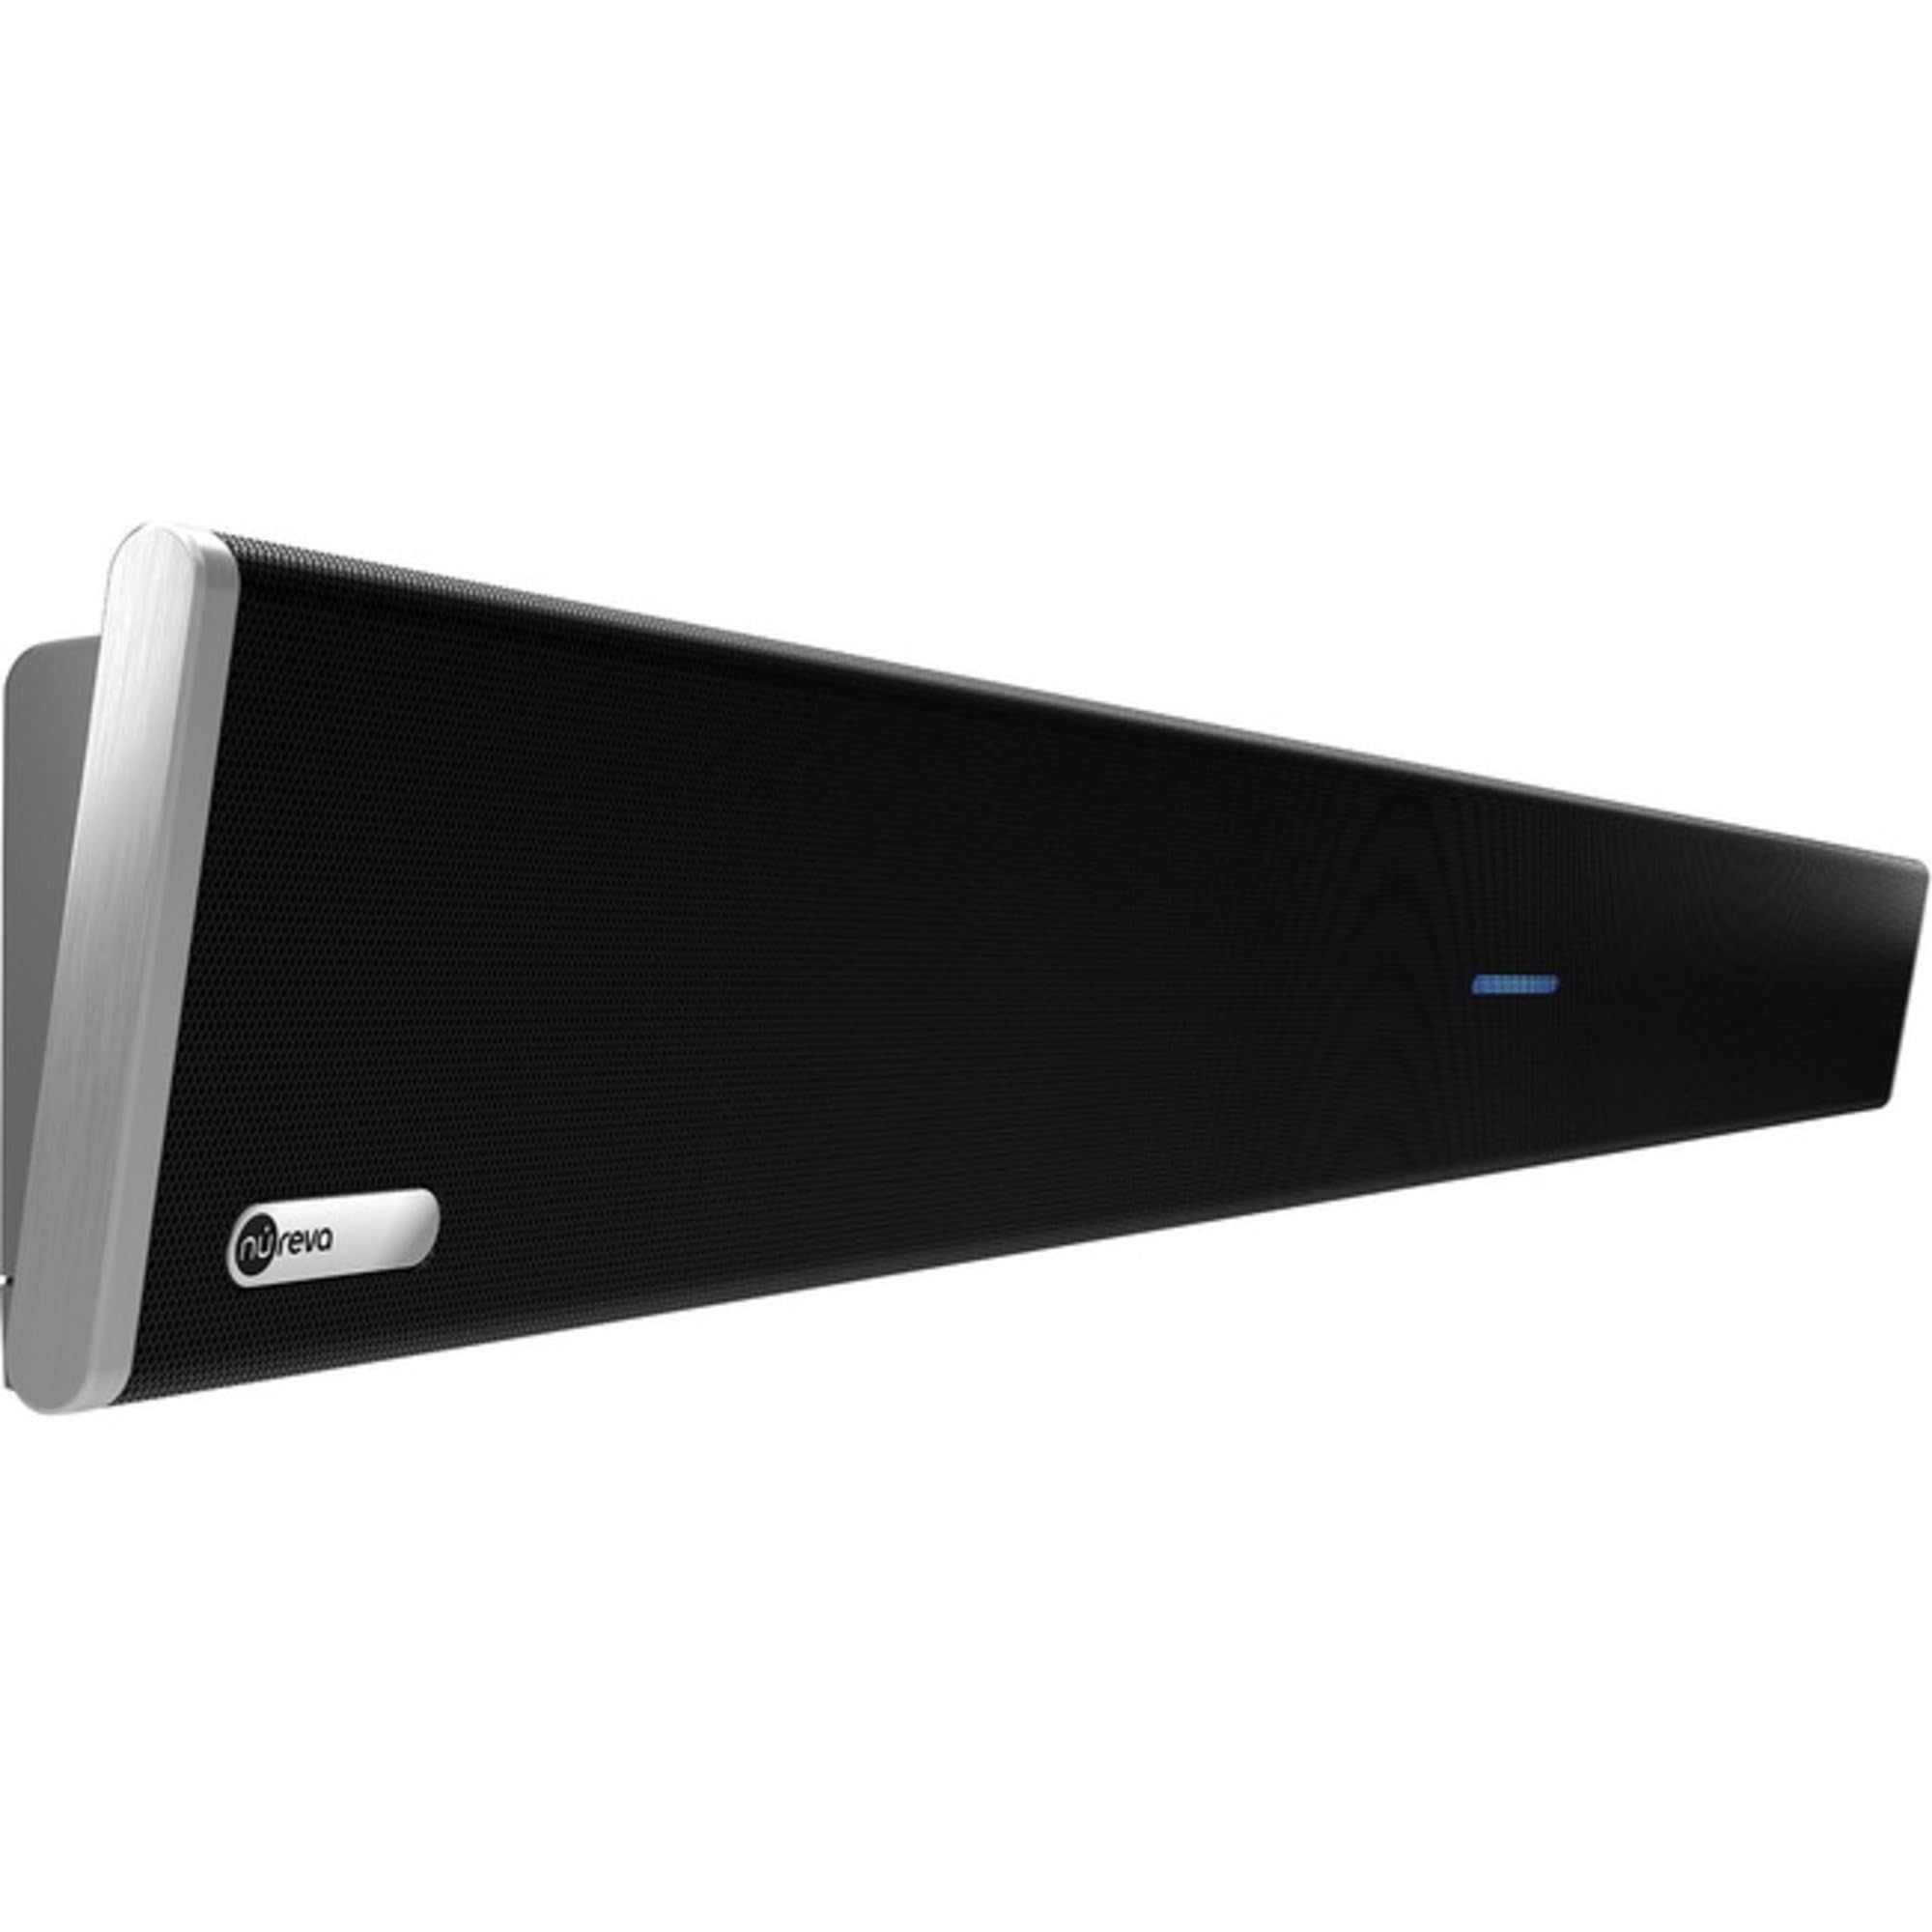
Figure 1: HDL300 Soundbar Wall Mounting Example. This image shows the HDL300 unit securely attached to a wall, demonstrating its intended installation position in a meeting room environment.
4.2 Připojení systému
Connect the HDL300 soundbar to the Connect Module, and then to your computer and power source.
- Connect one end of the Ethernet cable to the HDL300 soundbar and the other end to the "TO DEVICE" port on the Connect Module.
- Connect the USB-B cable from the "TO HOST" port on the Connect Module to an available USB port on your computer.
- Connect the power supply to the Connect Module and plug it into an electrical outlet.
- The system will power on automatically. Allow a few moments for initialization.
Figure 2: Connection Diagram. This diagram illustrates the cable connections between the HDL300 soundbar, the Connect Module, the host computer, and the power source.
5. Návod k obsluze
5.1 Initial Setup with Conferencing Software
After physical installation, configure your conferencing software to use the HDL300.
- Open your preferred conferencing application (e.g., Zoom, Microsoft Teams, WebPříklad).
- Navigate to the audio settings within the application.
- Select "Nureva HDL300" as the microphone input device.
- Select "Nureva HDL300" as the speaker output device.
- Perform a test call to verify audio input and output.
5.2 Microphone Mist Technology
The HDL300 utilizes patented Microphone Mist technology, which creates thousands of virtual microphones throughout the room. This ensures that all participants are heard clearly, regardless of their position or movement within the meeting space.
5.3 Automatická kalibrace
The system continuously self-calibrates to adapt to changes in room layout or furniture. This automatic adjustment optimizes microphone pickup zones and echo cancellation for consistent audio clarity.
6. Údržba
- Čištění: Use a soft, dry cloth to clean the exterior of the HDL300 soundbar. Do not use liquid cleaners or abrasive materials.
- Aktualizace firmwaru: Regularly check for firmware updates through the Nureva Console software to ensure optimal performance and access to new features. Updates are typically managed remotely via the cloud-based Nureva Console.
- Podmínky prostředí: Abyste předešli poškození, zajistěte, aby zařízení bylo provozováno v doporučených teplotních a vlhkostních rozmezích.
7. Řešení problémů
| Problém | Možná příčina | Řešení |
|---|---|---|
| No audio output from HDL300 speakers. |
|
|
| Participants cannot hear me. |
|
|
| Kvalita zvuku je špatná nebo zkreslená. |
|
|
8. Specifikace
| Funkce | Detail |
|---|---|
| Model | HDL300-B |
| Značka | Nureva |
| Technologie mikrofonu | Microphone Mist Technology (12 MEMS microphones, up to 8192 virtual microphones) |
| Výstupní výkon reproduktoru | Dual 20W aluminum-cone speakers (10 Watts max output per speaker) |
| Konektivita | USB-B, Ethernet (PoE), Analog I/O |
| Pokrytí místnosti | Up to 25 x 25 feet (7.6 x 7.6 meters) |
| Typ montáže | Držák na zeď |
| Hmotnost položky | 288.01 uncí (přibližně 18 libry) |
| Zdroj napájení | Elektrický kabel |
| Kompatibilní zařízení | Laptop (UC&C platforms like Teams, Zoom, Webnapř.) |
| UPC | 860006196738 |
9. Záruka a podpora
9.1 Omezená záruka
The Nureva HDL300 system comes with a limited warranty. Please refer to the official Nureva website or your purchase documentation for specific terms and conditions regarding warranty coverage and duration. The product includes a two-year Pro plan for firmware updates, diagnostics, and analytics.
9.2 Technická podpora
For technical assistance, troubleshooting beyond this manual, or inquiries regarding your Nureva HDL300 system, please visit the official Nureva support website or contact their customer service. Remote monitoring and configuration are available via the cloud-based Nureva Console and APIs.


