
ARNSSIEN X101
ARNSSIEN Kids Digital Camera X101 Instruction Manual
Model: X101
1. Úvod
This manual provides essential information for the safe and effective use of your ARNSSIEN Kids Digital Camera X101. Please read it thoroughly before operating the device and retain it for future reference. This camera is designed to be user-friendly for children, encouraging creativity and exploration through photography.
2. Obsah balení
Upon opening your ARNSSIEN Kids Digital Camera X101 package, please verify that all the following items are included:
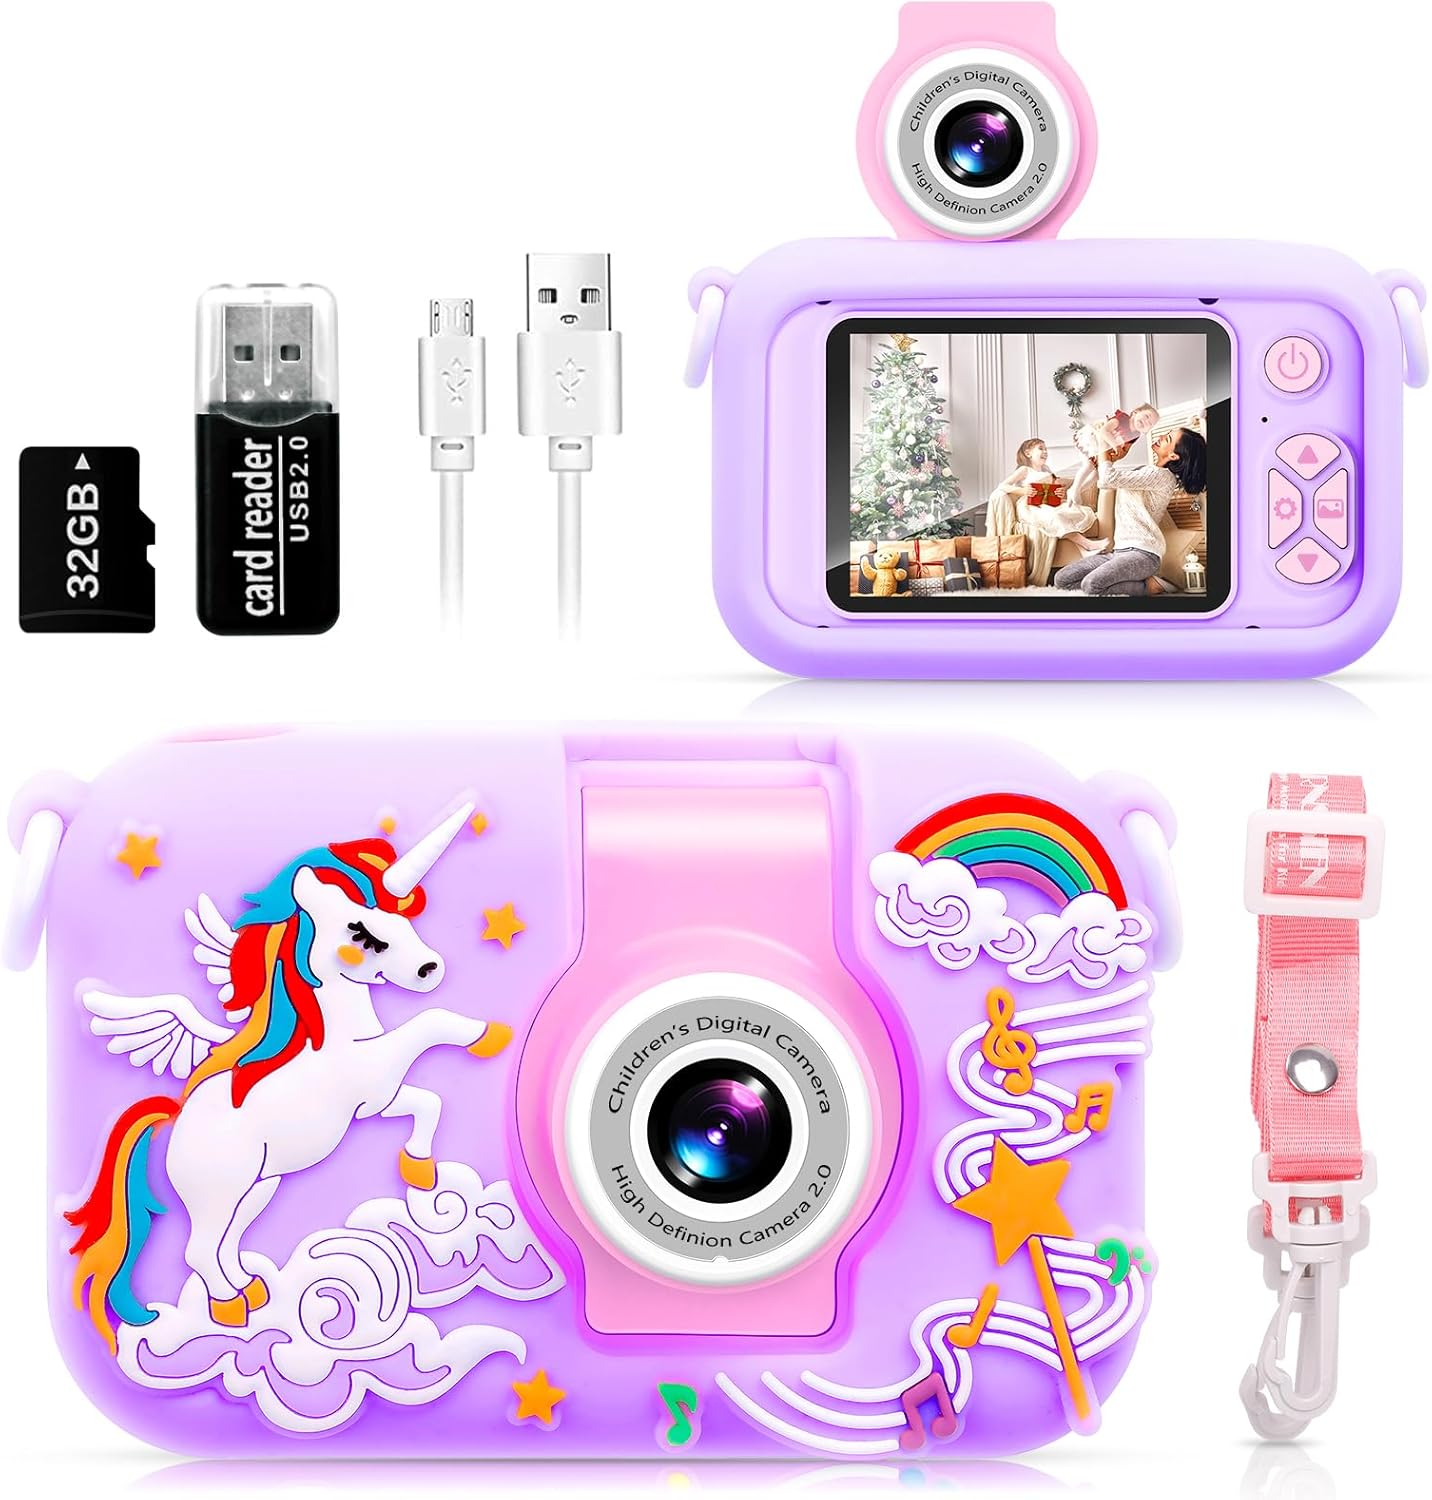
- ARNSSIEN Kids Digital Camera X101 (Purple Unicorn)
- Silikonové ochranné pouzdro
- Šňůrka
- 32GB TF karta (předem vložená)
- Čtečka karet
- Retrieve Card Pin
- USB kabel
- Návod k použití

3. Konec produktuview
The ARNSSIEN Kids Digital Camera X101 features a durable design and intuitive controls suitable for young users. Key components include:
- 180° Flip Lens: Allows for easy switching between front-facing and rear-facing photography without complex menu navigation.
- 2.4-inch IPS Eye Protection Screen: Poskytuje přehledný displej pro viewing photos and videos, designed with child vision safety in mind.
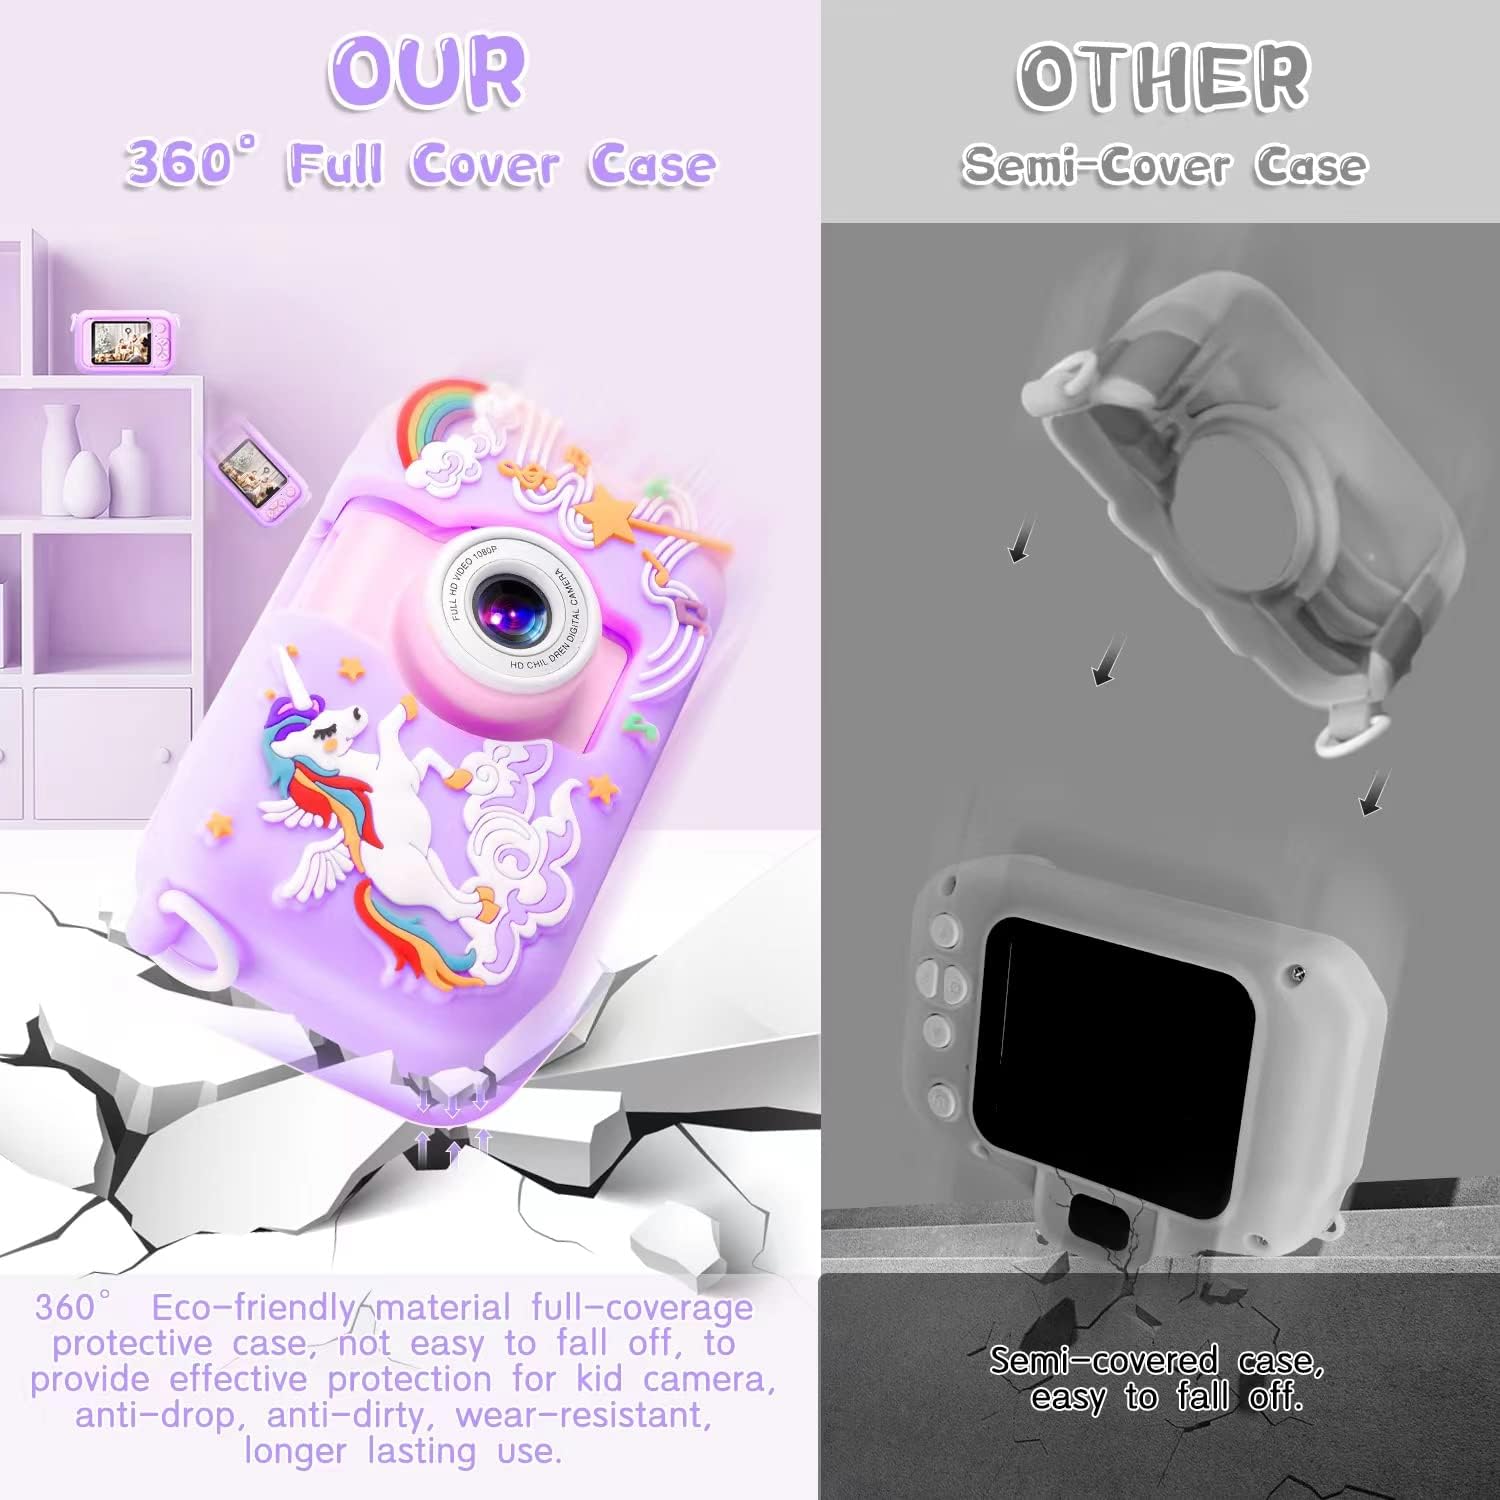
- 360° Environmental Silicone Protective Case: Offers comprehensive protection against drops, dirt, and wear, enhancing the camera's durability.
- Ovládací tlačítka: Power, navigation (up, down, left, right), OK/Shutter, and Menu buttons for easy operation.
- Micro USB port: Pro nabíjení a přenos dat.
- Slot na kartu TF: For memory expansion (32GB card included).


4. Nastavení
4.1. Počáteční poplatek
Before first use, fully charge the camera. Connect the provided USB cable to the camera's Micro USB port and the other end to a compatible USB power adapter (not included) or a computer USB port. The battery capacity is 1000mAh, and a full charge typically takes 1-2 hours.

4.2. Instalace TF karty
The 32GB TF card is pre-inserted in the camera. If you need to remove or re-insert it, use the provided retrieve card pin to gently press the card until it clicks and ejects. Ensure the camera is powered off before inserting or removing the TF card.
4.3. Nastavení data a času
It is recommended to set the correct date and time for accurate photo and video timestamps. Navigate to the 'Settings' menu using the control buttons, then select 'Date/Time' to adjust. You may also adjust other default parameters as needed.
5. Návod k obsluze
5.1. Zapnutí/vypnutí
Stiskněte a podržte tlačítko napájení (obvykle umístěné nahoře nebo na boku) po dobu několika sekund pro zapnutí nebo vypnutí fotoaparátu.
5.2. Fotografování
- Zapněte fotoaparát.
- Ensure the camera is in photo mode (indicated by an icon on the screen). If not, use the Mode button (if available) or navigation buttons to switch.
- Komponujte svůj snímek pomocí 2.4palcového IPS displeje.
- Press the Shutter/OK button to capture the photo.
5.3. Nahrávání videí
- Zapněte fotoaparát.
- Přepněte do režimu nahrávání videa.
- Press the Shutter/OK button once to start recording. A red indicator or timer will appear on the screen.
- Stiskněte tlačítko Spoušť/OK znovu pro zastavení nahrávání.

5.4. Using the 180° Flip Lens
To take a selfie or record yourself, simply rotate the camera lens 180 degrees upwards. The camera will automatically adjust, making it easy to switch between front and rear views without changing modes in the menu.

5.5. Navigace v menu
Use the Up/Down/Left/Right navigation buttons to scroll through menu options. Press the OK/Shutter button to select an option or confirm a setting. The Menu button typically returns to the previous screen or exits the menu.
5.6. Auto-Off and LCD Off Settings
To conserve battery life, the camera has adjustable auto-off and LCD off settings. These can be configured in the camera's settings menu. Options typically include 1, 3, or 5 minutes for auto-off, and similar durations for LCD off.

5.7. Přenos Files
To transfer photos and videos to a computer, connect the camera using the provided USB cable. The camera should appear as a removable disk. Alternatively, remove the TF card and use the included card reader to access files directly on your computer.

6. Režimy a funkce fotoaparátu
6.1. Photo Filters and Frames
The camera includes various fun photo filters and frames to enhance pictures. These options can typically be accessed through the photo mode menu. Experiment with different effects to add creativity to your images.

6.2. Time-Lapse Photography
The time-lapse feature allows the camera to capture a series of photos at set intervals, which can then be combined into a video. This is ideal for capturing slow-changing scenes. Settings for time-lapse (e.g., 2s, 5s, 10s intervals) can be found in the camera's menu.

6.3. Digitální zoom
The camera supports up to 4x digital zoom. Use the appropriate navigation buttons (often Up/Down or Left/Right in photo/video mode) to zoom in or out on your subject.

6.4. Vestavěné hry
The camera includes several simple games for entertainment. These can be accessed through the main menu, providing an additional interactive feature for users.

7. Údržba
7.1. Čištění fotoaparátu
Use a soft, dry cloth to clean the camera body. For the screen, use a microfiber cloth. Avoid using liquid cleaners or abrasive materials, as they may damage the camera's surface or screen.
7.2. Silicone Protective Case Care
The silicone case can be cleaned with mild soap and water if it becomes dirty. Ensure it is completely dry before reattaching it to the camera.
7.3. Péče o baterie
To prolong battery life, avoid fully discharging the camera frequently. Charge the camera regularly, even if not in use for extended periods. Store the camera in a cool, dry place.
8. Řešení problémů
- Fotoaparát se nezapne: Ensure the battery is charged. Connect the camera to a power source using the USB cable and allow it to charge for at least 30 minutes before attempting to power on again.
- Nelze pořizovat fotografie/videa: Check if the TF card is properly inserted and has sufficient free space. If the card is full, transfer files to a computer and delete them from the card, or replace the card.
- Fotoaparát se zasekne nebo přestane reagovat: Try resetting the camera. This can often be done by pressing the 'Reset' button (if available, usually a small pinhole) with the retrieve card pin, or by holding down the Power button for an extended period (10-15 seconds).
- Špatná kvalita obrazu/videa: Ujistěte se, že je objektiv čistý a bez šmouh. Zkontrolujte světelné podmínky.
- Fotoaparát se nenabíjí: Verify that the USB cable is securely connected to both the camera and the power source. Try a different USB port or power adapter.
9. Specifikace
| Funkce | Specifikace |
|---|---|
| Značka | ARNSSIEN |
| Název modelu | X101 |
| Technologie fotosenzoru | CMOS |
| Efektivní rozlišení | 40 MP |
| Rozlišení videa | 1080p |
| Velikost obrazovky | 2.4 palce |
| Typ zobrazení | LCD |
| Objektiv fotoaparátu | 180° Flip Lens |
| Digitální zoom | 4 XNUMX x |
| Kapacita paměti | 32 GB (TF Card) |
| Technologie připojení | USB |
| Typ baterie | Lithium Polymer (1000mAh) |
| Průměrná životnost baterie | 4 hodiny |
| Hmotnost položky | 0.2 kg |
| Podporováno File Formát | JPEG (fotografie), MP4 (videa) |
| Samospoušť | 3 sekund |
| Stabilizace obrazu | Digitální |
| Technologie automatického ostření | Fázová detekce |
10. Záruka a podpora
10.1. Informace o záruce
This ARNSSIEN Kids Digital Camera X101 comes with a 30denní záruka od data nákupu. Tato záruka se vztahuje na výrobní vady vzniklé běžným používáním. Pro případné reklamace si prosím uschovejte doklad o koupi.
10.2. Zákaznická podpora
For any questions, concerns, or technical assistance regarding your camera, please contact ARNSSIEN customer support via email:
Our support team is available to provide assistance and ensure your satisfaction with the product.
Ask a question about this manual
Ask about setup, troubleshooting, compatibility, parts, safety, or missing instructions. Manuals+ will review the question and use this page’s manual context to help answer it.