
1. Úvod
This manual provides detailed instructions for the assembly, safe operation, and maintenance of your YOSUDA Exercise Bike Model 002. Please read all instructions carefully before using the equipment to ensure proper function and user safety. Retain this manual for future reference.
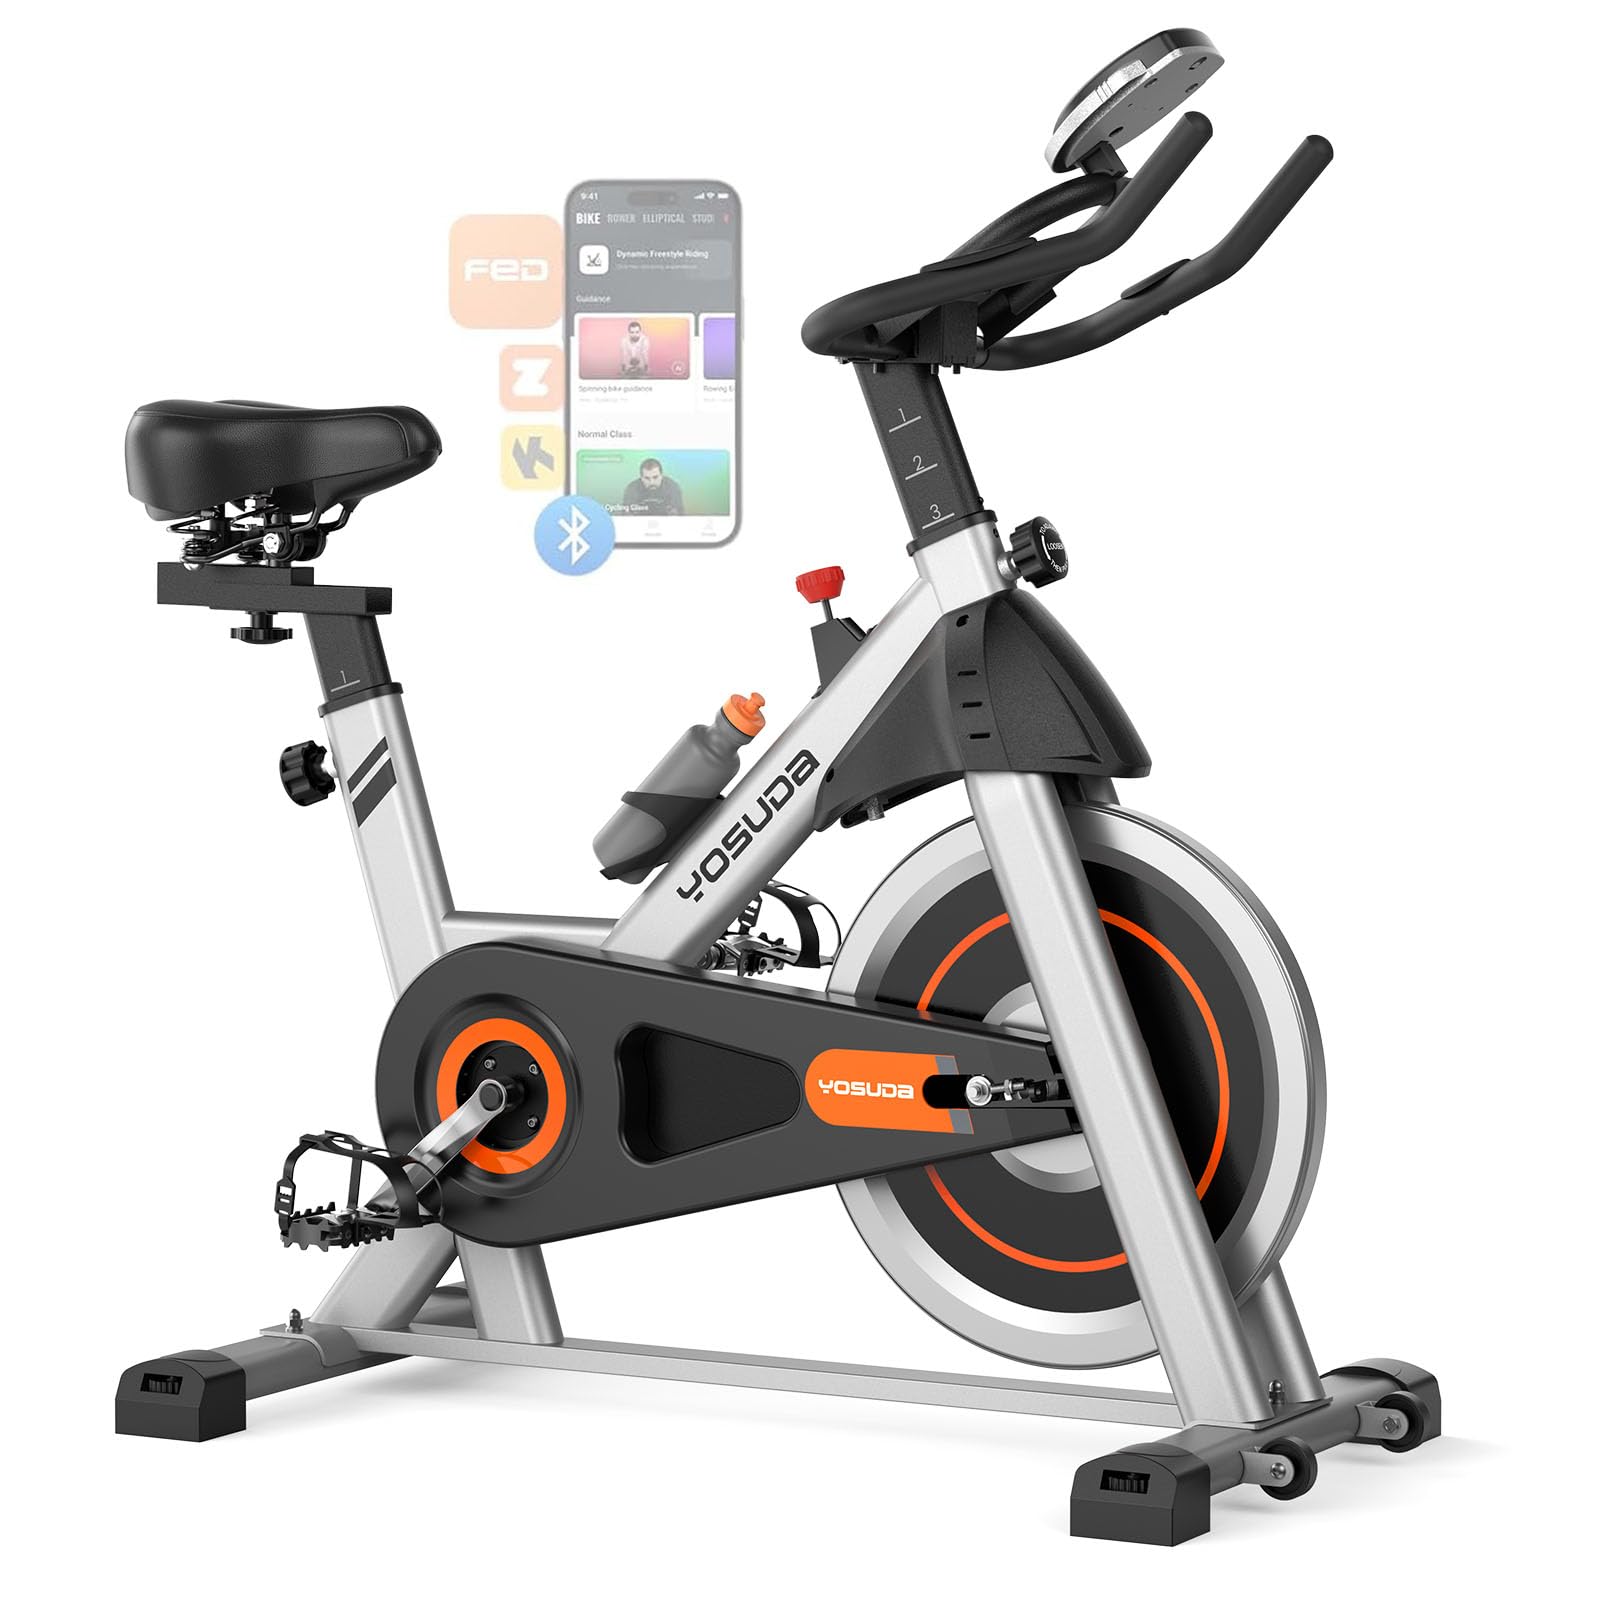
Image 1.1: YOSUDA Exercise Bike Model 002.
2. Bezpečnostní informace
Before beginning any exercise program, consult with your physician. It is essential to follow these safety guidelines to prevent injury and ensure the longevity of your exercise bike.
- Před každým použitím se ujistěte, že jsou všechny šrouby a matice bezpečně utažené.
- Place the exercise bike on a flat, stable surface. Use a protective mat underneath to prevent damage to flooring.
- Maintain a clear space of at least 2 feet (0.6 meters) around the bike during operation.
- The maximum user weight capacity for this bike is 300 lbs (136 kg). Do not exceed this limit.
- Wear appropriate athletic footwear and clothing during workouts. Avoid loose clothing that could get caught in moving parts.
- Během provozu držte děti a domácí zvířata v dostatečné vzdálenosti od rotopedu.
- The adjustable cage pedals are designed to secure your feet. Ensure they are properly adjusted before riding.
- In case of an emergency or to stop the flywheel quickly, press down firmly on the resistance bar.
- Do not attempt to adjust the seat or handlebars while the bike is in motion.
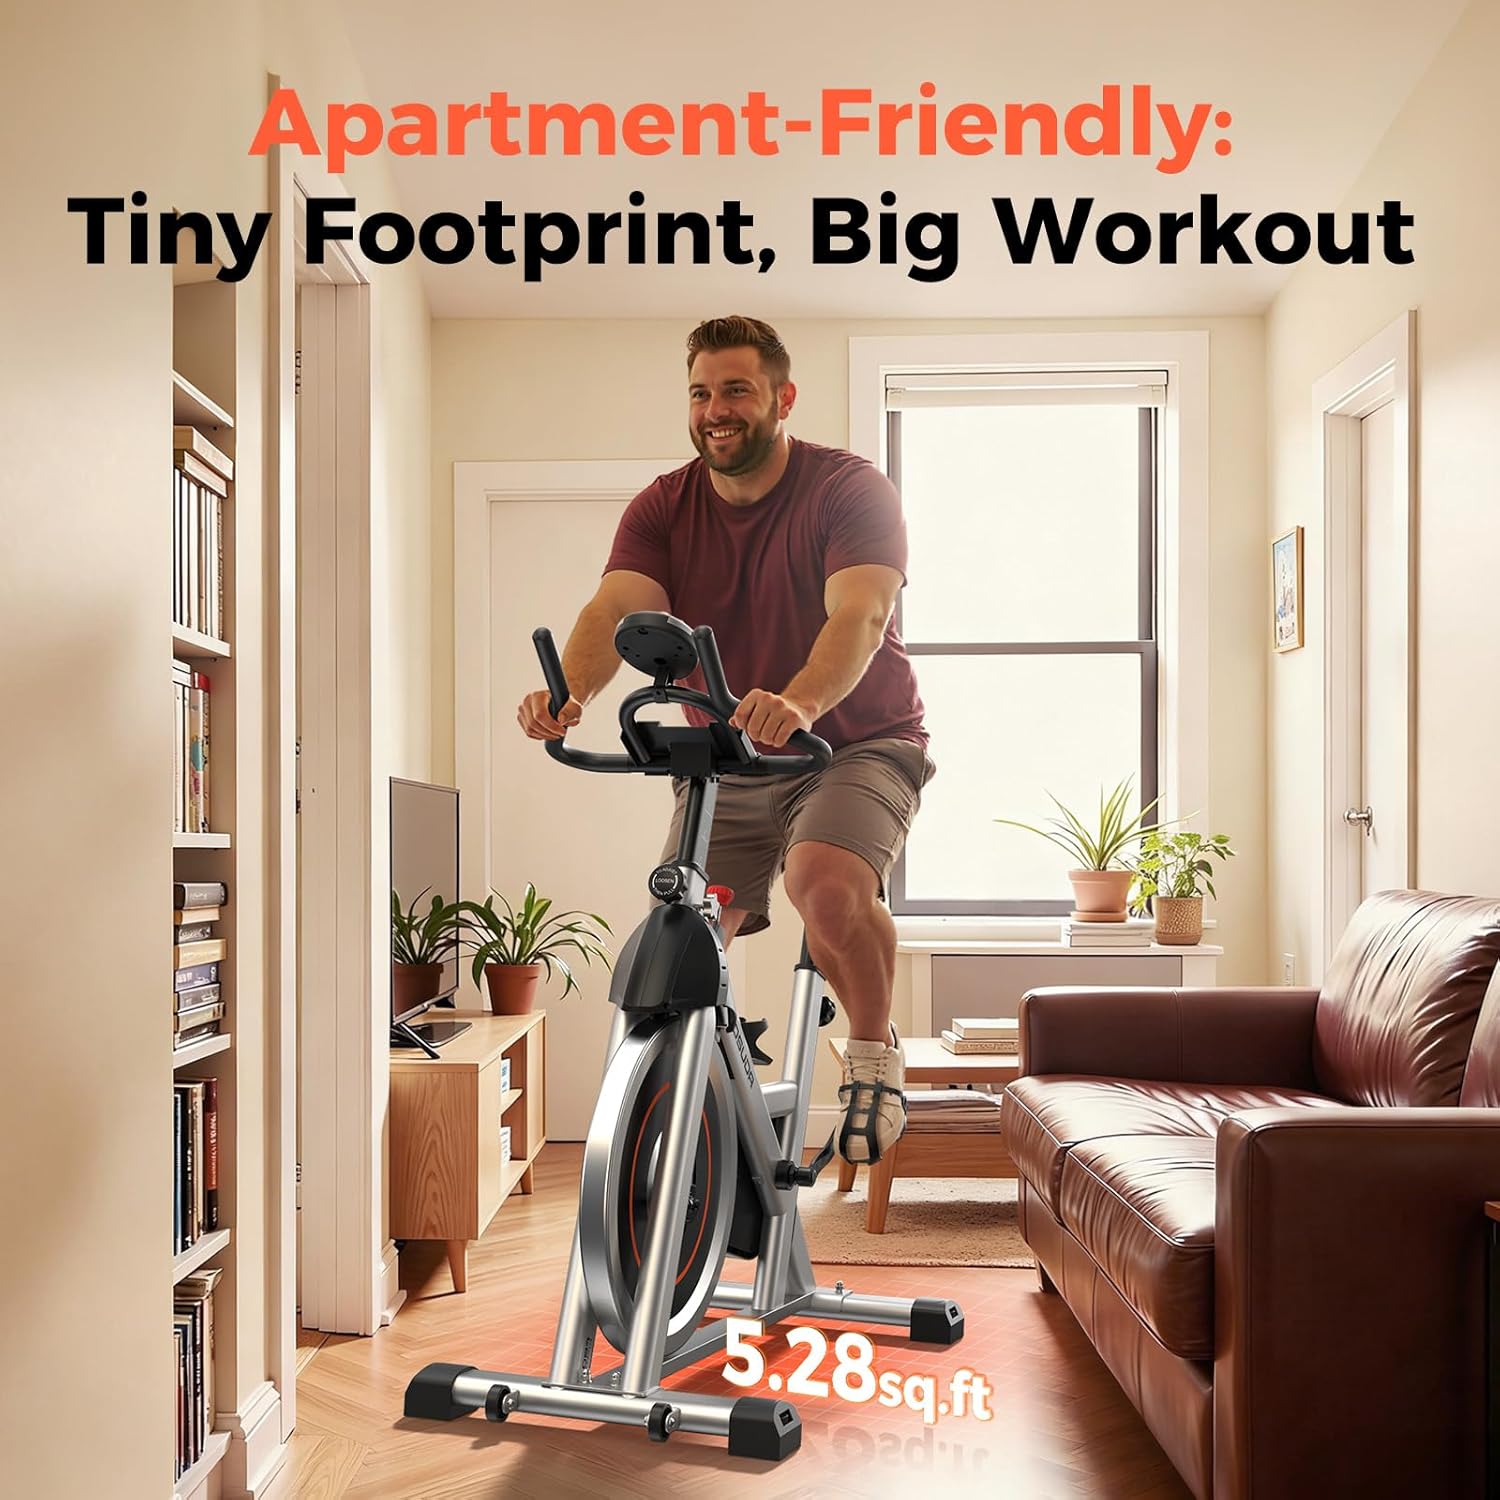
Image 2.1: The bike's design includes extended feet for enhanced stability during use.
3. Obsah balení
Opatrně vybalte krabici a ujistěte se, že jsou přítomny všechny součásti. Pokud některé součásti chybí nebo jsou poškozené, ihned kontaktujte zákaznickou podporu.
- Main Frame (with flywheel and belt-driven system)
- Řídítka a sloupky řídítek
- Seat Post and Padded Seat
- Přední a zadní stabilizátory
- Pedály (levý a pravý)
- LCD displej konzole
- Držák na láhev s vodou
- Montážní nářadí (klíče, imbusové klíče)
- Návod k použití
4. Nastavení a montáž
Assembly typically takes around 30 minutes. An online assembly video is available for visual guidance. Follow these steps:
- Připevněte stabilizátory: Připevněte přední a zadní stabilizátory k hlavnímu rámu pomocí dodaných šroubů a podložek. Ujistěte se, že jsou pevně utažené.
- Instalace pedálů: Určete levý (L) a pravý (R) pedál. Levý pedál se šroubuje proti směru hodinových ručiček a pravý pedál se šroubuje po směru hodinových ručiček. Pevně je utáhněte ke klikám.
- Montáž sedlovky a sedla: Insert the seat post into the main frame. Adjust the height and secure it with the adjustment knob. Attach the padded seat to the seat post.
- Instalace sloupku řídítek a řídítek: Insert the handlebar post into the main frame. Attach the handlebars to the post and secure them.
- Připojení LCD displeje: Attach the LCD display console to the handlebar post. Connect any necessary sensor wires from the bike to the console.
- Připevnění držáku na láhev s vodou: Secure the water bottle holder to the designated area on the frame.
- Závěrečná kontrola: Review all connections and ensure all bolts are tight before first use.

Image 4.1: Visual representation of the assembly process.
5. Návod k obsluze
5.1 Nastavení sedadla a řídítek
Proper adjustment of the seat and handlebars is crucial for comfort and effective workouts. The bike features two-way adjustable handlebars and a four-way adjustable padded seat, accommodating users from 4 feet 8 inches to 6 feet 0 inches tall.
- Výška sedáku: Loosen the knob on the vertical seat post. Adjust the seat height so that your knee has a slight bend (15-20 degrees) at the bottom of the pedal stroke. Tighten the knob securely.
- Sedadlo vpřed/vzad: Loosen the knob under the seat. Slide the seat forward or backward to ensure your knees are aligned over the balls of your feet when the pedals are horizontal. Tighten the knob.
- Výška řídítek: Loosen the knob on the handlebar post. Adjust the handlebars to a comfortable height that allows for a relaxed posture without straining your neck or shoulders. Tighten the knob.

Image 5.1: Adjustments for seat height, seat position, handlebar height, and handlebar depth.
5.2 Nastavení odporu
The YOSUDA Exercise Bike uses a friction resistance mechanism with a 25 lbs flywheel, providing a smooth and quiet ride. The resistance level is controlled by a knob located on the main frame.
- Zvyšte odpor: Turn the resistance knob clockwise to increase the intensity of your workout.
- Snížit odpor: Turn the resistance knob counter-clockwise to decrease the intensity.
- Nouzové zastavení: To stop the flywheel immediately, press down firmly on the resistance knob. This acts as an emergency brake.

Image 5.2: The 25lb flywheel provides consistent resistance for various workout intensities.
5.3 Using the LCD Display and Smart App
The integrated LCD display tracks essential ride data, and the tablet holder allows for entertainment during workouts. The bike supports a Smart APP via Bluetooth for enhanced training experiences.
- LCD displej: The display shows metrics such as time, speed, distance, calories burned, and odometer. Press the MODE button to cycle through different functions.
- Držák na tablet: Place your tablet or smartphone securely in the holder to follow fitness courses or enjoy media.
- Připojení chytrých aplikací: Download the YOSUDA Smart App (or compatible apps like Zwift, Kinomap, FED fitness, Apple Health, Google Fit). Enable Bluetooth on your device and follow the app's instructions to connect to your exercise bike. This allows access to various riding scenarios and fitness courses.

Image 5.3: The exercise bike features a tablet holder and app support for interactive workouts.
6. Údržba
Regular maintenance ensures the longevity and safe operation of your YOSUDA Exercise Bike.
- Čištění: Otřete kolo reklamouamp Po každém použití setřete hadříkem, abyste odstranili pot a prach. Nepoužívejte abrazivní čisticí prostředky ani rozpouštědla.
- Zkontrolujte připojení: Periodically inspect all bolts, nuts, and moving parts for tightness. Tighten any loose components.
- Mazání: The belt-driven system is generally low-maintenance. If you notice any squeaking or unusual noise from moving parts, apply a small amount of silicone-based lubricant as needed, avoiding the flywheel and brake pad area.
- Skladování: Kolo skladujte na suchém a chladném místě mimo dosah přímého slunečního záření a extrémních teplot.
7. Řešení problémů
V této části naleznete řešení běžných problémů, se kterými se můžete setkat.
| Problém | Možná příčina | Řešení |
|---|---|---|
| Kolo je nestabilní nebo se kymácí | Uneven floor; loose stabilizers | Adjust the leveling feet on the stabilizers. Ensure all stabilizer bolts are tight. |
| Vrzání nebo skřípání | Loose parts; friction from brake pad; need for lubrication | Check and tighten all bolts. Ensure the brake pad is not constantly rubbing the flywheel when resistance is low. Apply silicone lubricant to moving joints if necessary (avoid brake pad). |
| Resistance is too loose or too tight | Resistance knob not adjusted correctly | Otáčením knoflíku odporu ve směru hodinových ručiček odpor zvyšujete, proti směru hodinových ručiček jej snižujete. |
| LCD displej nefunguje | Vybité baterie; uvolněné připojení senzoru | Replace batteries in the console. Check that the sensor wire is securely connected to the display. |
| Pedals feel loose | Pedals not tightened correctly | Retighten pedals. Remember the left pedal is reverse-threaded (tightens counter-clockwise). |
8. Specifikace
| Funkce | Detail |
|---|---|
| Značka | YOSUDA |
| Název modelu | exercise bike 002 |
| Zdroj napájení | Battery Powered (for LCD display) |
| Mechanismus odporu | Tření |
| Systém pohonu | Pás |
| Hmotnost položky | 27 kg |
| Rozměry produktu (D x Š x V) | 29.9 cm x 7.47 cm x 38.6 cm |
| Doporučená maximální hmotnost | 300 libry |
| Adjustable Handlebars | Obousměrný |
| Nastavitelné sedadlo | Four-way |
| Speciální funkce | Připojení aplikací (Bluetooth) |
9. Informace o záruce
YOSUDA products are manufactured to high-quality standards. This product comes with a standard manufacturer's warranty covering defects in materials and workmanship. Please refer to the warranty card included in your package or contact YOSUDA customer support for specific warranty terms and conditions.
10. Zákaznická podpora
If you have any questions, require assistance with assembly, operation, or maintenance, or need to report a missing/damaged part, please contact YOSUDA customer support.
- Online podpora: Visit the official YOSUDA webweb s nejčastějšími dotazy a zdroji podpory.
- E-mail: E-mailovou adresu zákaznického servisu naleznete na obalu produktu nebo v záručním listu.
- Telefon: Refer to your product packaging or warranty card for the customer service phone number.