
1. Úvod
This manual provides comprehensive instructions for the installation, operation, and maintenance of the Loocam 900MHz Point-to-Point Wireless Bridge Outdoor. This device is designed to extend network connectivity over long distances in outdoor environments, utilizing Wi-Fi HaLow technology. Please read this manual thoroughly before using the product to ensure proper setup and optimal performance.
2. Obsah balení
Ověřte, zda jsou všechny níže uvedené položky součástí balení. Pokud některé položky chybí nebo jsou poškozené, kontaktujte zákaznickou podporu.
- 2 x Wireless Bridge Units (one Transmitter (TX), one Receiver (RX))
- 2x WiFi anténa
- 2 x napájecí adaptéry
- 2 x ethernetové kabely
- Montážní šrouby (pro instalaci)
- Produktový manuál (tento dokument)

Obrázek 2.1: Obsah balení
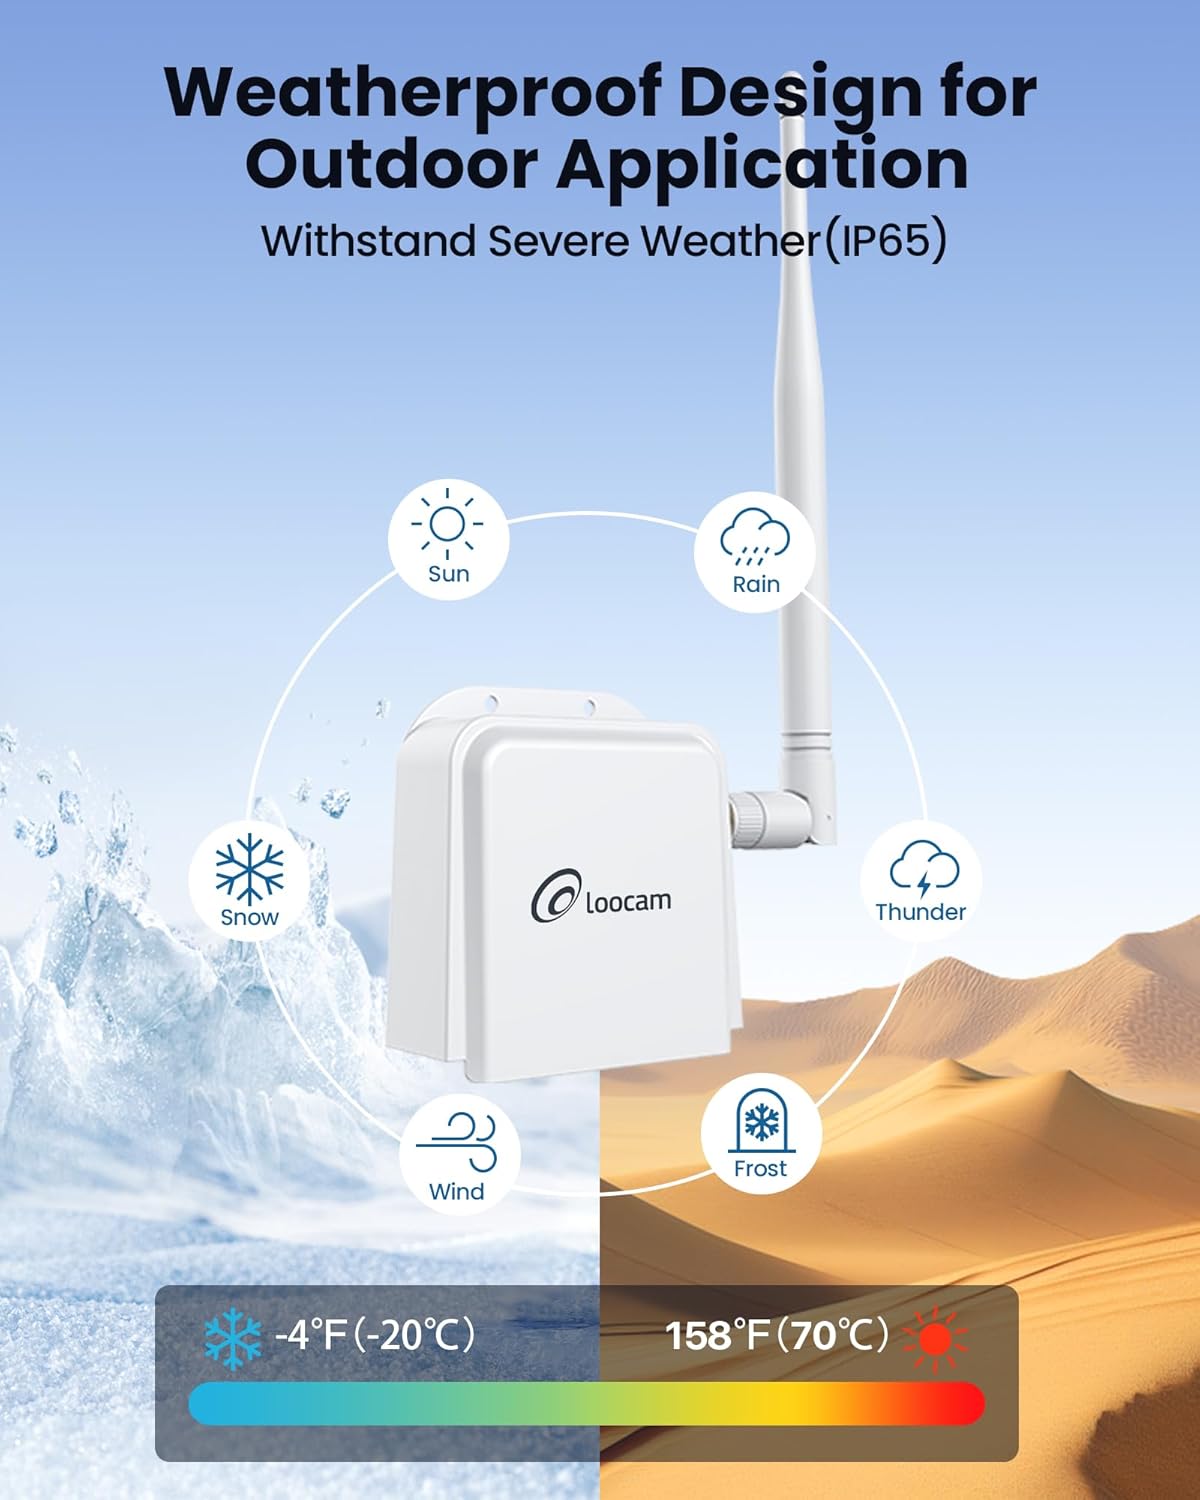
Figure 2.2: Wireless Bridge Unit Details (Ports and Indicators)
3. Nastavení a instalace
The Loocam Wireless Bridge is designed for plug-and-play operation with automatic pairing. Follow these steps for initial setup.
3.1 Connecting to a PC (Example)
- Připojit antény: Screw the provided antennas onto the TX and RX bridge units.
- Zapnutí vysílací jednotky: Connect the power adapter to the TX bridge unit and plug it into a power outlet.
- Connect TX to Router: Use one Ethernet cable to connect the TX bridge unit to a LAN port on your router.
- Power On RX Unit: Connect the power adapter to the RX bridge unit and plug it into a power outlet.
- Connect RX to PC: Use the second Ethernet cable to connect the RX bridge unit to your computer's Ethernet port (you may need a USB to Ethernet adapter for laptops without a built-in port).
- Ověřit připojení: Once both units are powered and connected, they will automatically pair. The computer connected to the RX unit should now be able to access the internet.

Figure 3.1: Basic PC Connection Diagram

Figure 3.2: Extending Network to a Second Building
3.2 Connecting to an NVR (Example)
The wireless bridge can also be used to extend network connectivity for IP cameras and Network Video Recorders (NVRs).
- Připojit antény: Screw the provided antennas onto the TX and RX bridge units.
- Zapnutí vysílací jednotky: Connect the power adapter to the TX bridge unit and plug it into a power outlet.
- Connect TX to IP Camera: Use one Ethernet cable to connect the TX bridge unit to your IP camera.
- Power On RX Unit: Connect the power adapter to the RX bridge unit and plug it into a power outlet.
- Connect RX to NVR: Use the second Ethernet cable to connect the RX bridge unit to an available Ethernet port on your NVR.
- Ověřit připojení: The NVR should now detect the IP camera connected via the wireless bridge.

Figure 3.3: NVR Connection Diagram
3.3 Fyzická instalace
The bridge units can be mounted to a wall or other suitable surface using the provided screws.
- Pozice značek: Hold the bridge unit against the desired mounting surface and mark the positions for the two screw holes.
- Vrtací otvory: Na vyznačených místech vyvrtejte vodicí otvory.
- Zabezpečená jednotka: Align the bridge unit with the holes and secure it using the provided screws.

Obrázek 3.4: Kroky instalace
3.4 Identifying TX and RX Units
The units are pre-paired. One unit acts as the Transmitter (TX) and the other as the Receiver (RX). You can identify them by observing the indicator lights after powering on:
- The RX light on the Receiver (RX) unit should be illuminated.
- The RX light on the Transmitter (TX) unit should be off.

Figure 3.5: TX and RX Identification
3.5 Videoprůvodce nastavením
For a visual guide on connecting the Loocam Wireless Bridge, please watch the official setup video below.
Video 3.1: How to Connect Loocam Wireless Bridge. This video demonstrates the step-by-step process of connecting the wireless bridge units to a router and a computer, as well as to an NVR and camera, showing the physical connections and power-on sequence.
4. Provoz
The Loocam Wireless Bridge operates on a point-to-point principle, extending your network wirelessly.
- Frekvenční pásmo: Operates in the 902MHz-928MHz band, offering strong penetration capabilities.
- Přenosová vzdálenost: Achieves up to 2000 feet wireless transmission distance in open areas.
- Wi-Fi HaLow Technology: Utilizes 802.11ah Wi-Fi HaLow for extended coverage and improved obstacle penetration (up to 350 feet through one wall).
- Rychlost přenosu dat: Supports speeds up to 16Mbps. Note that Wi-Fi HaLow is optimized for range and penetration rather than high bandwidth.
- Aplikace: Ideal for extending network coverage between buildings, for video surveillance systems, and for expanding Wi-Fi coverage in areas where traditional Wi-Fi signals are weak.

Figure 4.1: Ultra Long Range Transmission

Figure 4.2: 900MHz Band Features

Figure 4.3: Superior Obstacle Penetration

Figure 4.4: Extended Monitoring Range

Figure 4.5: Indoor & Outdoor Network Extension Coverage
5. Údržba
The Loocam Wireless Bridge is designed for outdoor use with a weather-resistant (IP65) rating. To ensure longevity and optimal performance:
- Podmínky prostředí: The device operates effectively in temperatures ranging from -5°F to 120°F (-20°C to 48°C). Avoid exposing the device to conditions outside this range for extended periods.
- Čištění: Periodically clean the exterior of the units with a soft, dry cloth to remove dust and debris. Do not use liquid cleaners or solvents.
- Integrita kabelu: Regularly inspect all connected cables (power and Ethernet) for any signs of wear or damage. Replace damaged cables immediately.
- Pozice antény: Ensure antennas are securely attached and positioned for optimal signal strength.

Figure 5.1: Weatherproof Design
6. Řešení problémů
If you encounter issues with your Loocam Wireless Bridge, refer to the following common problems and solutions:
| Problém | Možná příčina | Řešení |
|---|---|---|
| Žádné síťové připojení |
|
|
| Nízká rychlost sítě |
|
|
| Přerušované připojení |
|
|
If the issue persists after trying these solutions, please contact Loocam customer support.
7. Specifikace
| Funkce | Detail |
|---|---|
| Značka | Loocam |
| Model | B0BQ2R66S4 |
| Standard bezdrátové komunikace | 900 MHz Radio Frequency (Wi-Fi HaLow 802.11ah) |
| Rychlost přenosu dat | Až 16 megabitů za sekundu |
| Třída frekvenčního pásma | Single-Band (902MHz-928MHz) |
| Speciální funkce | Režim přístupového bodu, WPS |
| Typ konektoru | RJ45 |
| Kompatibilní zařízení | Personal Computer, NVR, IP Cameras, Network Switches |
| Rozsah | Up to 2000 feet (open areas), up to 350 feet (through one wall) |
| Odolnost vůči povětrnostním vlivům | Stupeň krytí IP65 |
| Provozní teplota | -5 °F až 120 °F (-20 °C až 48 °C) |
8. Záruka a podpora
Loocam is committed to providing high-quality products and excellent customer service.
- Záruka: Na tento produkt se vztahuje 1letá záruka.
- Záruka vrácení peněz: Využijte 30denní záruku vrácení peněz a možnost bezplatného vrácení zboží.
- Technická podpora: K dispozici je doživotní technická podpora.
- Online podpora: 24/7 online support is provided for any queries or assistance.
For further assistance, please visit the official Loocam webnebo kontaktujte jejich tým zákaznických služeb.