
1. Úvod
This manual provides comprehensive instructions for the setup, operation, maintenance, and troubleshooting of your Beikell M.2 NVME Enclosure. This device is designed for high-speed data transfer and broad compatibility with various M.2 NVME/SATA SSDs, offering a convenient and portable solution for external storage.

Figure 1: Beikell M.2 NVME Enclosure and included cables.
The Beikell M.2 NVME Enclosure is a sleek, portable device designed to house M.2 NVME and SATA SSDs, transforming them into high-speed external storage. It comes with two cables for versatile connectivity.
2. Obsah balení
Prosím, ověřte, zda jsou v balení přítomny všechny položky:
- Beikell M.2 NVME Enclosure
- Kabel USB-A na USB-C
- Kabel USB-C na USB-C
- Thermal Silicone Pad
- Spare Fixing Buckle
- Uživatelská příručka (tento dokument)
3. Kompatibilita
The Beikell M.2 NVME Enclosure offers wide compatibility:
- SSD Types: Applicable to M.2 NVME and SATA SSDs (M-Key or M&B Key).
- Supported SSD Sizes: 2230, 2242, 2260, 2280.
- Operační systémy: Compatible with Windows 7/8/10/11, Mac OS, and Linux.
- Zařízení: Connects to laptops, desktops, personal computers, and tablets.

Figure 2: NVME & SATA Compatibility Overview.
This enclosure supports both NVME (M-Key) and NVME/SATA (M&B Key) M.2 SSDs, ensuring broad compatibility for various modern solid-state drives.

Figure 3: Supported M.2 SSD Sizes.
The internal design accommodates common M.2 SSD lengths, from 2230 to 2280, providing flexibility for different drive models.
4. Nastavení a instalace
4.1. Hardware Installation (Tool-Free)
The Beikell M.2 NVME Enclosure features a tool-free design for easy SSD installation.
- Otevřete kryt: Press and hold the "OPEN" button located at the end of the enclosure and gently push the plastic inner frame outwards.
- Vložení SSD disku: Carefully insert your M.2 NVME or SATA SSD into the designated slot on the inner frame. Ensure it is fully seated.
- Bezpečný SSD disk: Rotate the fixing buckle 180 degrees to secure the SSD in place. There are four notches for different SSD lengths (2230/2242/2260/2280).
- Apply Thermal Pad (Optional but Recommended): Peel off the protective film from both sides of the thermal silicone pad. Place the pad onto the SSD chip area to aid in heat dissipation.
- Zavřít přílohu: Push the plastic inner frame back into the aluminum enclosure until it clicks securely into place.

Figure 4: Step 1 - Opening the enclosure.

Figure 5: Step 2 - Inserting the SSD.
Figure 6: Step 3 - Securing the SSD.

Figure 7: Step 4 - Applying the thermal pad.

Figure 8: Step 5 - Closing the enclosure.
4.2. Initializing a New Hard Disk
When inserting a brand new hard disk for the first time, it will need to be initialized and formatted before it can be used. This process varies slightly depending on your operating system. The video below demonstrates the steps for Windows, Mac OS, and Linux systems.
Video 1: Initializing a new hard disk on Windows, Mac OS, and Linux.
This video demonstrates the step-by-step process of initializing and formatting a new SSD within the Beikell enclosure on various operating systems, ensuring it is ready for use.
4.2.1. Systém Windows
- Right-click on "This PC" (or "My Computer") and select "Manage".
- In the Computer Management window, navigate to "Storage" > "Disk Management".
- Locate the newly added disk, which will likely appear as "Unallocated".
- Right-click on the unallocated space and select "New Simple Volume".
- Follow the New Simple Volume Wizard, keeping the default values for most options.
- When prompted for the File System, select "exFAT" for broad compatibility across different operating systems.
- Complete the wizard. The new drive will now appear in "This PC".
4.2.2. Mac OS System
- Použijte kombinaci kláves Command + Spacebar to open the Spotlight Search function.
- Type "Disk Utility" in the search bar and click to open "Disk Utility".
- In Disk Utility, select the newly added external disk from the sidebar.
- Click the "Erase" button in the toolbar.
- Fill in a name for the hard disk.
- For the Format, select "ExFAT" for cross-platform compatibility.
- Click "Erase" and wait for the process to complete. A hard disk icon will appear on your desktop.
4.2.3. Linux System
- Right-click on "Applications" and select "Utilities".
- From the Utilities menu, select "Disks".
- In the Disks utility, locate and click on the newly added hard disk.
- Click the "+" button to create a new partition, then select "Next".
- Fill in the name of the disk.
- Keep the default values for the subsequent options or choose "For use with all systems and devices (FAT)" for maximum compatibility.
- Select "Create" and wait for the process to complete. A hard disk icon will appear on your desktop.
5. Provoz
5.1. Připojení k zařízením
Connect the Beikell M.2 NVME Enclosure to your device (laptop, desktop, phone, tablet) using one of the provided USB cables. The enclosure supports both USB-A and USB-C connections.
- Use the USB-C to USB-C cable for direct connection to USB-C ports on modern devices.
- Use the USB-A to USB-C cable for connecting to traditional USB-A ports.
The device is plug-and-play, requiring no additional drivers or software for basic functionality once the SSD is formatted.
5.2. Vysokorychlostní přenos dat
The enclosure utilizes the latest USB 3.2 Gen 2 interface, offering transfer speeds up to 10Gbps. This allows for rapid transfer of large files, significantly reducing waiting times.
- Supports UASP (USB Attached SCSI Protocol) for faster data transfers.
- Supports TRIM for maintaining SSD performance over time.
- Supports S.M.A.R.T (Self-Monitoring, Analysis and Reporting Technology) for monitoring drive health.
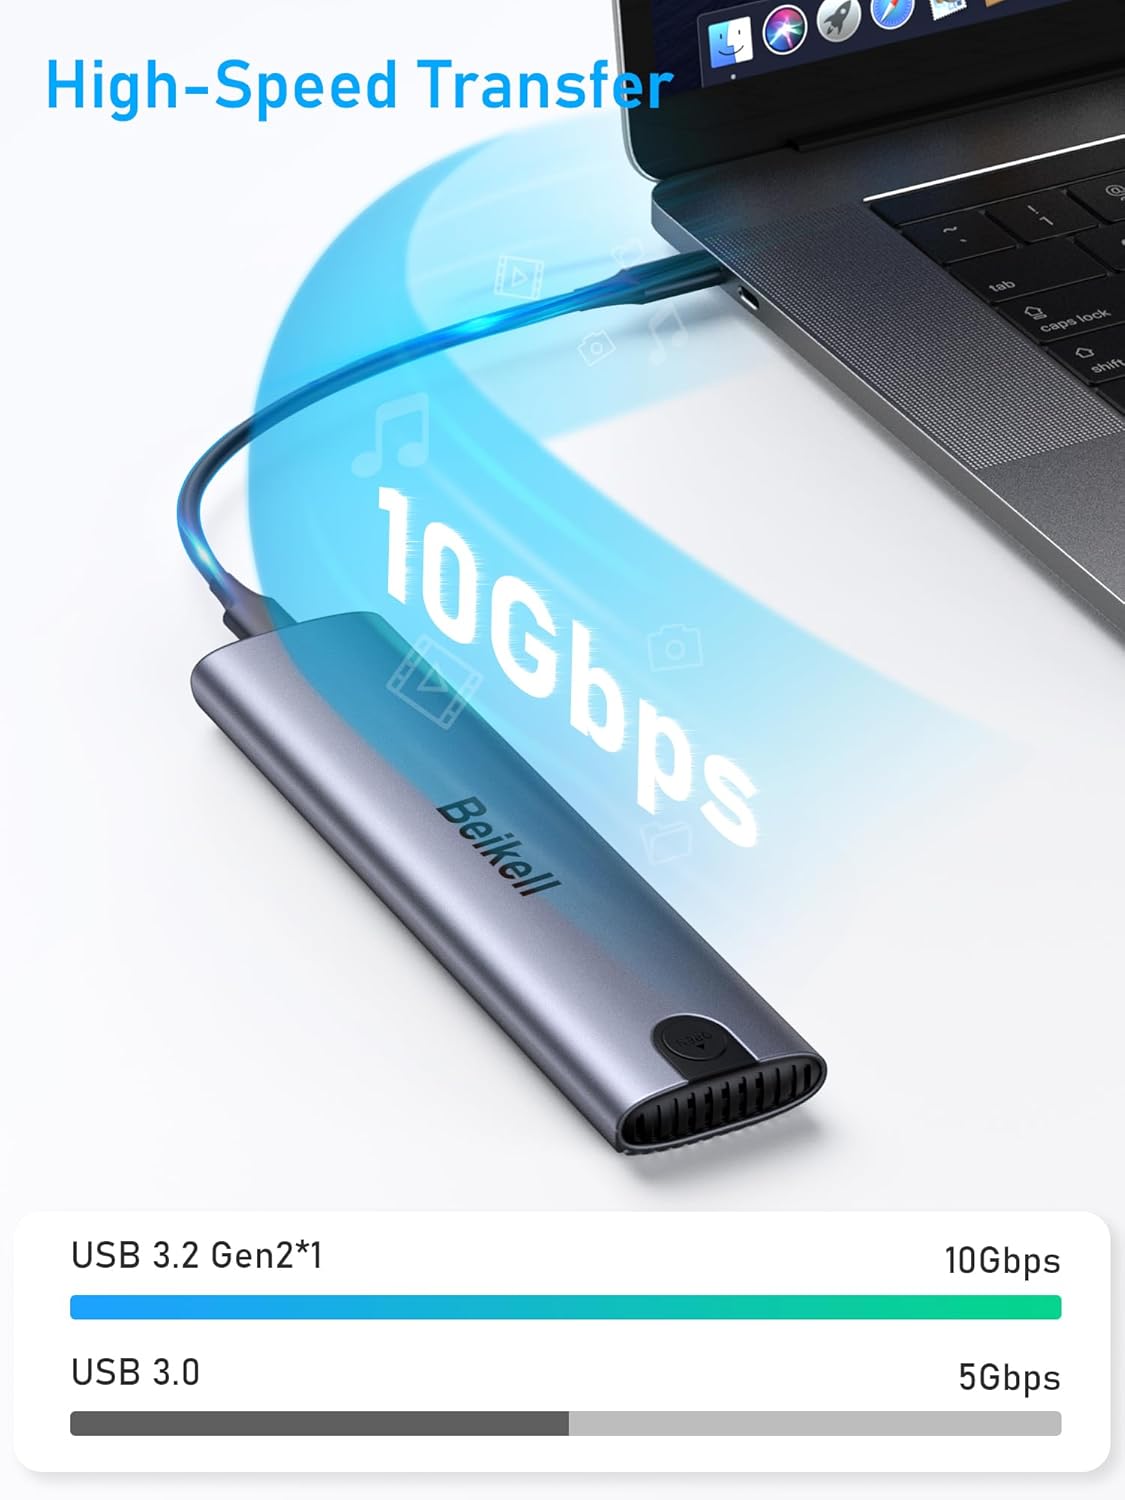
Figure 9: High-Speed Data Transfer.
Experience rapid data transfer with speeds up to 10Gbps, ideal for large files and demanding applications.
Video 2: Product Features and Installation Overview.
This video illustrates the Beikell M.2 NVME Enclosure's key features, including its aluminum construction, heat dissipation, USB-C interface, and tool-free installation process.
6. Údržba
6.1. Odvod tepla
The enclosure is constructed from premium aluminum alloy with a groove design, which contributes to excellent heat dissipation. This design helps maintain optimal performance and extends the lifespan of your SSD.
- Aluminum Enclosure: Acts as a large heatsink.
- Fin Pattern Cover: Enhances surface area for cooling.
- Thermal Silicone Pad: Ensures efficient heat transfer from the SSD to the enclosure.
- Air Ventilation Hole: Allows for airflow to further dissipate heat.
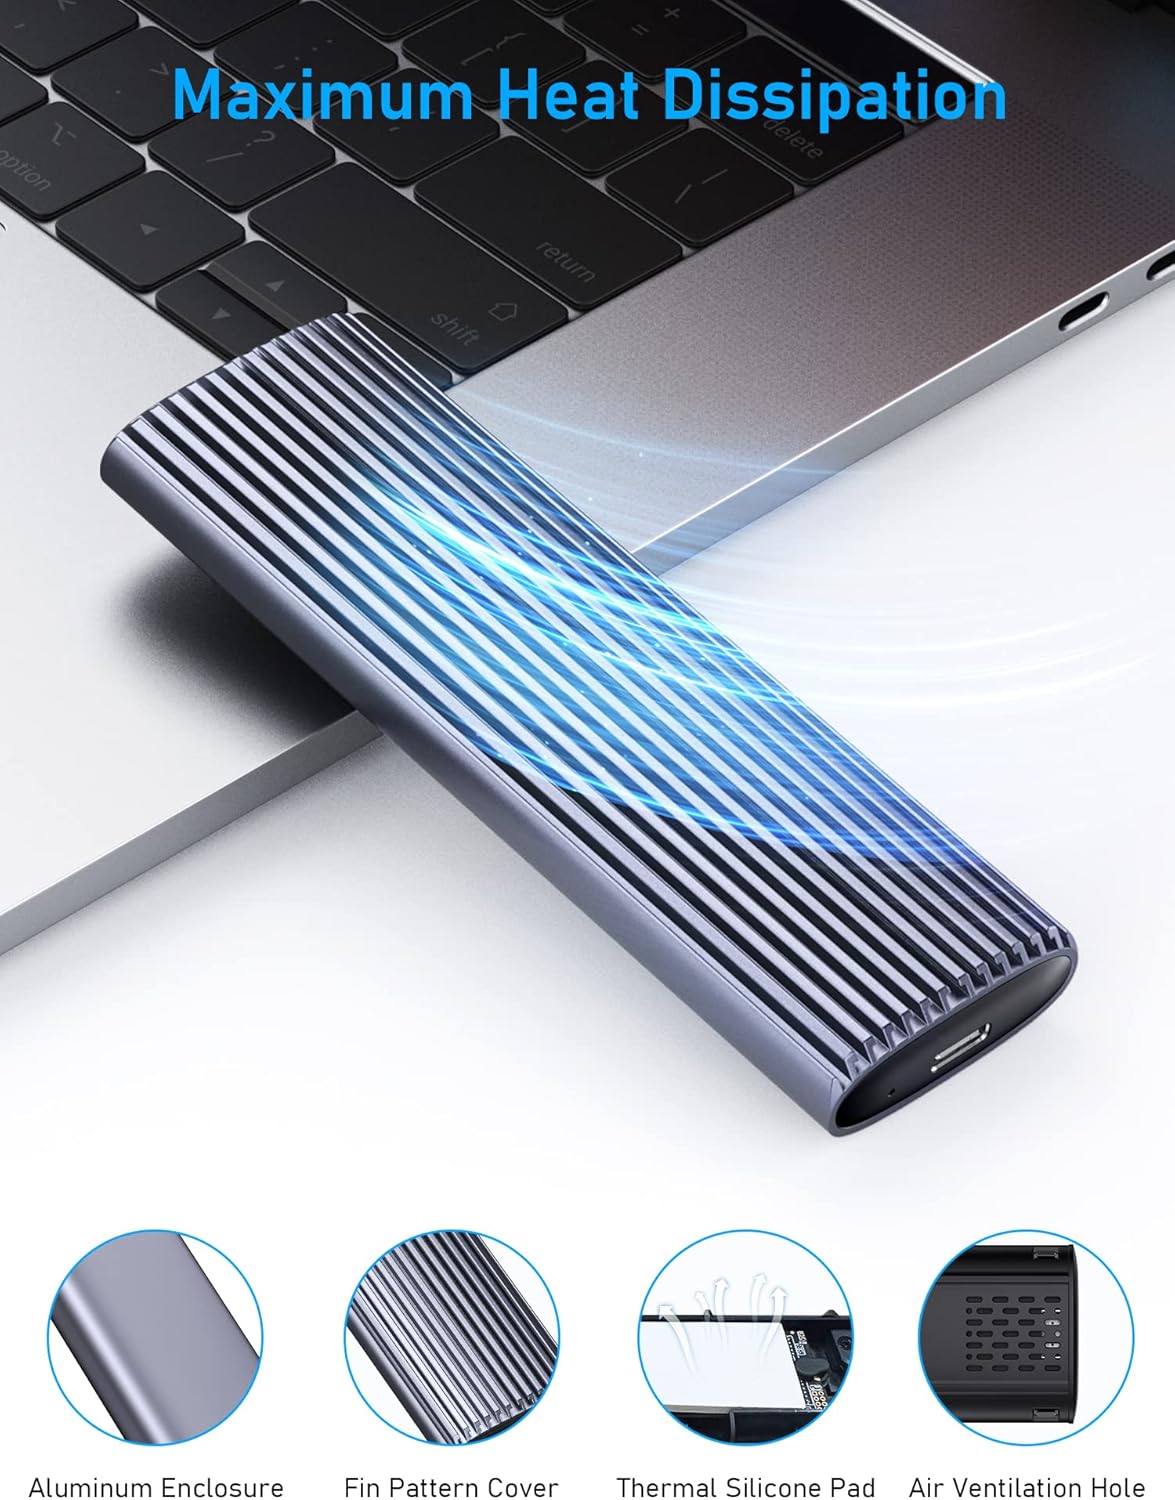
Figure 10: Maximum Heat Dissipation Features.
The enclosure's design prioritizes efficient heat management to protect your SSD and ensure stable performance during intensive use.
6.2. Obecná péče
- Udržujte kryt čistý a bez prachu. K čištění používejte měkký, suchý hadřík.
- Nevystavujte zařízení extrémním teplotám nebo vlhkosti.
- Do not drop or subject the enclosure to strong impacts.
- Ensure proper disconnection (ejecting the drive from your operating system) before unplugging to prevent data corruption.
7. Řešení problémů
| Problém | Možná příčina | Řešení |
|---|---|---|
| Disk nebyl detekován nebo rozpoznán. |
|
|
| Pomalé přenosové rychlosti. |
|
|
| Kryt je teplý. |
|
|
8. Specifikace
| Funkce | Detail |
|---|---|
| Značka | Beikell |
| Model | B6315 |
| Rychlost přenosu dat | 10 gigabitů za sekundu (USB 3.2 Gen 2) |
| Hardwarové rozhraní | USB typ C |
| Kompatibilní zařízení | Laptop, Desktop, Personal Computer, Tablet |
| Typ materiálu | Hliník |
| Barva | Stříbro |
| Rozměry produktu | 12.5 x 3.7 x 1.5 cm; 57 g |
9. Informace o záruce
Beikell products are manufactured to the highest quality standards. For specific warranty details and terms, please refer to the warranty card included with your product or visit the official Beikell webUschovejte si účtenku jako doklad o koupi pro případ reklamace.
10. Zákaznická podpora
Should you encounter any issues or have questions regarding your Beikell M.2 NVME Enclosure, please contact our customer support team:
- Telefon: 1-800-360-5881
- E-mail: podpora@ibeikell.com
- Webmísto: www.ibeikell.com
Our support team is available to assist you with technical queries, troubleshooting, and general product information.