
1. Konec produktuview
The Genmitsu 10W Compressed Spot Laser Module is designed for precision engraving and cutting tasks. It features advanced laser technology and an integrated air assist system to enhance performance and material processing capabilities.
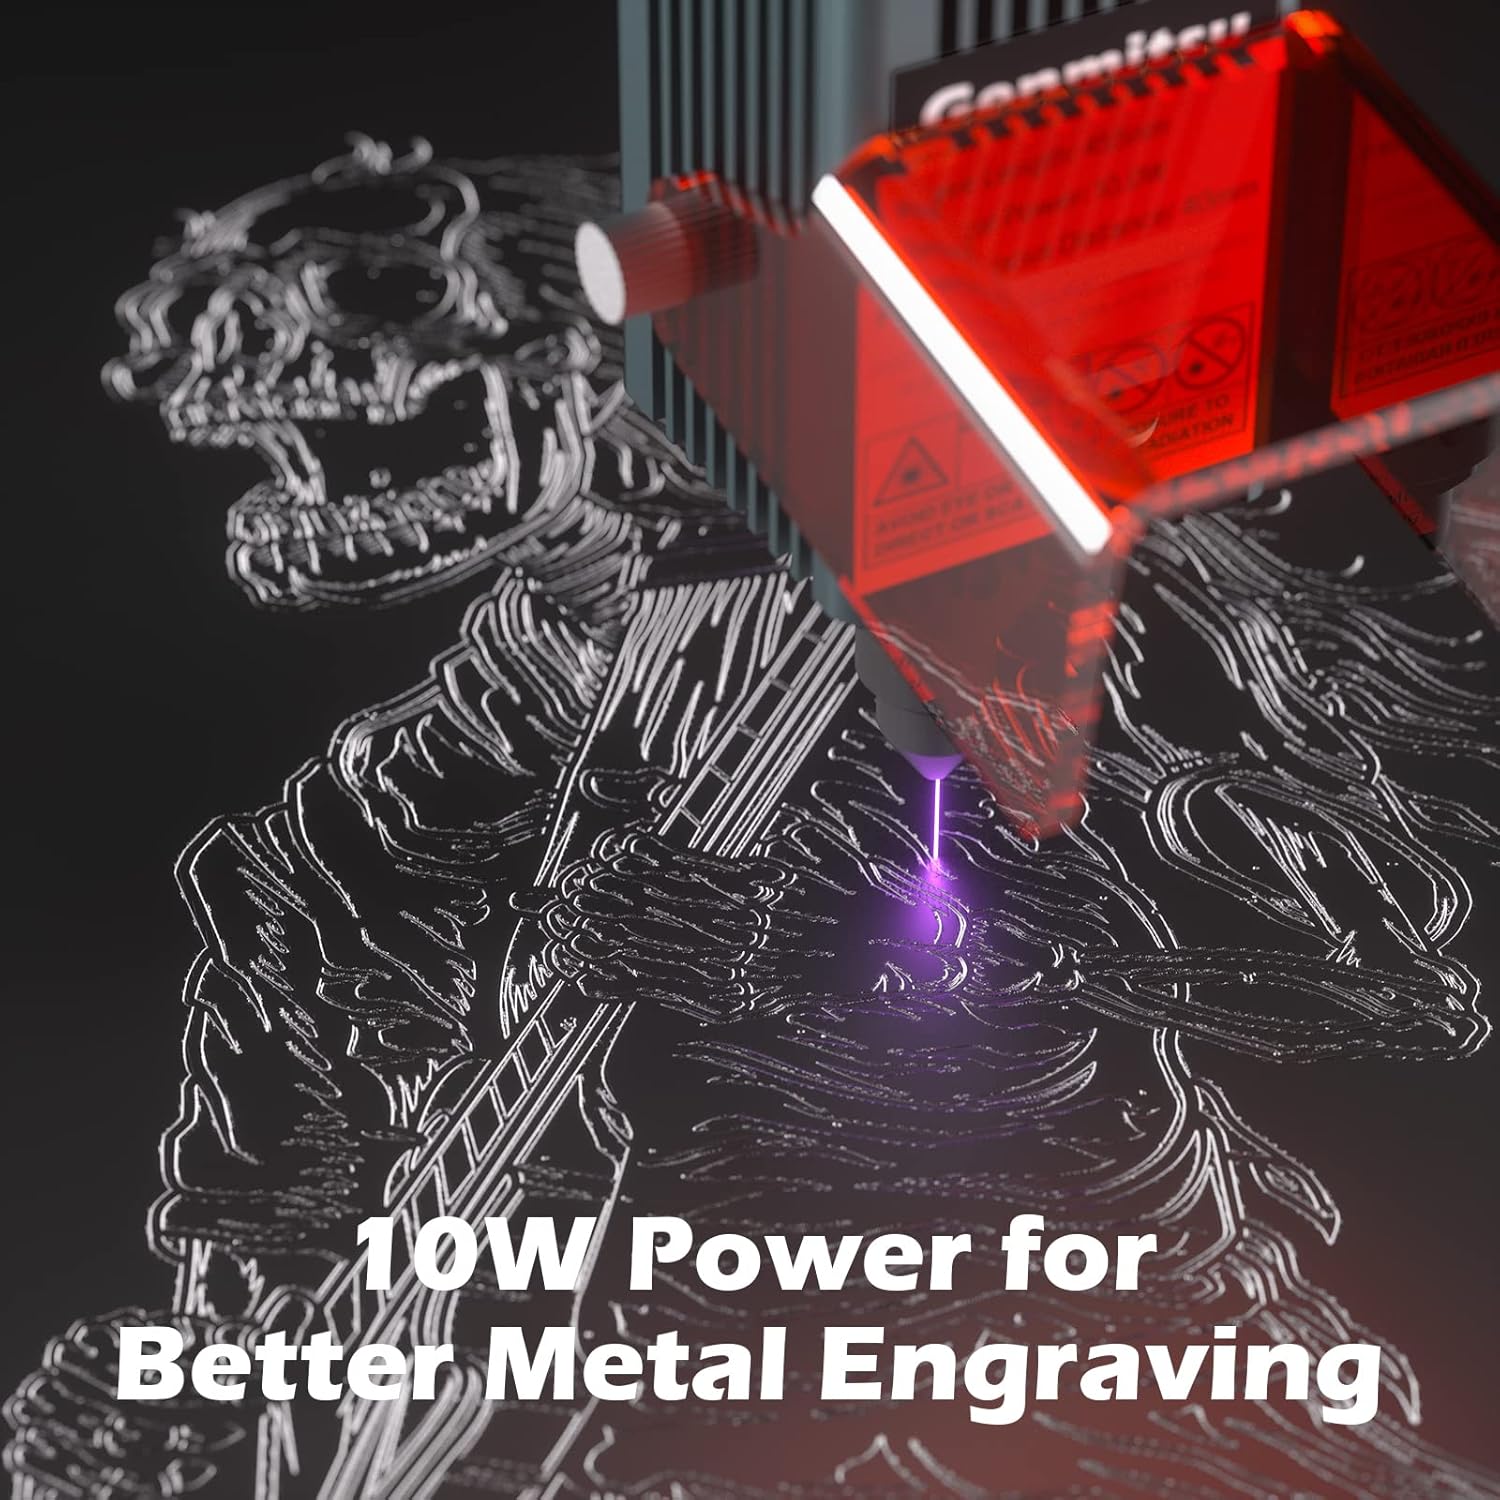
- Improved 10W Power & Accuracy: This laser module utilizes laser spot compression technology to achieve 10W continuous output power with a fine focal spot of 0.08mm x 0.05mm. This design significantly improves both power and accuracy, enabling efficient cutting of materials up to 3mm thick when used with the air assist system (air pump not included).
- Integrated Air Assist Nozzle: A lightweight aluminum air nozzle is included to improve engraving speed and quality. It also protects the laser optics from smoke and dust, contributing to better efficiency and extended lifespan.
- Prodloužená životnost: The module features a fixed-focus laser diode and an upgraded heat dissipation design, which collectively contribute to a longer operational lifespan for the laser.
- Laser Shield Protection: The laser head is equipped with a laser shield to filter laser radiation, minimizing accidental laser exposure and promoting safer operation. Poznámka: Despite this safety feature, protective goggles must always be worn when operating the machine.
- Široká kompatibilita: This laser module is compatible with various Genmitsu CNC routers and laser engravers, including 3020-PRO Ultra, 3020-PRO MAX V2, 3030-PROVer MAX, PROVerXL 4030, PROVerXL 4030 V2, PROVerXL 6050 Plus, 4040-PRO, 4040-PRO MAX, 4040 Reno CNC Router, Jinsoku LE-1620, LC-50 PLUS, and LC-60A Laser Engraver & Cutter.


2. Pokyny k nastavení
Follow these steps to properly install the 10W Laser Module onto your compatible Genmitsu CNC machine.
- Montáž laserového modulu: Securely attach the laser module to the designated mounting bracket on your CNC machine. Ensure all screws are tightened to prevent movement during operation.
- Připojení kabeláže: Connect the laser module's wiring to the control board of your CNC machine. Pay close attention to the pinout for 12V, GND, and PWM signals. Incorrect wiring can prevent the module from functioning or cause damage. Refer to your CNC machine's manual for specific port locations.
- Air Assist Connection (Optional): If using an external air pump (not included), connect the air hose to the air assist nozzle on the laser module.
- Konfigurační software: Configure your control software (e.g., LightBurn) with the correct laser settings. Ensure 'Laser Mode' is enabled, and parameters like $30 (Max Spindle Speed) and $32 (Laser Mode Enable) are set appropriately (e.g., $30=1000, $32=1). Verify PWM signal output if possible.

Video 1: This video demonstrates the installation process of the 10W Laser Module onto a Genmitsu 4040-PRO CNC machine, including mounting and wiring connections.
3. Návod k obsluze
Operating the laser module requires adherence to safety protocols and proper material handling.
- Bezpečnost především: Always wear appropriate laser safety goggles before initiating any laser operation. Ensure the work area is well-ventilated and free from flammable materials.
- Umístění materiálu: Place the material to be processed securely on the workbed. Ensure it is flat and properly aligned.
- Nastavení zaostření: The laser module is fixed-focus. Ensure the material surface is at the correct focal distance (typically 40mm from the laser module's bottom) for optimal performance.
- Ovládání softwaru: Use your chosen laser control software (e.g., LightBurn) to load your design, set power and speed parameters, and initiate the engraving or cutting process. Start with lower power settings for new materials and gradually increase as needed.
- Air Assist Usage: For cutting and to achieve cleaner engravings, activate your external air pump to utilize the air assist nozzle. This helps remove smoke and debris from the laser's path.

4. Údržba
Pravidelná údržba zajišťuje dlouhou životnost a optimální výkon vašeho laserového modulu.
- Čištění objektivu: Periodically inspect the laser lens for dust or debris. Clean gently with a lint-free cloth and lens cleaning solution specifically designed for optics. Avoid abrasive materials.
- Tryska pro pomocný vzduch: Ensure the air assist nozzle is clear of any blockages. Clean as needed to maintain consistent airflow.
- Odvod tepla: Keep the cooling fins and fan on the laser module free from dust to ensure efficient heat dissipation. Use compressed air to clear any accumulated dust.
- Kontrola kabelů: Regularly check all connecting cables for signs of wear, damage, or loose connections.
5. Řešení problémů
Pokud narazíte na problémy s laserovým modulem, podívejte se na následující běžné problémy a jejich řešení:
| Problém | Možná příčina | Řešení |
|---|---|---|
| Laser is weak or not firing | Incorrect wiring; Defective module; Incorrect software settings; Insufficient power supply. | Verify wiring (12V, GND, PWM). Check software settings ($30=1000, $32=1). Ensure power supply meets requirements (e.g., 12V 5A). If issues persist, contact support. |
| Špatná kvalita řezu/gravírování | Incorrect focus; Material not flat; Air assist not used or blocked; Incorrect power/speed settings. | Ensure material is at correct focal distance (40mm). Verify material flatness. Check air assist nozzle for blockages. Adjust power and speed settings in software. |
| Air assist nozzle interferes with material | Nozzle extends too low for multi-pass cuts or thicker materials. | Adjust the laser module's height or consider modifying the nozzle if comfortable with precision tools. Ensure sufficient clearance for all operations. |
| Module not recognized by software | Driver issues; Incorrect port selection; Software configuration error. | Ensure correct drivers are installed. Select the correct COM port in your software. Verify software settings for laser mode. |
6. Specifikace
| Funkce | Detail |
|---|---|
| Výrobce | Genmitsu |
| Číslo dílu | 01 |
| Hmotnost položky | 1.28 libry |
| Rozměry produktu | 3.27 x 8.62 x 10.87 palce |
| Číslo modelu | 01 |
| Barva | Šedá |
| svtage | 230 voltů |
| Položka Množství v balení | 1 |

7. Informace o záruce
This Genmitsu 10W Compressed Spot Laser Module comes with a 1-letá záruka from the date of purchase. This warranty covers manufacturing defects and ensures the product is free from defects in materials and workmanship under normal use.
For warranty claims or further details, please contact Genmitsu customer support.
8. Podpora
For technical assistance, troubleshooting, or general inquiries regarding your Genmitsu 10W Compressed Spot Laser Module, please contact SainSmart Official support.
You can visit the official Genmitsu Store for additional resources and contact information: Genmitsu Store on Amazon