1. Úvod
This manual provides detailed instructions for the safe and efficient operation of your InFocus P120 INL412 Multimedia Projector (Model INL4128). Please read this manual thoroughly before using the projector and keep it for future reference. This projector is designed for high-quality image projection, suitable for various applications including presentations, home entertainment, and gaming.
2. Bezpečnostní informace
Dodržujte následující bezpečnostní opatření, abyste zabránili poškození projektoru a zajistili bezpečnost uživatele:
- Větrání: Zajistěte dostatečné větrání kolem projektoru. Neblokujte větrací otvory. Udržujte minimální vzdálenost 30 cm od stěn nebo jiných předmětů.
- Zdroj napájení: Používejte pouze specifikovaný zdroj napájení a hlasitosttage. Connect the power cord securely.
- Teplo: The projector generates heat during operation. Do not touch the projector's vents or exhaust areas directly after use.
- Světelný výkon: Nedívejte se přímo do objektivu projektoru, když je zapnutýamp je zapnutý, protože intenzivní světlo může způsobit poškození očí.
- Umístění: Place the projector on a stable, level surface. Avoid placing it in direct sunlight, near heat sources, or in areas with high humidity or dust.
- Čištění: Před čištěním odpojte napájecí kabel. Použijte měkký, suchý hadřík. Nepoužívejte tekuté ani aerosolové čisticí prostředky.
- Servis: Nepokoušejte se projektor opravovat sami. Veškerý servis svěřte kvalifikovanému servisnímu personálu.
3. Konec produktuview
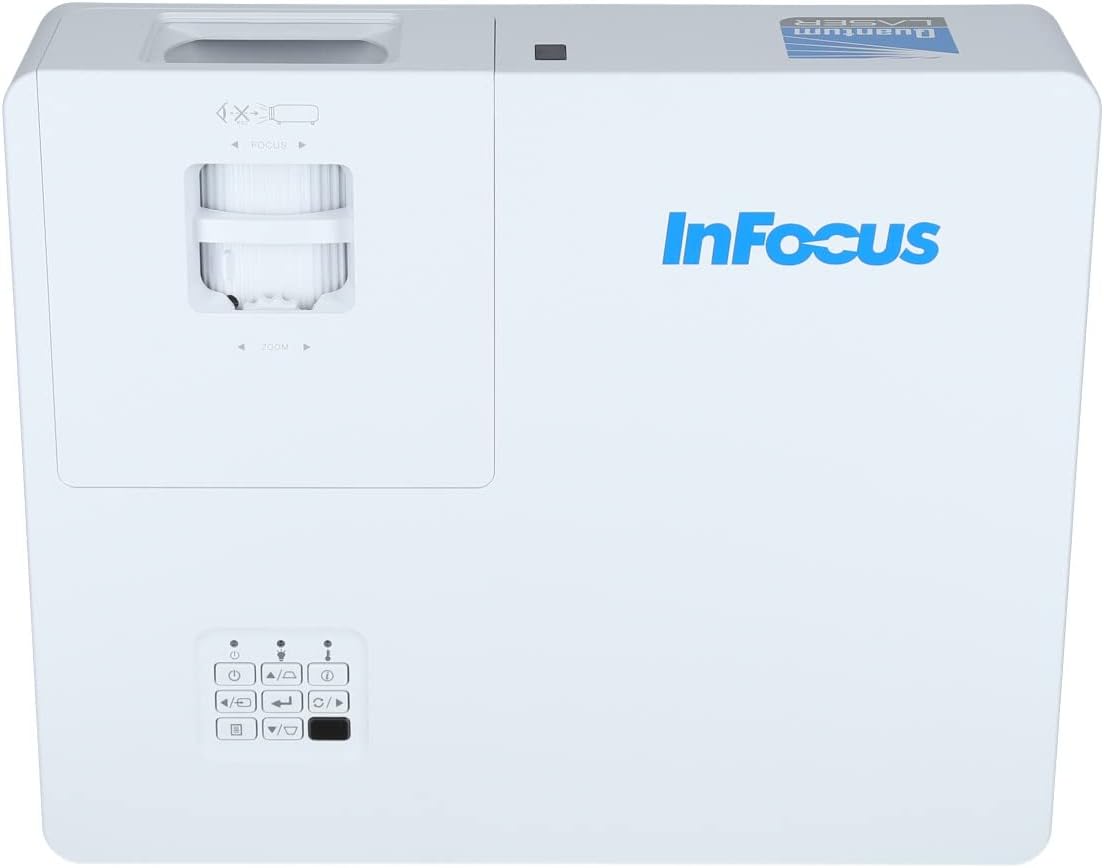
3.1 Top Panel and Lens Area
The top panel features the control buttons for basic operation and the lens area with focus and zoom adjustments.

Obrázek 3.1: Nahoře view of the InFocus P120 INL412 projector, highlighting the control panel on the right and the lens adjustment area on the left. The InFocus logo is visible on the top surface.
Obrázek 3.2: Zavírač view of the projector's top panel, showing the focus and zoom rings near the lens opening and the array of control buttons for power, menu, source selection, and navigation.
3.2 Připojení zadního panelu
The rear panel provides various input and output ports for connecting external devices.

Figure 3.3: Rear panel of the InFocus P120 INL412 projector, displaying a comprehensive array of connectivity options including HDMI (x2), USB, S-Video, Ethernet (LAN), VGA In (x2), VGA Out, RS232, and Audio In/Out ports. The power input is located on the bottom left.
Mezi klíčové porty patří:
- HDMI 1 a 2: For connecting high-definition digital video and audio sources.
- USB: For connecting USB devices, potentially for media playback or firmware updates.
- S-Video: For connecting older video sources.
- VGA IN 1 & 2: For connecting computers or other devices with VGA output.
- VGA VÝSTUP: Pro připojení k externímu monitoru.
- Ethernet (LAN): Pro síťové připojení a ovládání.
- Audio IN 1 & 2 / Audio OUT: Pro analogové audio připojení.
- RS232: Pro sériové ovládání.
- Příkon: Pro připojení napájecího kabelu.
3.3 Front and Side Panels
The front panel houses the projection lens and front ventilation, while the side panels feature additional ventilation grilles.

Obrázek 3.4: Přední strana view of the InFocus P120 INL412 projector, displaying the main projection lens on the right and the extensive front ventilation grille on the left, crucial for heat dissipation.

Obrázek 3.5: Strana view of the InFocus P120 INL412 projector, illustrating the side ventilation grilles that contribute to maintaining optimal operating temperature.
4. Nastavení
4.1 Umístění projektoru
Position the projector on a stable, flat surface or mount it securely. Ensure the projector is within the optimal projection distance for your screen size. Maintain clear space around the projector for proper ventilation.
4.2 Připojení zařízení
Before connecting any cables, ensure the projector and all source devices are powered off.
- Připojení HDMI: Connect an HDMI cable from your source device (e.g., laptop, Blu-ray player, gaming console) to either the HDMI 1 or HDMI 2 port on the projector.
- Připojení VGA: Connect a VGA cable from your computer to either VGA IN 1 or VGA IN 2. For audio, connect a separate audio cable from your computer's audio output to the corresponding Audio IN port on the projector.
- USB připojení: Insert a USB drive into the USB port for media playback (if supported by firmware) or service functions.
- Ethernetové (LAN) připojení: Connect an Ethernet cable to the LAN port for network control or updates.
- Zvukový výstup: If using external speakers, connect an audio cable from the Audio OUT port on the projector to your audio system.
4.3 Připojení napájení
Connect the power cord to the projector's power input and then plug the other end into a grounded electrical outlet.
5. Návod k obsluze
5.1 Zapnutí/vypnutí
- Zapnutí: Stiskněte tlačítko Moc button on the projector's control panel or the remote control. The power indicator light will change.
- Vypnout: Stiskněte tlačítko Moc button again. A confirmation message may appear. Press the button a second time to confirm shutdown. Allow the projector to cool down before unplugging it.
5.2 Nastavení zaostření a zoomu
Rotate the focus ring around the lens until the image appears sharp and clear. Use the zoom ring to adjust the image size to fit your screen.
5.3 Výběr vstupního zdroje
Stiskněte tlačítko Zdroj button on the control panel or remote control to cycle through available input sources (HDMI 1, HDMI 2, VGA 1, VGA 2, S-Video, USB). Select the input corresponding to your connected device.
5.4 Navigace v nabídce
Použijte Menu button to access the on-screen display (OSD) menu. Use the arrow buttons to navigate through menu options and the Vstupte pro výběr. Stiskněte Menu znovu k výstupu.
6. Údržba
6.1 Čištění objektivu
Gently wipe the lens with a soft, lint-free cloth specifically designed for optical surfaces. Do not use abrasive cleaners or excessive force, as this can scratch the lens.
6.2 Cleaning the Projector Exterior
K čištění krytu projektoru použijte měkký, suchý hadřík.asing. For stubborn dirt, dampen the cloth slightly with water, then wipe dry immediately. Avoid getting liquids into the projector's openings.
6.3 Péče o ventilaci
Regularly check the projector's ventilation grilles for dust accumulation. Use a soft brush or a vacuum cleaner with a brush attachment to gently remove dust from the vents to ensure proper airflow and prevent overheating.
7. Řešení problémů
7.1 Nezobrazuje se žádný obrázek
- Ujistěte se, že je projektor zapnutý a kontrolka napájení svítí nepřetržitě.
- Verify that the video cable (HDMI, VGA, etc.) is securely connected to both the projector and the source device.
- Check that the correct input source is selected on the projector.
- Confirm that the source device (laptop, player) is powered on and outputting a signal.
7.2 Obraz je rozmazaný nebo nezaostřený
- Otáčejte zaostřovacím kroužkem na objektivu projektoru, dokud nebude obraz ostrý.
- Ensure the projector is at the correct distance from the screen.
- Pokud se čočka projektoru jeví znečištěná, očistěte ji.
7.3 Žádný zvuk
- If using HDMI, ensure the source device's audio output is set to HDMI.
- If using VGA, ensure a separate audio cable is connected from the source to the projector's Audio IN port.
- Zkontrolujte nastavení hlasitosti na projektoru i zdrojovém zařízení.
- If using external speakers, ensure they are properly connected to the Audio OUT port and powered on.
8. Specifikace
| Funkce | Detail |
|---|---|
| Značka | InFocus |
| Výrobce | Zaostřeno |
| Název modelu | P120 INL412 |
| Číslo modelu | INL4128 |
| Rok | 2023 |
| Hardwarové rozhraní | Ethernet, HDMI, S-Video, USB |
| Počet položek | 1 |
| Poměr stran | 16:9 |
| Wattage | 341 wattů |
| Baterie jsou součástí dodávky | Žádný |
| Jsou vyžadovány baterie | Žádný |
| Form Factor | Desktop |
| Typ montáže | Držák na stůl |
| Dálkové ovládání v ceně | Ano |
| Rozměry produktu | 56.13 x 46.48 x 25.15 cm |
| Hmotnost položky | 5.5 kg |
| Maximální velikost obrázku | 308.28 palců |
| Minimální velikost obrázku | 910.63 milimetrů |
| První dostupný termín | 5. ledna 2022 |
9. Záruka a podpora
For warranty information and technical support, please refer to the documentation included with your purchase or visit the official InFocus webUschovejte si doklad o koupi pro případ reklamace.