
Keychron Keychron Q3J3
Keychron Q3 QMK/VIA Wired Custom Mechanical Keyboard User Manual
Model: Keychron Q3J3
1. Úvod
The Keychron Q3 is a fully assembled, custom mechanical keyboard designed for enthusiasts and professionals. Featuring a full aluminum CNC machined body, double-gasket design, and QMK/VIA support, it offers a premium typing experience and extensive customization options. This manual provides detailed instructions for setting up, operating, maintaining, and troubleshooting your Keychron Q3 keyboard.

Image: The Keychron Q3 mechanical keyboard in blue, showcasing its tenkeyless layout and a Gateron G Pro Brown switch.
2. Co je v krabici
Upon unboxing your Keychron Q3 keyboard, please ensure all the following components are present:
- Klávesnice:
- 1x plně sestavená klávesnice
- 1x hliníkové pouzdro
- 1x deska plošných spojů (PCB)
- 1x ocelový plech
- 1x Pěna pohlcující zvuk
- 1x Pěna na pouzdro
- 16x Gaskets (10 installed, 6 spare)
- 5 sady x stabilizátory
- 1 sada kláves (dvojité PBT)
- 1 sada x přepínače (Gateron G Pro)
- Kabely:
- 1x kabel Type-C to Type-C
- 1x adaptér typu A na typ C
- Nástroje:
- 1x stahovák spínačů
- 1x stahovák klíčenky
- 1x Šroubovák
- 1x hexadecimální klíč
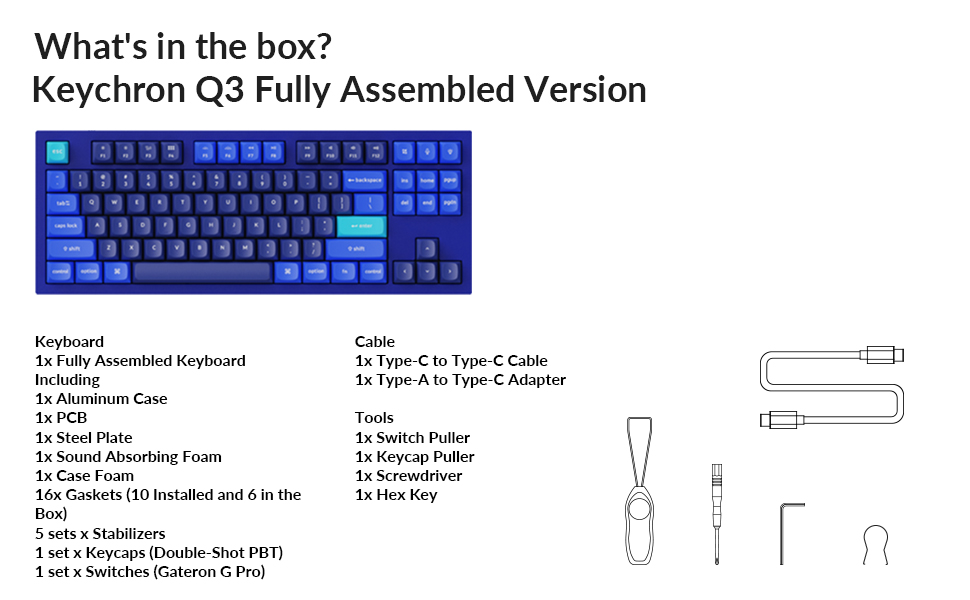
Image: An illustration detailing the complete list of items included with the Keychron Q3 keyboard, such as the keyboard itself, cables, and various tools.
3. Nastavení
3.1 Počáteční připojení
Connect the Keychron Q3 keyboard to your computer using the provided Type-C to Type-C cable. If your computer does not have a Type-C port, use the Type-A to Type-C adapter with the cable. The keyboard is plug-and-play and should be recognized automatically by your operating system.
3.2 Přepínač operačního systému
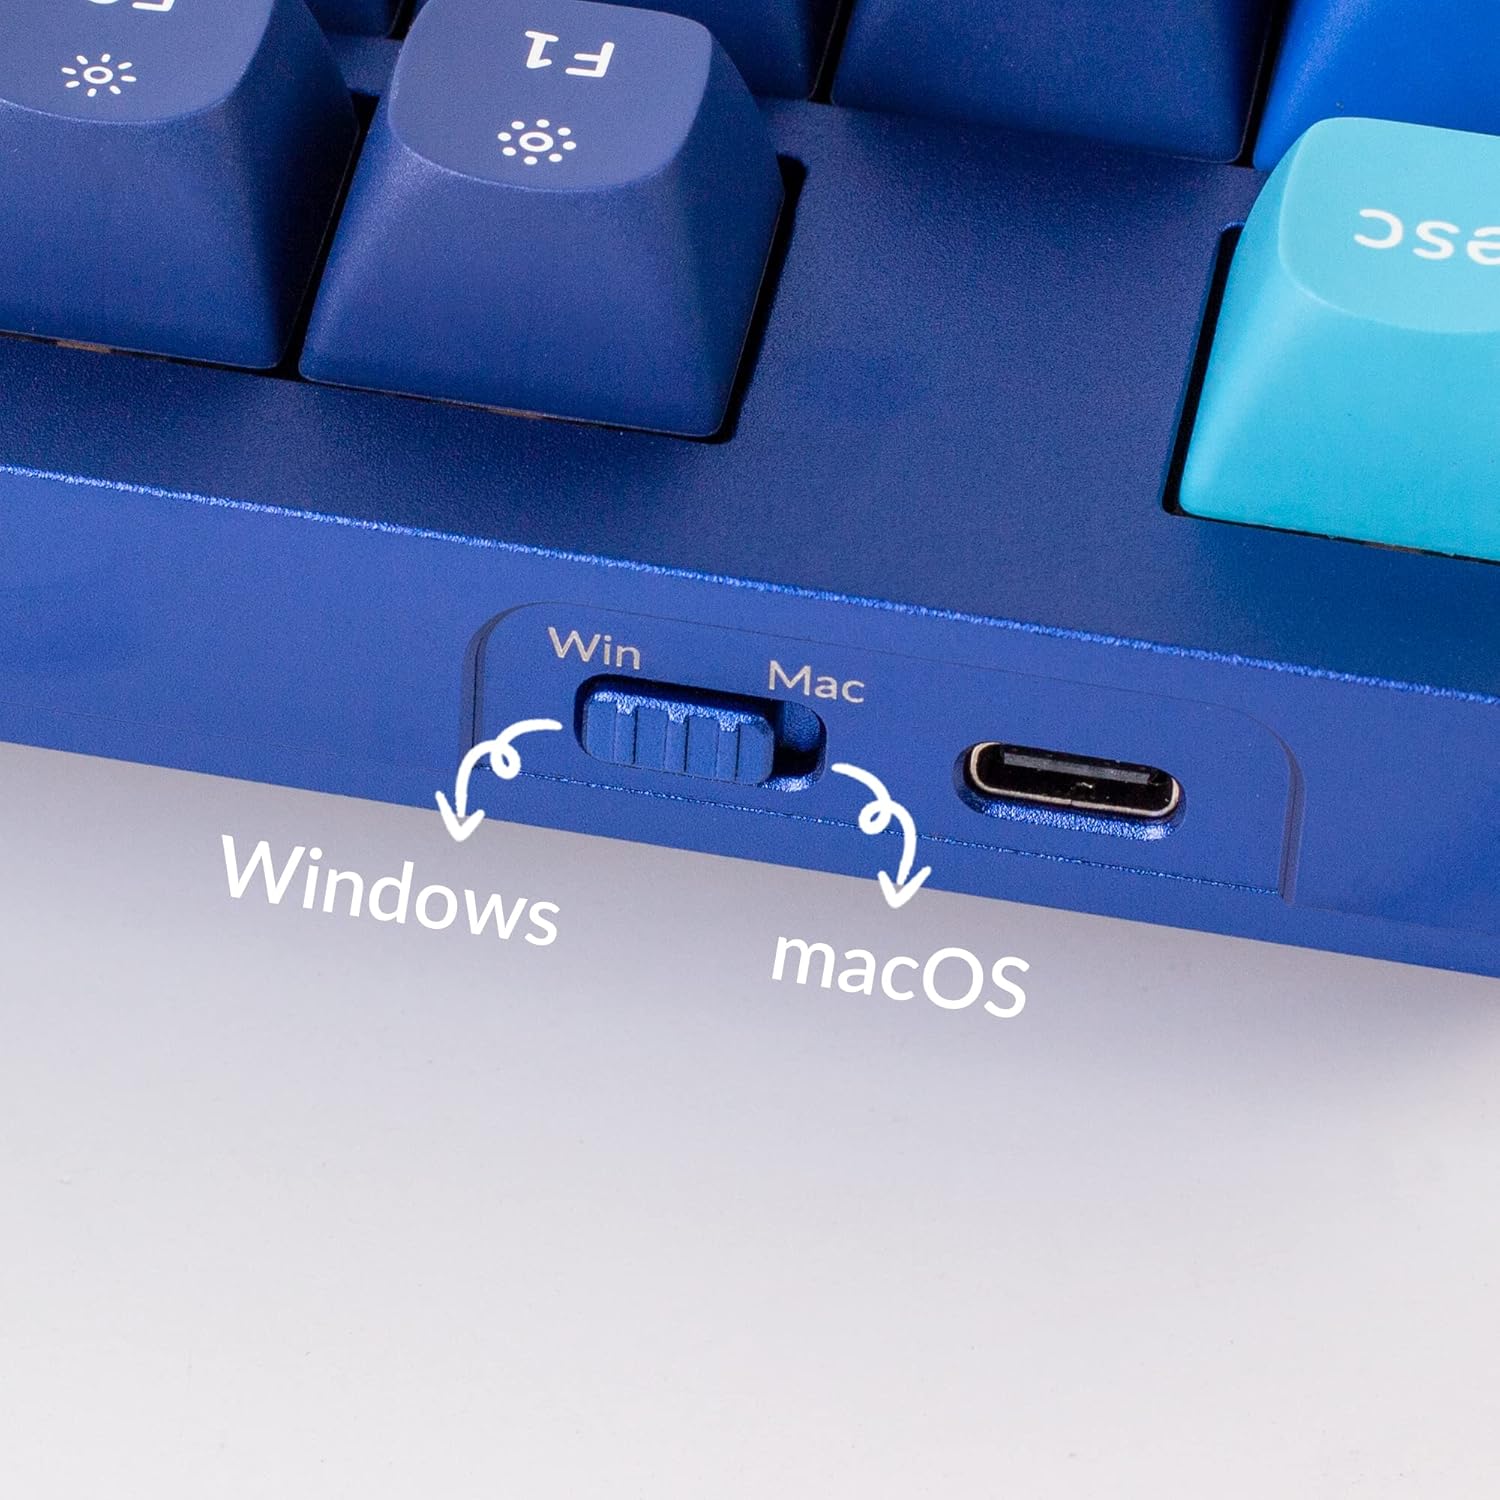
The Keychron Q3 features a physical toggle switch on the rear of the keyboard to select between Windows and macOS layouts. Ensure this switch is set to the correct operating system for optimal key mapping and functionality.
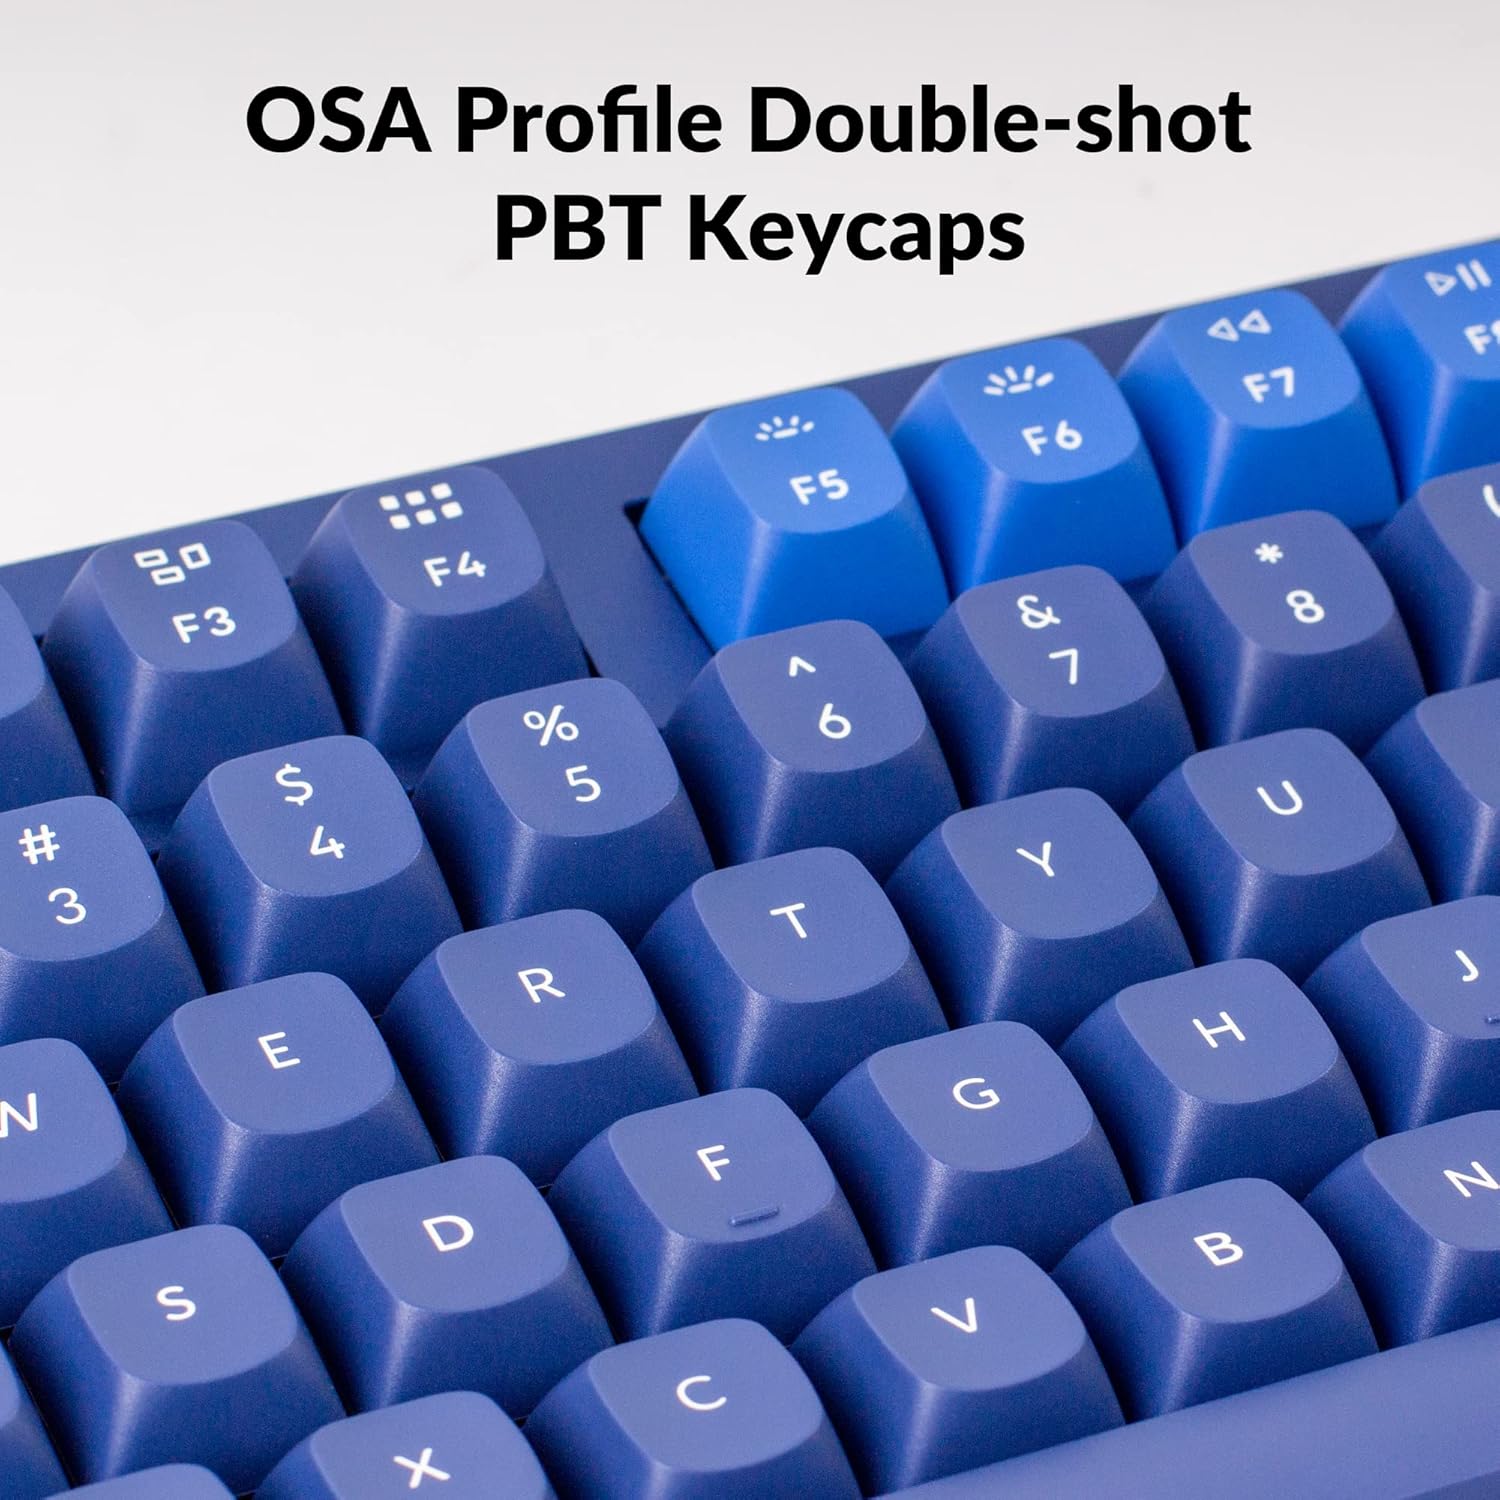
Image: A close-up of the physical switch on the back of the Keychron Q3, allowing users to toggle between Windows and macOS modes, next to the USB-C port.
4. Návod k obsluze
4.1 QMK and VIA Customization
The Keychron Q3 supports QMK and VIA firmware, allowing for extensive customization of keymaps, macros, and lighting effects. VIA is a graphical user interface that simplifies the process of remapping keys and creating macros without needing to write code. Download the VIA software from the official Keychron website or the VIA GitHub repository.

Image: A screenshot of the VIA software interface, demonstrating how users can intuitively personalize their keymap for the Keychron Q3 keyboard.
4.2 Přepínače vyměnitelné za provozu
The Keychron Q3 features hot-swappable sockets, allowing you to change switches without soldering. It comes pre-installed with Gateron G Pro Brown switches. The PCB is compatible with most MX style 3-pin and 5-pin mechanical switches (e.g., Gateron, Cherry, Kailh). Use the provided switch puller to carefully remove and install switches.
Obrázek: Detailní záběr view of the hot-swappable sockets on the Keychron Q3, showing different colored switches inserted and removed, highlighting the ease of customization.
4.3 ovládání podsvícení
The keyboard is equipped with south-facing RGB LED backlighting. Lighting effects and brightness can be adjusted directly on the keyboard using function key combinations or through the VIA software for more advanced customization.

Image: A detailed shot of the south-facing RGB LED backlight illuminating the switches and keycaps on the Keychron Q3 keyboard.
4.4 Klávesy
The Keychron Q3 comes with OSA Profile Double-shot PBT Keycaps. These keycaps are durable and resistant to shine, ensuring longevity and a consistent typing feel.

Image: A close-up of the OSA Profile Double-shot PBT Keycaps, highlighting their texture and legends on the Keychron Q3.
5. Údržba
5.1 Čištění
To clean your keyboard, disconnect it from the computer. Use a soft brush or compressed air to remove dust and debris from between the keycaps. For stubborn dirt, gently wipe the keycaps and case with a slightly damp, lint-free cloth. Avoid using harsh chemicals or excessive moisture.
5.2 Výměna spínačů a kláves
The hot-swappable design allows for easy replacement of switches and keycaps. Use the provided keycap puller to remove keycaps by gently pulling straight up. Use the switch puller to remove switches by gripping the top and bottom clips and pulling upwards. When installing, align the switch pins with the PCB sockets and press down firmly until it clicks into place. Ensure the pins are not bent.
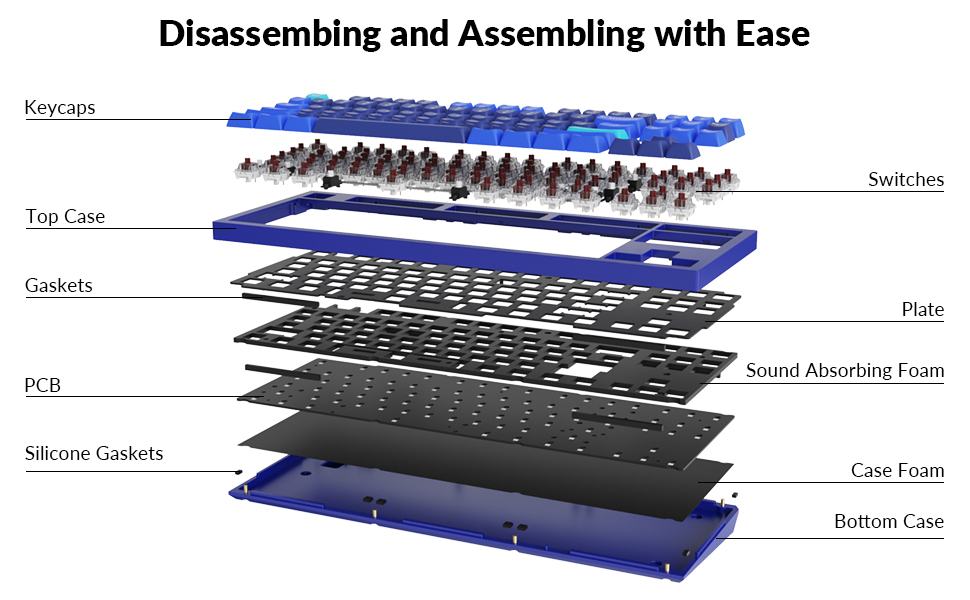
Image: An exploded diagram illustrating the various layers and components of the Keychron Q3 keyboard, from keycaps to the bottom case, demonstrating its modular design for easy assembly and disassembly.
5.3 stabilizátory
The Keychron Q3 uses screw-in PCB stabilizers for enhanced stability on larger keys (Space Bar, Shift, Enter, Delete). These can be lubricated or replaced if needed for a smoother typing experience. Refer to online guides for proper lubrication techniques if you wish to perform this maintenance.

Obrázek: Detailní záběr view of the screw-in PCB stabilizers, showing their secure mounting on the circuit board for improved key stability.
6. Řešení problémů
- Klávesnice nebyla rozpoznána:
- Ujistěte se, že je kabel USB bezpečně připojen k klávesnici i k počítači.
- Zkuste jiný port USB nebo kabel.
- Verify the Windows/macOS switch is set correctly.
- Restartujte počítač.
- Klíče se neregistrují:
- Opatrně sejměte krytku klávesy a přepínač pro danou klávesu.
- Check if the switch pins are bent. Straighten them gently if necessary.
- Reinsert the switch firmly into the hot-swappable socket.
- Test with a known working switch if available.
- QMK/VIA Issues:
- Ujistěte se, že používáte nejnovější verzi softwaru VIA.
- Verify that the keyboard firmware is compatible with the VIA version.
- If changes are not applying, try resetting the keyboard (refer to Keychron's official support for specific reset procedures).
- Podsvícení nefunguje/je nesprávné:
- Check backlight brightness settings using keyboard shortcuts.
- Ensure no custom VIA settings are overriding the backlight.
- If specific LEDs are out, it may indicate a hardware issue requiring professional service.
7. Specifikace
| Funkce | Detail |
|---|---|
| Rozměry produktu | 36.5 x 13.7 x 3.5 cm (D x Š x V) |
| Hmotnost položky | 6.12 libry (2.78 kg) |
| Výrobce | Keychron |
| Číslo modelu | Keychron Q3J3 |
| Země původu | Čína |
| Technologie připojení | Kabelové (USB Type-C) |
| Kompatibilní zařízení | Počítač (Mac, Windows, Linux) |
| Popis klávesnice | Multimedia, Tenkeyless (TKL) |
| Doporučená použití | Kancelář, hry |
| Speciální funkce | For macOS & Windows, South-facing RGB LED Lights, QMK and VIA support, Hot-Swappable, Double Gasket Design, Full Aluminum CNC Body |
| Typ přepínače | Hnědý spínač Gateron G Pro |
| Počet klíčů | 87 |
| Styl | Modern, Tenkeyless |
| První dostupný termín | 27. srpna 2021 |
8. Podpora a zdroje
For further assistance, updated firmware, or detailed guides on QMK/VIA customization, please visit the official Keychron website. The Keychron community and open-source QMK/VIA resources also provide valuable information and support.
Oficiální Keychron Webmísto: www.keychron.com
QMK Firmware: qmk.fm
VIA Configurator: www.caniusevia.com
Ask a question about this manual
Ask about setup, troubleshooting, compatibility, parts, safety, or missing instructions. Manuals+ will review the question and use this page’s manual context to help answer it.