
1. Konec produktuview
The TOPGREENER Dimmer Light Switch (Model TGDMDS-120-LA) is designed to provide smooth, full-range dimming for various lighting types. It is compatible with 300W dimmable LED/CFL lights and 600W incandescent/halogen bulbs. This switch supports both single-pole and 3-way applications and does not require a neutral wire for installation, making it suitable for older homes. A wall plate is included for a complete installation.
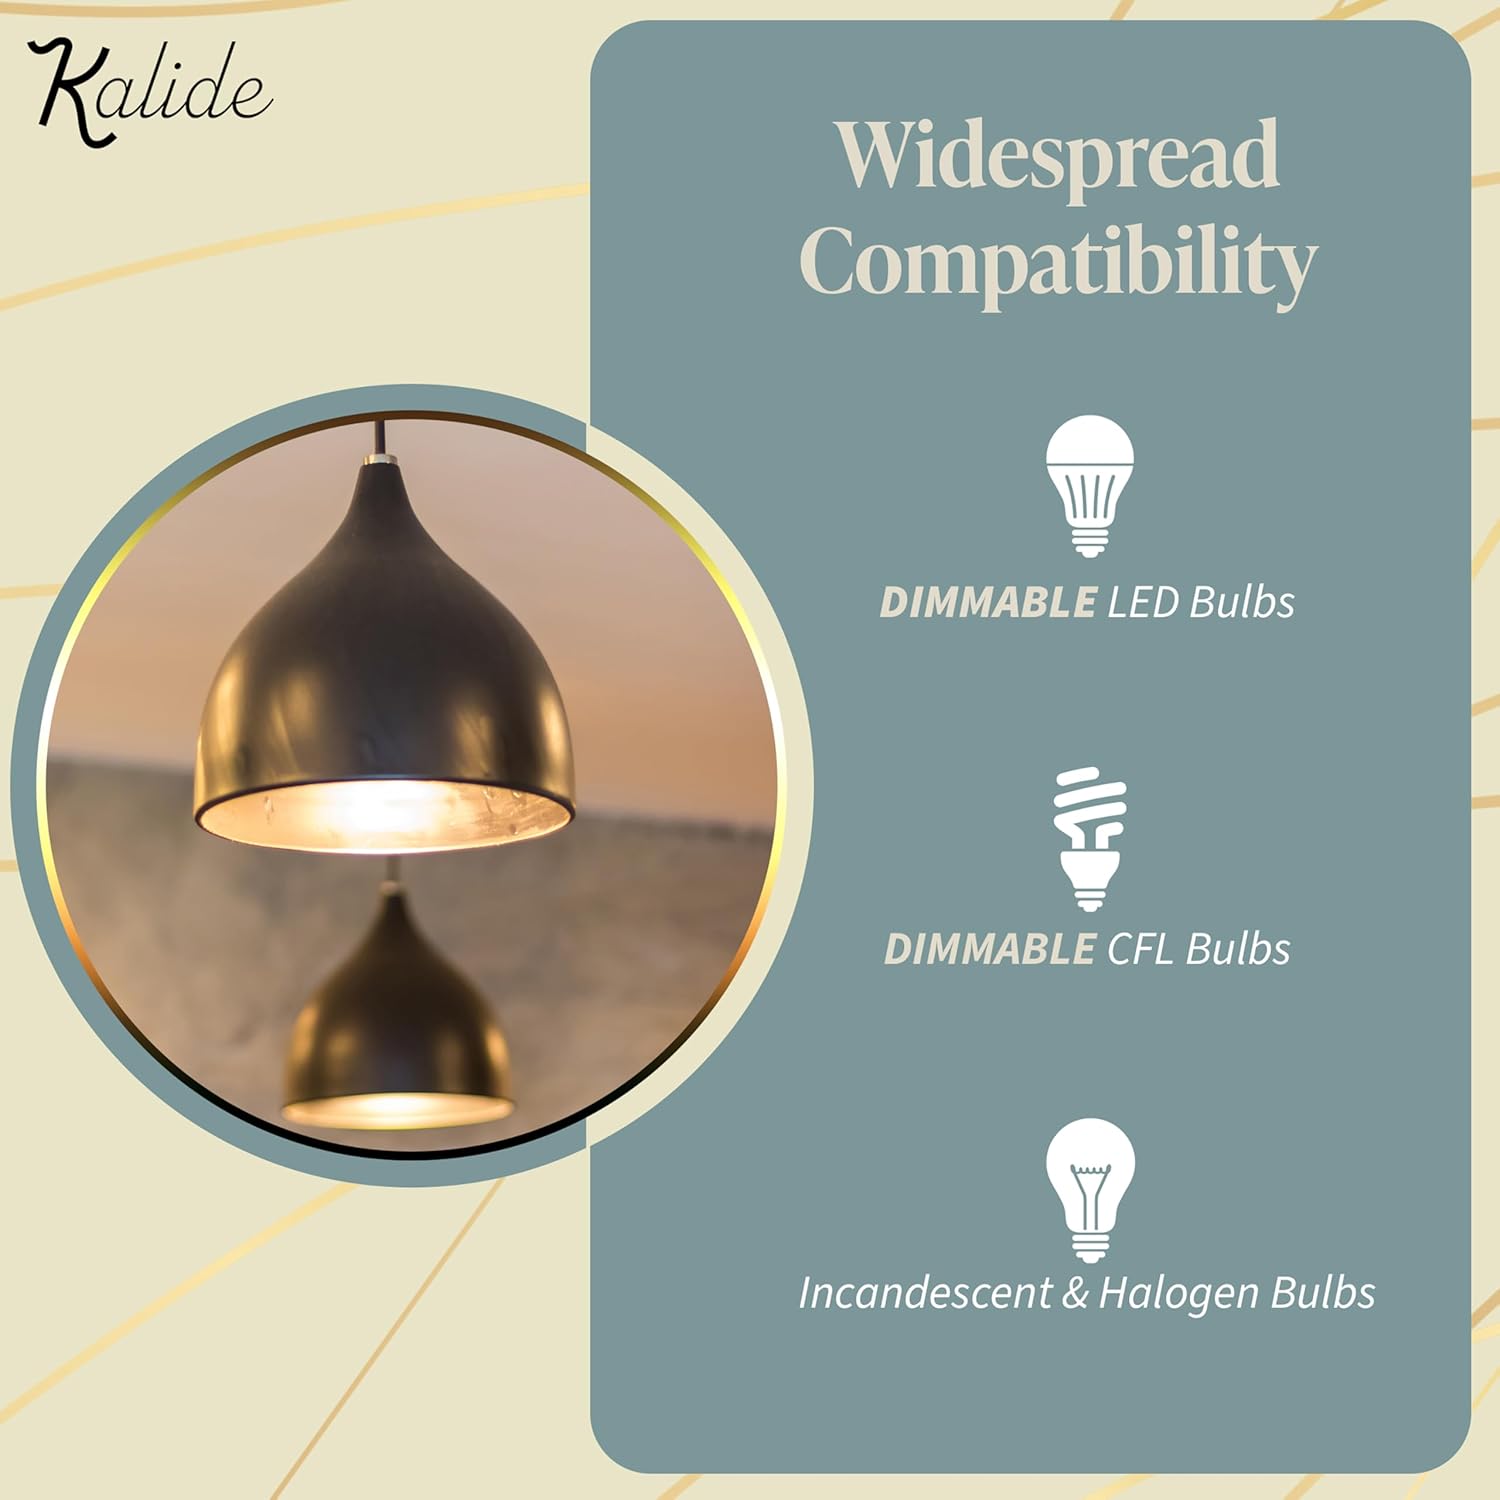
Image 1.1: The dimmer switch is compatible with dimmable LED, CFL, incandescent, and halogen bulbs.
2. Bezpečnostní informace
VAROVÁNÍ: To avoid fire, shock, or death, turn off power at the circuit breaker or fuse box and test that power is off before wiring. Installation should be performed by a qualified electrician or a person with electrical knowledge. Use only with copper wire. Do not use with non-dimmable bulbs or smart lighting fixtures. This device is UL Listed, ensuring compliance with safety standards.
3. Obsah balení
- TOPGREENER Dimmer Light Switch (Model TGDMDS-120-LA)
- Nástěnná deska
- Instalační šrouby
4. Specifikace
| Specifikace | Hodnota |
|---|---|
| Model | TGDMDS-120-LA |
| Značka | TOPGREENER |
| Wattage (LED/CFL) | 300W |
| Wattage (žárovka/halogenová žárovka) | 600W |
| Provozní svtage | 120 voltů (AC) |
| Aktuální hodnocení | 5 Amps |
| Typ obvodu | Jednopólový nebo třícestný |
| Je vyžadován neutrální vodič | Žádný |
| Kompatibilita drátu | #14-#12 AWG (copper only) |
| Materiál | Polykarbonát |
| Osvědčení | UL Listed, IP54 |
5. Instalace
5.1 Kroky před instalací
- Vypnout napájení: Locate the circuit breaker or fuse box that controls the light switch you are replacing. Turn off the power to that circuit. Verify that the power is off using a voltage tester.
- Demontáž starého spínače: Opatrně odstraňte stávající nástěnnou desku a odšroubujte starý vypínač z nástěnné krabice. Odpojte vodiče od starého vypínače.
5.2 Zapojení stmívače
This dimmer switch does not require a neutral wire. Ensure you are using #14-#12 AWG copper wires for connections.

Image 5.1: The dimmer switch does not require a neutral wire, simplifying installation in many homes.
Refer to the wiring diagram provided with your dimmer switch for specific connections. Generally, connect the hot wire, load wire, and traveler wire (for 3-way applications) to the corresponding terminals on the dimmer. Connect the ground wire to the green ground screw.
5.3 Setting Minimum Brightness (Optional)
The dimmer includes a small slider for setting the minimum brightness level to prevent flickering with certain LED/CFL bulbs. This adjustment is made before installing the face cover.
- With the load off, turn on the power.
- Set the MODE switch to 'S' (Setting).
- Adjust the small slider to your desired minimum brightness.
- Set the MODE switch back to 'L' (LED/INC) or 'C' (CFL) per your load type.

Image 5.2: Internal components of the dimmer switch, highlighting the mode switch and minimum brightness slider.
5.4 Final Installation Steps
- Zajistěte přepínač: Carefully push the wired dimmer switch into the wall box and secure it with the provided screws.
- Install Face Cover: Use a screwdriver to remove the face cover. Move the face cover out. Insert the top tabs of the face cover into the slots on the top of the dimmer. Press the bottom of the face cover until it snaps into place.
- Obnovit napájení: Znovu zapněte napájení jističem nebo pojistkovou skříňkou.

Image 5.3: Steps for installing the face cover onto the dimmer switch.
5.5 Instalační video
Video 5.1: Official TOPGREENER video demonstrating the features and installation of the dimmer light switch.
Video 5.2: A seller-provided video showing how to adjust the minimum brightness setting on the dimmer switch.
6. Provoz
6.1 Ovládání ON/OFF
The large paddle switch functions as a simple ON/OFF control. Press the top of the paddle to turn the lights ON, and the bottom to turn them OFF.
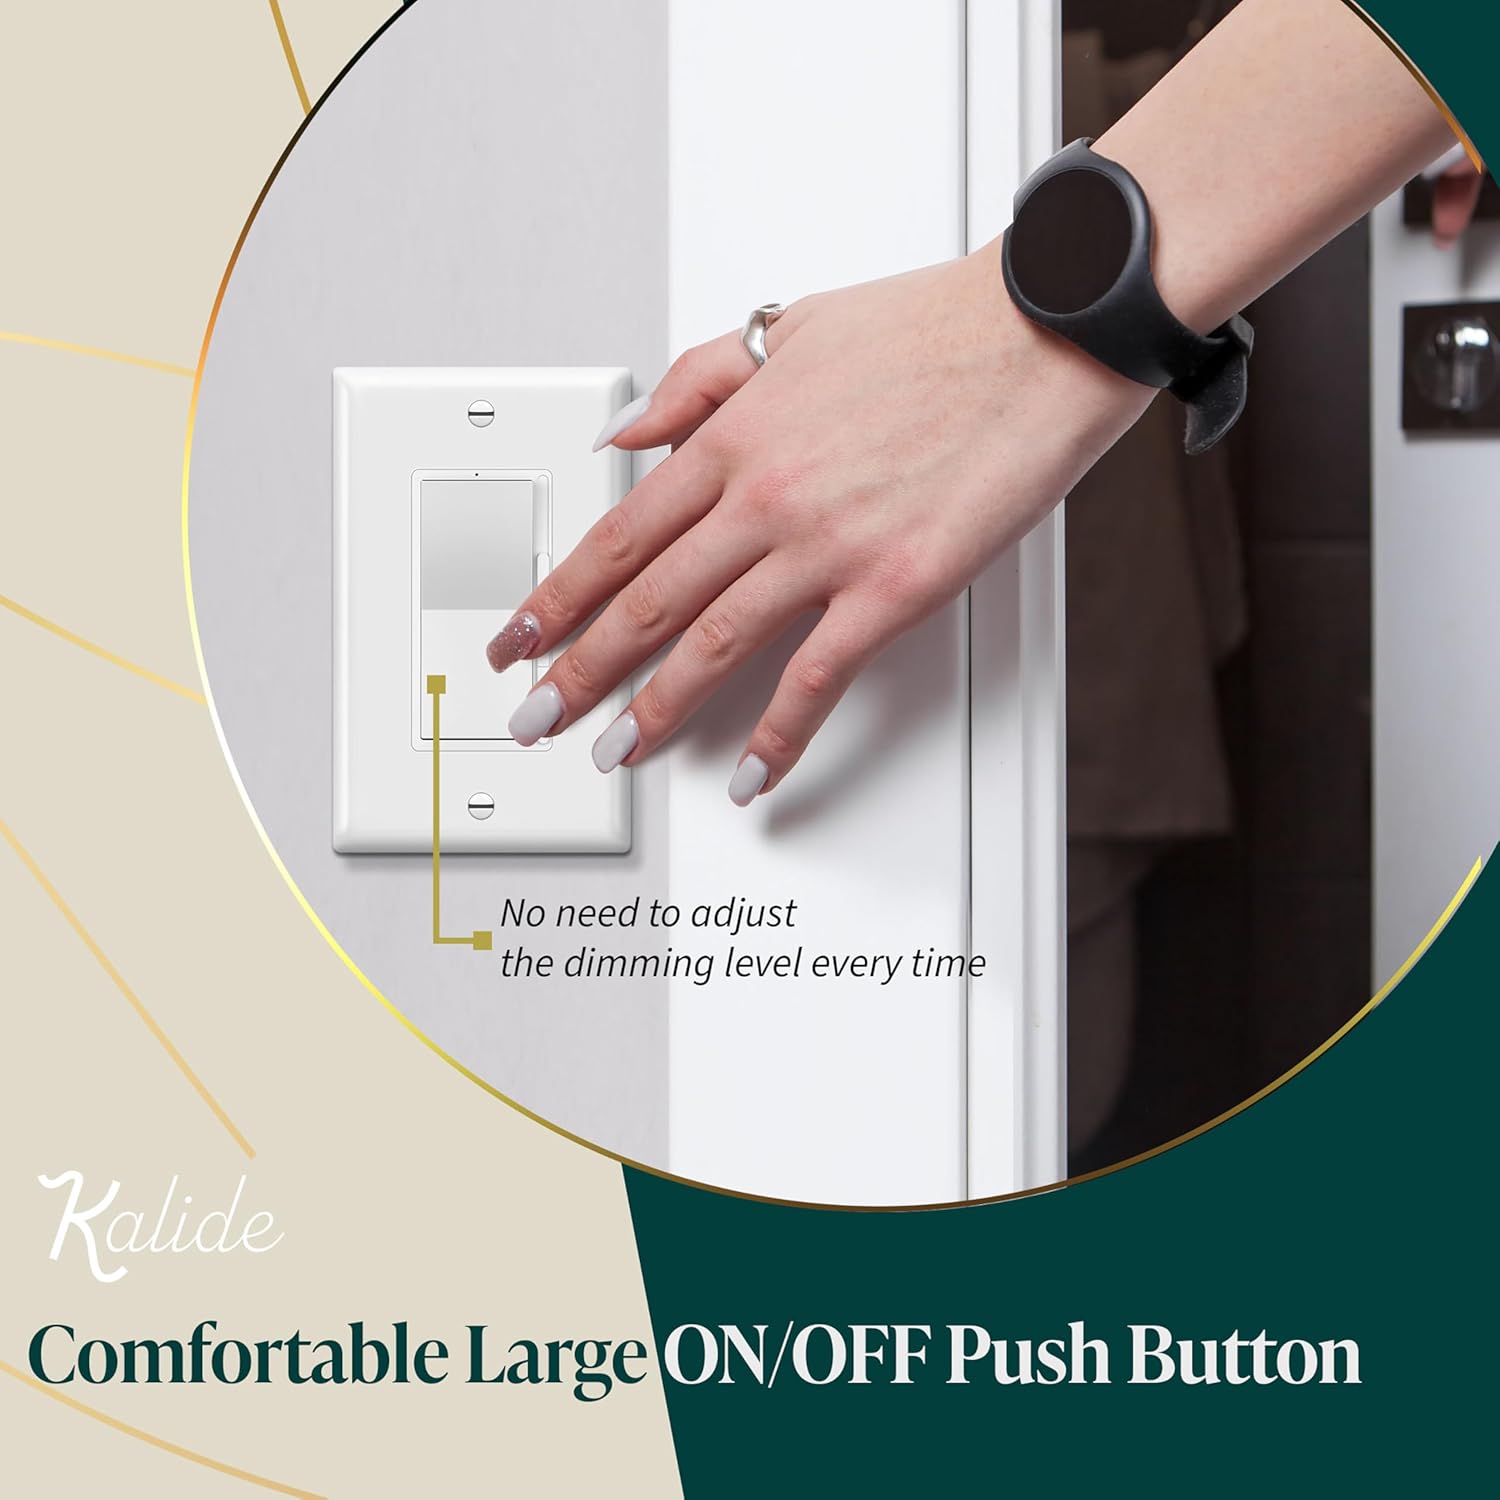
Image 6.1: The large paddle provides comfortable ON/OFF control.
6.2 Ovládání stmívání
Use the small slider on the side of the paddle to adjust the brightness level. Slide it up for brighter light and down for dimmer light. The dimmer features a memory function, returning to the last set dim level when turned on.
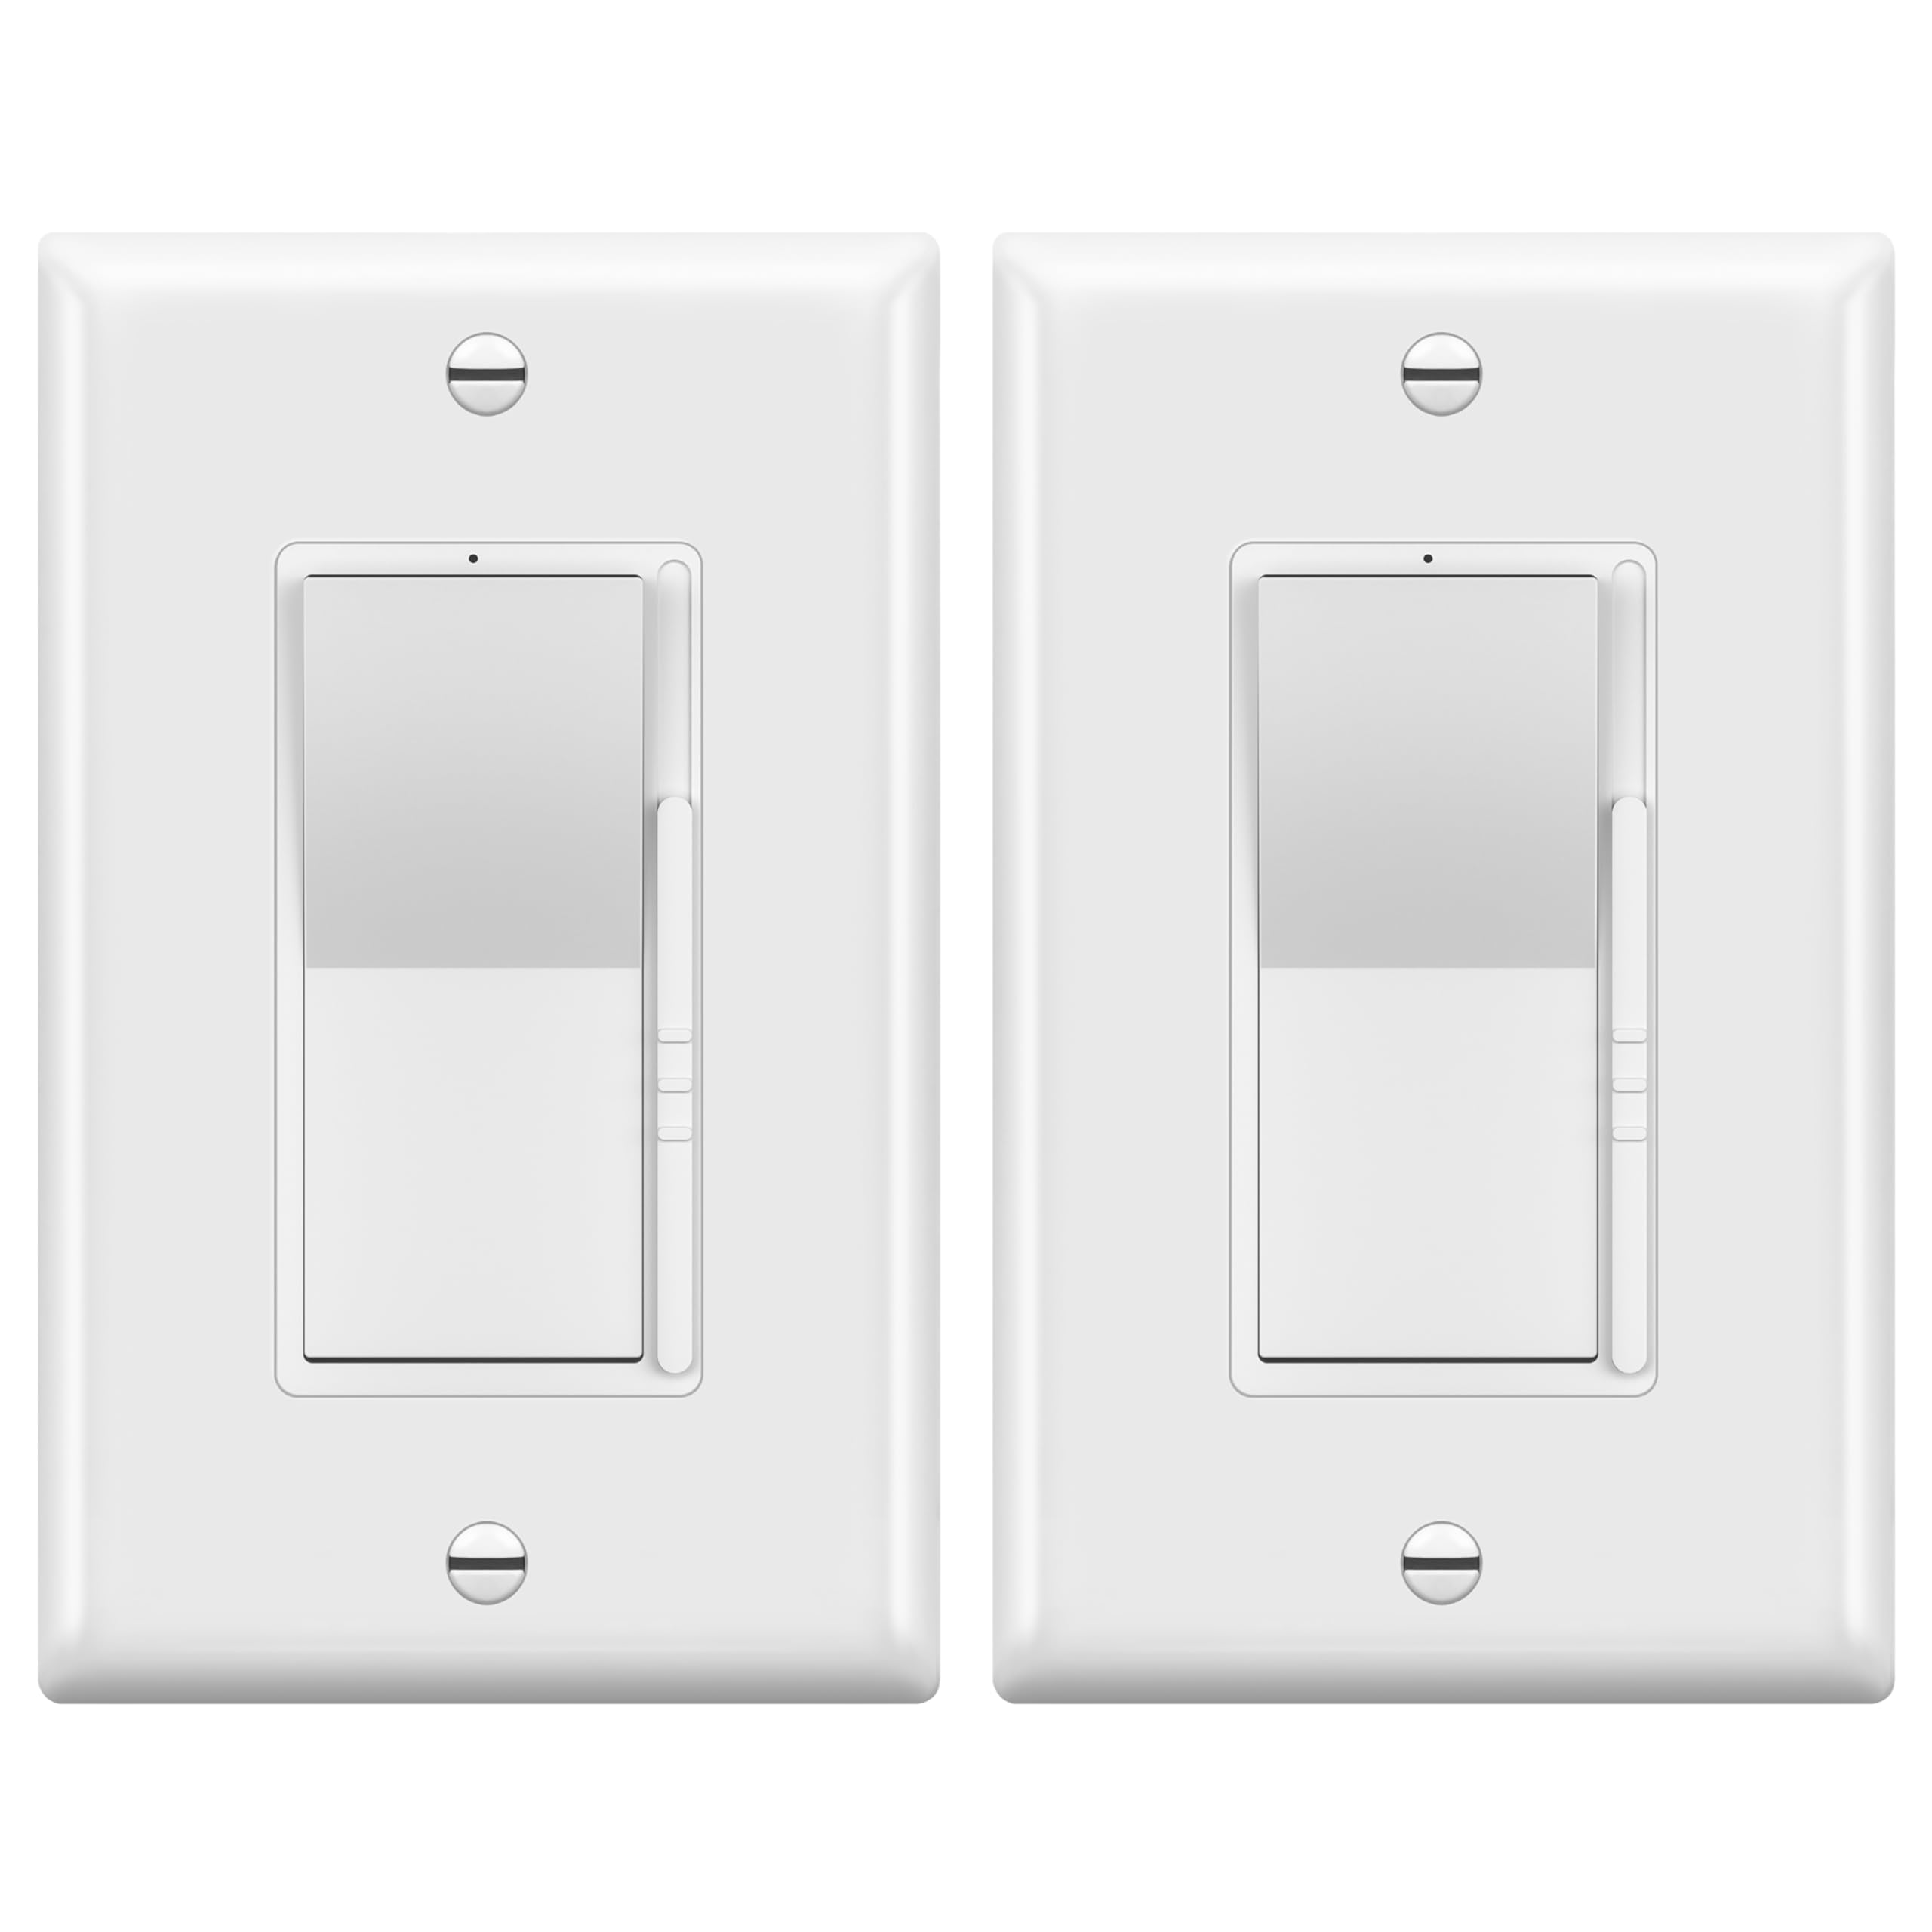
Image 6.2: Adjusting the light intensity using the smooth slider on the dimmer switch.
6.3 Locator Light
The dimmer includes an optional red locator light. By factory setting, this light is ON when the main light is switched OFF, making it easy to locate the switch in the dark. The locator light can be switched off if desired.
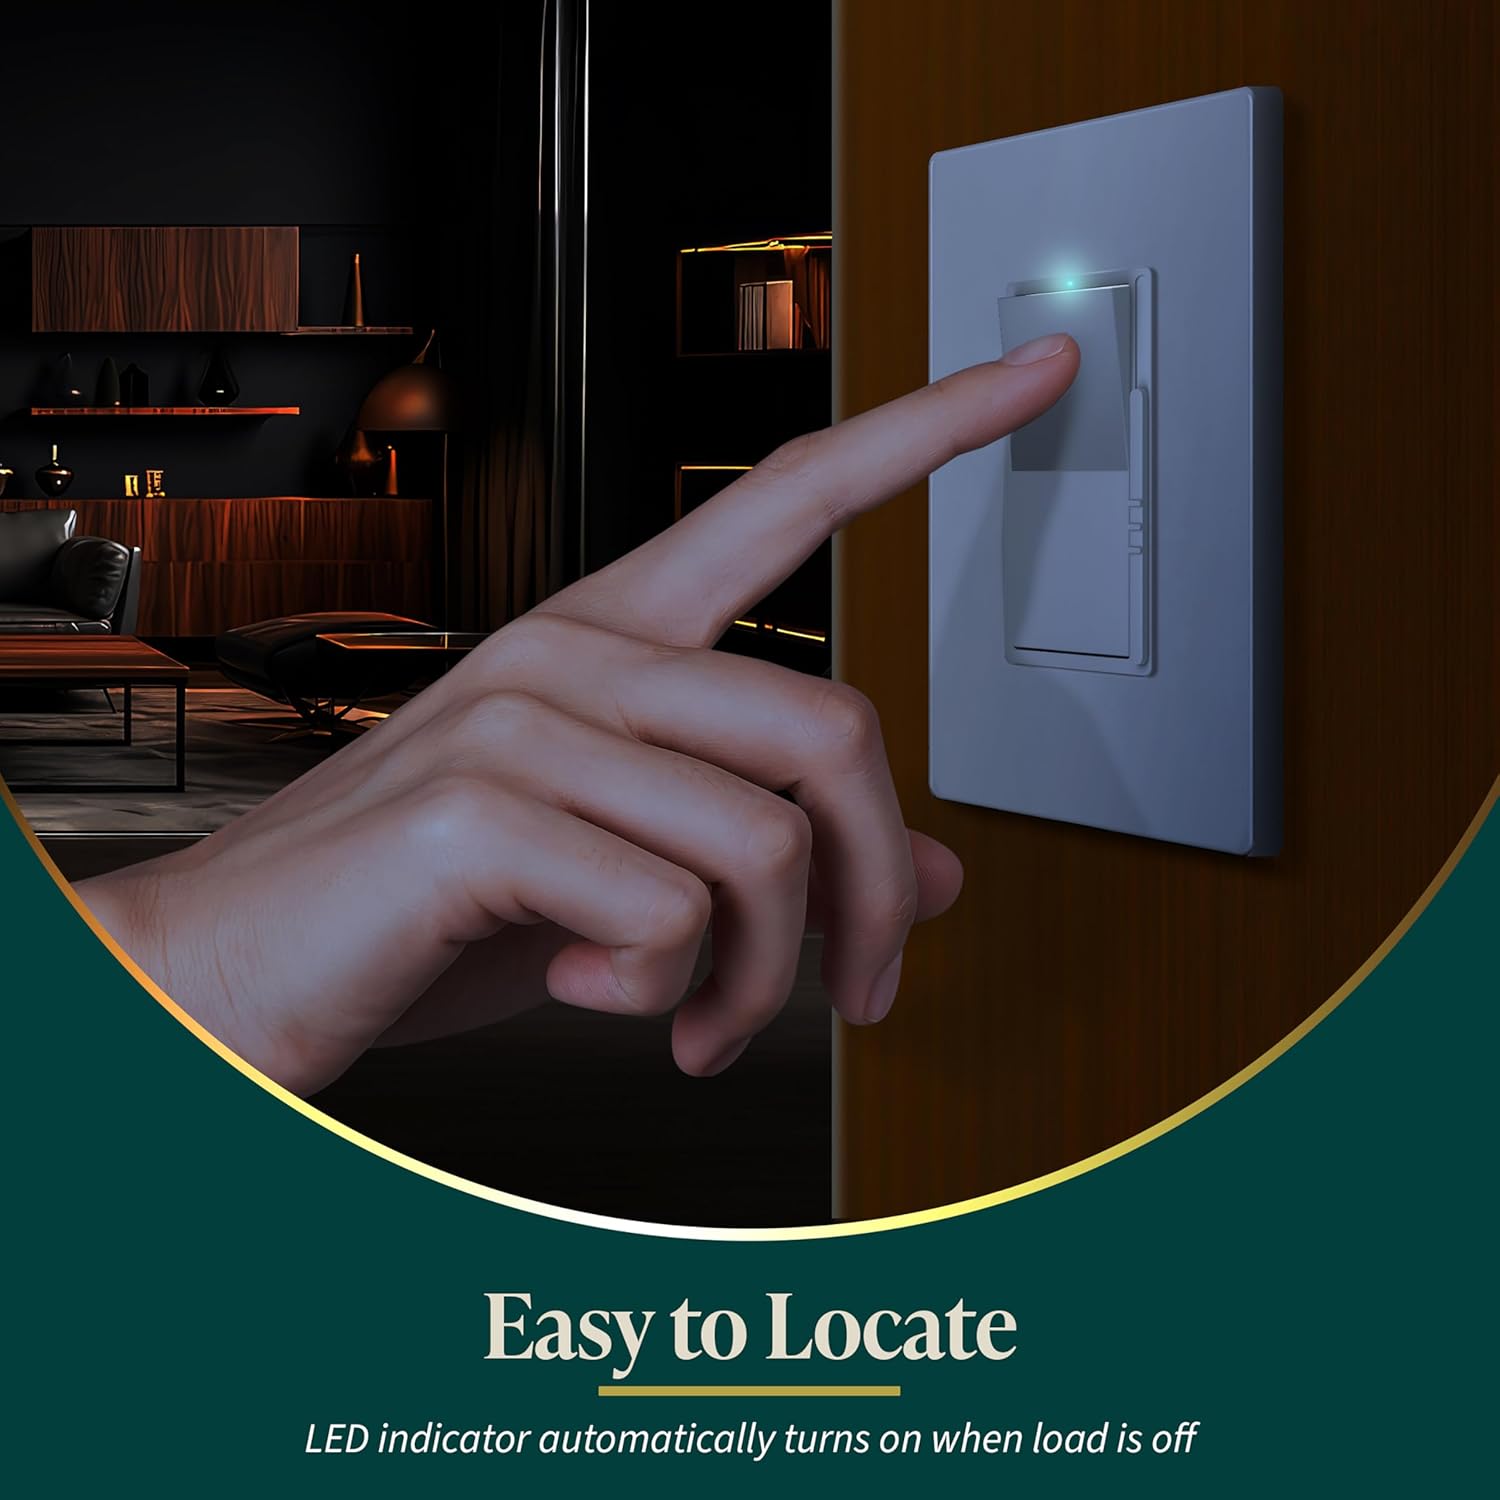
Image 6.3: The LED indicator light helps locate the switch in low light conditions.
7. Údržba
To clean the dimmer switch, ensure power is turned off at the circuit breaker. Wipe the surface with a soft, damp cloth. Do not use abrasive cleaners or solvents, as these may damage the polycarbonate material. The polycarbonate thermoplastic material provides durability and resistance to heat and fading.
8. Řešení problémů
8.1 Lights Flicker or Do Not Dim Properly
- Kompatibilita žárovek: Ensure all connected bulbs are explicitly labeled as "dimmable." Non-dimmable bulbs will not function correctly and may flicker or be damaged.
- Nastavení minimálního jasu: Adjust the minimum brightness slider (refer to Section 5.3) to optimize performance and eliminate flickering at low light levels.
- Typ zatížení: Verify the MODE switch (L for LED/INC, C for CFL) is set correctly for your bulb type.
- Wattage Overload: Confirm that the total wattage of connected bulbs does not exceed the dimmer's maximum rating (300W for LED/CFL, 600W for incandescent/halogen).
- Zapojení: Double-check all wiring connections for tightness and correctness. Loose connections can cause intermittent operation or flickering.
8.2 Lights Do Not Turn On/Off
- Napájení: Check the circuit breaker or fuse box to ensure power is supplied to the switch.
- Zapojení: Inspect all wiring connections to ensure they are secure and correctly installed.
- Funkce žárovky: Test the bulbs in another fixture to confirm they are working.
9. Záruka
This TOPGREENER Dimmer Light Switch comes with a 1-year warranty from the date of purchase. Please retain your proof of purchase for warranty claims. The warranty covers defects in materials and workmanship under normal use. It does not cover damage caused by improper installation, misuse, abuse, or unauthorized modifications.
10. Podpora
For further assistance, technical support, or warranty inquiries, please contact TOPGREENER customer service. Visit the official TOPGREENER webwebu nebo se podívejte na kontaktní informace uvedené na obalu produktu.