
Roxicosly CR1001E
Uživatelská příručka digitálního budíku Roxicosly
Model: CR1001E
1. Úvod
This manual provides detailed instructions for the setup, operation, and maintenance of your Roxicosly Digital Alarm Clock. Designed for ease of use, this alarm clock features a large LED display, dual alarms, adjustable brightness and volume, a USB charging port, and battery backup for convenience and reliability.
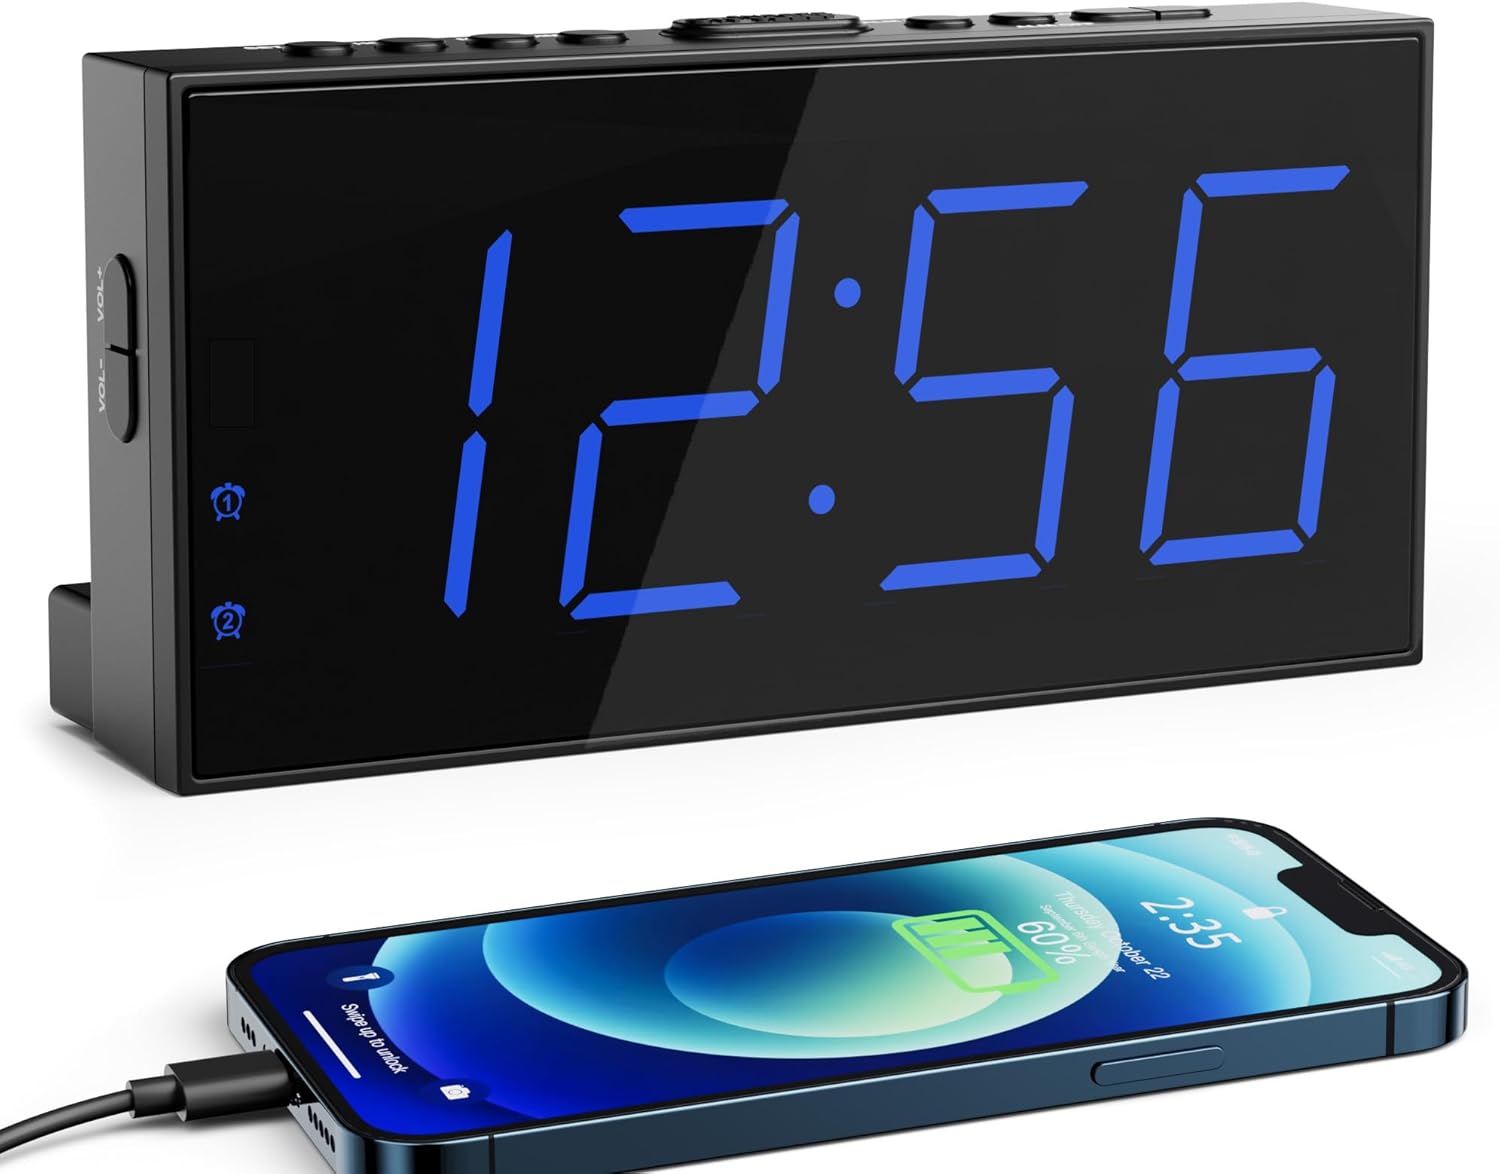
Image 1.1: The Roxicosly Digital Alarm Clock displaying time, with a smartphone connected for charging.
2. Vlastnosti produktu
- 7.5-inch Large LED Display: Provides clear visibility of time from a distance.
- 5-Level Adjustable Screen Brightness: Customize display intensity for day or night viewIng.
- Duální budíky: Set two independent wake-up times.
- 5-Level Adjustable Alarm Volume: Ensures effective waking for various sleep preferences.
- Funkce odložení buzení na 9 minut: Allows for a brief extension of sleep.
- USB nabíjecí port: Conveniently charge external devices (e.g., smartphones).
- 12/24H Format & DST Function: Switch between time formats and adjust for Daylight Saving Time.
- Napájení střídavým proudem se záložní baterií: Operates on AC power with AAA batteries (not included) to retain settings during power outages.
- Stable Standing Design: Includes two back holders for secure tabletop placement.
3. Pokyny k nastavení
3.1 Vybalení a komponenty
Opatrně vyjměte všechny součásti z obalu. Balení by mělo obsahovat:
- Roxicosly Digital Alarm Clock
- Zástrčka
- 1.5m napájecí kabel
- Two Back Holders
- Uživatelská příručka (tento dokument)

Image 3.1: Included components of the alarm clock package.
3.2 Připojení napájení
- Connect the provided power cable to the DC IN port on the back of the alarm clock.
- Plug the power adapter into a standard AC power outlet (100-240V). The clock display will illuminate.

Image 3.2: Connecting the alarm clock to AC power.
3.3 Instalace záložní baterie
For retaining time and alarm settings during power outages, install two AAA batteries (not included).
- Otevřete kryt přihrádky na baterie na zadní straně hodin.
- Vložte dvě 1.5V baterie AAA a dbejte na správnou polaritu (+ a -).
- Zavřete kryt prostoru pro baterie.
Poznámka: Batteries are for backup only; the clock requires AC power for normal operation and display illumination.

Image 3.3: Installing AAA batteries for backup.
3.4 Stable Placement
Insert the two provided back holders into the designated slots on the bottom rear of the clock for enhanced stability on flat surfaces.
4. Návod k obsluze
4.1 Nastavení času
- Stiskněte a podržte NASTAVTE ČAS tlačítko, dokud nezačnou blikat číslice hodin.
- Použijte HODINA a MIN buttons to adjust the hour and minute respectively.
- Stiskněte NASTAVTE ČAS znovu pro potvrzení a ukončení režimu nastavení času.
4.2 12/24 Hour Format and DST
To switch between 12-hour and 24-hour time formats, or to activate/deactivate Daylight Saving Time (DST):
- Stiskněte tlačítko 12/24H & DST button. Each press will cycle through 12H, 24H, and DST modes.
- In 12H format, a 'PM' indicator will appear for afternoon hours.
- When DST is active, a 'DST' indicator will be displayed, and the time will adjust by one hour.

Image 4.1: 12/24H and DST function button.
4.3 Nastavení jasu displeje
The clock features 5 levels of display brightness. To adjust:
- Stiskněte tlačítko DIMMER button repeatedly to cycle through the 5 brightness levels (from brightest to darkest, then off).
- Select the desired brightness level for comfortable viewIng.
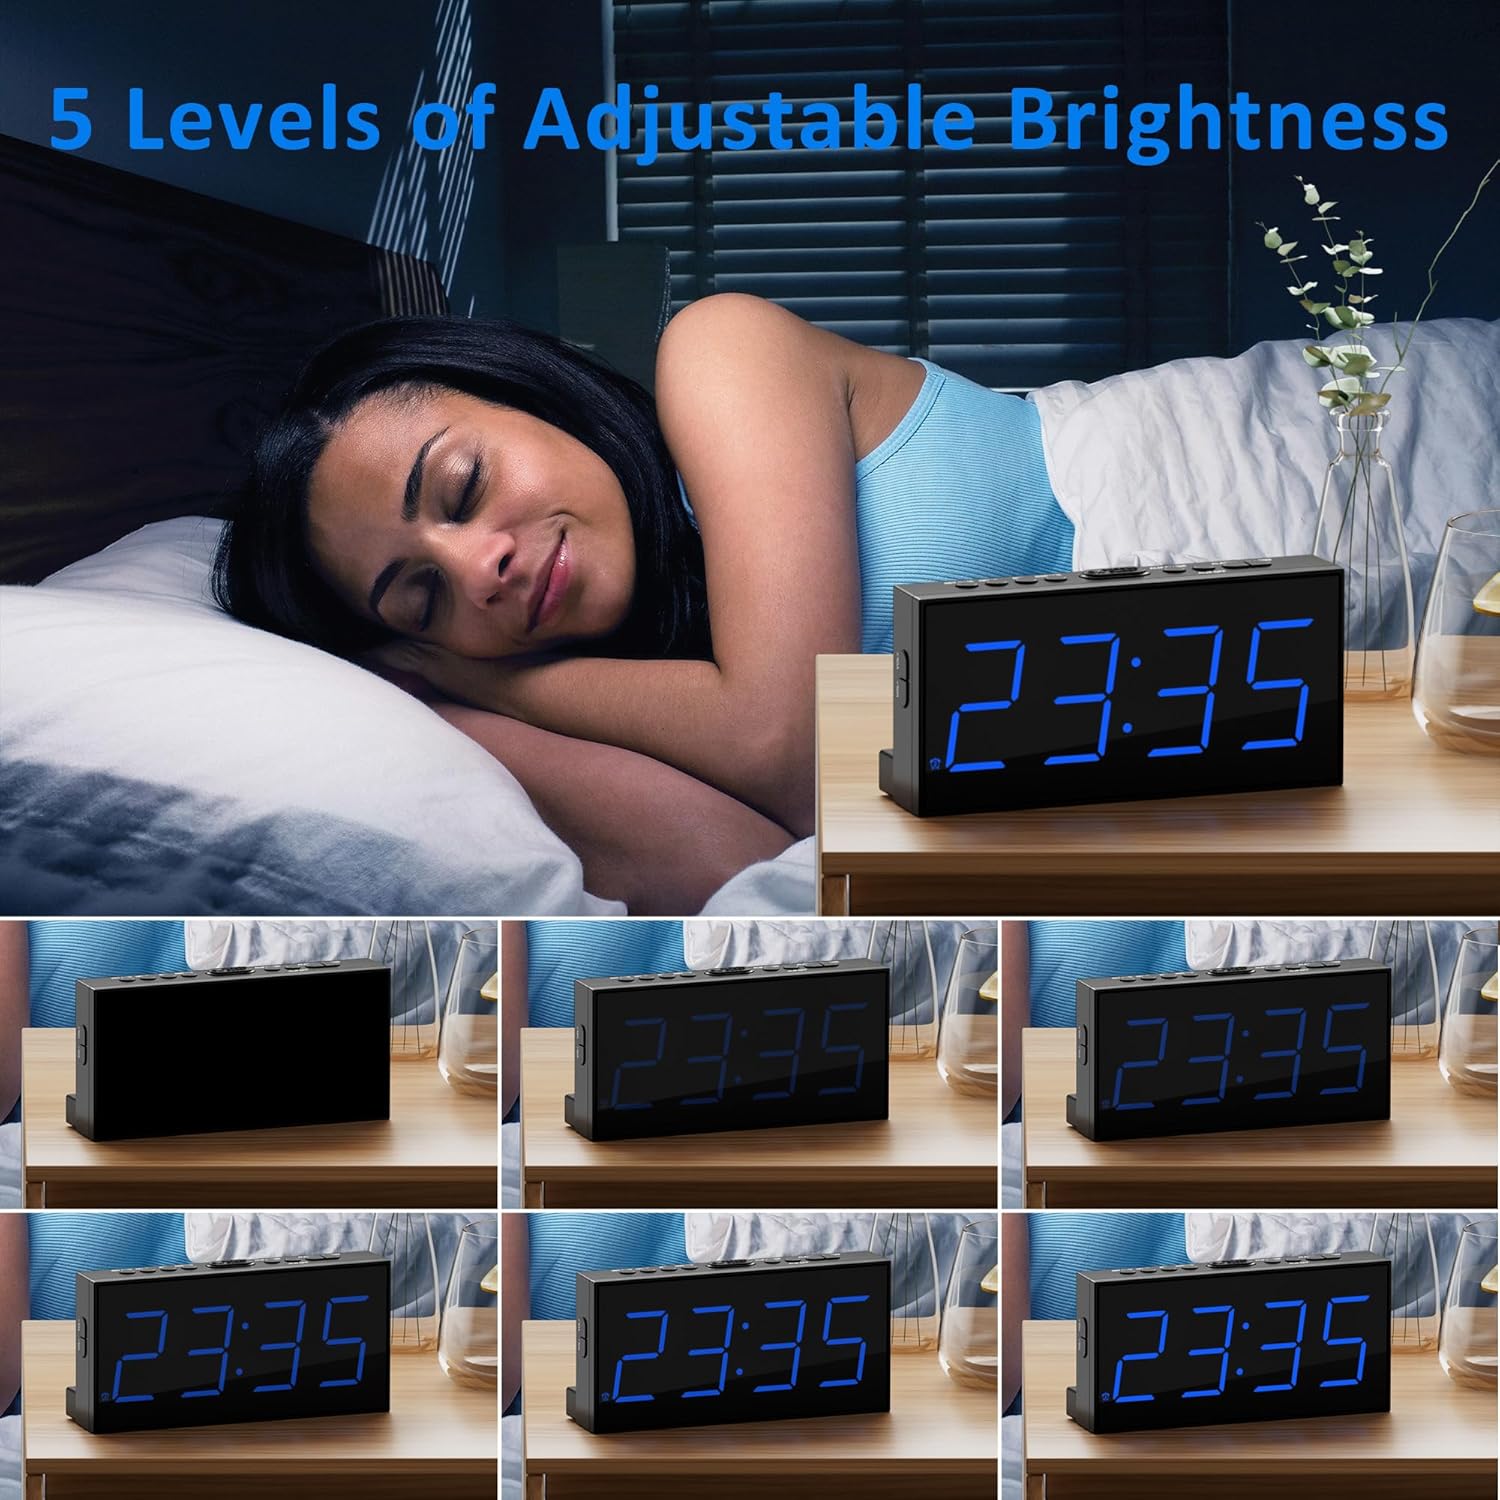
Obrázek 4.2: Příkladamples of the 5 adjustable brightness levels.
4.4 Nastavení alarmů (Alarm 1 a Alarm 2)
The clock allows you to set two independent alarms.
- Stiskněte tlačítko POPLACH 1 or POPLACH 2 jednou stiskněte tlačítko pro zobrazení aktuálního času budíku.
- Stiskněte a podržte příslušné tlačítko POPLACH tlačítko, dokud nezačnou blikat číslice hodin.
- Použijte HODINA a MIN tlačítky nastavte požadovaný čas budíku.
- Stiskněte tlačítko POPLACH button again to confirm and activate the alarm. The corresponding alarm icon (1 or 2) will appear on the display.
- To deactivate an alarm, press the respective POPLACH tlačítko, dokud ikona budíku nezmizí.

Image 4.3: Dual alarm functionality.
4.5 Funkce odložení
Když zazní alarm, stiskněte velké PODŘIMOVAT button located on top of the clock to temporarily silence the alarm for 9 minutes. The alarm will sound again after 9 minutes.
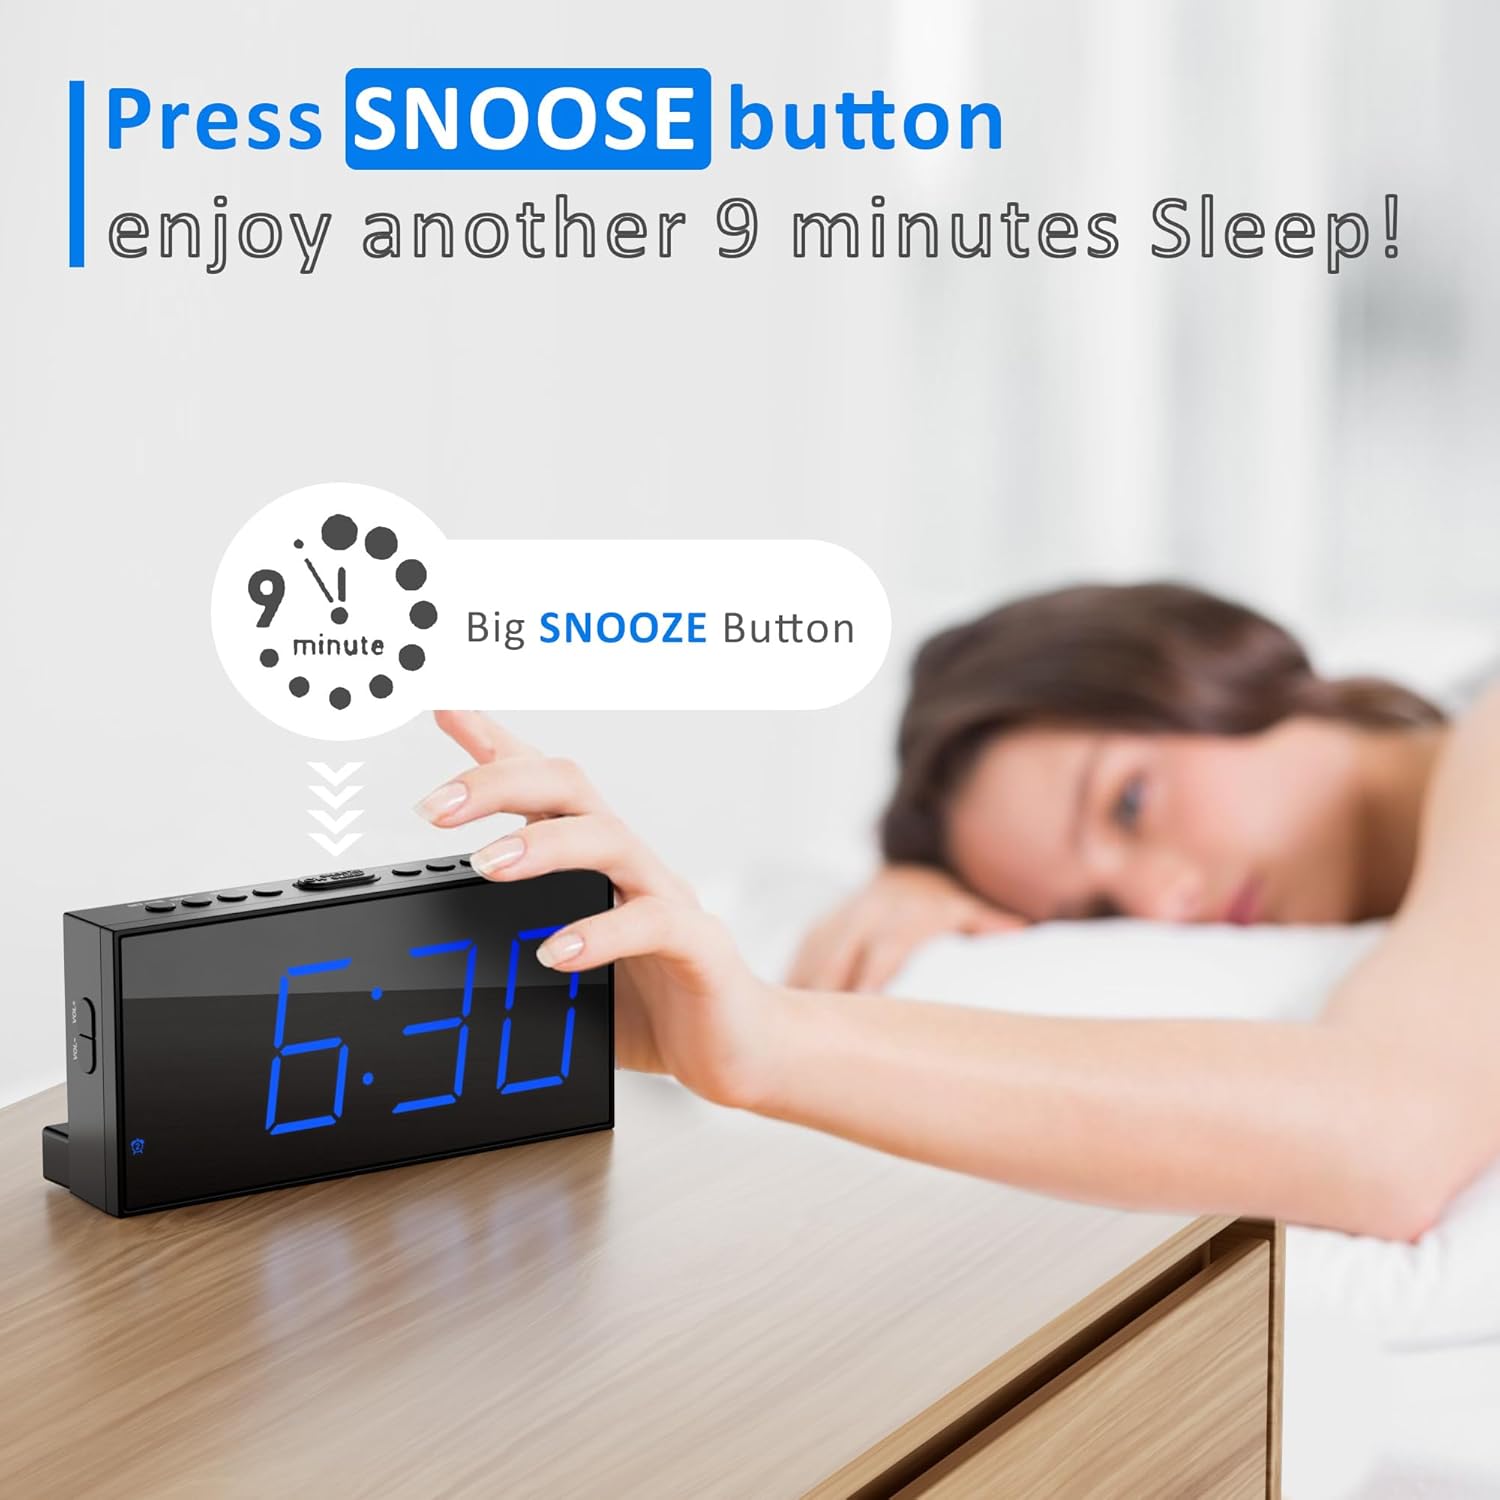
Image 4.4: Using the snooze button.
4.6 Nastavení hlasitosti alarmu
The alarm volume can be adjusted to 5 different levels.
- During an alarm, or while setting an alarm, use the VOL+ or VOL- buttons on the side of the clock to increase or decrease the volume.
- The current volume level will be indicated on the display.

Image 4.5: Volume adjustment buttons and range.
4.7 USB nabíjecí port
A USB charging port is located on the back of the clock. Connect your smartphone or other USB-powered device to this port using a compatible USB cable for charging.

Image 4.6: Using the USB charging port.
5. Údržba
5.1 Čištění
Chcete-li budík vyčistit, jemně otřete jeho povrch měkkým, suchým hadříkem. Nepoužívejte abrazivní čisticí prostředky, rozpouštědla ani agresivní chemikálie, protože by mohly poškodit povrchovou úpravu nebo elektronické součástky.
5.2 Výměna baterie
If the clock loses its time or alarm settings after a power interruption, the AAA backup batteries may need to be replaced. Follow the steps in Section 3.3 to replace the batteries.
6. Řešení problémů
- Display is blank or very dim:
Ensure the clock is properly connected to AC power. Check the brightness level using the DIMMER button; it might be set to the lowest or off setting. - Time or alarm settings are lost after a power outage:
Verify that two fresh AAA batteries are correctly installed in the battery backup compartment. The batteries are essential for retaining settings during power interruptions. - Alarm is not sounding or is too quiet:
Ensure the alarm is activated (the alarm icon should be visible on the display). Adjust the alarm volume using the VOL+ tlačítko. - Nabíjecí port USB nefunguje:
Ensure the clock is connected to AC power, as the USB charging function requires main power. Check the USB cable for damage and ensure it is properly connected to both the clock and your device. - Clock is unstable on a surface:
Ensure the two back holders are correctly inserted into their slots on the bottom rear of the clock.
7. Specifikace
| Funkce | Detail |
|---|---|
| Značka | Roxikoticky |
| Model | CR1001E |
| Typ zobrazení | LED |
| Velikost displeje | 7.5 palců |
| Zdroj napájení | Elektrické s kabelem (AC 100-240 V) |
| Zálohování baterie | 2 x AAA baterie (nejsou součástí balení) |
| Speciální funkce | 12/24H&DST, 5-level Screen Brightness, Dual Alarms & 5-level Volume, USB Charging Port |
| Typ montáže | Stolní deska |
| Rozměry produktu | 17.32 x 3.81 x 8.61 cm |
| Hmotnost položky | 170 g |
| Typ materiálu | Plast |
8. Záruka a podpora
For warranty information or technical support, please refer to the contact details provided with your purchase or visit the official Roxicosly webUschovejte si účtenku jako doklad o koupi pro případné reklamace.
Ask a question about this manual
Ask about setup, troubleshooting, compatibility, parts, safety, or missing instructions. Manuals+ will review the question and use this page’s manual context to help answer it.