
HEIMAN HHJHA9
Uživatelská příručka detektoru oxidu uhelnatého s certifikací HEIMAN EN 50291
Brand: HEIMAN | Model: HHJHA9
1. Úvod
Thank you for choosing the HEIMAN EN 50291 Certified Carbon Monoxide Detector. This device is designed to provide early warning of carbon monoxide (CO) gas in your home, helping to protect you and your family from this colorless, odorless, and tasteless toxic gas. This manual provides essential information for the proper installation, operation, and maintenance of your CO detector. Please read it thoroughly before use and retain it for future reference.

Image: The HEIMAN Carbon Monoxide Detector protecting a family, highlighting its 10-year sensor, 85 dB alarm, fire resistance, replaceable battery, and low battery warning.
2. Bezpečnostní informace a varování
DŮLEŽITÉ: This carbon monoxide alarm is designed to detect carbon monoxide gas from any source of combustion. It is NOT designed to detect smoke, fire, or any other gas. This device is not a substitute for a smoke alarm.
- Otrava oxidem uhelnatým: CO is a highly toxic gas that can be fatal. Symptoms of CO poisoning include headache, dizziness, nausea, vomiting, and fatigue. Prolonged exposure can lead to unconsciousness and death.
- Odezva na poplach: If the alarm sounds, immediately move to fresh air outdoors or open all doors and windows to ventilate the area. Call emergency services if symptoms persist. Do not re-enter the premises until the CO source has been identified and corrected, and the area has been thoroughly ventilated.
- Umístění: Install the detector in accordance with this manual. Do not paint the detector.
- Bezpečnost baterie: Use only the specified battery type. Do not mix old and new batteries. Dispose of batteries properly.
- Pravidelné testování: Alarm testujte každý týden, abyste zajistili správnou funkci.
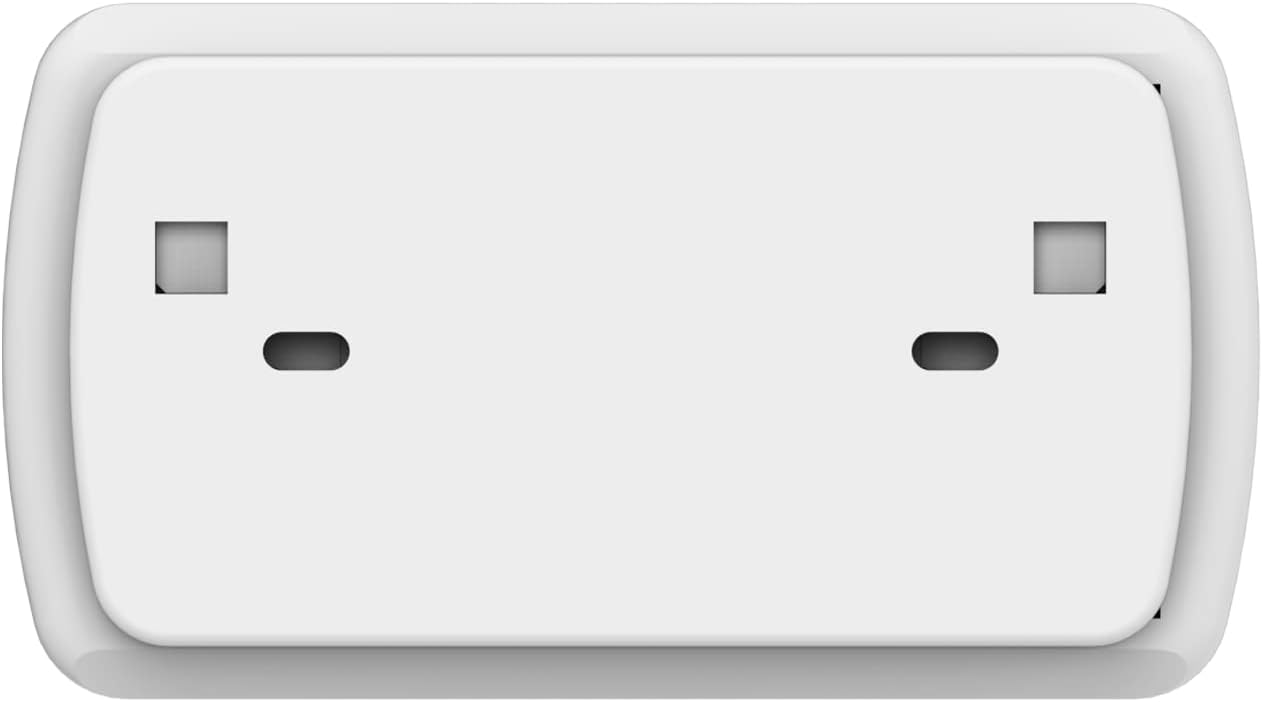
Image: Illustration of common sources of carbon monoxide, including car exhaust, burning charcoal, coal, and natural gas, emphasizing the danger of CO poisoning.
3. Obsah balení
Po otevření zkontrolujte obsah balení:
- 1 x HEIMAN Carbon Monoxide Detector (Model HHJHA9)
- 2 x AA 1.5V Batteries (may not be included, check product description)
- 1 x montážní držák
- 2 x šrouby
- 2 x hmoždinky
- 1 x Uživatelská příručka
4. Konec produktuview
Familiarize yourself with the components of your HEIMAN Carbon Monoxide Detector:

Obrázek: Podrobný view of the detector's front panel, indicating the LED indicators (Power, Alarm, Fault), the Test/Hush button, and the horn/speaker grille.
- LED indikátory:
- Green (POWER): Označuje normální provoz.
- Red (ALARM): Indicates a CO alarm condition.
- Yellow (FAULT): Signalizuje poruchu nebo nízký stav baterie.
- Test/Hush Button: Used to test the alarm and silence it during an alarm condition (if CO levels drop).
- Roh: Vydává zvukový alarm.
- Senzor: Electrochemical CO sensor (located internally).

Obrázek: Přední a boční views of the detector with dimensions (120.0mm length, 75.0mm width, 45.0mm height) and a note about replaceable AA batteries with a 5-year battery life.
5. Nastavení a instalace
5.1 Instalace baterie
- Remove the mounting bracket from the back of the detector by twisting it counter-clockwise.
- Otevřete kryt bateriového prostoru.
- Insert two (2) AA 1.5V batteries, ensuring correct polarity (+ and -). The detector will emit a short beep and the green LED will flash, indicating it is powering on.
- Zavřete kryt prostoru pro baterie.
5.2 Výběr umístění
For optimal protection, it is recommended to install CO alarms in or near sleeping areas and on every level of your home. Consider the following:
- Install at least 1.5 meters (5 feet) from any fuel-burning appliance.
- Avoid dead air spaces, such as the peak of a vaulted ceiling or corners where air circulation is poor.
- Do not install in direct sunlight, near vents, fans, or in areas with extreme temperatures or humidity.
- For wall mounting, the ideal height is at eye level or higher, but at least 15 cm (6 inches) from the ceiling.

Image: An illustrative diagram of a house, indicating optimal placement locations for carbon monoxide detectors on various levels and near sleeping areas.
5.3 Montáž detektoru
- Once you have chosen a suitable location, mark the positions for the two mounting holes using the mounting bracket as a template.
- Drill two holes at the marked positions. Insert the wall plugs into the drilled holes.
- Připevněte montážní držák ke zdi pomocí dodaných šroubů.
- Zarovnejte detektor s montážním držákem a otáčejte jím ve směru hodinových ručiček, dokud bezpečně nezacvakne na místo.
- Perform a test of the alarm after installation (see Section 6.3).

Image: The HEIMAN Carbon Monoxide Detector securely mounted on a wall, demonstrating its discreet and effective placement.
6. Obsluha detektoru
6.1 Zapnutí a autotest
After battery installation, the detector will perform an initial self-test. The green, red, and yellow LEDs will flash sequentially, and the horn will beep briefly. This indicates the unit is functioning correctly and entering normal monitoring mode.
6.2 LED Indicators and Status
| Barva LED | Postavení | Popis |
|---|---|---|
| Green (POWER) | Bliká každých 30 sekund | Normal operation, unit is monitoring CO levels. |
| Red (ALARM) | Flashes rapidly with loud beeps | Carbon Monoxide detected. Evacuate immediately. |
| Yellow (FAULT) | Flashes every 30 seconds with a single beep | Low battery warning. Replace batteries immediately. |
| Yellow (FAULT) | Flashes continuously with multiple beeps | Sensor fault or end-of-life. Replace the unit. |

Obrázek: Detailní záběr view of the detector's LED indicators (Power, Alarm, Fault), showing their positions for easy identification of the device's status.
6.3 Alarm Levels and Response Times (EN 50291 Standard)
The alarm will sound according to the following CO concentration levels and exposure times:
- 30 str./min: Budík po 120 minutách
- 50 str./min: Alarm within 60 to 90 minutes
- 100 str./min: Alarm within 10 to 40 minutes
- 300 str./min: Alarm do 3 minut
The alarm will automatically reset when the CO level returns to a safe concentration.
6.4 Test/Hush Button Function
- Testovat: In normal standby mode, press and hold the Test/Hush button for approximately 3 seconds. The alarm will sound, and all LEDs will flash, indicating the unit is functioning correctly. Release the button to stop the test.
- To Hush (Silence): If the alarm is sounding due to a CO detection, pressing the Test/Hush button will temporarily silence the alarm for a few minutes. This feature is only active if the CO concentration has dropped to a safe level. If CO levels remain high, the alarm will reactivate.
7. Údržba
7.1 Pravidelné testování
Test your CO detector weekly by pressing the Test/Hush button. This ensures the alarm and internal circuitry are working correctly.
7.2 Výměna baterie
When the yellow FAULT LED flashes every 30 seconds accompanied by a single beep, it indicates a low battery. Replace the batteries immediately with two new AA 1.5V alkaline batteries. Follow the battery installation steps in Section 5.1.
7.3 Čištění detektoru
Clean the detector regularly (at least once a month) to prevent dust and debris from interfering with its operation.
- Použijte měkký, damp cloth to wipe the exterior of the alarm.
- Do NOT use cleaning solvents or chemicals, as they may damage the sensor or plastic casing.
- Do NOT paint the detector.
- Do NOT disassemble the unit.
8. Řešení problémů
| Problém | Možná příčina | Řešení |
|---|---|---|
| Alarm sounds intermittently or continuously. | CO detected. | Evacuate immediately. Ventilate the area. Call emergency services if symptoms persist. Do not re-enter until safe. |
| Yellow LED flashes with single beep every 30 seconds. | Slabá baterie. | Replace both AA 1.5V batteries immediately. |
| Yellow LED flashes continuously with multiple beeps. | Sensor fault or end-of-life. | The detector has reached its end of life (approximately 10 years) or has a sensor malfunction. Replace the entire unit. |
| Během testu se nespustí alarm. | Žádné napájení (vybité baterie), vadná jednotka. | Check battery installation and replace if necessary. If still no response, the unit may be faulty and needs replacement. |
| Falešné poplachy. | Improper placement (near vents, high humidity, strong fumes), dust/debris. | Relocate the detector to a more suitable area. Clean the detector as per maintenance instructions. |
9. Specifikace
| Funkce | Detail |
|---|---|
| Číslo modelu | HHJHA9 |
| Typ snímače | Elektrochemické |
| Zdroj napájení | 2 baterie AA 1.5 V |
| Životnost baterie | Až 5 roky (typicky) |
| Životnost senzoru | 10 roky |
| Hlasitost alarmu | 85 dB ve vzdálenosti 3 metrů (10 stop) |
| Provozní teplota | 0 °C až 40 °C (32 °F až 104 °F) |
| Provozní vlhkost | ≤ 95 % RH (nekondenzující) |
| Rozměry (D x Š x V) | 11 x 6 x 3 cm (4.33 x 2.36 x 1.18 palce) |
| Hmotnost | 155 gramů (0.34 lb) |
| Osvědčení | EN 50291 |
10. Záruka a zákaznická podpora
HEIMAN products are designed and manufactured to the highest quality standards. This product comes with a standard manufacturer's warranty against defects in materials and workmanship. Please refer to the warranty card included in your package for specific terms and conditions.
For technical support, troubleshooting assistance, or warranty claims, please contact HEIMAN customer service through the retailer where you purchased the product or visit the official HEIMAN webstránky pro kontaktní informace.
Webmísto: www.heimantech.com (Napřample link, verify official website if possible)
Ask a question about this manual
Ask about setup, troubleshooting, compatibility, parts, safety, or missing instructions. Manuals+ will review the question and use this page’s manual context to help answer it.