Everycom X10
Everycom X10 Projector User Manual
Model: X10
1. Úvod
Děkuji za nákupasing the Everycom X10 Home & Business Native Full HD 1080p LED Projector. This projector is designed to provide a superior viewing experience with its impressive native resolution of 1920 x 1080, 5500 Lumens of brightness, and a high contrast ratio of 5000:1. This manual provides detailed instructions for setting up, operating, and maintaining your projector to ensure optimal performance and longevity. Please read this manual thoroughly before using the product and keep it for future reference.
2. Bezpečnostní informace
To prevent fire or electric shock, do not expose this appliance to rain or moisture. To avoid electric shock, do not open the cabinet. Refer servicing to qualified personnel only.
- Nezakrývejte ventilační otvory.
- Používejte pouze nástavce/příslušenství specifikované výrobcem.
- Odpojte tento přístroj během bouřky s blesky nebo pokud jej nebudete delší dobu používat.
- Chraňte napájecí kabel před šlapáním nebo přiskřípnutím, zejména u zástrček, zásuvek a v místě, kde vychází z přístroje.
- Nedívejte se přímo do objektivu projektoru, když je zapnutýamp je zapnuto.
- Ensure the projector is placed on a stable, level surface.
3. Co je v krabici
Zkontrolujte prosím, zda jsou v balení obsaženy všechny následující položky:
- Everycom X10 Projector
- Dálkové ovládání
- Uživatelská příručka
- AV kabel
- HDMI kabel
- Napájecí kabel
4. Konec produktuview
4.1 Přední View
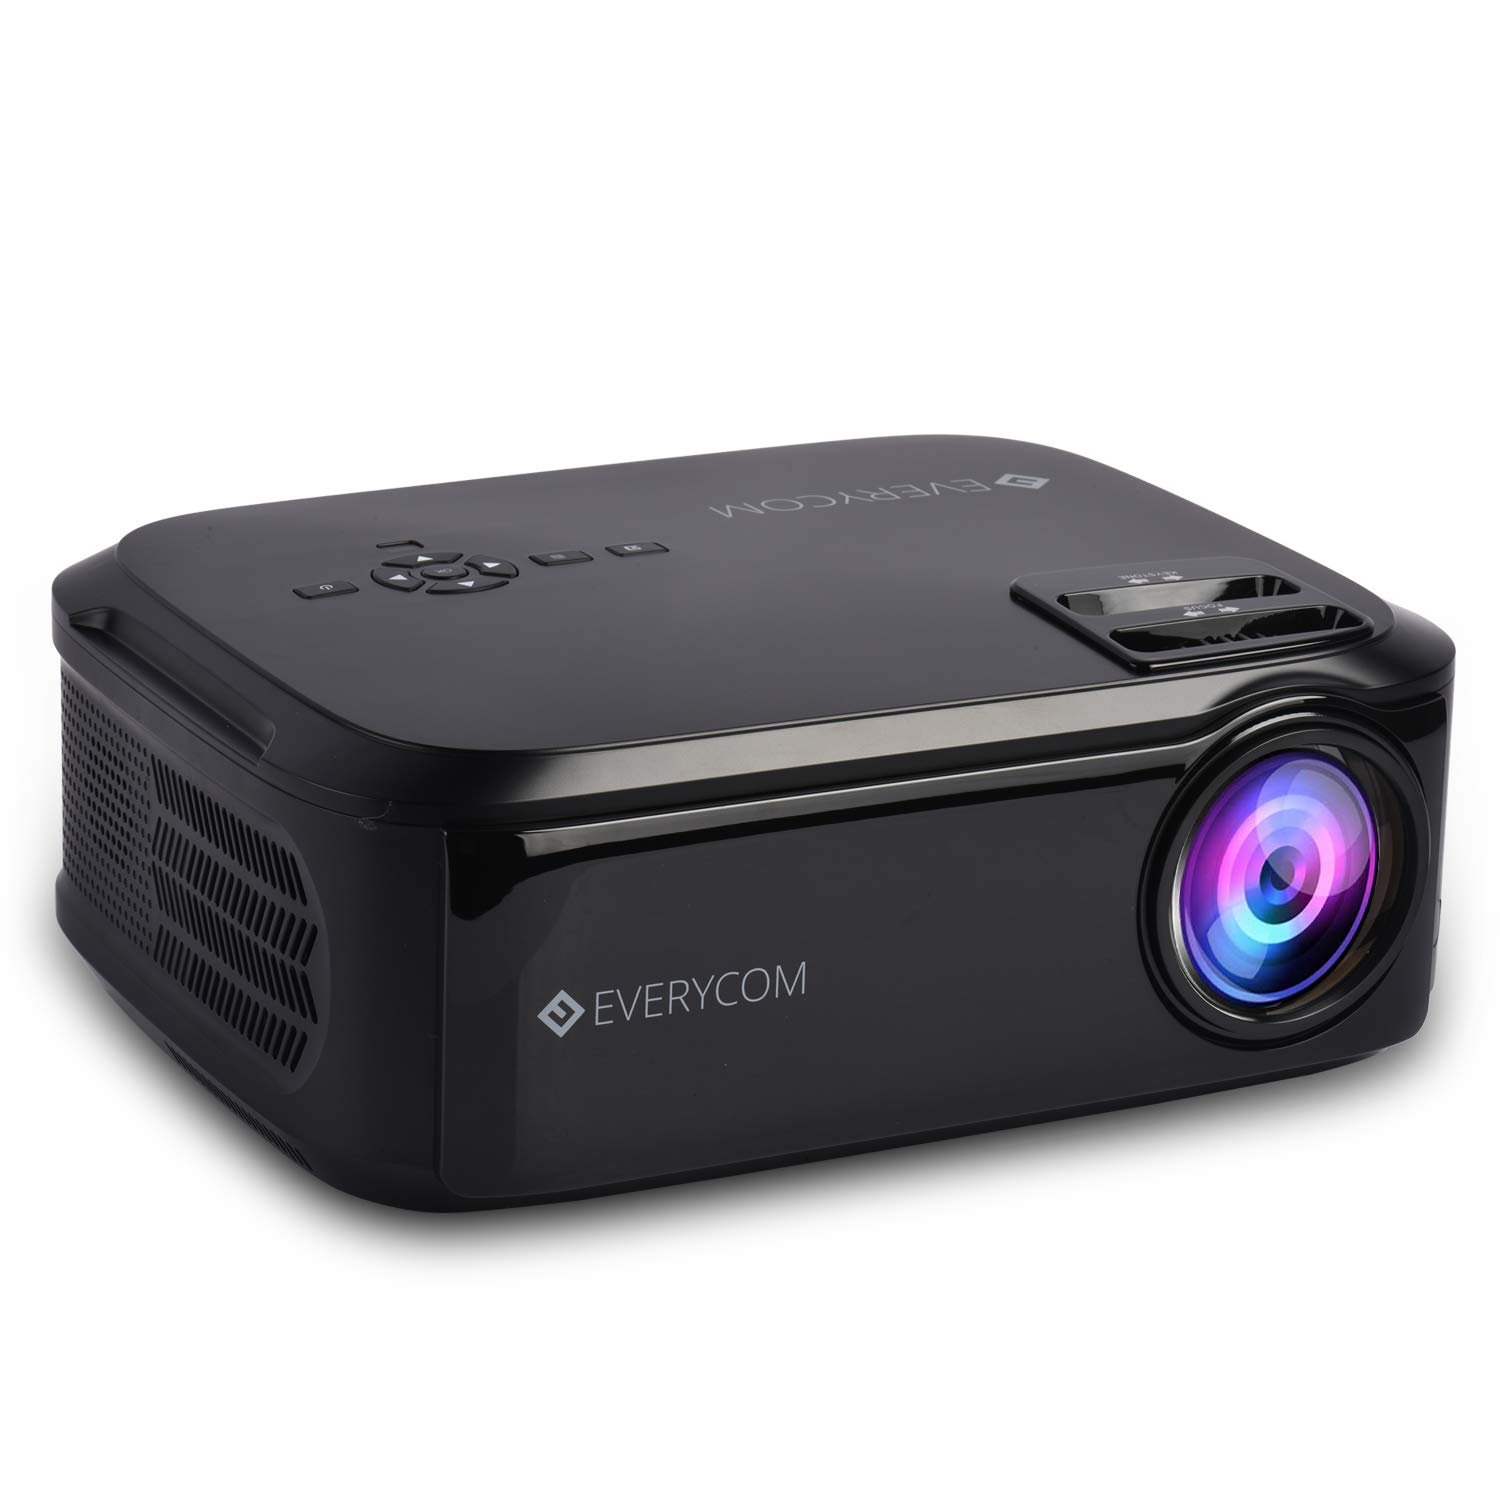
This image displays the front of the Everycom X10 projector, highlighting the main lens and the sleek black casing. The lens is the primary component for projecting images onto a screen or wall.
4.2 Strana View (Porty)

This image shows the side of the Everycom X10 projector, featuring the various input and output ports. These include two HDMI inputs, two USB inputs, and a VGA port, allowing for versatile connectivity with different devices.
4.3 Nahoru View (Řízení)

Vrchol view of the Everycom X10 projector displays the integrated control panel and the focus and keystone adjustment dials. The control panel allows for basic navigation and settings adjustments directly on the unit, while the dials are used to fine-tune image clarity and shape.
4.4 Spodní View

This image shows the bottom of the Everycom X10 projector, revealing the product label with model information, serial number, and certification marks. It also shows the adjustable feet for leveling and mounting points.
5. Nastavení
5.1 Umístění
Place the projector on a stable, flat surface. Ensure there is adequate ventilation around the projector to prevent overheating. The projection distance can range from 1.6m to 7.1m to achieve a screen size of 45" to 200".
5.2 Připojení napájení
- Připojte napájecí kabel ke vstupnímu portu projektoru.
- Zapojte druhý konec napájecího kabelu do elektrické zásuvky.
5.3 Připojení vstupních zařízení
The Everycom X10 supports multiple input sources:
- HDMI: Connect your PC, laptop, gaming console, Amazon Fire TV, or Chromecast using an HDMI cable to one of the two HDMI ports.
- USB: Insert a USB stick or connect a media player to one of the two USB ports.
- VGA: Starší počítače nebo notebooky připojte pomocí VGA kabelu.
- AV: Use the provided AV cable to connect DVD players or other devices with AV output.
5.4 Zaostření a korekce lichoběžníkového zkreslení
- Soustředit: Rotate the focus ring on the top of the projector until the projected image is clear and sharp.
- Základní kameny: Use the keystone correction dial (vertical ±15 degrees) to adjust the image shape if it appears trapezoidal. This ensures the projected image is rectangular.
6. Návod k obsluze
6.1 Zapnutí/vypnutí
- Zapnutí: Stiskněte tlačítko napájení na projektoru nebo na dálkovém ovladači. Kontrolka se rozsvítí.
- Vypnout: Press the power button again. The projector will shut down. Always allow the projector to cool down properly before unplugging it.
6.2 Výběr zdroje
After powering on, select the desired input source:
- Press the 'Source' button on the remote control or the projector's control panel.
- Use the arrow keys to navigate through the input options (HDMI1, HDMI2, USB1, USB2, VGA, AV).
- Stisknutím tlačítka „OK“ potvrďte svůj výběr.
6.3 Navigace v nabídce
Use the 'Menu' button on the remote or projector to access settings:
- Nastavení obrazu: Adjust brightness, contrast, color, and aspect ratio (16:9/4:3).
- Nastavení zvuku: Control volume and audio modes for the built-in dual stereo speakers.
- Nastavení času: Set sleep timer or adjust time-related functions.
- Nastavení možností: General settings like language, factory reset, etc.
7. Údržba
7.1 Čištění objektivu
Use a soft, lint-free cloth or lens cleaning paper to gently wipe the lens. Do not use abrasive cleaners or solvents.
7.2 Čištění těla projektoru
Wipe the projector's exterior with a soft, dry cloth. For stubborn dirt, damphadřík lehce navlhčete vodou s jemným čisticím prostředkem a poté otřete dosucha.
7.3 Údržba ventilátoru
The projector features an innovative cooling system with heat dispersion and noise suppression. Ensure the ventilation vents are clear of dust and obstructions to maintain efficient cooling.
8. Řešení problémů
| Problém | Možná příčina | Řešení |
|---|---|---|
| Není zobrazen žádný obrázek | Power cord loose; Incorrect input source; Device not connected properly. | Check power connection; Select correct input source; Reconnect input device. |
| Obraz je rozmazaný | Není nastavené zaostření; Projektor je příliš daleko/blízko. | Adjust focus ring; Adjust projection distance. |
| Obrázek je lichoběžníkový | Lichoběžníkové zkreslení nebylo upraveno. | Upravte kolečko pro korekci lichoběžníkového zkreslení. |
| Žádný zvuk | Volume too low; Audio cable not connected; Source device audio settings. | Increase volume; Check audio connections; Adjust audio output on source device. |
| Projektor se přehřívá | Ventilation blocked; Prolonged use in hot environment. | Ensure vents are clear; Operate in a well-ventilated area; Allow cool-down periods. |
9. Specifikace
| Funkce | Specifikace |
|---|---|
| Značka | Everycom |
| Model | X10 |
| Nativní rozlišení | 1920 x 1080 (Full HD) |
| Jas | 5500 XNUMX lumenů |
| Kontrastní poměr | 5000:1 |
| Poměr stran | 16:9 / 4:3 |
| Velikost projekce | 45" až 200" |
| Projekční vzdálenost | 1.6 m až 7.1 m |
| Korekce lichoběžníkového zkreslení | ±15° Vertikálně |
| Vstupní porty | 2 x HDMI, 2 x USB, 1 x VGA, 1 x AV |
| Zvuk | Vestavěné duální stereo reproduktory |
| Rozměry produktu | 32 x 26 x 12 cm |
| Hmotnost položky | 2.6 kg |
10. Záruka a podpora
10.1 Informace o záruce

The Everycom X10 Projector comes with a Nationwide 1 Year Indian Warranty. This product is also Bureau of Indian Standards (BIS) certified.
10.2 Zákaznická podpora

For any assistance, queries, or support regarding your Everycom X10 Projector, please contact our customer service team:
- Bezplatné číslo: 1800 121 4480
- Customer Support Working Hours: Monday - Saturday, 10:00 AM - 6:30 PM (Except on Public Holidays)
Ask a question about this manual
Ask about setup, troubleshooting, compatibility, parts, safety, or missing instructions. Manuals+ will review the question and use this page’s manual context to help answer it.