
BLACK+DECKER BDEMS200C
BLACK+DECKER MOUSE BDEMS200C Elektrická detailní bruska Uživatelská příručka
Zavedení
This manual provides essential instructions for the safe and effective operation, maintenance, and care of your BLACK+DECKER MOUSE BDEMS200C Electric Detail Sander. Please read this manual thoroughly before using the tool and retain it for future reference.
Všeobecné bezpečnostní informace
Always wear appropriate personal protective equipment, including safety glasses, a dust mask, and hearing protection, when operating power tools. Ensure your work area is well-lit and free from obstructions. Keep children and bystanders away from the operating area. Disconnect the tool from the power source before making any adjustments, changing accessories, or performing maintenance.
Zahrnuté komponenty
Your BLACK+DECKER MOUSE BDEMS200C Electric Detail Sander package includes the following items:
- (1) BDEMS200C MOUSE Electric Detail Sander
- (3) Sanding Sheets
- (1) Detail Finger Attachment

Image: The BLACK+DECKER MOUSE BDEMS200C Electric Detail Sander with its compact design.
Nastavení
1. Attaching Sandpaper
The sander uses hook-and-loop sanding sheets for quick attachment and removal.
- Ujistěte se, že je bruska odpojena od sítě.
- Align the holes on the sanding sheet with the holes on the sanding pad.
- Press the sanding sheet firmly onto the pad to secure it.
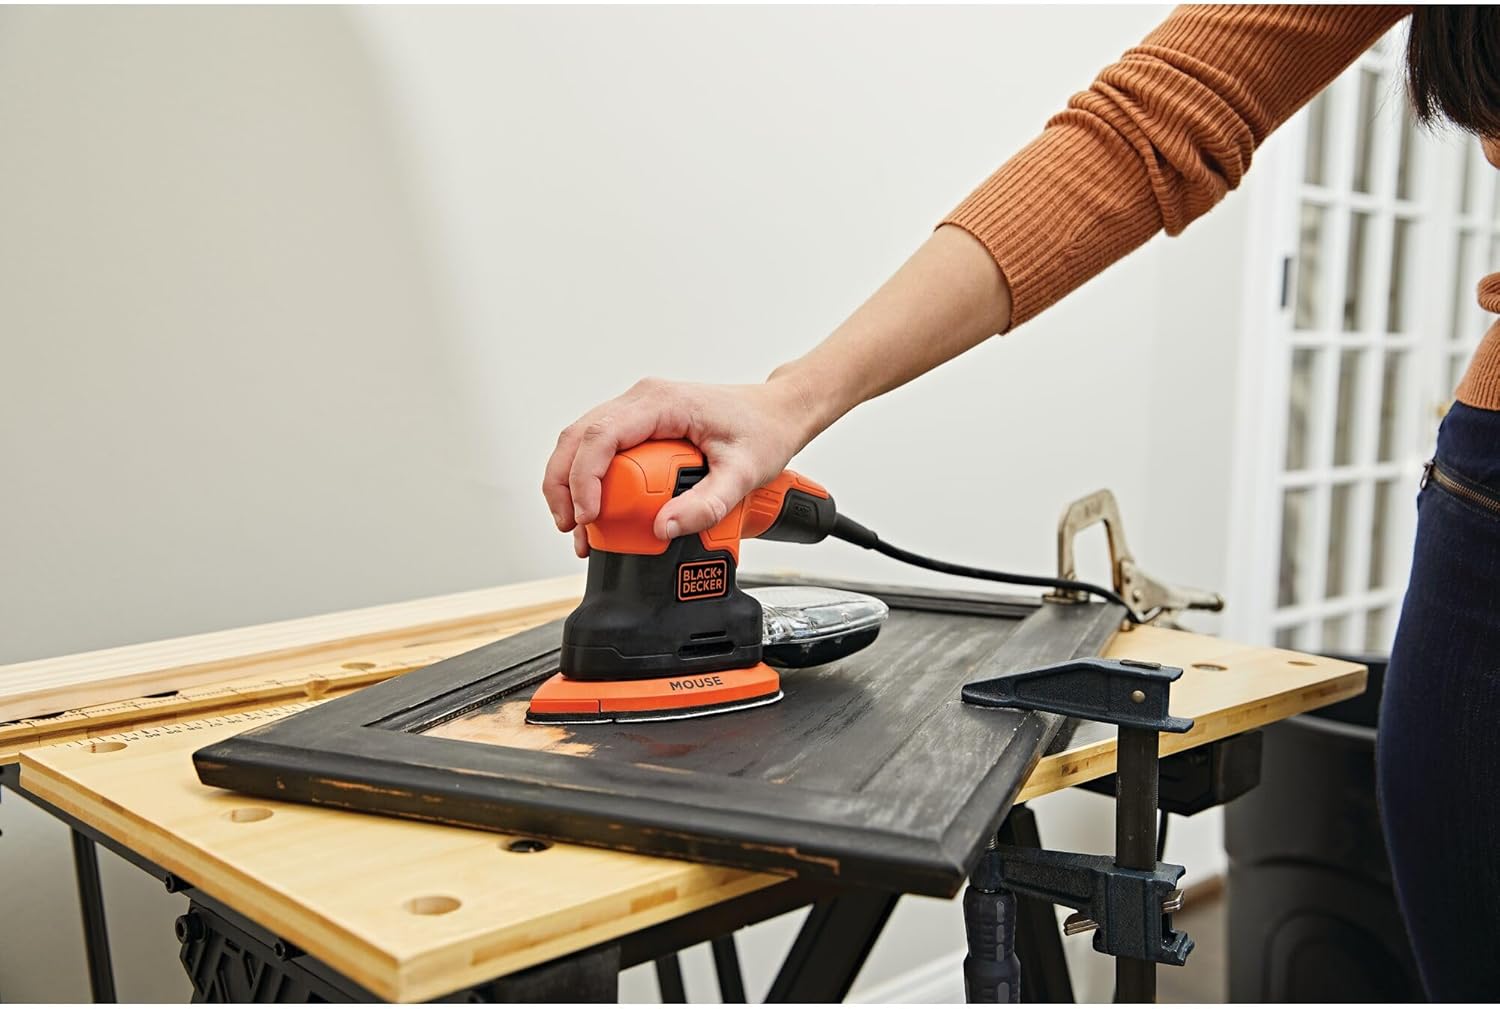
Image: A user attaching a sanding sheet to the sander's pad.
2. Attaching the Detail Finger Attachment
For intricate work and hard-to-reach areas, attach the detail finger attachment.
- Ujistěte se, že je bruska odpojena od sítě.
- Slide the detail finger attachment onto the front of the sanding pad until it clicks securely into place.
- Attach a small sanding sheet to the detail finger attachment.
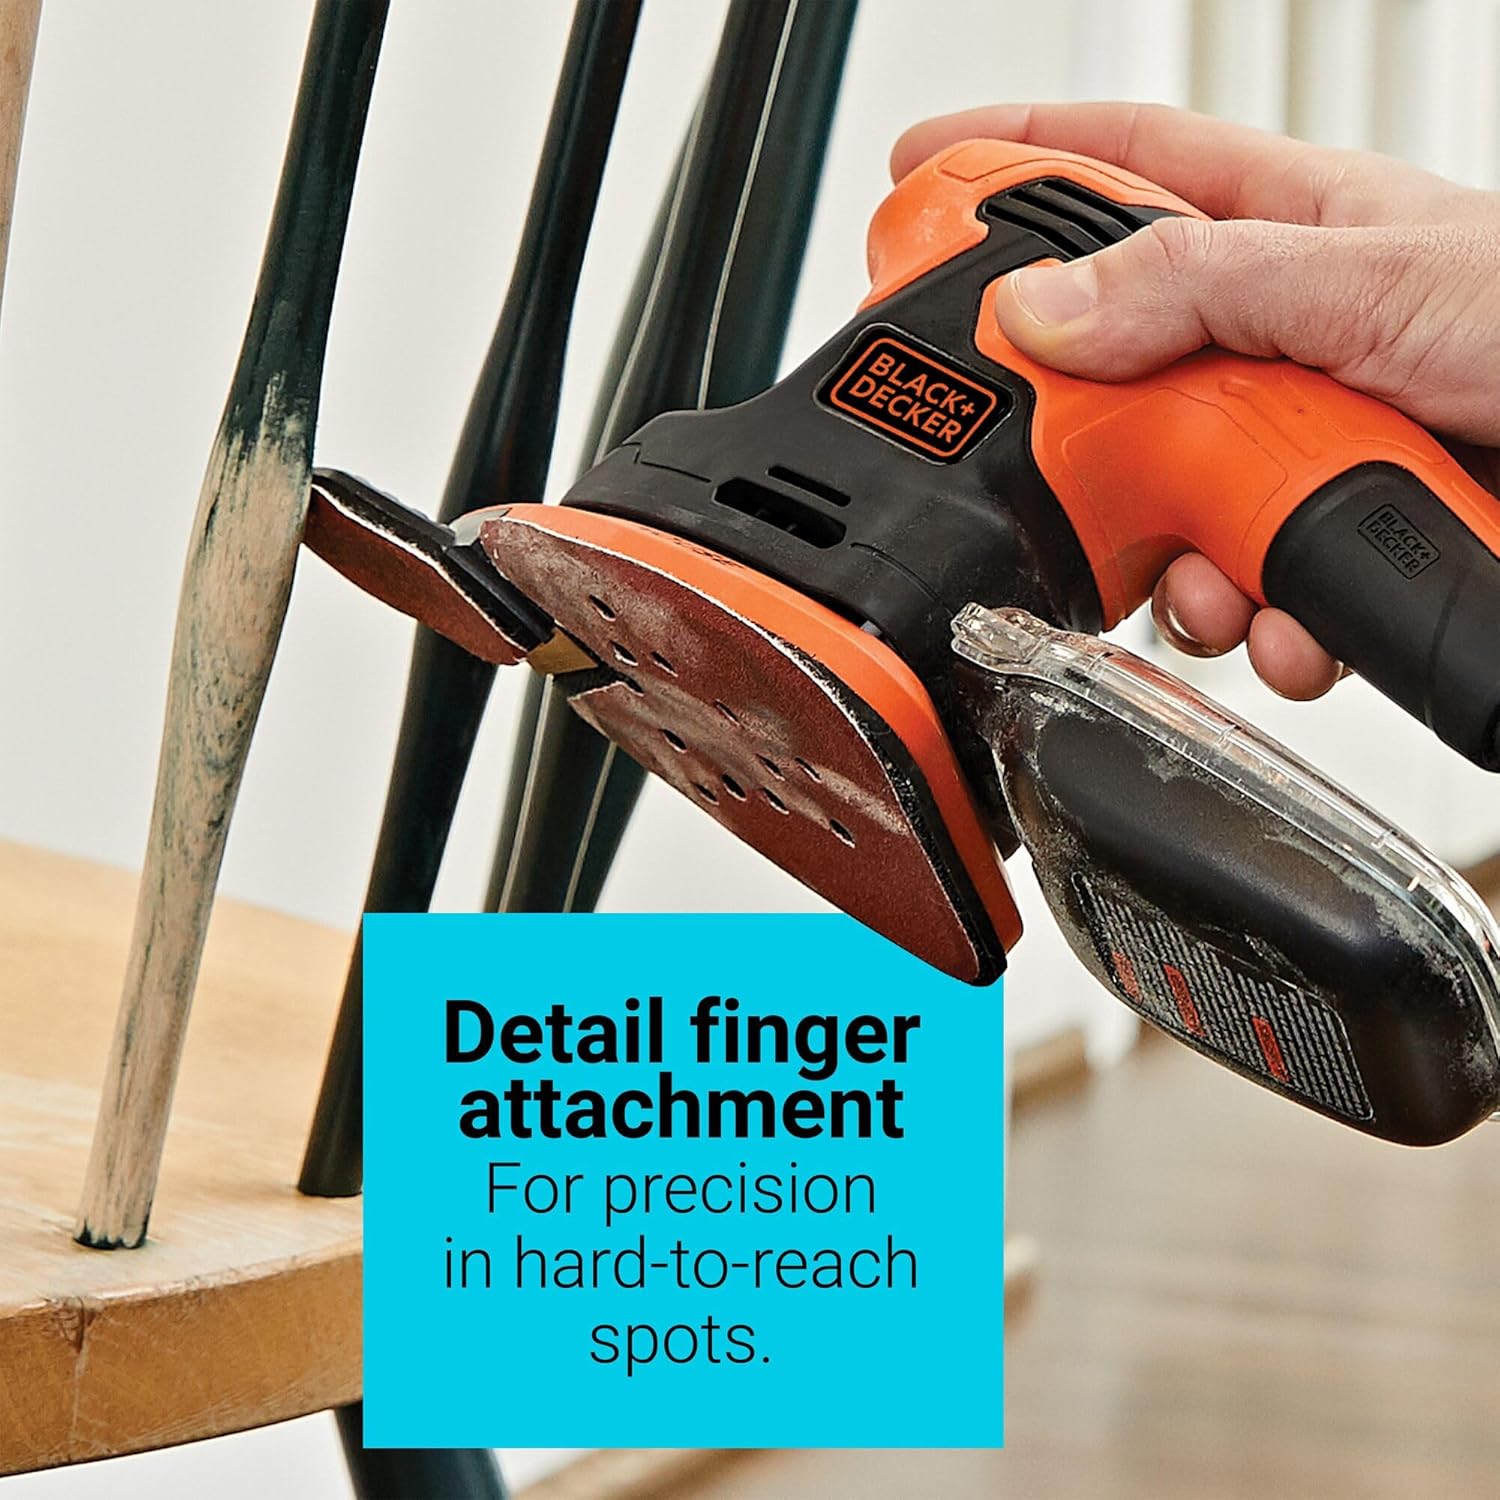
Image: The detail finger attachment being used to sand a chair spindle.
3. Dust Collection Canister
The integrated dust collection canister helps maintain a clean work environment.
- Ensure the canister is securely attached to the sander's dust port.
- Empty the canister regularly to maintain optimal dust collection efficiency.

Obrázek: Detail view of the built-in dust collection canister on the sander.
Návod k obsluze
1. Připojení napájení
Connect the sander's power cord to a standard 120V AC electrical outlet.
2. Zapnutí/vypnutí
The sander features a dust-sealed switch for durability.
- To turn on, slide the power switch to the "ON" position.
- To turn off, slide the power switch to the "OFF" position.

Image: The sander highlighting the comfort grip, dust-sealed switch, and dust canister.
3. Sanding Techniques
Hold the sander firmly with both hands, utilizing the comfort grip for control.
- Obecné broušení: Apply light, even pressure and move the sander in overlapping strokes across the surface. Avoid excessive pressure, which can reduce efficiency and damage the workpiece.
- Broušení detailů: Use the detail finger attachment for precise work in corners, edges, and intricate designs.

Image: A user demonstrating the comfort grip while operating the sander on a cabinet door.
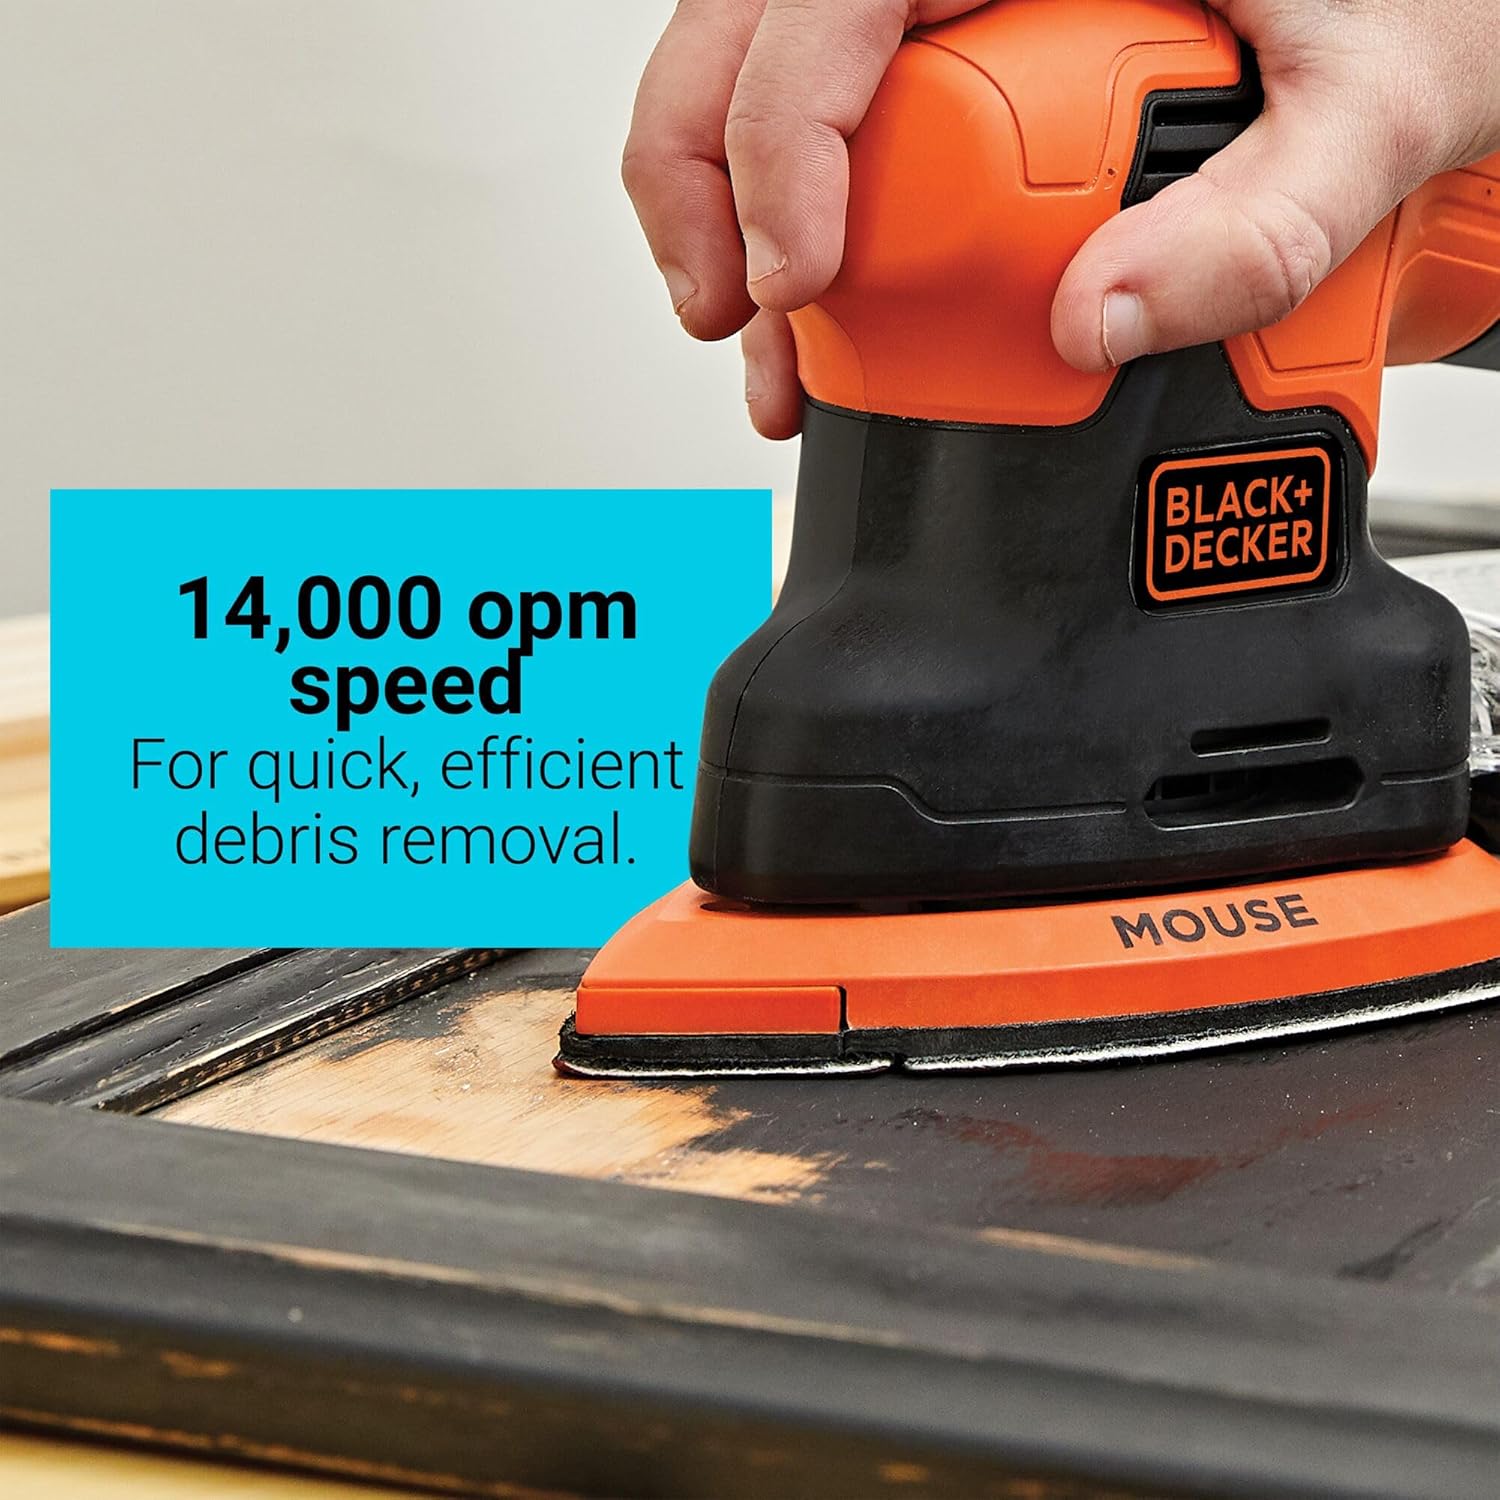
Image: The sander in action, illustrating its 14,000 OPM speed for efficient material removal.
Údržba
1. Cleaning the Dust Canister
Regularly empty the dust collection canister to maintain optimal performance and prevent clogging.
- Odpojte brusku od zdroje napájení.
- Remove the dust canister by sliding it off the dust port.
- Empty the collected dust into a waste receptacle.
- Reattach the canister securely.

Image: A user emptying the dust collection canister, showing the collected sawdust.
2. Replacing Sanding Sheets
Replace sanding sheets when they become worn or lose their abrasive quality.
- Ujistěte se, že je bruska odpojena od sítě.
- Peel off the old sanding sheet from the hook-and-loop pad.
- Attach a new sanding sheet as described in the "Setup" section.
3. Obecné čištění a skladování
Otřete nástroj reklamouamp cloth. Do not use harsh chemicals. Store the sander in a dry, secure location out of reach of children.
Odstraňování problémů
| Problém | Možná příčina | Řešení |
|---|---|---|
| Bruska nestartuje. | Žádné napájení. | Check power cord connection and electrical outlet. Ensure the switch is in the "ON" position. |
| Špatný brusný výkon. | Worn sanding sheet. | Replace with a new sanding sheet. |
| Nadměrné množství prachu v pracovním prostoru. | Dust canister full or improperly attached. | Empty and securely reattach the dust canister. Ensure sanding sheet holes align with pad holes. |
| Nadměrné vibrace. | Sanding sheet improperly attached or damaged. | Realign or replace the sanding sheet. Inspect the pad for damage. |
Specifikace
| Funkce | Detail |
|---|---|
| Číslo modelu | BDEMS200C |
| Značka | ČERNÁ+DECKER |
| Zdroj napájení | Elektrický kabel |
| svtage | 120 voltů |
| Proud AC adaptéru | 1.2 Amps |
| Maximální rychlost otáčení | 12 000 oběhů za minutu (OPM) |
| Hmotnost položky | 2.5 libry |
| Rozměry produktu | 10.12 x 5.51 x 4.61 palce |
| Typ zrnitosti (součástí balení) | Jemný (zrnitost 180) |
Informace o záruce
This BLACK+DECKER MOUSE BDEMS200C Electric Detail Sander is covered by a 2 rok omezená záruka. For specific terms and conditions, please refer to the warranty card included with your product or visit the official BLACK+DECKER webmísto.
Zákaznická podpora
Pro technickou pomoc, náhradní díly nebo reklamace se prosím obraťte na zákaznický servis BLACK+DECKER. Kontaktní informace naleznete na oficiálních webových stránkách BLACK+DECKER. webwebu nebo prostřednictvím dokumentace dodané s vaším produktem.
Webmísto: www.blackanddecker.com
Ask a question about this manual
Ask about setup, troubleshooting, compatibility, parts, safety, or missing instructions. Manuals+ will review the question and use this page’s manual context to help answer it.