
1. Úvod
Thank you for choosing the Digoo DG-TH8988 Weather Station. This device provides accurate indoor and outdoor temperature and humidity readings, a weather forecast, time, date, alarm, and snooze functions. Please read this manual carefully before use to ensure proper operation and to maximize the lifespan of your device.

Obrázek 1.1: Přední strana view of the Digoo DG-TH8988 Weather Station, displaying its screen and overall design.
2. Obsah balení
Při vybalování se ujistěte, že jsou všechny položky přítomny a v dobrém stavu:
- Digoo DG-TH8988 Weather Station (Main Unit)
- Bezdrátový venkovní snímač
- Napájecí kabel USB
- Uživatelská příručka (tento dokument)
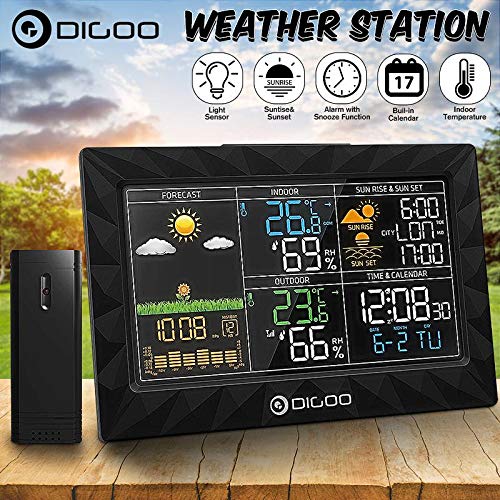
Image 2.1: The Digoo DG-TH8988 Weather Station main unit shown alongside its wireless outdoor sensor.
3. Vlastnosti produktu
- Vnitřní/venkovní teplota a vlhkost: Displays current conditions for both environments.
- Předpověď počasí: Provides graphical weather predictions (sunny, partly cloudy, cloudy, rainy, snowy).
- Čas a datum: Pre-set calendar and time with manual adjustment options.
- Alarm & Snooze Function: Customizable alarm with a convenient snooze feature.
- Sunrise & Sunset Display: Shows local sunrise and sunset times.
- Indikátor slabé baterie: Alerts when batteries need replacement for both units.
- Barometric Display: Indicates atmospheric pressure trends.
- USB Power Option: Main unit can be powered via USB cable.
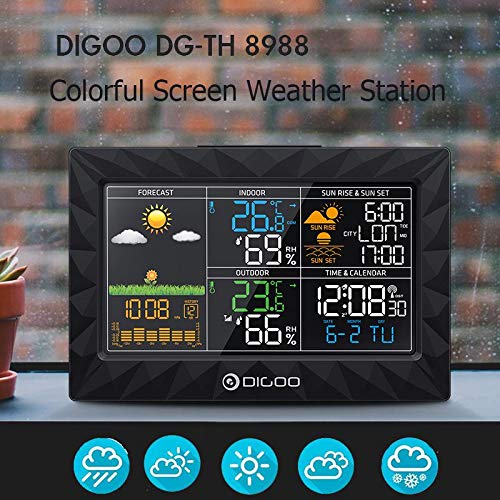
Image 3.1: Close-up of the weather station's colorful LCD screen, showing various data points like forecast, indoor/outdoor temperature and humidity, time, and sunrise/sunset.
4. Nastavení
4.1. Instalace baterie
Hlavní jednotka:
- Otevřete kryt přihrádky na baterie na zadní straně hlavní jednotky.
- Vložte 3 baterie typu AAA (nejsou součástí balení) dle vyznačené polarity (+/-).
- Zavřete kryt prostoru pro baterie.
- Alternatively, connect the provided USB power cable to the DC 5V port on the main unit and plug it into a USB power adapter (not included) or a powered USB port.
Bezdrátový venkovní senzor:
- Otevřete kryt přihrádky na baterie na zadní straně venkovního senzoru.
- Vložte 2 baterie typu AA (nejsou součástí balení) dle vyznačené polarity (+/-).
- Zavřete kryt prostoru pro baterie.
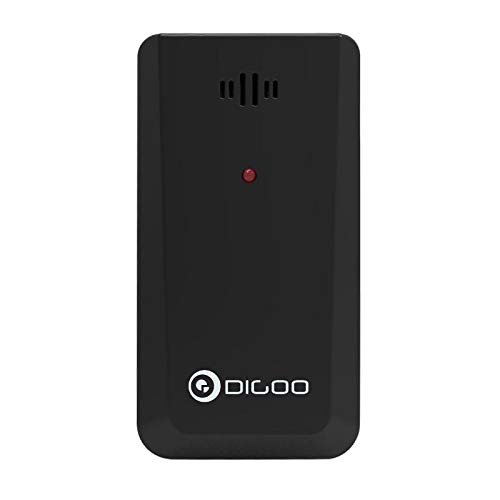
Image 4.1: The compact wireless outdoor sensor, showing its design and indicating where batteries are inserted.
4.2. Initial Power-On and Sensor Pairing
Once batteries are installed in both units, the main unit will automatically search for the outdoor sensor. This process may take a few minutes. Ensure the sensor is within range (typically up to 30 meters in open air) and not obstructed by thick walls or metal objects. The outdoor temperature and humidity will appear on the main unit's display once paired.
4.3. Umístění senzoru
Place the outdoor sensor in a shaded, dry location away from direct sunlight and rain to ensure accurate readings. Avoid placing it near heat sources or vents. For optimal signal, ensure a clear line of sight between the main unit and the sensor.
5. Návod k obsluze
The main unit features several buttons on its back and top for configuration and control.
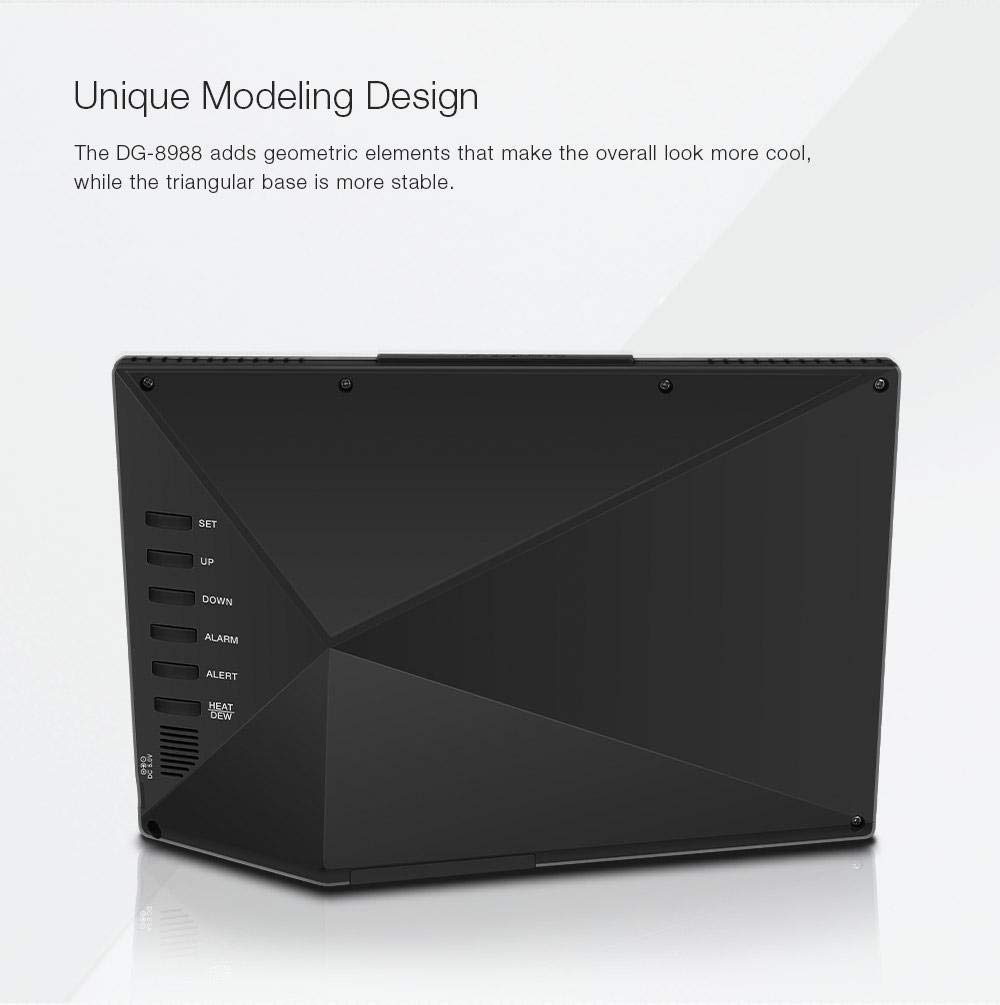
Obrázek 5.1: Zadní strana view of the weather station, highlighting the control buttons: SET, UP, DOWN, ALARM, ALERT, HEAT/DEW, and the DC 5V USB power input.
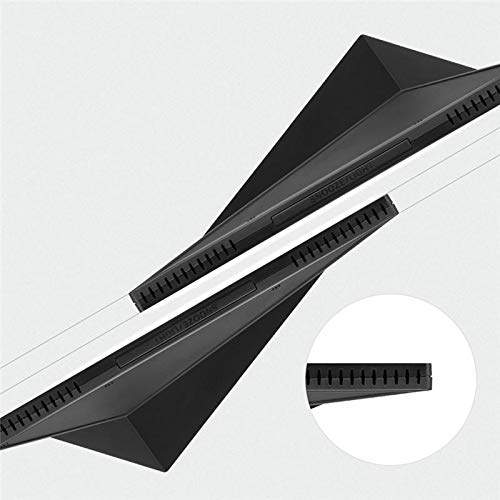
Obrázek 5.2: Nahoře view of the weather station, showing the SNOOZE/LIGHT button.
5.1. Nastavení času a data
- Stiskněte a podržte SOUBOR po dobu 3 sekund pro vstup do režimu nastavení času. Číslice hodin bude blikat.
- Použijte UP or DOLŮ tlačítka pro nastavení hodiny.
- Stiskněte SOUBOR again to confirm and move to the next setting (minute, year, month, day).
- Repeat step 2 and 3 until all settings are complete.
- Stiskněte SOUBOR one last time or wait 10 seconds for the settings to be saved automatically.
5.2. Setting Alarm and Snooze
- Stiskněte tlačítko POPLACH jednou stiskněte tlačítko pro zobrazení času budíku.
- Stiskněte a podržte POPLACH po dobu 3 sekund pro vstup do režimu nastavení budíku. Hodina budíku bude blikat.
- Použijte UP or DOLŮ tlačítka pro nastavení hodiny budíku.
- Stiskněte POPLACH again to confirm and set the alarm minute.
- Repeat step 3 to adjust the alarm minute.
- Stiskněte POPLACH one last time or wait 10 seconds to save.
- Chcete-li aktivovat/deaktivovat budík, stiskněte tlačítko POPLACH button repeatedly until the alarm icon appears/disappears on the display.
- Když zazní alarm, stiskněte SNOOZE / SVĚTLO button (on top) to activate the snooze function. The alarm will sound again after approximately 5 minutes.
- To stop the alarm completely, press any other button on the back of the unit.
5.3. Převod teplotních jednotek (°C/°F)
Chcete-li přepínat mezi stupni Celsia (°C) a Fahrenheita (°F), stiskněte tlačítko UP button during normal display mode.
5.4. Zobrazení předpovědi počasí
The weather station predicts weather conditions for the next 12-24 hours based on barometric pressure changes. The forecast icons include sunny, partly cloudy, cloudy, rainy, and snowy. These are predictions and may not always reflect current conditions.
5.5. Sunrise and Sunset Display
The device displays sunrise and sunset times. Ensure the correct time zone and location settings are configured for accurate readings (if applicable, refer to advanced settings in a full manual).
5.6. HEAT/DEW Point
Stiskněte tlačítko TEPLO/ROSA button to cycle through Heat Index and Dew Point displays, providing additional environmental data.
6. Údržba
- Zařízení čistěte měkkým, damp tkanina. Nepoužívejte abrazivní čisticí prostředky nebo rozpouštědla.
- Nevystavujte hlavní jednotku přímému slunečnímu záření, extrémním teplotám nebo vlhkosti.
- Replace batteries promptly when the low battery indicator appears to ensure continuous operation and prevent leakage.
- If the device will not be used for an extended period, remove the batteries from both units.
7. Řešení problémů
- Bez zobrazení venkovní teploty/vlhkosti:
- Check if batteries are correctly installed in the outdoor sensor.
- Ensure the outdoor sensor is within range of the main unit.
- Try repositioning the sensor or main unit to reduce interference.
- Re-sync the sensor by removing and reinserting batteries in both units, then power on the main unit first. - Nepřesné údaje:
- Ensure the outdoor sensor is not in direct sunlight or near heat sources.
- Verify that the main unit is not placed near heat-emitting appliances. - Displej je tmavý nebo prázdný:
- Replace batteries in the main unit.
- Ensure the USB power cable is securely connected if using external power.
8. Specifikace
| Model | DG-TH8988 |
| Rozsah vnitřní teploty | 0 °C ~ 50 °C (32 °F ~ 122 °F) |
| Rozsah venkovních teplot | -40 ° C ~ 60 ° C (-40 ° F ~ 140 ° F) |
| Přesnost teploty | ±1 °C |
| Napájení hlavní jednotky | 3 x AAA batteries (not included) or USB power cable |
| Napájení venkovního senzoru | 2 x AA baterie (nejsou součástí balení) |
| Typ zobrazení | LCD |
| Technologie připojení | Wireless (Sensor), USB (Main Unit Power) |
| Rozměry (hlavní jednotka) | Approx. 20.8 cm (L) x 13.5 cm (H) x 1 cm (D) |

Obrázek 8.1: Přední strana view of the weather station with key dimensions indicated: 20.8cm length, 13.5cm height, and 1cm depth.
9. Záruka a podpora
Informace o záruce nebo technickou podporu získáte od prodejce nebo oficiálního zástupce výrobce. webmísto, kde jste produkt zakoupili. Uschovejte si účtenku jako doklad o koupi.