Zavedení
The Wexbi W189 Smart Window Cleaning Robot is designed to simplify window cleaning for various flat surfaces, both indoors and outdoors. Equipped with a vacuum pump for secure attachment, laser-based navigation, and multiple control options, it offers an efficient and quiet cleaning solution. This manual will guide you through the setup, operation, maintenance, and troubleshooting of your device.
Co je v krabici
Pečlivě vybalte všechny komponenty a ujistěte se, že jsou přítomny všechny níže uvedené součásti:
- Wexbi W189 Window Cleaner Robot
- Bezpečnostní lano
- Napájecí adaptér
- Cleaning Pads (2 pcs)
- Návod k použití
- Track Window Washing Brush
- Glass Cleaner Solution

Image: The Wexbi W189 robot and its included accessories, including cleaning pads, power adapter, safety rope, and cleaning solutions.

Obrázek: Podrobný view of the Wexbi W189 robot with key components such as the safety lock, on/off button, power cord, and micro-fiber cleaning cloth areas labeled.

Image: The included track cleaning brush and a can of glass cleaner solution, useful for preparing windows and maintaining tracks.
Nastavení
- Charge the Backup Power: Ensure the robot's internal UPS (Uninterruptible Power Supply) system is fully charged before use. Connect the power adapter to the robot and a power outlet. The indicator light will flash red during initial charging and turn green when ready. This backup power prevents the robot from falling in case of a power cut.
- Připevnění bezpečnostního lana: Securely plug the safety rope into its designated port on the robot. Attach the other end of the safety rope to a sturdy anchor point capable of holding the robot's weight. This is crucial for safety, especially when cleaning exterior windows or at heights.
- Připevnění čisticích podložek: Place the appropriate cleaning pads onto the robot's cleaning surfaces. For initial cleaning of very dirty windows, use the grey pads. For polishing or less soiled windows, use the yellow pads. Ensure the pads do not cover any sensors or the fan opening.
- Aplikujte čisticí roztok: Lightly spray cleaning solution onto the cleaning pads. Avoid oversaturating the pads, as this can reduce suction and leave streaks. For optimal results, spray only the edges of the pads, or directly onto the window surface in moderation.

Image: A visual guide showing the four steps for setting up the Wexbi W189: connecting the power, attaching the safety rope, and pressing start.
Návod k obsluze
- Zapnutí: Press and hold the power button on the robot for a few seconds until it powers on and the indicator light turns blue.
- Umístění na okno: Carefully place the robot onto the window surface. Ensure it adheres securely before releasing your hand. The robot's vacuum pump will create suction to hold it in place.
- Vyberte režim čištění: Use the remote control or the mobile app to select your desired cleaning mode. The robot features intelligent planning for efficient cleaning routes, detecting edges and avoiding obstacles.
- Sledovat průběh: The robot will automatically clean the designated area. Monitor its progress and ensure the safety rope remains secure.
- Dokončovací čištění: Once cleaning is complete, the robot will return to its starting position and emit an alert. Press the power button to turn it off and carefully remove it from the window.
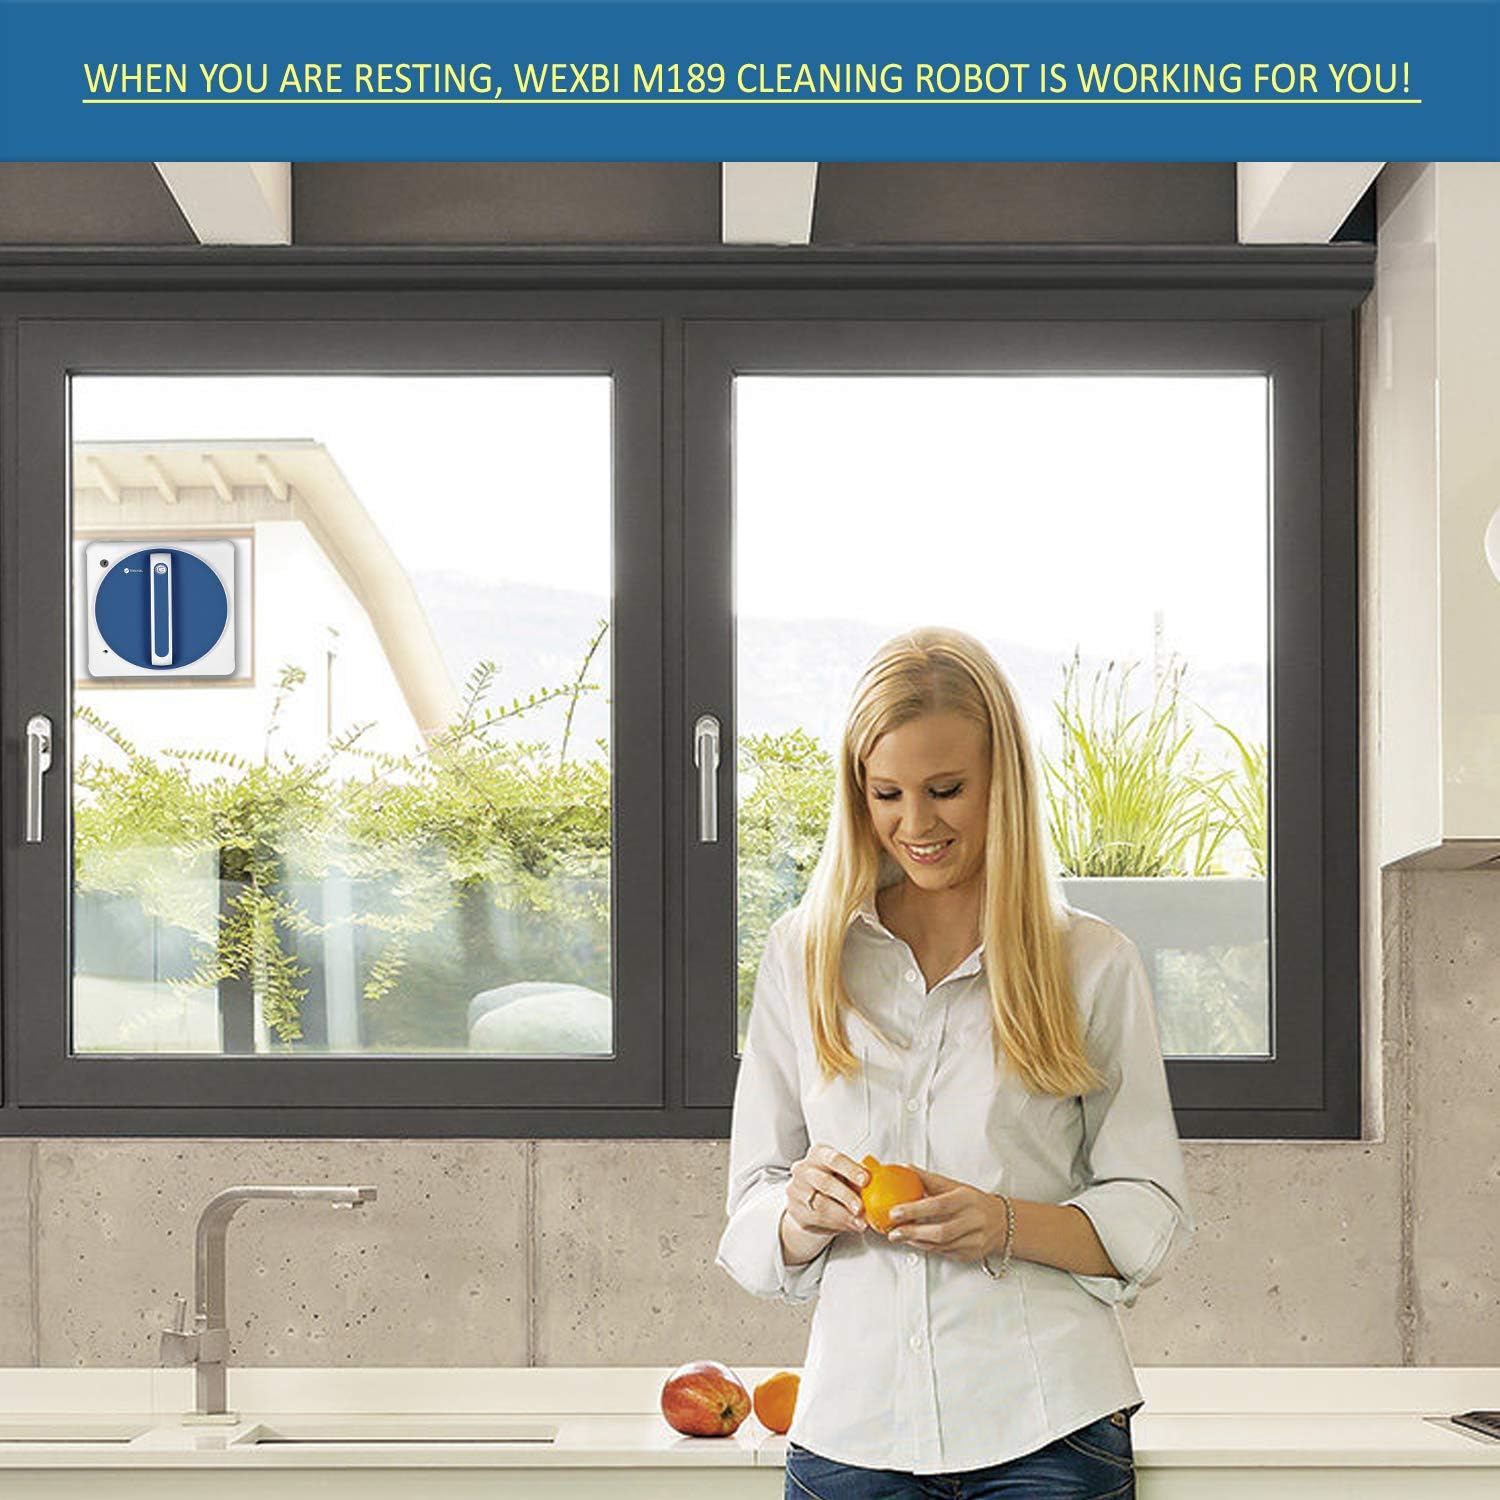
Image: The Wexbi W189 robot actively cleaning an indoor window, demonstrating its operation.
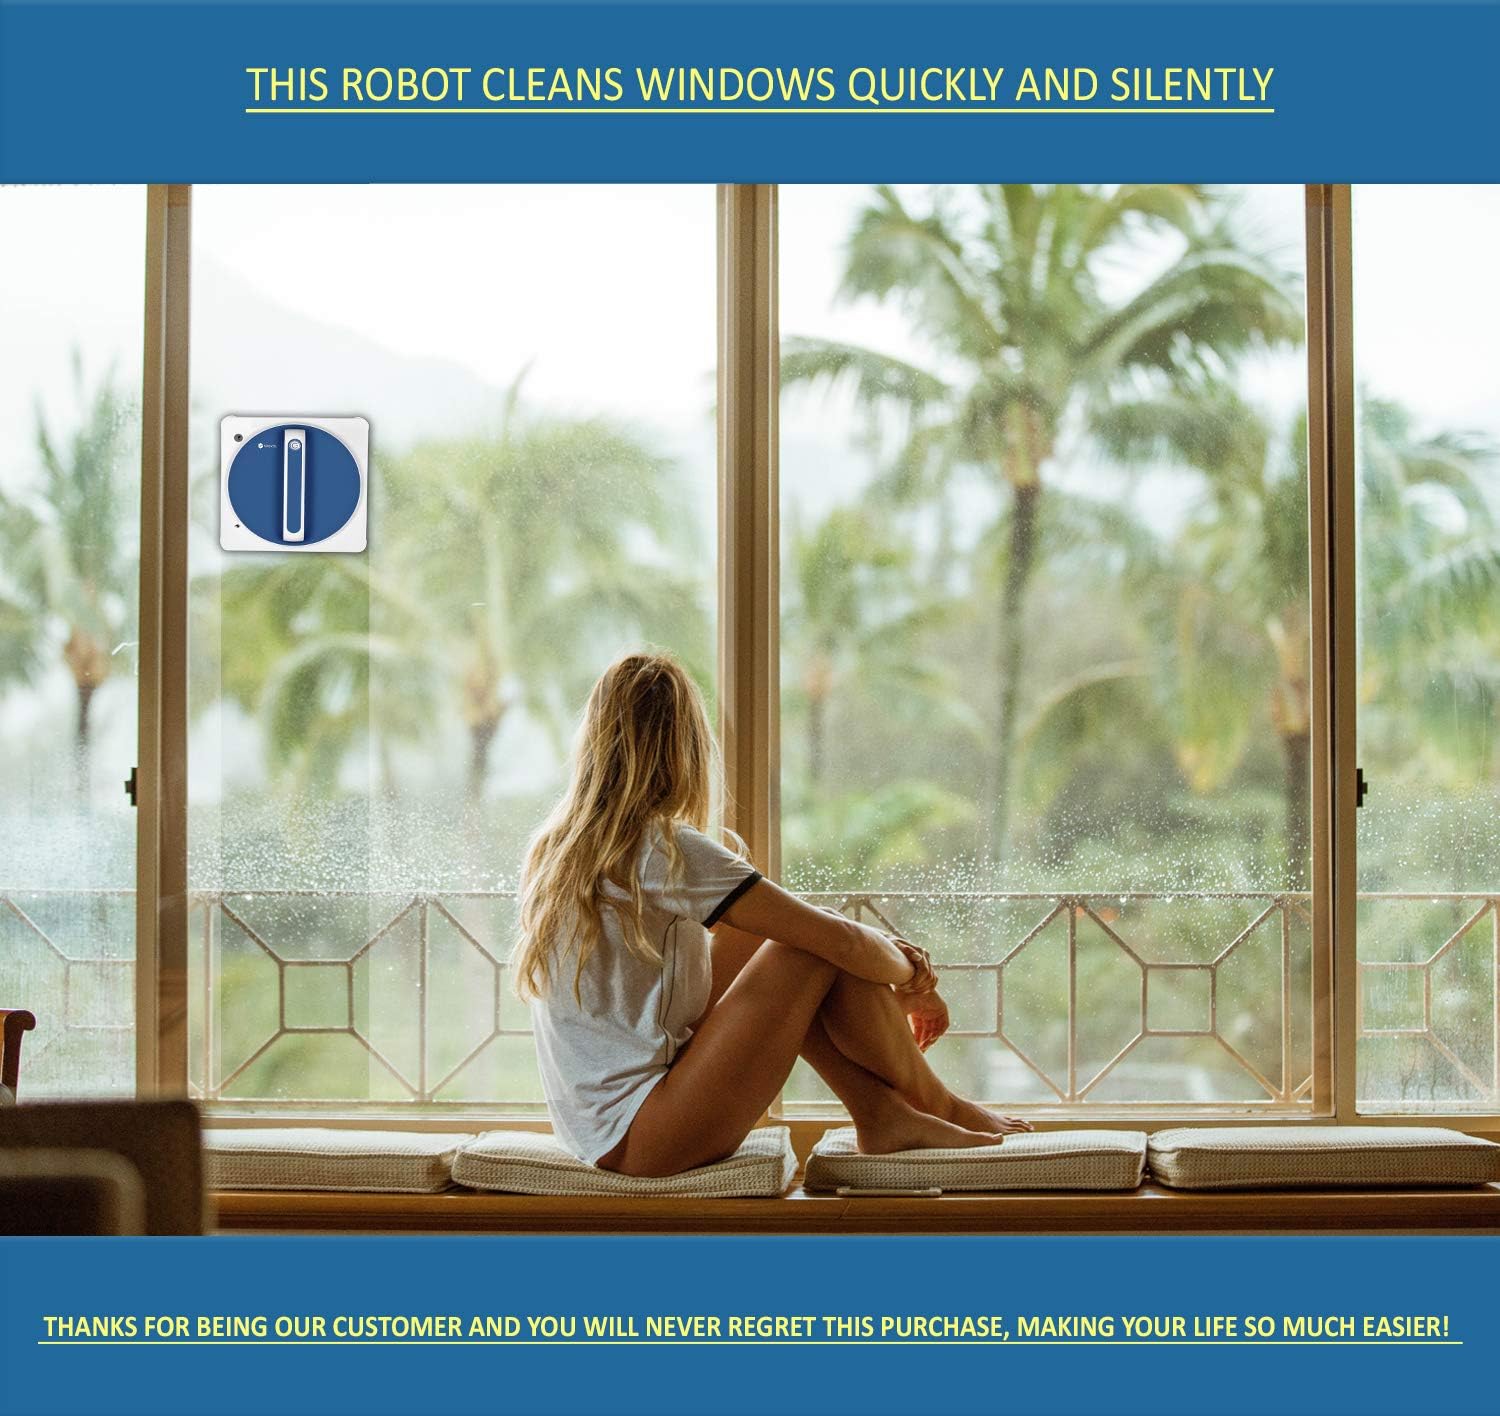
Image: The Wexbi W189 robot cleaning an outdoor window, showcasing its ability to handle external surfaces.
Údržba
- Čistící podložky: The cleaning pads are machine washable. After each use, remove the pads from the robot and wash them. Ensure they are completely dry before reattaching them to the robot for future use. Wet pads can affect the robot's suction and performance.
- Tělo robota: Wipe the robot's body with a dry, soft cloth to remove any dust or residue. Avoid using abrasive cleaners or solvents.
- Senzory a kola: Periodically check and clean the edge detection sensors and wheels to ensure optimal navigation and performance.
Odstraňování problémů
- Robot not adhering or falling:
- Ensure the power cord is securely connected and the backup battery is charged.
- Check if the cleaning pads are too wet. Over-saturated pads can reduce suction. Ensure pads are dry or only lightly dampvyřízeno.
- Verify the window surface is at least 3 mm thick.
- If the window is extremely dirty, the robot may struggle to maintain suction. Pre-clean heavily soiled areas if necessary.
- Streaks left on window:
- The cleaning pads might be dirty. Replace with clean pads.
- Too much cleaning solution may have been applied. Use less solution.
- The window may require a second pass with fresh, dry pads for polishing.
- Robot se nepohybuje nebo je zaseknutý:
- Check for obstacles on the window surface.
- Ensure the power cord is not tangled or obstructing movement.
- The smallest area the robot can clean is 45 x 45 cm. Ensure the window size meets this requirement.
Specifikace
| Funkce | Detail |
|---|---|
| Značka | Wexbi |
| Název modelu | W189 |
| Doporučení pro povrch | Skleněný povrch |
| Speciální funkce | Kabelové |
| Barva | Bílý |
| Typ ovladače | Remote Control + APP Control |
| Zdroj napájení | Elektrický kabel |
| Baterie jsou součástí dodávky | Ano |
| Hmotnost položky | 3.3 libry |
| Minimum Cleaning Area | 45 x 45 cm |
| Power Cord & Safety Rope Length | 5 meters (extendable) |
Záruka a podpora
The Wexbi W189 Smart Window Cleaning Robot comes with a 2-letá záruka from the date of purchase. For warranty claims, technical support, or any inquiries, please refer to the contact information provided in your product packaging or visit the official Wexbi webmísto.