
1. Konec produktuview
This manual provides instructions for the HITBOX 100A MIG Welding Gun, a 10-foot (3-meter) replacement torch designed for compatibility with various Miller M-series welders. This welding gun is suitable for MIG (GMAW) and Flux Cored (FCAW) processes, offering reliable performance for a range of welding applications.
Klíčové vlastnosti:
- 10-foot (3m) cable length for extended reach.
- Hodnoceno na 100 Amperes.
- Compatible with Miller M-series consumables.
- Designed to feed .030-.035 inch (0.8-0.9 mm) diameter welding wire.
- Ergonomic handle for comfortable grip and reduced fatigue.
- Electrically insulated metal jacket on the gun tube for optimized fine wire welding.
- Abrasion-resistant extruded rubber jacket on the cable for durability.
Kompatibilita: This MIG gun is compatible with Miller M-100 (M-10) MIG guns and can be used with models such as Miller SideKick, SideKick XL/Cricket XL/Millermatic 90, Millermatic 130/130XP/135/140s/175/180s/DVIs /211, Challenger, Challenger 172, Passport/Passport Plus, or Hobart IronMan 210.

2. Bezpečnostní informace
Při obsluze svářecího zařízení vždy upřednostňujte bezpečnost. Nedodržení bezpečnostních pokynů může vést k vážnému zranění nebo smrti.
- Ochrana očí a obličeje: Vždy používejte svářečskou kuklu s vhodnými zorníky, abyste si chránili oči a obličej před paprsky oblouku a jiskrami.
- Ochranný oděv: Noste nehořlavý oděv, odolné rukavice a bezpečnostní obuv, abyste se chránili před popáleninami a úrazem elektrickým proudem.
- Větrání: Ensure adequate ventilation to remove welding fumes and gases from the work area. If working in confined spaces, use a respirator.
- Požární prevence: Keep a fire extinguisher nearby. Remove all flammable materials from the welding area. Sparks and hot metal can travel a significant distance.
- Elektrická bezpečnost: Ensure the welding machine is properly grounded. Do not touch live electrical parts. Inspect cables and connections for damage before each use.
- Pracovní oblast: Udržujte pracovní prostor čistý a bez nepořádku. Zajistěte stabilní postoj.
- Read Welder Manual: Always refer to your welding machine's instruction manual for specific safety precautions and operating procedures.
3. Nastavení
Proper setup is crucial for safe and effective welding. Follow these steps to prepare your HITBOX MIG Welding Gun for use.
3.1 Vybalení a kontrola
- Carefully remove the welding gun from its packaging.
- Inspect the gun, cable, and connector for any signs of shipping damage. Do not use if damaged.
- Ensure all components, including the nozzle, contact tip, and gas diffuser, are present.

3.2 Connecting the Welding Gun
- Vypnout: Ensure your welding machine is turned off and unplugged from the power source.
- Vyhledejte připojovací port: Identify the MIG gun connection port on your welding machine. This is typically a multi-pin connector for power, gas, and trigger control.
- Vložit konektor: Align the rear connector of the HITBOX MIG gun with the corresponding port on your welder. Push firmly until it is securely seated.
- Zabezpečené připojení: If your welder has a locking mechanism (e.g., a collar or nut), tighten it to ensure a stable connection.

3.3 Instalace spotřebního materiálu
The MIG gun uses Miller M-series consumables. Ensure you have the correct size for your welding wire.
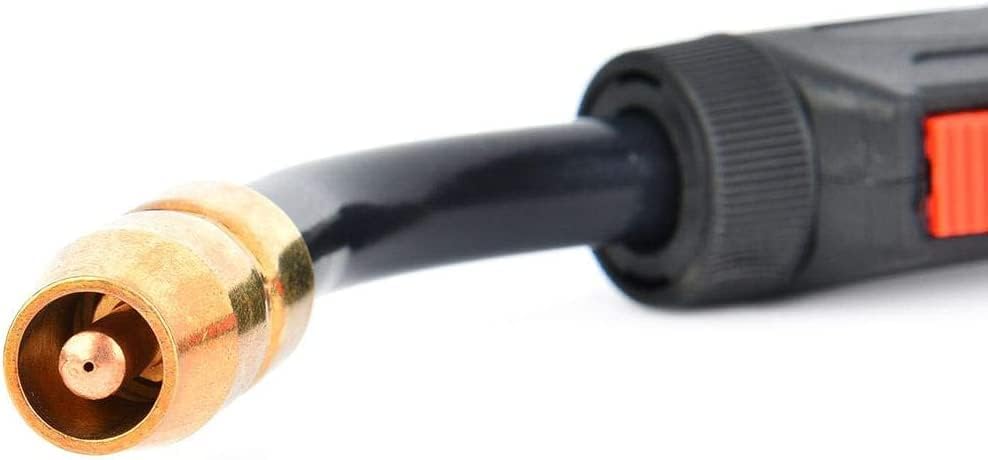
- Gas Diffuser: Screw the gas diffuser onto the gun neck.
- Kontaktní tip: Select the appropriate contact tip for your wire size (.030-.035 inch). Screw the contact tip firmly into the gas diffuser.
- Tryska: Slide the nozzle over the contact tip and gas diffuser. Ensure it is securely seated.

3.4 Wire Feeding
Refer to your welding machine's manual for specific instructions on loading welding wire. Generally:
- Otevřete přihrádku podavače drátu.
- Load the wire spool onto the spindle.
- Thread the wire through the drive rolls and into the gun liner.
- Close the drive roll tension arm and adjust tension as needed.
- With the gun pointed away from yourself and others, press the trigger to feed the wire through the gun until it exits the contact tip.
4. Návod k obsluze
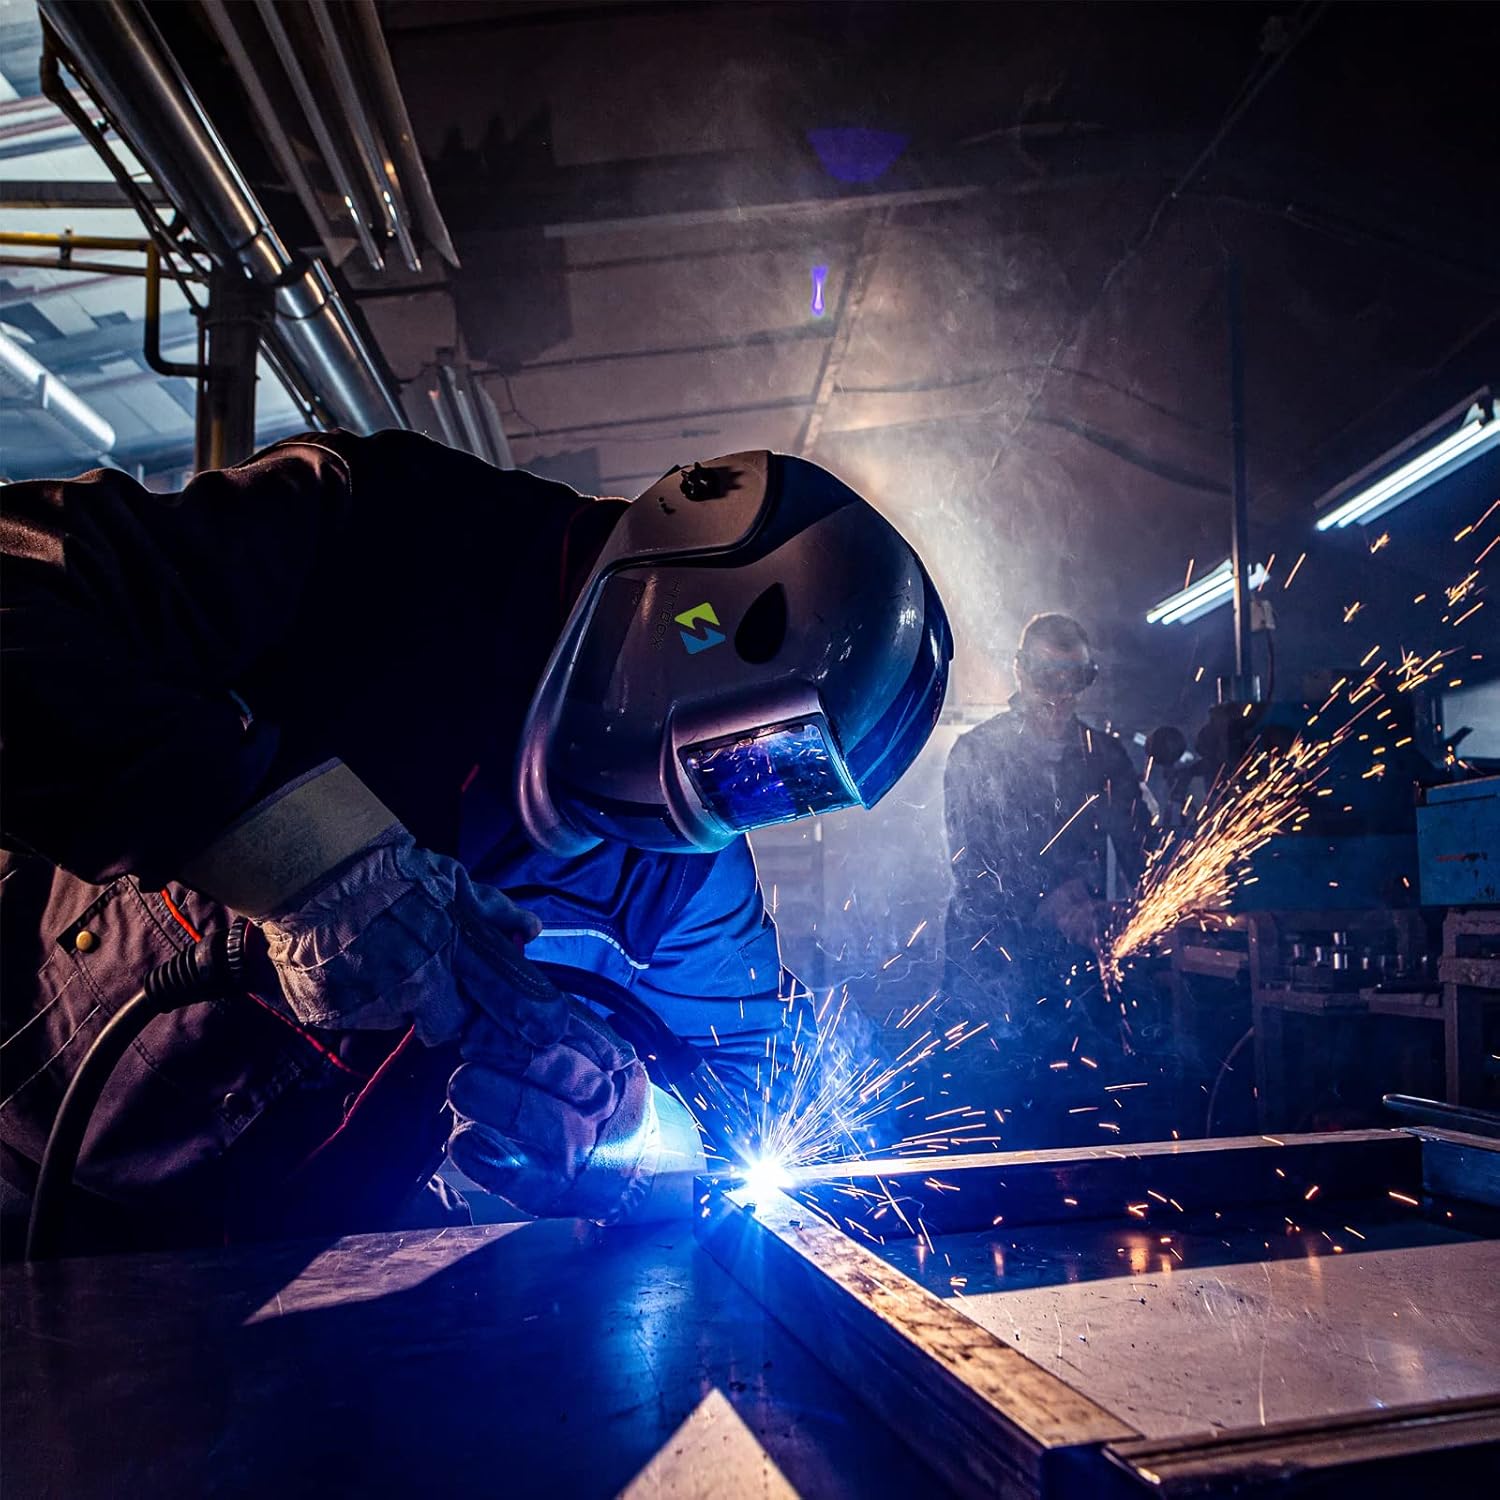
Once the MIG gun is properly set up, you can begin welding. Always wear appropriate personal protective equipment (PPE).
4.1 Základní obsluha
- Zapnutí: Turn on your welding machine.
- Průtok plynu: Open the gas cylinder valve and set the gas flow rate (typically 15-25 CFH for MIG welding with shielding gas).
- Nastavit parametry: Upravte objemtage and wire feed speed on your welding machine according to the material thickness and wire type. Consult your welder's chart for recommended settings.
- Pozemní Clamp: Připojte zem třamp bezpečně k obrobku nebo svařovacímu stolu a zajišťují dobrý elektrický kontakt.
- Position Gun: Position the MIG gun over the joint to be welded, maintaining the correct stick-out (distance from contact tip to workpiece).
- Zahájení oblouku: Press the trigger on the MIG gun to start the wire feed and initiate the welding arc.
- Svar: Maintain a consistent travel speed and gun angle to create a uniform weld bead.
- Uvolnění spouště: Pro zastavení svařování uvolněte spoušť.
5. Údržba
Regular maintenance ensures the longevity and optimal performance of your HITBOX MIG Welding Gun.
5.1 Denní údržba
- Čistá tryska: Remove spatter from the nozzle using pliers or a nozzle reamer. Excessive spatter can obstruct gas flow.
- Zkontrolujte kontaktní hrot: Check the contact tip for wear, enlargement of the bore, or excessive spatter. Replace if necessary.
- Check Gas Diffuser: Ensure the gas diffuser is clean and free of obstructions.
5.2 Pravidelná údržba
- Zkontrolujte kabel: Check the entire length of the welding cable for cuts, abrasions, or kinks. Damaged cables can pose electrical hazards.
- Zkontrolujte připojení: Ensure all electrical and gas connections are tight and secure.
- Inspekce vložky: If wire feeding issues occur, the gun liner may need cleaning or replacement. Consult your welder's manual for liner maintenance.
6. Řešení problémů
Tato část se zabývá běžnými problémy, se kterými se můžete setkat během provozu.
| Problém | Možná příčina | Řešení |
|---|---|---|
| Poor Arc Starting / Unstable Arc |
|
|
| Wire Feeding Problems (Sticking, Erratic Feed) |
|
|
| Porosity (Holes in Weld) |
|
|
| Overheating Gun |
|
|
7. Specifikace
| Parametr | Hodnota |
|---|---|
| Číslo modelu | HP000059 |
| Délka kabelu | 10 stop (3 metrů) |
| Jmenovitý proud | 100 Amperes |
| Processes Supported | MIG (GMAW), Flux Cored (FCAW) |
| Compatible Wire Size | 0.030 - 0.035 palce (0.8 - 0.9 mm) |
| Torch Handle Type | Jeden kus |
| Typ hořáku | MIGmatic M Series |
| Hmotnost položky | 6.93 libry |
| Rozměry produktu | 180 x 2.4 x 2.4 palce |
8. Záruka a podpora
For warranty information, technical support, or replacement parts, please contact HITBOX customer service through their official webnebo prodejce, u kterého byl produkt zakoupen. Uschovejte si účtenku jako doklad o koupi.