
1. Úvod
This instruction manual provides essential information for the installation, operation, and maintenance of the Hikvision DS-7604NI-K1/4P 4-Channel 4K PoE Network Video Recorder (NVR). Please read this manual thoroughly before using the product to ensure correct and safe operation. Keep this manual for future reference.
2. Bezpečnostní informace
Dodržujte následující bezpečnostní opatření, abyste předešli zranění nebo poškození zařízení:
- Napájení: Use only the power adapter specified for this device. Ensure the power voltage je stabilní a splňuje požadavky zařízení.
- Větrání: Neblokujte větrací otvory. Zajistěte dostatečné proudění vzduchu, abyste zabránili přehřátí.
- Prostředí: Avoid exposing the device to extreme temperatures, humidity, dust, or corrosive environments. Do not place heavy objects on the device.
- Instalace: Install the device on a stable surface. Avoid strong vibrations or impacts.
- Servis: Nepokoušejte se zařízení rozebírat ani upravovat. Veškerý servis svěřte kvalifikovanému personálu.
3. Konec produktuview
The Hikvision DS-7604NI-K1/4P is a 4-channel Network Video Recorder designed for surveillance systems. It supports up to 4K resolution for live view, recording, and playback, and features Power-over-Ethernet (PoE) interfaces for direct connection and power supply to compatible IP cameras.
3.1 Obsah balení
- NVR jednotka Hikvision DS-7604NI-K1/4P
- Napájecí adaptér
- USB myš
- Šrouby pro instalaci pevného disku
- Rychlý průvodce
3.2 Přední panel
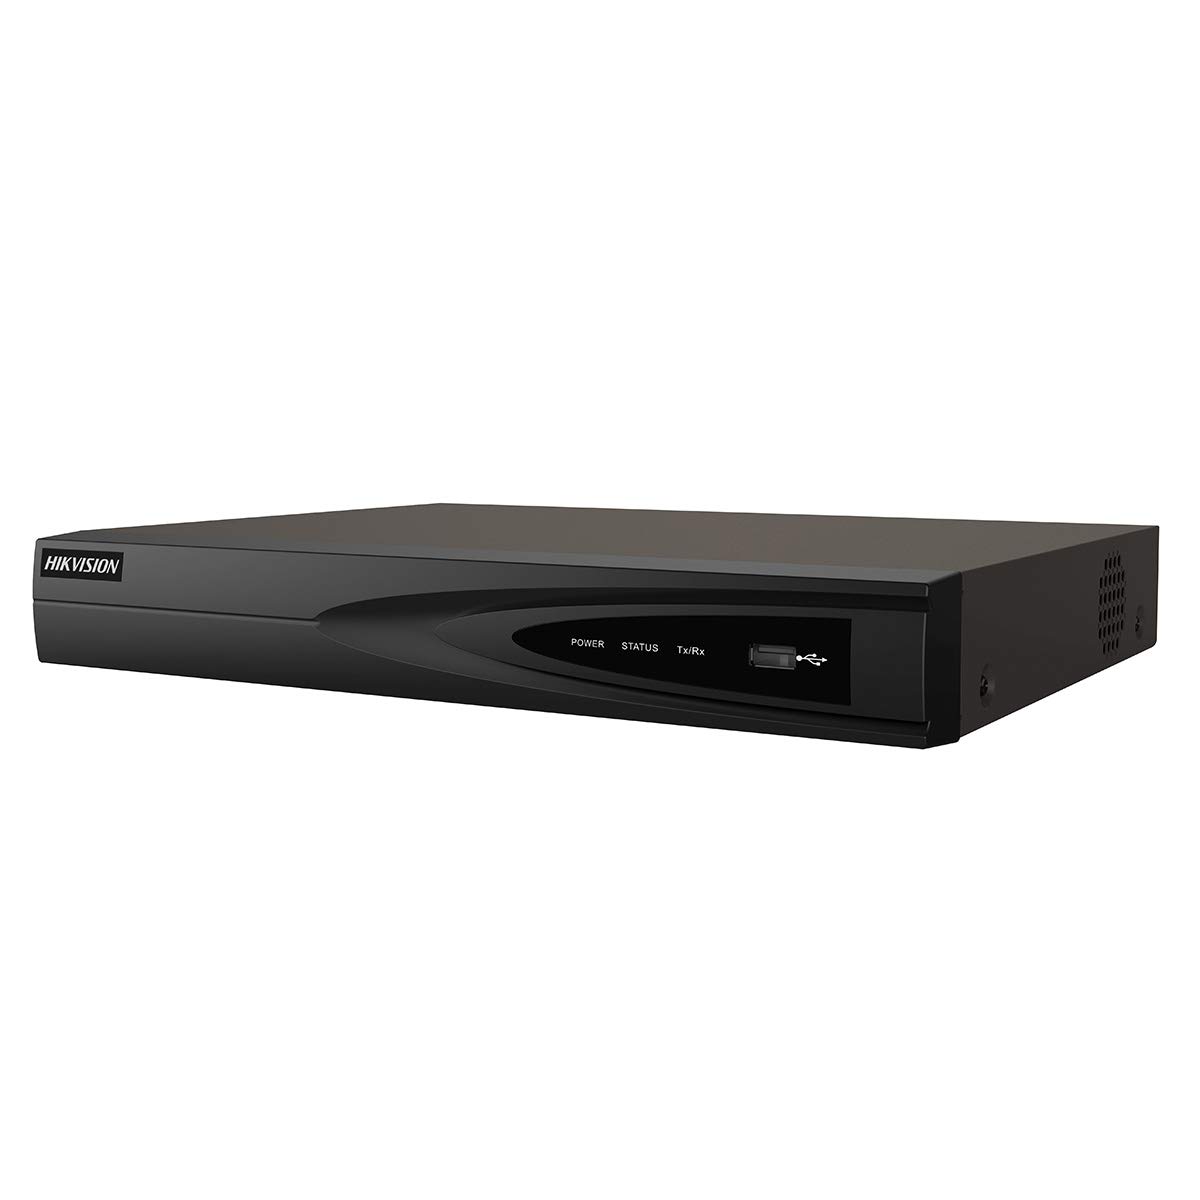
Obrázek 1: Přední strana view of the Hikvision DS-7604NI-K1/4P NVR. This image displays the front panel of the NVR, typically featuring status indicator lights and a USB port for peripheral connections.
3.3 Zadní panel
Zadní panel obsahuje různé porty pro připojení:
- PoE Ports (x4): For connecting IP cameras and providing power.
- LAN port: For network connection to a router or switch.
- HDMI výstup: For connecting to a monitor or TV for high-definition video output.
- VGA výstup: For connecting to a monitor for video output.
- USB Ports (x2 total, typically one front, one rear): Pro myš, USB disk nebo jiná periferie.
- Audio vstup (RCA): Pro připojení externího zdroje zvuku.
- Příkon: Pro připojení napájecího adaptéru.
4. Nastavení
4.1 Instalace pevného disku (volitelné)
The NVR supports one internal SATA hard drive for video storage (up to 6 TB). If a hard drive is not pre-installed, follow these steps:
- Unscrew and remove the NVR's top cover.
- Připojte datový kabel SATA a napájecí kabel k pevnému disku.
- Align the hard drive with the mounting holes and secure it with the provided screws.
- Replace the NVR's top cover and secure it with screws.
4.2 Připojení periferních zařízení
- Monitor: Připojte monitor k výstupnímu portu HDMI nebo VGA zařízení NVR.
- Myš: Připojte USB myš k USB portu na NVR.
- Síť: Připojte LAN port NVR k routeru nebo síťovému přepínači pomocí ethernetového kabelu.
- Kamery: Connect IP cameras to the NVR's PoE ports. The NVR will automatically power and detect compatible Hikvision PoE cameras.
4.3 Zapnutí a počáteční konfigurace
- Připojte napájecí adaptér k napájecímu vstupu NVR a poté do elektrické zásuvky.
- NVR se automaticky zapne.
- Upon first boot, the NVR will guide you through an initialization wizard. Follow the on-screen prompts to set up a strong password, network settings, and hard drive formatting (if applicable).
- Ensure the hard drive is formatted before recording can begin.
5. Provoz
5.1 Živě View
After initial setup, the NVR will display the live video feed from connected cameras on the monitor. You can switch between single-camera view a mřížka s více kamerami view pomocí ovládacích prvků na obrazovce nebo myši.
5.2 Nahrávání
NVR podporuje různé režimy nahrávání:
- Nepřetržité nahrávání: Records video constantly.
- Záznam detekce pohybu: Nahrává pouze tehdy, když je v kameře detekován pohyb view.
- Plánované nahrávání: Záznamy na základě předem definovaného plánu.
Configure recording settings via the NVR's menu interface (typically accessible by right-clicking on the live view screen and selecting 'Menu').
5.3 Přehrávání
Na review zaznamenané footage:
- V hlavním rozhraní NVR přejděte do nabídky „Přehrávání“.
- Vyberte požadovanou kameru (kamery) a rozsah data/času.
- Pro navigaci v souboru použijte ovládací prvky přehrávání (přehrávání, pozastavení, rychlé přehrávání vpřed, přehrávání vzad).tage.
5.4 Vzdálený přístup
Na dálku viewing and management, download the Hik-Connect app on your mobile device or use the Hik-Connect web portal. The NVR must be connected to the internet, and you will need to register the device with your Hik-Connect account. Refer to the Hik-Connect documentation for detailed instructions.
6. Údržba
6.1 aktualizací firmwaru
Pravidelně kontrolujte oficiální Hikvision website for firmware updates. Updating the firmware can improve performance, add new features, and enhance security. Follow the instructions provided with the firmware update package carefully.
6.2 Správa pevných disků
Regularly check the health status of your hard drive through the NVR's menu. If the hard drive shows errors or is nearing its end of life, consider replacing it to prevent data loss. You may also need to format the hard drive periodically, which will erase all recorded data.
6.3 Čištění
Clean the exterior of the NVR with a soft, dry cloth. Do not use liquid cleaners or aerosols. Ensure ventilation openings are free from dust and debris.
7. Řešení problémů
| Problém | Možná příčina | Řešení |
|---|---|---|
| Na monitoru se nezobrazuje video | Volné připojení kabelu, nesprávný vstupní zdroj na monitoru, NVR není zapnutý. | Check HDMI/VGA cable connections. Ensure monitor is set to correct input. Verify NVR power. |
| Žádný obraz z kamery | Camera not powered, network issue, camera not added/activated. | Check PoE cable connection. Ensure camera is powered. Verify camera IP address and add it to the NVR. |
| Nelze nahrávat video | No hard drive, hard drive not formatted, hard drive full, recording schedule not set. | Install and format a hard drive. Check hard drive status. Configure recording schedule. |
| Vzdálený přístup nefunguje | NVR not connected to internet, incorrect network settings, Hik-Connect account issue. | Verify NVR network connection. Check network settings (IP, DNS). Ensure NVR is added to Hik-Connect. |
8. Specifikace
| Funkce | Specifikace |
|---|---|
| Číslo modelu | DS-7604NI-K1/4P |
| Značka | Hikvision |
| Technologie připojení | Ethernet |
| Kompatibilní zařízení | Fotoaparát |
| Rozměry produktu (D x Š x V) | 8.5 x 29.8 x 42.1 cm |
| Kapacita paměti | 6 TB |
| Velikost pevného disku | 6 TB |
| Počet kanálů | 4 |
| Hmotnost položky | 2.2 libry |
| Digital Video Media Format | Pevný disk |
| Zvukový vstup | RCA |
| Celkový počet portů USB | 2 |
| Video vstup | VGA, HDMI |
| Počet jednotek | 1.0 Počet |
| Výrobce | Hikvision |
| Globální obchodní identifikační číslo | 06954273652883 |
| Číslo dílu | KNVRDS7604NI-K1/4P |
9. Záruka a podpora
For warranty information, technical support, and service inquiries, please refer to the official Hikvision webnebo se obraťte na autorizovaného prodejce Hikvision. Uschovejte si účtenku jako doklad o koupi pro případ reklamace.
Online zdroje: Visit the official Hikvision support page for FAQs, downloads, and contact information.