Walfront USB 3-in-1 Endoscope Inspection Camera
Walfront USB 3-in-1 Endoscope Inspection Camera User Manual
Model: USB 3-in-1 Endoscope Inspection Camera
1. Úvod
This manual provides detailed instructions for the proper use, setup, and maintenance of your Walfront USB 3-in-1 Endoscope Inspection Camera. This device is designed for visual inspection in hard-to-reach areas, offering compatibility with Android devices (with OTG support) and Windows PCs via USB, Micro USB, and Type-C connections.
2. Obsah balení
Zkontrolujte prosím, zda jsou všechny níže uvedené položky součástí balení. Pokud některé položky chybí nebo jsou poškozené, kontaktujte prosím zákaznickou podporu.
- USB 3-in-1 Endoscope Inspection Camera (1.5M cable)
- Hákový nástavec
- Magnetický držák
- Strana view uchycení zrcátka
- Uživatelská příručka (tento dokument)
- Software CD (for PC driver/application)

Image 2.1: Contents of the Walfront USB 3-in-1 Endoscope Inspection Camera package, including the camera, various attachments, and software CD.
3. Bezpečnostní informace
- Nepokoušejte se zařízení rozebírat nebo upravovat.
- Chraňte zařízení před extrémními teplotami a přímým slunečním zářením.
- Ensure the camera lens is clean before use for optimal image quality.
- The camera head is IP67 waterproof, but the USB connector and control unit are not. Do not immerse the entire device in water.
- Use only as intended for inspection purposes.
4. Nastavení
4.1 Instalace softwaru
Pro zařízení Android:
- Ujistěte se, že vaše zařízení se systémem Android podporuje funkci OTG (On-The-Go).
- Download and install a compatible 'USB Camera' or 'OTG View' application from the Google Play Store. Popular options include 'CameraFi2' or 'USB Camera'.
Pro Windows PC:
- Insert the provided software CD into your computer's CD-ROM drive.
- Follow the on-screen instructions to install the necessary drivers and viewsoftware.
- Alternatively, if your PC does not have a CD drive, search online for 'Walfront Endoscope Camera Driver' or 'USB Camera Driver' and download from a reputable source.
4.2 Připojení fotoaparátu
The endoscope features a 3-in-1 connector for versatile compatibility:
- Standard USB: For connecting to a PC or laptop.
- Micro USB: For connecting to older Android smartphones/tablets.
- USB typu C: For connecting to newer Android smartphones/tablets.
- Vyberte vhodný konektor pro vaše zařízení.
- Plug the camera's connector into your device's USB port.
- For Android, open the installed USB camera application. For PC, open the installed viewing software or a generic camera application.

Image 4.2.1: The versatile 3-in-1 connector, offering USB, Micro USB, and Type-C options for broad device compatibility.
4.3 Připevnění příslušenství
The endoscope comes with a hook, magnet, and side view mirror attachment. These can be screwed onto the camera head for specific inspection needs.
- Gently screw the desired attachment onto the threaded tip of the camera head.
- Ensure it is securely fastened but do not overtighten.

Image 4.3.1: The included hook, magnet, and mirror attachments, designed to enhance the camera's utility in various inspection scenarios.
5. Návod k obsluze
5.1 Nastavení jasu LED diod
The camera features 6 adjustable white LED lights to illuminate dark inspection areas. A control knob located on the USB cable allows you to adjust the brightness.
- Once the camera is connected and the application is running, rotate the knob on the cable to increase or decrease the LED brightness.
- Upravte jas pro dosažení optimální viditelnosti bez přeexponování.

Image 5.1.1: The camera head featuring 6 adjustable white LED lights, providing illumination for dark inspection environments.
5.2 Pořizování obrázků a videí
The endoscope captures images and videos at a resolution of 640x480 pixels.
- Navigate the camera into the desired inspection area.
- Use the controls within your chosen Android application or PC software to capture still images or record video footage.
- Saved media files can typically be found in your device's gallery or a designated folder within the application.

Image 5.2.1: The endoscope camera in use, connected to a laptop, demonstrating its application for visual inspection.
5.3 Waterproof Capability
The camera head is rated IP67 waterproof, allowing for inspection in wet or submerged environments. This makes it suitable for surveying pipes and other areas where moisture is present.
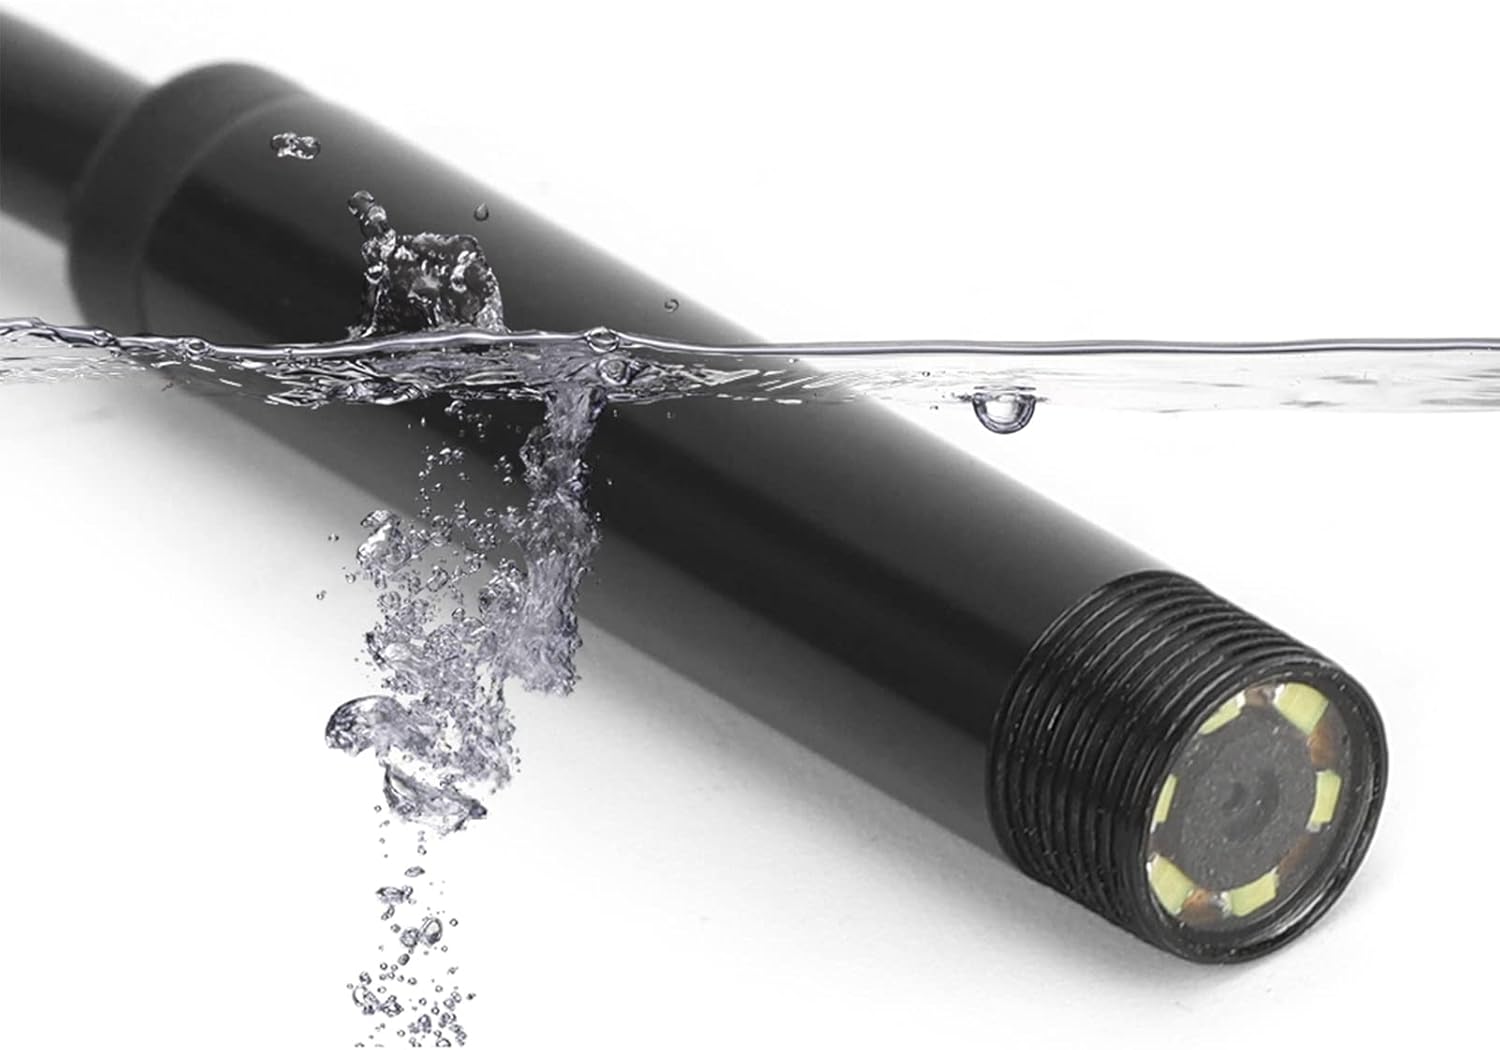
Image 5.3.1: The endoscope camera head submerged in water, illustrating its IP67 waterproof capability for use in wet conditions.
6. Údržba
- Čištění: After each use, gently wipe the camera lens and cable with a soft, dry cloth. For stubborn dirt, a slightly damp cloth can be used, ensuring no moisture enters the USB connector.
- Skladování: Store the endoscope in a clean, dry place, away from direct sunlight and extreme temperatures. Coil the cable loosely to prevent damage.
- Ochrana objektivu: Avoid scratching the camera lens. If using in abrasive environments, consider protective measures if available.
7. Řešení problémů
| Problém | Možná příčina | Řešení |
|---|---|---|
| No image on screen / Camera not detected | Incorrect connection; App/driver issue; OTG not enabled (Android) | Ensure the camera is securely plugged in. Restart the application or computer. Verify OTG support and enable it in your Android device settings if necessary. Reinstall drivers/app. |
| Obraz je rozmazaný nebo nejasný | Dirty lens; Insufficient lighting; Object too close/far; Low resolution | Clean the camera lens. Adjust LED brightness. Ensure the object is within the camera's focal range (1-10 cm). Note that the camera's resolution is 640x480 pixels. |
| LED světla nefungují | Brightness knob set to minimum; Power issue | Rotate the brightness adjustment knob on the cable. Ensure the camera is properly connected and receiving power. |
| Aplikace padá nebo zamrzá | Software incompatibility; Device resource issues | Try a different compatible USB camera application. Close other applications running on your device. Restart your device. |
8. Specifikace
- Model: USB 3-in-1 Endoscope Inspection Camera
- Rezoluce: 0.3 Megapixels (640x480 pixels)
- Délka kabelu: 1.5 metrů (přibližně 4.9 stop)
- Průměr kamery: 7 mm
- LED světla: 6 nastavitelných bílých LED
- Hodnocení voděodolnosti: IP67 (camera head only)
- Macro Focus Range: 1-10 cm
- Kompatibilita: Android (OTG support required), Windows XP/7/8/10 PC
- Konektory: USB, Micro USB, Type-C
- Rozměry produktu: 4.72 x 4.72 x 1.18 cm (obal)
- Hmotnost položky: 3.2 unce
9. Záruka a podpora
Walfront products are designed for reliability and performance. For specific warranty details, please refer to the documentation provided at the time of purchase or contact Walfront customer support directly. If you encounter any issues not covered in this manual, please reach out to our support team for assistance.
Kontaktní údaje: Please visit the official Walfront webNejnovější kontaktní informace naleznete na webových stránkách nebo na stránce podpory vašeho prodejce.
Ask a question about this manual
Ask about setup, troubleshooting, compatibility, parts, safety, or missing instructions. Manuals+ will review the question and use this page’s manual context to help answer it.