1. Úvod
This manual provides essential information for the safe and effective operation, maintenance, and troubleshooting of the INSIZE ISH-PHB Portable Leeb Hardness Tester. Please read this manual thoroughly before using the device to ensure proper functionality and to prevent damage or injury. Keep this manual for future reference.
2. Bezpečnostní pokyny
Observe the following safety precautions to prevent personal injury and damage to the instrument:
- Always operate the device in a stable and dry environment.
- Nevystavujte zařízení extrémním teplotám, vlhkosti nebo korozivním látkám.
- Zabraňte pádu zařízení nebo jeho vystavení silným nárazům.
- Nepokoušejte se zařízení rozebírat ani opravovat sami. Obraťte se na kvalifikovaný servisní personál.
- Ensure the test surface is clean, smooth, and free from oil, rust, or scale for accurate readings.
- Wear appropriate personal protective equipment (PPE) if required by your work environment.
3. Obsah balení
Pečlivě vybalte krabici a zkontrolujte, zda jsou všechny položky přítomny a nepoškozené. Pokud některé položky chybí nebo jsou poškozené, ihned kontaktujte svého dodavatele.
- INSIZE ISH-PHB Portable Leeb Hardness Tester main unit
- Impact device (Type D)
- Standard test block
- Čisticí kartáč
- USB kabel
- Návod k obsluze
- Přepravní pouzdro
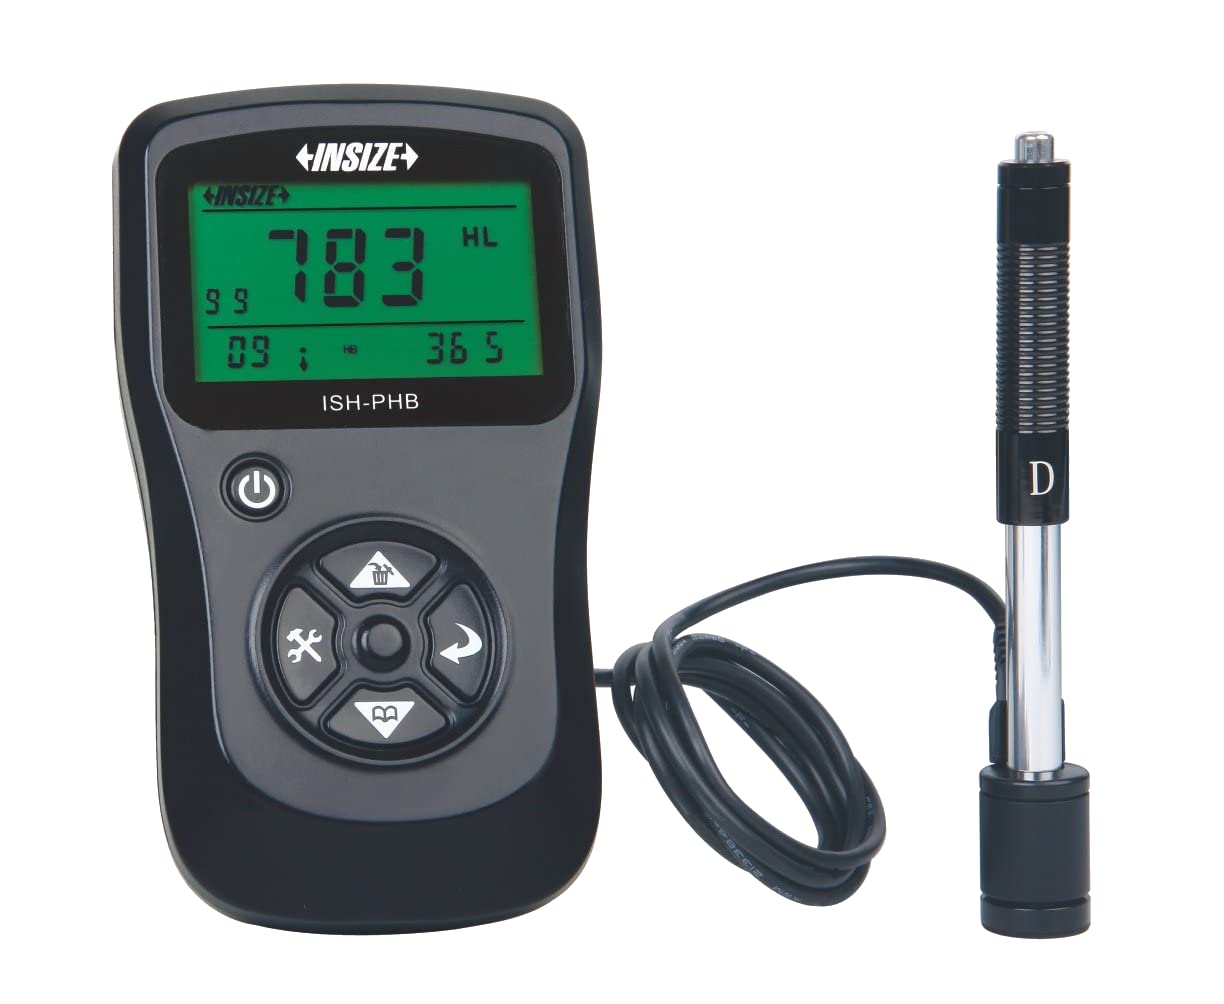
Image showing the main unit of the INSIZE ISH-PHB Portable Leeb Hardness Tester, displaying its screen and control buttons.
4. Nastavení
Follow these steps to prepare your INSIZE ISH-PHB for use:
- Nabijte baterii: Connect the device to a power source using the provided USB cable. Allow the battery to fully charge before first use. The charging indicator will show the status.
- Attach Impact Device: Carefully connect the impact device (Type D) to the main unit. Ensure it is securely fastened.
- Zapnutí: Stiskněte a podržte tlačítko napájení, dokud se nerozsvítí displej.
- Select Material and Hardness Scale: Navigate through the menu using the arrow keys to select the appropriate material (e.g., Steel, Cast Iron) and hardness scale (e.g., HRC, HV, HB) for your test specimen.
- Kalibrace (volitelné): For critical measurements, perform a calibration using the standard test block provided. Refer to the 'Calibration' section in the full manual for detailed steps.
5. Návod k obsluze
To perform a hardness test:
- Prepare the Test Surface: Ensure the surface of the material to be tested is clean, smooth, and flat. Remove any paint, rust, or scale. The minimum thickness of the test piece should be sufficient to prevent deformation during impact.
- Load the Impact Device: Push the impact body down into the guide tube until it locks into place.
- Umístěte zařízení: Place the impact device firmly and perpendicularly onto the test surface. Ensure there is no relative movement between the device and the test piece.
- Zahájit test: Press the release button on the impact device. The impact body will strike the surface, and the hardness value will be displayed on the main unit's screen.
- Čtení záznamu: Note down the displayed hardness value. For best accuracy, take multiple readings (e.g., 3-5) at different points on the test surface and calculate the average.
- Vypnout: Po použití stiskněte a podržte tlačítko napájení pro vypnutí zařízení.
6. Údržba
Regular maintenance ensures the longevity and accuracy of your hardness tester:
- Čištění: Use the provided cleaning brush to remove any debris from the impact device's guide tube after each use. Wipe the main unit with a soft, dry cloth. Do not use abrasive cleaners or solvents.
- Skladování: Store the device and its accessories in the carrying case in a dry, dust-free environment when not in use. Avoid extreme temperatures.
- Péče o baterie: Recharge the battery regularly, even if the device is not in frequent use, to maintain battery health. Do not allow the battery to fully discharge for extended periods.
- Kalibrace: Periodically check the calibration of the device using the standard test block. If readings deviate significantly, recalibration or service may be required.
7. Řešení problémů
Běžné problémy a jejich řešení naleznete v tabulce níže:
| Problém | Možná příčina | Řešení |
|---|---|---|
| Zařízení se nezapne | Nízká nebo vybitá baterie | Nabijte baterii pomocí USB kabelu. |
| Nepřesné údaje |
|
|
| Impact device not loading | Debris in guide tube | Clean the guide tube with the provided brush. |
| Displej zobrazuje chybovou zprávu | Vnitřní porucha | Power off the device, wait a few seconds, then power on again. If the error persists, contact customer support. |
8. Specifikace
Key technical specifications for the INSIZE ISH-PHB Portable Leeb Hardness Tester:
| Funkce | Detail |
|---|---|
| Značka | Insize |
| Model | ISH-PHB |
| Stupnice tvrdosti | HL, HB, HRB, HRC, HRA, HV, HS |
| Nárazové zařízení | Type D (standard) |
| Rozsah měření | Varies by material and scale (refer to full technical datasheet) |
| Přesnost | ±6 HLD (when HL=800) |
| Zobrazit | LCD s podsvícením |
| Napájení | Dobíjecí Li-ion baterie |
| Provozní teplota | 0 °C až 40 °C (32 °F až 104 °F) |
| Rozměry | Compact and portable (specific dimensions not provided in source) |
9. Záruka a podpora
INSIZE products are manufactured to high-quality standards and are warranted against defects in materials and workmanship for a period typically specified at the point of purchase. Please retain your proof of purchase for warranty claims.
For technical support, service, or warranty inquiries, please contact your authorized INSIZE distributor or visit the official INSIZE website for contact information. Do not attempt to repair the device yourself, as this may void the warranty.