
1. Úvod
Děkuji za nákupasing the Cheerlux C6 Mini Portable LED Home Cinema Projector. This manual provides essential information for the safe and efficient operation of your projector. Please read it thoroughly before use and retain it for future reference.
2. Konec produktuview
The Cheerlux C6 is a compact and portable LED projector designed for home cinema use. It features an integrated speaker and multiple connectivity options.
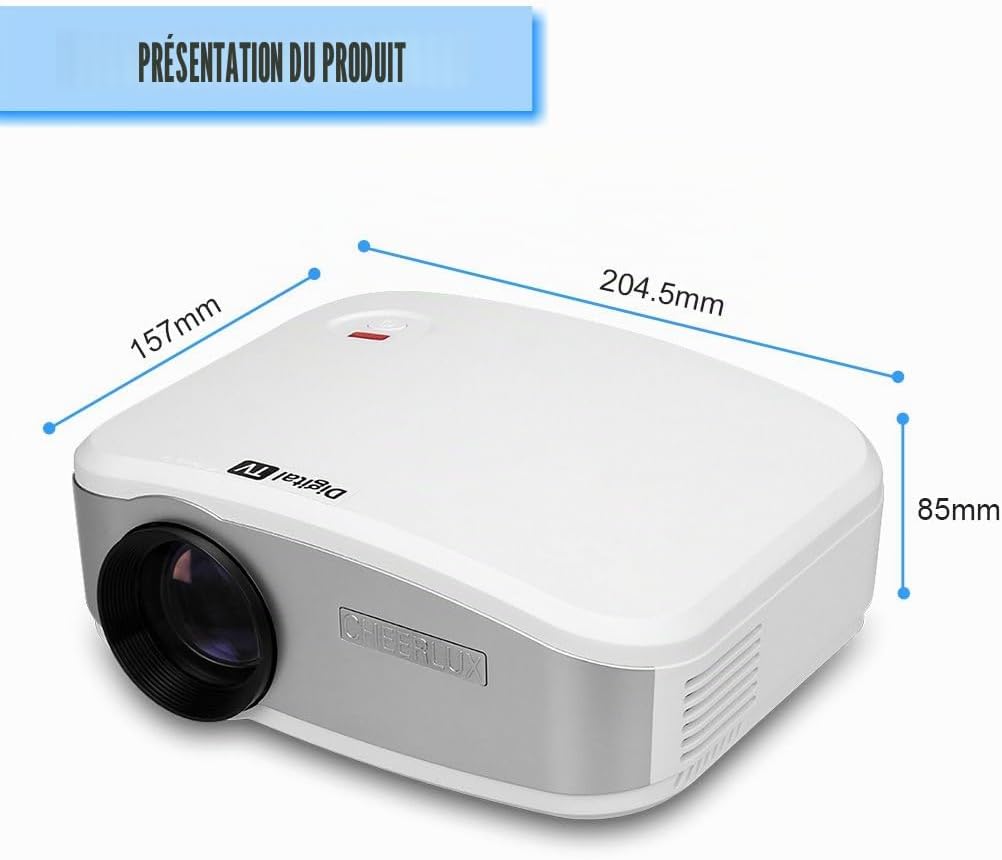
Obrázek 2.1: Přední view of the Cheerlux C6 projector with its dimensions (204.5mm x 157mm x 85mm).
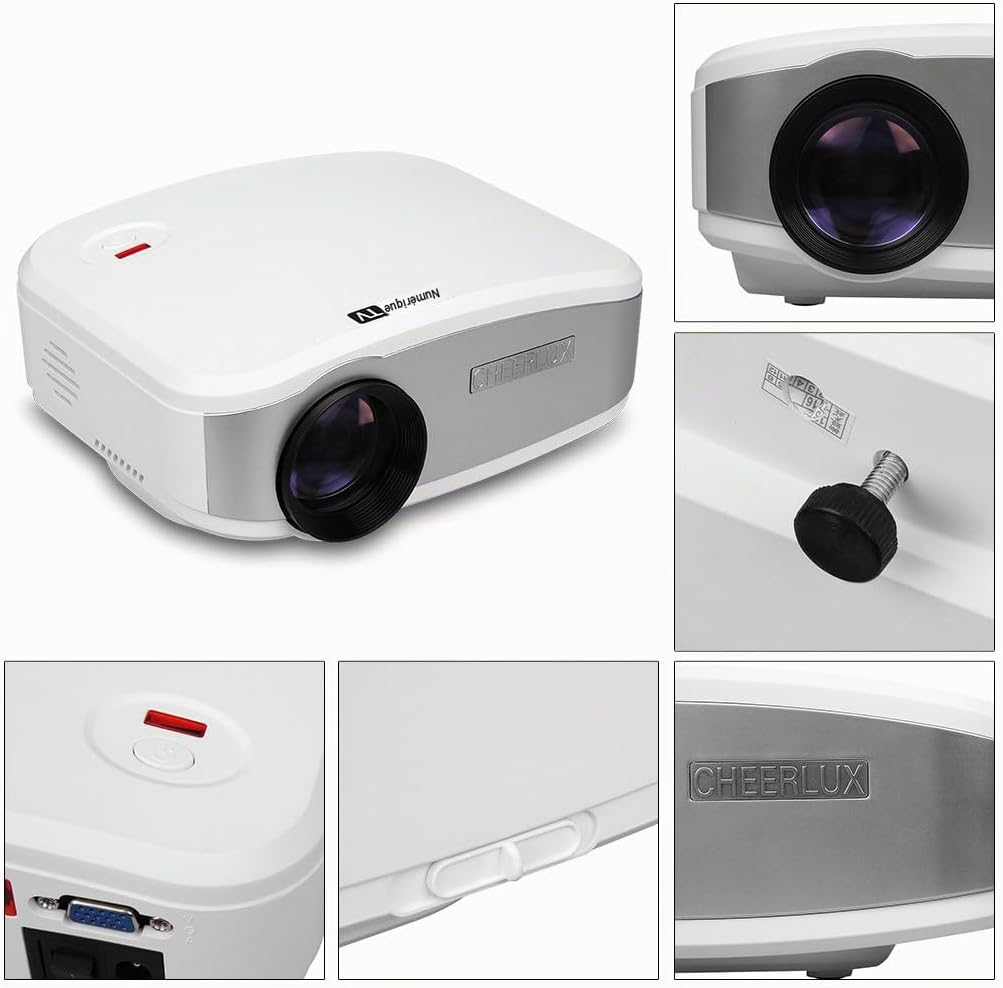
Obrázek 2.2: Detailní views highlighting the projector's design, lens, power button, and branding.
2.1 Obsah balení
Ověřte, zda jsou v balení přítomny všechny položky:
- Projektor Cheerlux C6
- Napájecí adaptér
- Video Cable (AV cable)
- Dálkové ovládání
- Uživatelská příručka (tento dokument)

Obrázek 2.3: Standard accessories included with the Cheerlux C6 projector.
2.2 Projector Ports and Controls

Obrázek 2.4: Rear panel connections and controls.
- TV vstup: For connecting to an antenna or cable TV source.
- USB port: For connecting USB storage devices (e.g., flash drives) to play media files.
- Port HDMI: For connecting high-definition devices such as laptops, game consoles, or Blu-ray players.
- 3.5mm audio výstup: Pro připojení externích reproduktorů nebo sluchátek.
- IR přijímač: Infračervený přijímač pro dálkové ovládání.
- AV vstup: For connecting devices using a composite video and stereo audio cable.
- VGA port: For connecting computers or laptops with a VGA output.
- Vypínač: Hlavní vypínač.
- Korekce lichoběžníkového zkreslení: Manual adjustment for image distortion.
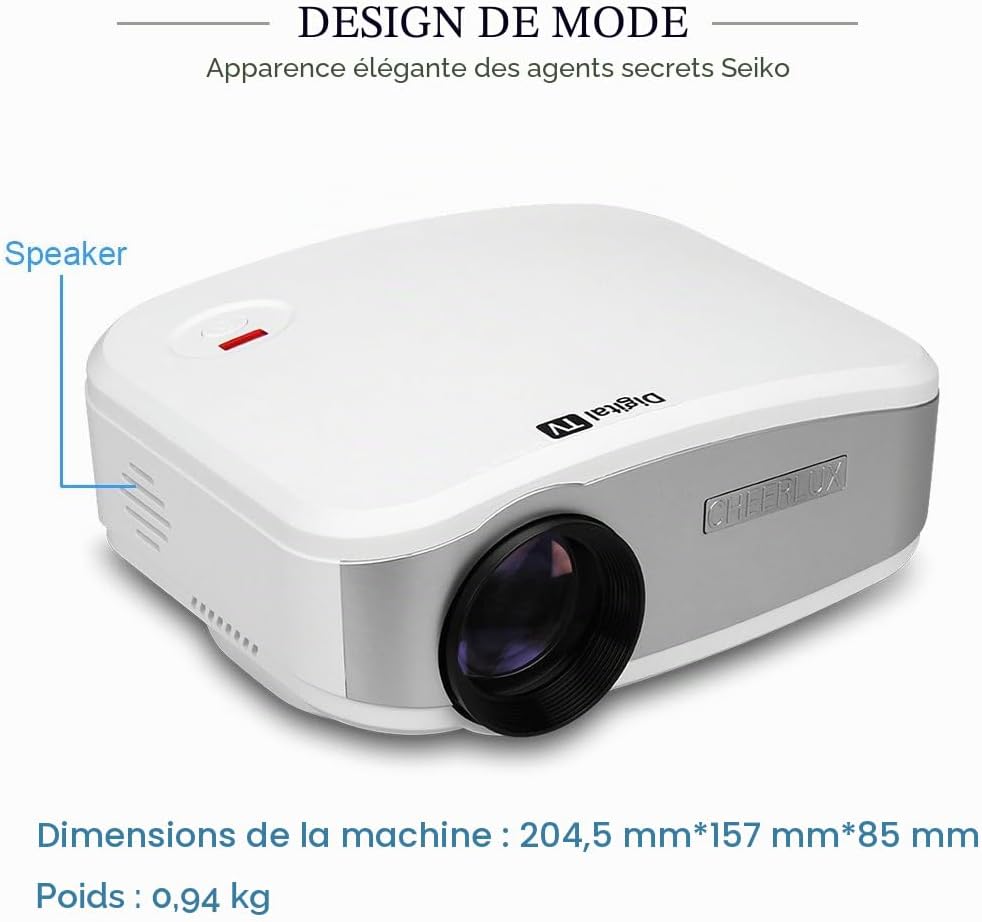
Obrázek 2.5: Strana view indicating the location of the integrated speaker.
3. Nastavení
3.1 Umístění
Place the projector on a stable, flat surface. Ensure there is adequate ventilation around the projector to prevent overheating. The projection distance will determine the image size. Adjust the distance to achieve your desired screen size.
3.2 Připojení napájení
- Připojte napájecí adaptér k napájecímu vstupu projektoru.
- Zapojte napájecí adaptér do vhodné elektrické zásuvky.
- Flip the main power switch (located on the rear panel) to the "ON" position. The power indicator light should illuminate.
3.3 Počáteční zapnutí a nastavení zaostření
- Stisknutím tlačítka napájení na projektoru nebo na dálkovém ovladači zapněte jednotku.
- Project an image onto a screen or wall.
- Otáčejte zaostřovacím kroužkem na objektivu projektoru, dokud se obraz nezobrazí ostrý a jasný.
- If the image appears trapezoidal, use the keystone correction knob (located on the rear panel) to adjust the image geometry until it is rectangular.
4. Návod k obsluze
4.1 Obsluha dálkového ovladače
The included remote control allows for convenient operation of the projector from a distance. Ensure the remote is pointed towards the IR receiver on the projector's rear panel.
Obrázek 4.1: The remote control for navigating menus and functions.
- Vypínač: Slouží k zapnutí nebo vypnutí projektoru.
- Tlačítko zdroje: Selects the input source (HDMI, VGA, USB, AV, TV).
- Šipky: Procházejte nabídky a možnosti.
- Tlačítko OK/Enter: Potvrzuje výběr.
- Tlačítko nabídky: Přístup k hlavní nabídce nastavení.
- Tlačítka hlasitosti: Nastavuje hlasitost zvuku.
- Tlačítko ztlumení: Ztlumí nebo zapne zvuk.
4.2 Výběr vstupního zdroje
After connecting your desired device, press the "Source" button on the remote control or the projector's control panel to cycle through available input sources (HDMI, VGA, USB, AV, TV) until your device's signal is displayed.
4.3 Navigace v menu a nastavení
Press the "Menu" button to access the projector's settings. Use the arrow keys to navigate and the "OK" button to select. Common settings include:
- Nastavení obrazu: Adjust brightness, contrast, color, sharpness, and aspect ratio.
- Nastavení zvuku: Adjust volume, sound mode, and balance.
- Nastavení času: Set sleep timer or clock.
- Nastavení možností: Language, factory reset, software update.
5. Konektivita
The Cheerlux C6 projector offers various connection options to suit different devices.

Obrázek 5.1: Examples of compatible devices for the Cheerlux C6 projector.
- HDMI: Connect to laptops, desktop computers, game consoles (e.g., PS3), Blu-ray players, and TV decoders for high-quality digital video and audio.
- VGA: Connect to older desktop computers or laptops for analog video signals.
- USB: Insert a USB flash drive to play supported media files (videos, photos, music, text documents) directly from the drive.
- AV (kompozitní video): Connect to DVD players, VCRs, older game consoles, or cameras using the included AV cable for standard definition video and stereo audio.
- TELEVIZE: Connect an antenna or cable TV source to watch broadcast television channels.
- 3.5mm audio výstup: Connect external speakers or headphones for enhanced audio experience. The projector has an integrated speaker, but external audio devices can be used for louder or higher quality sound.
6. Údržba
6.1 Čištění objektivu
K jemnému otření čočky projektoru použijte měkký hadřík bez žmolků, speciálně určený pro optické čočky. Nepoužívejte abrazivní čisticí prostředky ani nadměrnou sílu, mohlo by dojít k poškrábání čočky.
6.2 Větrání
Ensure the projector's ventilation vents are clear and unobstructed. Blocked vents can lead to overheating and damage the projector. Periodically clean dust from the vents using a soft brush or compressed air.
6.3 Skladování
Pokud projektor delší dobu nepoužíváte, skladujte jej na chladném a suchém místě mimo dosah přímého slunečního záření a extrémních teplot. Zakryjte objektiv krytkou, abyste jej ochránili před prachem.
7. Řešení problémů
Pokud se s projektorem setkáte s problémy, podívejte se na následující běžné problémy a jejich řešení:
| Problém | Možná příčina / řešení |
|---|---|
| Není zobrazen žádný obrázek |
|
| Obraz je rozmazaný |
|
| Obraz je zkreslený (lichoběžníkový) |
|
| Žádný zvuk |
|
| Dálkové ovládání nefunguje |
|
8. Specifikace
| Funkce | Detail |
|---|---|
| Značka | Cheerlux |
| Číslo modelu | C6 |
| Doporučené použití | Domácí kino |
| Speciální funkce | Portable, Integrated Speaker |
| Technologie připojení | USB, VGA, HDMI, AV, TV |
| Rozlišení displeje | 800 x 480 pixelů |
| Maximální rozlišení displeje | 800 x 480 pixelů |
| Typ zobrazení | LED |
| Form Factor | Přenosný |
| Jas | 3000 XNUMX lumenů |
| Kontrastní poměr | 1000:1 |
| Kompatibilní zařízení | Laptop, Tablet, Game Console, Smartphone, Speaker, Television |
| Kontrolní metoda | Dálkové ovládání |
| Kódování videa | H.264, H.265 |
| Hmotnost položky | 2.07 libry (přibližně 0.94 kg) |
| Barva | Bílý |
9. Záruka a podpora
For warranty information or technical support, please refer to the documentation provided at the time of purchase or contact Cheerlux customer service. Keep your purchase receipt as proof of purchase.