1. Úvod
Welcome to the Dash Clear View Toaster instruction manual. This appliance is designed to provide a precise toasting experience with its unique clear-view window and versatile functions. Please read this manual thoroughly before use to ensure safe and efficient operation.
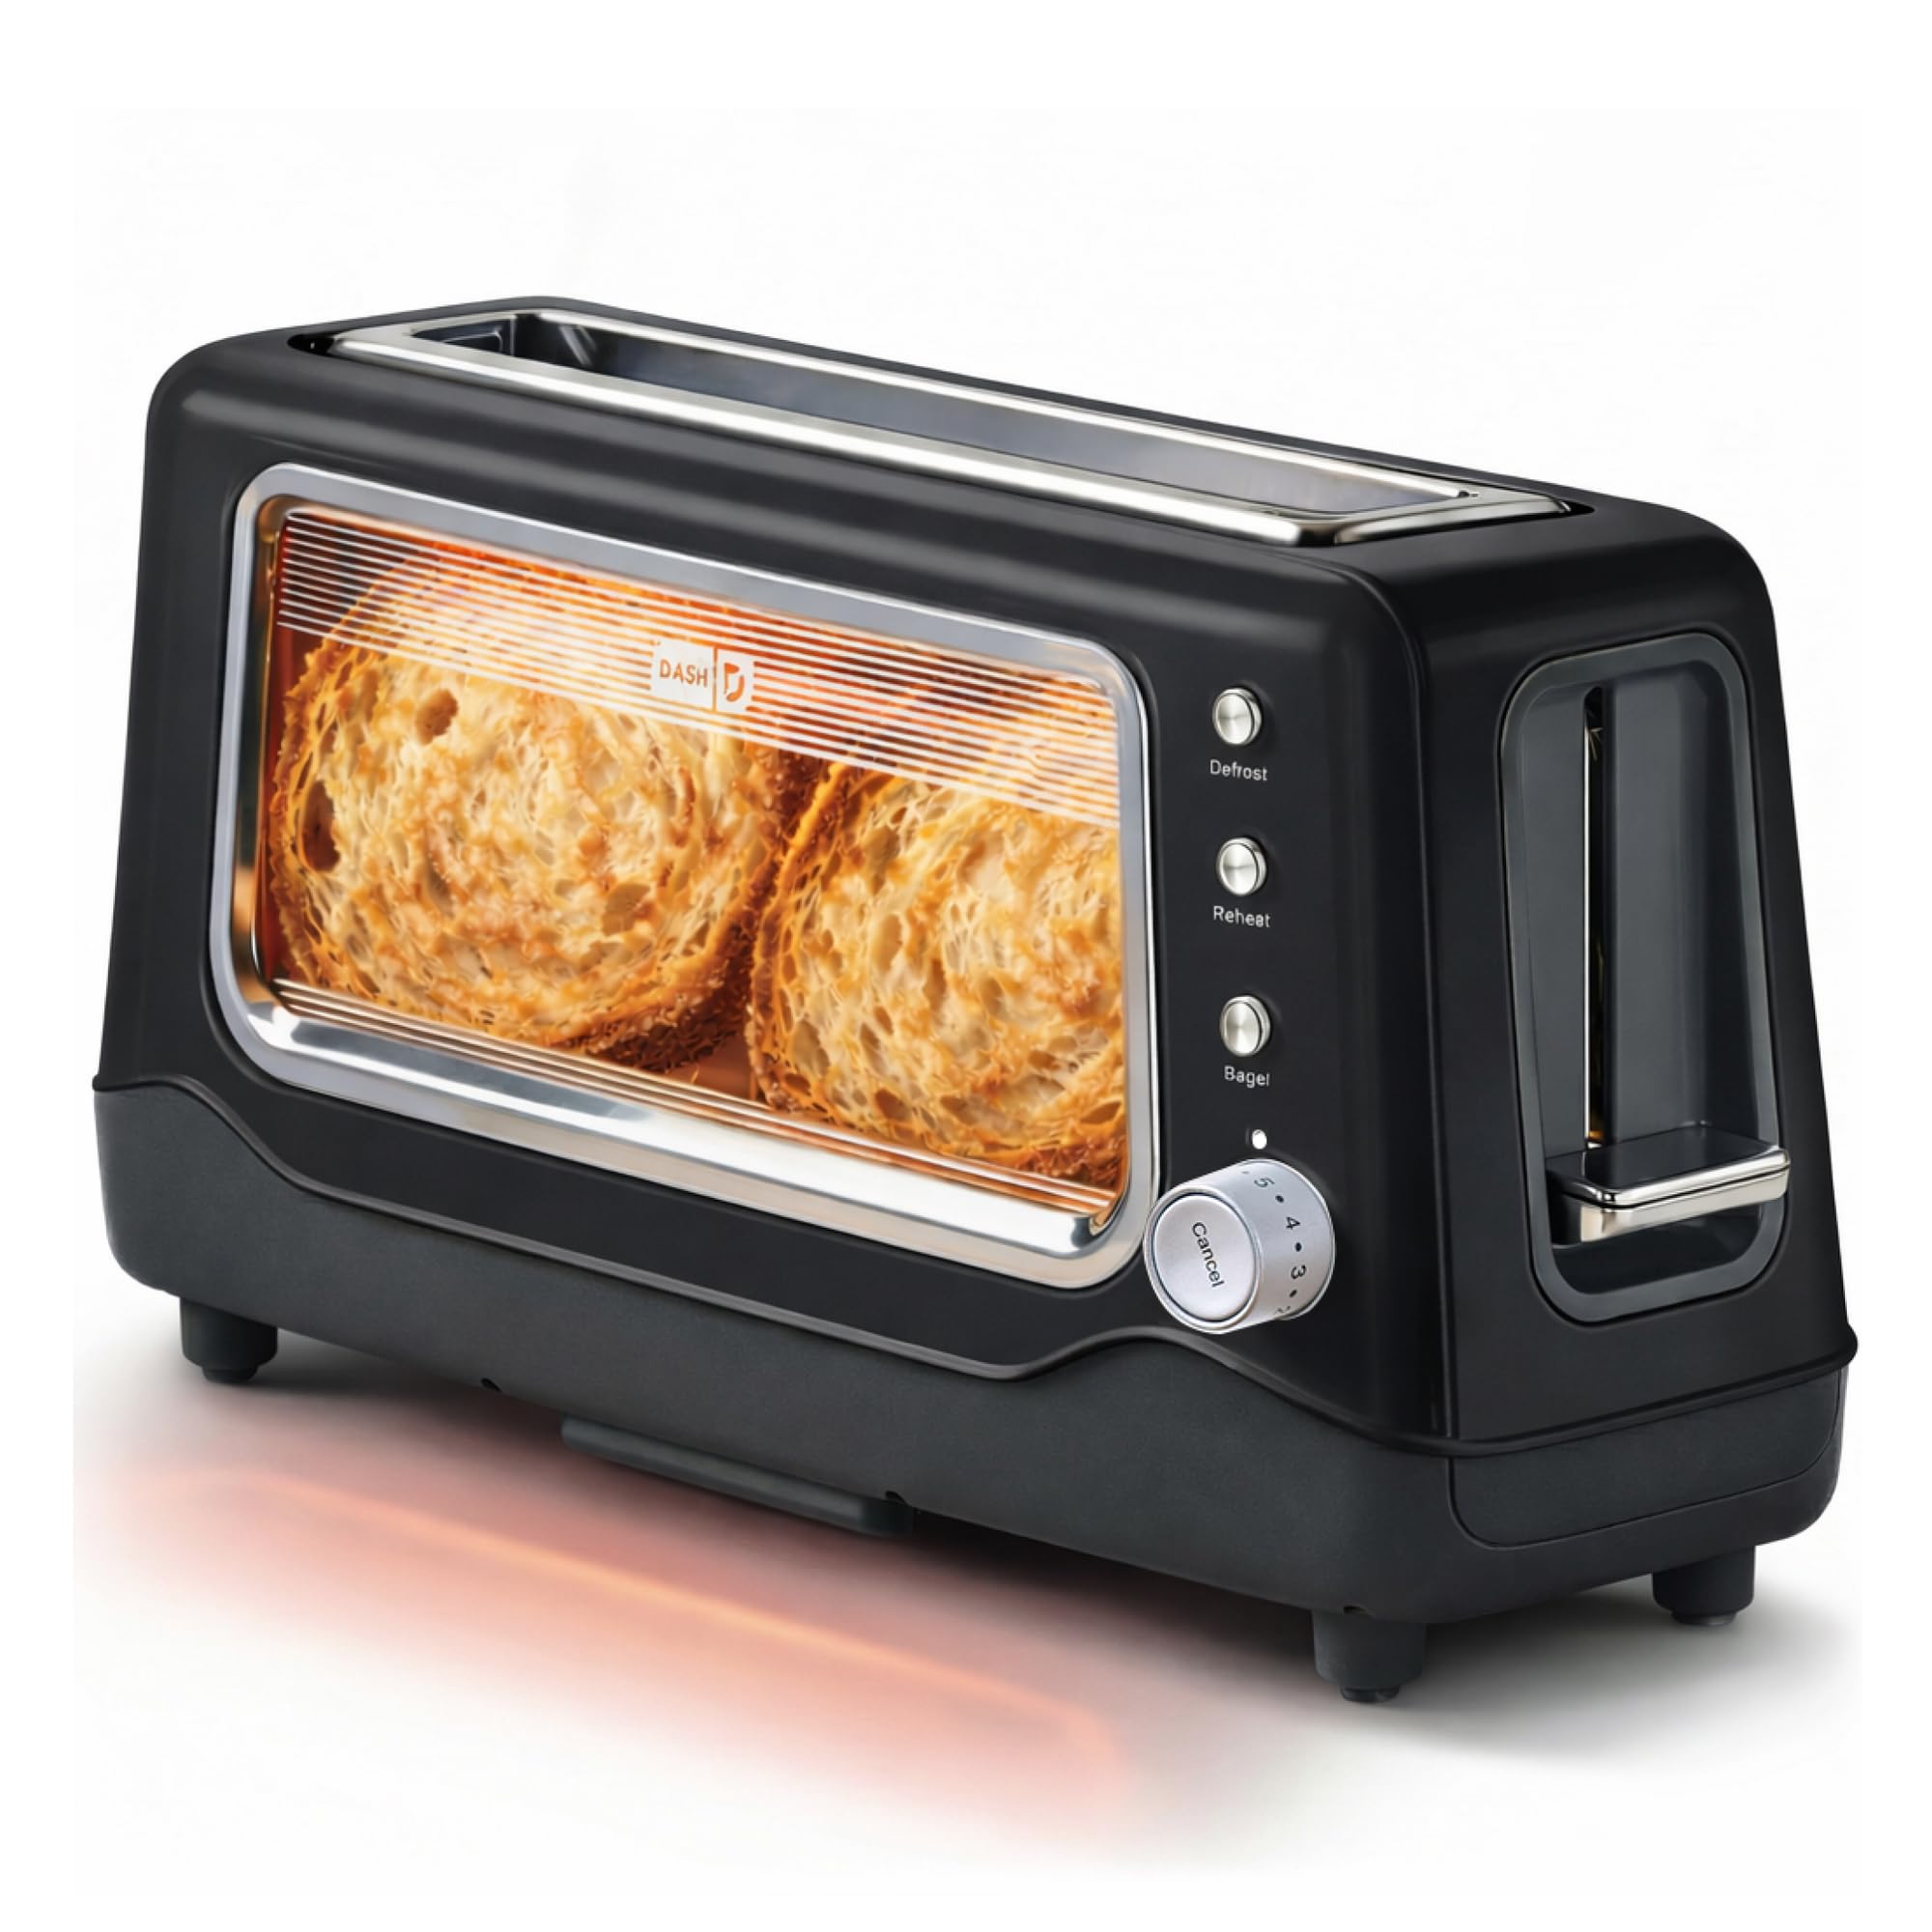
Image 1: The Dash Clear View Toaster in Black, showcasing its sleek design and prominent clear viewing okno.
2. Důležitá bezpečnostní opatření
Při používání elektrických spotřebičů je třeba vždy dodržovat základní bezpečnostní opatření, včetně:
- Před použitím toustovače si přečtěte všechny pokyny.
- Nedotýkejte se horkých povrchů. Použijte rukojeti nebo knoflíky.
- Abyste zabránili úrazu elektrickým proudem, neponořujte kabel, zástrčky nebo zařízení do vody nebo jiné kapaliny.
- Když je jakýkoli spotřebič používán dětmi nebo v jejich blízkosti, je nutný pečlivý dohled.
- Vytáhněte zástrčku ze zásuvky, když ji nepoužíváte a před čištěním. Před nasazením nebo sejmutím dílů nechte vychladnout.
- Neprovozujte žádný spotřebič s poškozenou šňůrou nebo zástrčkou nebo poté, co spotřebič nefunguje správně nebo byl jakýmkoliv způsobem poškozen.
- Nepoužívejte venku.
- Nenechávejte kabel viset přes okraj stolu nebo pultu ani se dotýkat horkých povrchů.
- Neumisťujte na horký plynový nebo elektrický hořák nebo do jeho blízkosti nebo do vyhřáté trouby.
- Nepoužívejte spotřebič k jinému než určenému použití.
- Nadměrně velké potraviny, obaly z kovové fólie ani kuchyňské náčiní se nesmí vkládat do toustovače, protože by mohly způsobit požár nebo úraz elektrickým proudem.
- Pokud jsou topinkovače zakryty nebo se dotýkají hořlavého materiálu, včetně záclon, závěsů, stěn a podobně, když jsou v provozu, může dojít k požáru.
- Nepokoušejte se vytlačit jídlo, když je toustovač zapojený.
- Nepracujte bez dozoru.
3. Vlastnosti produktu
The Dash Clear View Toaster is equipped with several features designed for convenience and optimal toasting results:
- Průhledná-View Okno: Allows you to monitor the toasting process to achieve your desired browning level.
- Seven-Browning Levels: Adjustable dial for precise control over toast shade, from light to dark.
- Extra široké sloty: Accommodates various bread types, including bagels, artisan bread, and Texas toast.
- 1-Touch Defrost Function: Ideal for toasting frozen items directly from the freezer.
- 1-Touch Reheat Function: Warms previously toasted items without further browning.
- 1-Touch Bagel Function: Opéká řeznou stranu bagelů a zároveň jemně ohřívá vnější stranu.
- Auto-Shut Off Feature: Automatically turns off the toaster when the cycle is complete, preventing over-toasting.
- Slide-Out Crumbs Tray: Easily removable for quick and convenient cleaning.
- Removable Glass Panel: Jasné viewing window can be removed for thorough cleaning.

Image 2: The Dash Clear View Toaster, highlighting its compact dimensions (15.5" W x 8" H x 6.5" D) and space-saving design on a kitchen countertop.

Image 3: A visual representation of the seven browning levels available on the Dash Clear View Toaster, ranging from very light to very dark toast.
4. Nastavení
- Rozbalit: Carefully remove the toaster and all packaging materials from the box. Retain packaging for future storage or returns.
- Umístění: Place the toaster on a stable, heat-resistant, and dry surface away from flammable materials. Ensure adequate ventilation around the appliance.
- První použití: Before first use, operate the toaster without bread on the highest setting to burn off any manufacturing residues. A slight odor or smoke may be present; this is normal.
- Připojení napájení: Plug the power cord into a standard 110V electrical outlet. The toaster lever will only stay down when the unit is plugged in.
5. Návod k obsluze
Follow these steps for optimal toasting:
- Vložte jídlo: Place slices of bread, bagels, or other items into the extra-wide toasting slots.
- Vyberte stupeň opečení: Turn the browning control dial to your desired setting (1 for lightest, 7 for darkest).
- Vyberte funkci (volitelné):
- Stiskněte tlačítko Odmrazit button for frozen items.
- Stiskněte tlačítko Znovu zahřejte button to warm already toasted items.
- Stiskněte tlačítko Bagel button for bagels (toasts cut side, warms outer side).
- Začněte opékat: Push the toast lever down until it locks into place. The heating elements will activate, and you can observe the browning through the clear-view okno.
- Zrušit opékání: Chcete-li cyklus opékání kdykoli zastavit, stiskněte tlačítko Zrušit button. The toast will automatically pop up.
- Načíst toast: Once the toasting cycle is complete, the toast will automatically pop up. Carefully remove the toasted items.

Image 4: The Dash Clear View Toaster with two bagel halves placed in its extra-wide slots, ready for toasting using the dedicated bagel function.
Video 1: A seller-provided video demonstrating the Dash Clear View Toaster's features, including the clear window and various settings. The video shows a person using the toaster with a large slice of sourdough bread, highlighting the extra-wide slot and the ability to monitor browning.
6. Údržba a čištění
Regular cleaning ensures the longevity and performance of your toaster:
- Odpojte a nechte vychladnout: Před čištěním vždy odpojte toustovač ze zásuvky a nechte jej zcela vychladnout.
- Vysypte misku na drobky: Slide out the crumb tray located at the bottom of the toaster. Discard crumbs and wipe the tray clean with a damp hadříkem. Zásobník bezpečně vložte zpět.
- Čistý skleněný panel: Jasný-view glass panel can be removed for thorough cleaning. Locate the release mechanism (often a lever or clip) at the bottom or side of the glass panel, slide it out, wash with warm soapy water, rinse, and dry completely before reinserting.
- Čištění exteriéru: Otřete vnější povrch toustovače reklamouamp tkanina. Nepoužívejte abrazivní čisticí prostředky ani neponořujte toustovač do vody.
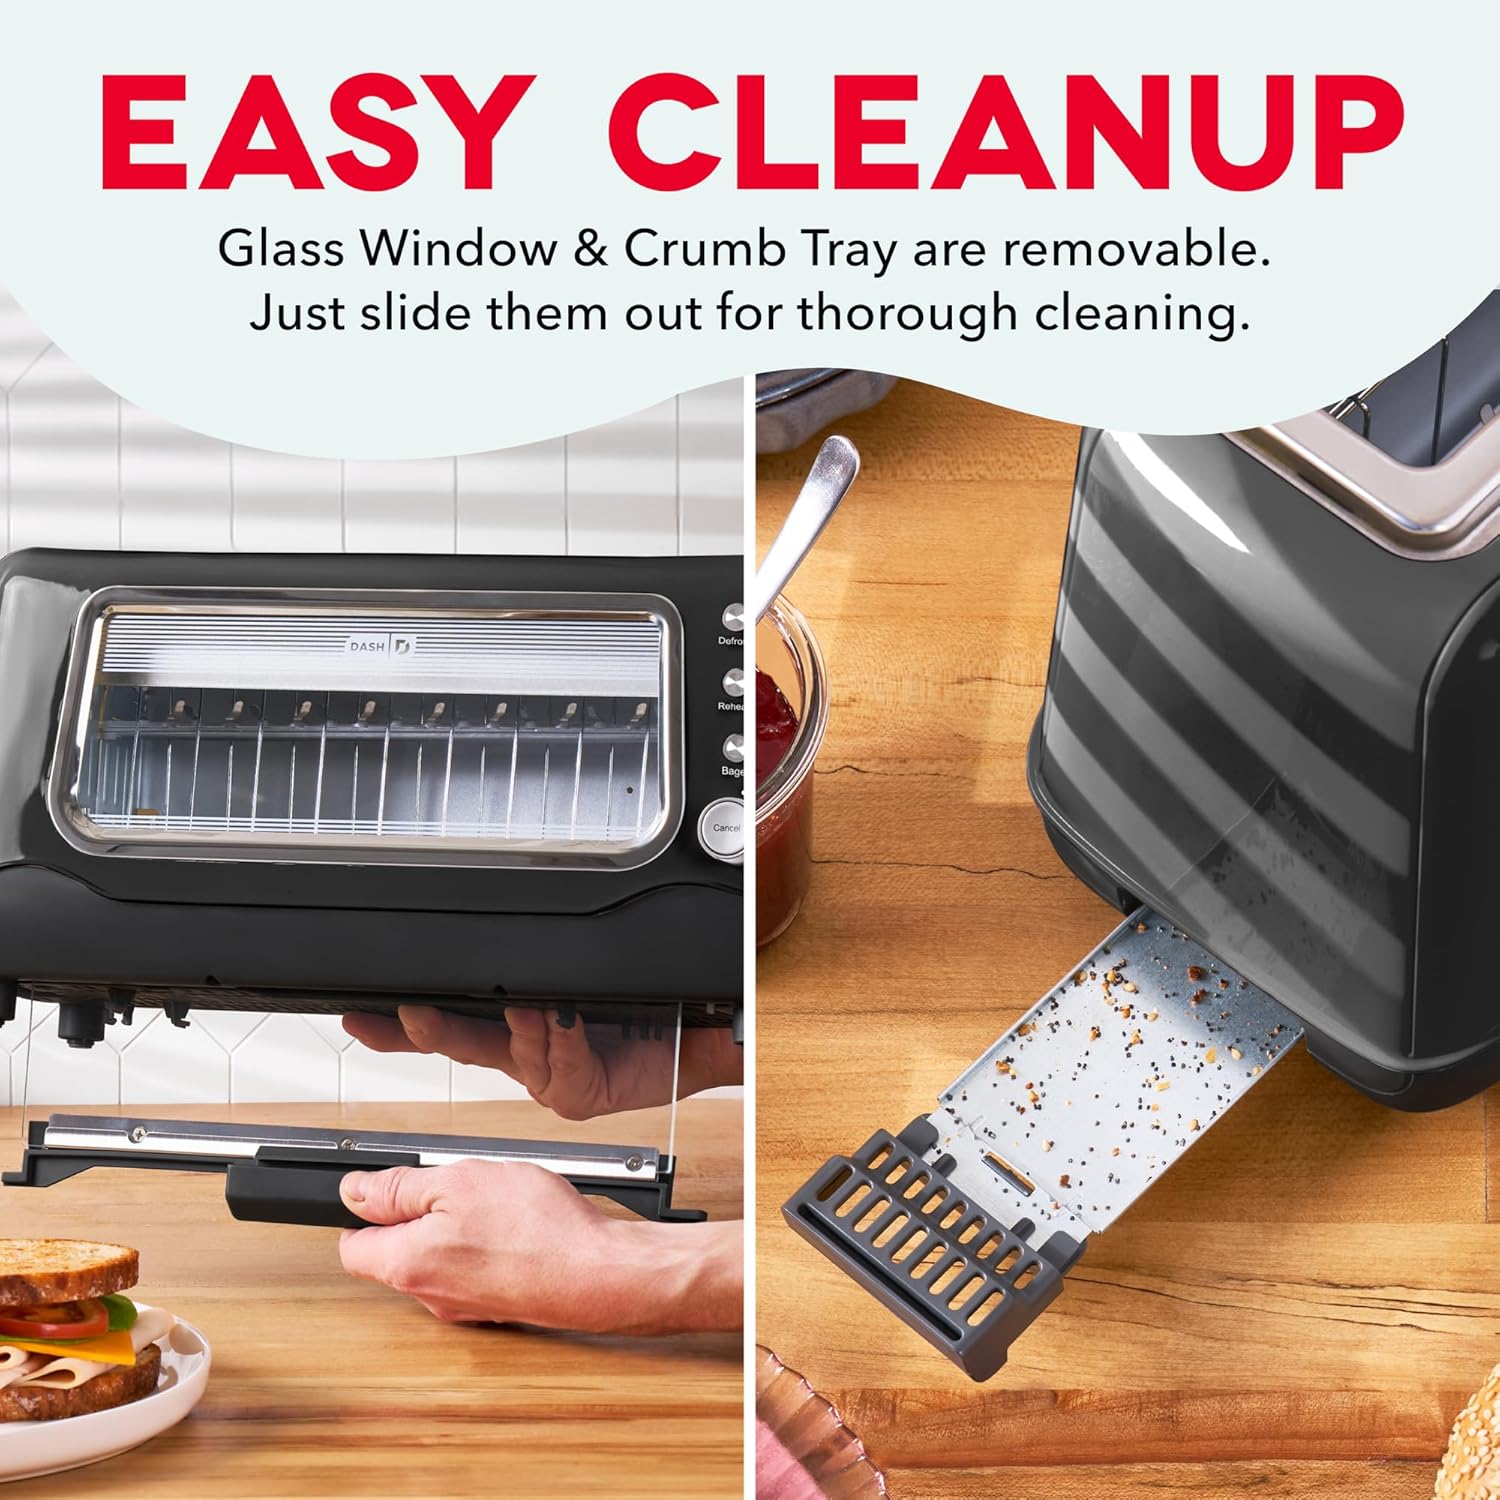
Image 5: The Dash Clear View Toaster demonstrating its easy cleaning features, including the removable slide-out crumb tray and the detachable glass panel for thorough maintenance.
Video 2: Videoprezentace poskytnutá prodejcemasing the Dash Clear View Toaster's unboxing and features, including a demonstration of how to remove and clean the crumb tray and glass panel.
7. Řešení problémů
- Toast Lever Does Not Stay Down: Ensure the toaster is properly plugged into a functioning electrical outlet. The lever is designed to only engage when power is supplied.
- Nerovnoměrné opékání: Different types of bread toast differently. Adjust the browning level as needed. For very thick or dense items, a slightly higher setting or a second cycle might be required (monitor closely through the clear window).
- Smoke from Toaster: A small amount of smoke during first use is normal. If smoke persists, unplug the toaster immediately. Check for any lodged food particles or excessive crumbs in the crumb tray or heating elements.
- Food Stuck: Unplug the toaster and allow it to cool. Carefully remove the stuck food using non-metallic utensils. Never use metal objects.
8. Specifikace
| Atribut | Hodnota |
|---|---|
| Značka | POMLČKA |
| Číslo modelu | DVTS501BK |
| Barva | Černý |
| Materiál | Glass, Polypropylene (PP), Stainless Steel |
| Rozměry produktu | 6.6"H x 15.7"Š x 7.8"V |
| Wattage | 1100 wattů |
| svtage | 110 voltů |
| Slot Count | 2 (extra-wide) |
| Počet stupňů opečení | 7 |
| Speciální funkce | Automatic Shut-Off, Defrost Mode, Reheat Mode, Removable Crumb Tray, Variable Browning Control |
9. Záruka a podpora
The Dash Clear View Toaster DVTS501BK comes with a 1letá omezená záruka. For warranty claims, troubleshooting assistance, or product support, please refer to the contact information provided in your product packaging or visit the official DASH webmísto.
Included Components: Toaster, Recipe Guide, Instruction Manual, Warranty.