
1. Bezpečnostní informace
Please read and understand all instructions before beginning installation. Failure to do so may result in electric shock, fire, or other injuries that could be fatal or cause serious damage.
- VAROVÁNÍ: To avoid electric shock, disconnect power at the main circuit breaker or fuse box before installation or servicing.
- Veškeré elektrické připojení musí být v souladu s místními předpisy, vyhláškami nebo Národním elektrotechnickým předpisem (NEC). Pokud nejste obeznámeni se správným zapojením elektrických vodičů, poraďte se s kvalifikovaným elektrikářem.
- Toto svítidlo je určeno pouze pro použití v interiéru.
- Ujistěte se, že montážní plocha unese hmotnost svítidla.
- Nepřekračujte maximální watttage specifikované pro žárovky.
- Během instalace používejte ochranné brýle a rukavice.
- Keep combustible materials away from the light fixture.
2. Obsah balení
Carefully unpack the fixture and check that all parts are included. If any parts are missing or damaged, do not attempt to assemble or install the fixture. Contact customer service for assistance.
- Flush Mount Fixture Assembly (A)
- Mounting Plate (B)
- Mounting Screws (C)
- Wire Nuts (D)
- Glass Shade (E)
- Decorative Finial (F)
Poznámka: Žárovky nejsou součástí balení a je nutné je zakoupit samostatně.
3. Požadované nástroje (nejsou součástí dodávky)
- Šroubovák s křížovou hlavou
- Plochý šroubovák
- Odizolovače drátů
- Elektrická páska
- Kleště
- Ochranné brýle
- Žebřík
4. Nastavení a instalace
Než začnete: Ensure power is turned off at the circuit breaker. If you are replacing an existing fixture, carefully remove it and disconnect its wiring.
Instalace krok za krokem:
- Příprava montážní desky: Attach the mounting plate (B) to the junction box in the ceiling using the provided mounting screws (C). Ensure it is securely fastened.
- Elektrické připojení:
- Připojte černý vodič od svítidla k černý (hot) wire from the junction box using a wire nut (D).
- Připojte bílý vodič od svítidla k bílý (neutral) wire from the junction box using a wire nut (D).
- Připojte země drát (holý měděný nebo zelený) z upínacího zařízení k země wire from the junction box and to the mounting plate using a wire nut (D) or ground screw.
- Opatrně zasuňte všechny vodiče do spojovací krabice.
- Attach Fixture Body: Align the fixture assembly (A) with the mounting plate (B) and secure it using the screws provided on the mounting plate or by twisting the fixture base onto the plate, depending on the design. Ensure it is flush with the ceiling.
- Instalace žárovek: Screw in two incandescent bulbs (not included) into the sockets. Do not exceed 60 watts per bulb.
- Instalace skleněného stínítka: Carefully place the glass shade (E) onto the fixture. Secure it in place with the decorative finial (F) by screwing it onto the central rod. Do not overtighten.
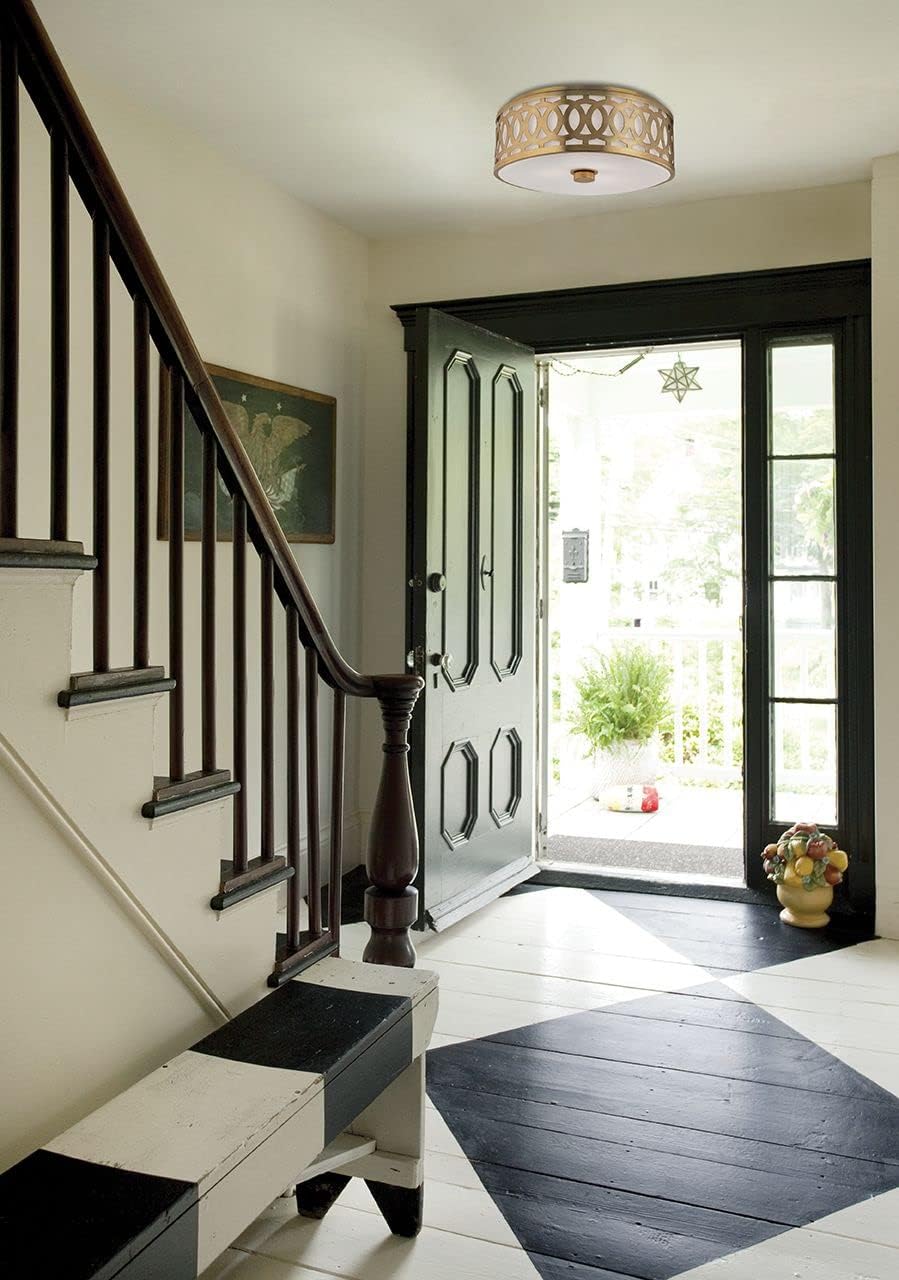
Image: The Genesee 4314-PN Flush Mount Light installed on a ceiling, showcasing its polished nickel finish and opal glassware.
5. Provoz
Once installation is complete and verified, restore power at the main circuit breaker. The fixture can then be operated using a standard wall switch connected to the circuit.
- Zapnutí/vypnutí: K zapnutí nebo vypnutí svítidla použijte nástěnný vypínač.
- Výměna žárovky: To replace bulbs, first turn off power at the circuit breaker. Allow bulbs to cool. Unscrew the decorative finial and carefully remove the glass shade. Unscrew old bulbs and replace with new ones (max 60W incandescent). Reattach the glass shade and finial. Restore power.
6. Údržba
Pravidelná údržba pomůže zachovat vzhled a funkčnost vašeho svítidla.
- Čištění: Always disconnect power before cleaning. Wipe the fixture with a soft, dry cloth. Do not use abrasive cleaners, solvents, or polishes as they may damage the finish. For the glass shade, a mild glass cleaner can be used on a soft cloth, then wipe dry.
- Inspekce: Pravidelně kontrolujte všechna připojení a montážní prvky, abyste se ujistili, že jsou bezpečně upevněny.
7. Řešení problémů
Pokud máte s přístrojem problémy, podívejte se na následující běžné problémy a jejich řešení:
| Problém | Možná příčina | Řešení |
|---|---|---|
| Světlo se nerozsvítí. |
|
|
| Blikající světlo. |
|
|
| Svítidlo hučí. |
|
|
If these solutions do not resolve the issue, consult a qualified electrician or contact customer support.
8. Specifikace
| Číslo modelu | 4314-PN |
| Značka | Osvětlení Hudson Valley |
| Typ | Zapuštěné světlo pro montáž |
| Rozměry (D x Š x V) | 13.5 cm x 13.5 cm x 7 cm |
| Hmotnost | 14 libry |
| Materiál | Legovaná ocel (svítidlo), sklo (stínidlo) |
| Dokončit | Leštěný nikl |
| Světelný zdroj | Žárovky (žárovky nejsou součástí balení) |
| Počet žárovek | 2 |
| Max Wattage na žárovku | 60 wattů |
| svtage | Standard Household Voltage (120 V AC) (Note: Product specification lists 600 Volts, which typically refers to component rating, not operating voltage for residential use.) |
| Typ montáže | Stropní držák |
| Certifikace | Seznam UL |
9. Záruka a podpora
Záruka výrobce:
This Hudson Valley Lighting product is covered by a 1letá omezená záruka výrobce od data nákupu. Tato záruka se vztahuje na vady materiálu a zpracování při běžném používání. Nevztahuje se na škody způsobené nesprávnou instalací, nehodou, nesprávným použitím, zneužitím nebo běžným opotřebením.
For full warranty details, please refer to the documentation included with your purchase or visit the official Hudson Valley Lighting webmísto.
Zákaznická podpora:
If you have any questions, require technical assistance, or need to report a missing or damaged part, please contact Hudson Valley Lighting customer service. Please have your model number (4314-PN) and proof of purchase ready when contacting support.
Webmísto: www.hudsonvalleylighting.com
Telefon: Viz webstránky s aktuálními kontaktními čísly.